


How to Set Up Your Own DIY Photo Booth
From wedding receptions to baby showers to birthday parties, photo booths are all the rage. Skip the expensive rental and create a one-of-a-kind booth with props and a backdrop for your next party or event using our step-by-step instructions and free printable templates.

Materials Needed:
- digital point-and-shoot camera
- camera tripod
- backdrop stand (optional)
- backdrop
- spotlight (optional)
- lighting umbrella (optional)
- tape
- hammer and nails
- large clamps
- remote shutter release
- Download: Party Hat Template Printable
- Download: Glam Party Props Printable
- Download: 1920s Party Props Printable
- Download: Party Mask Template Printable
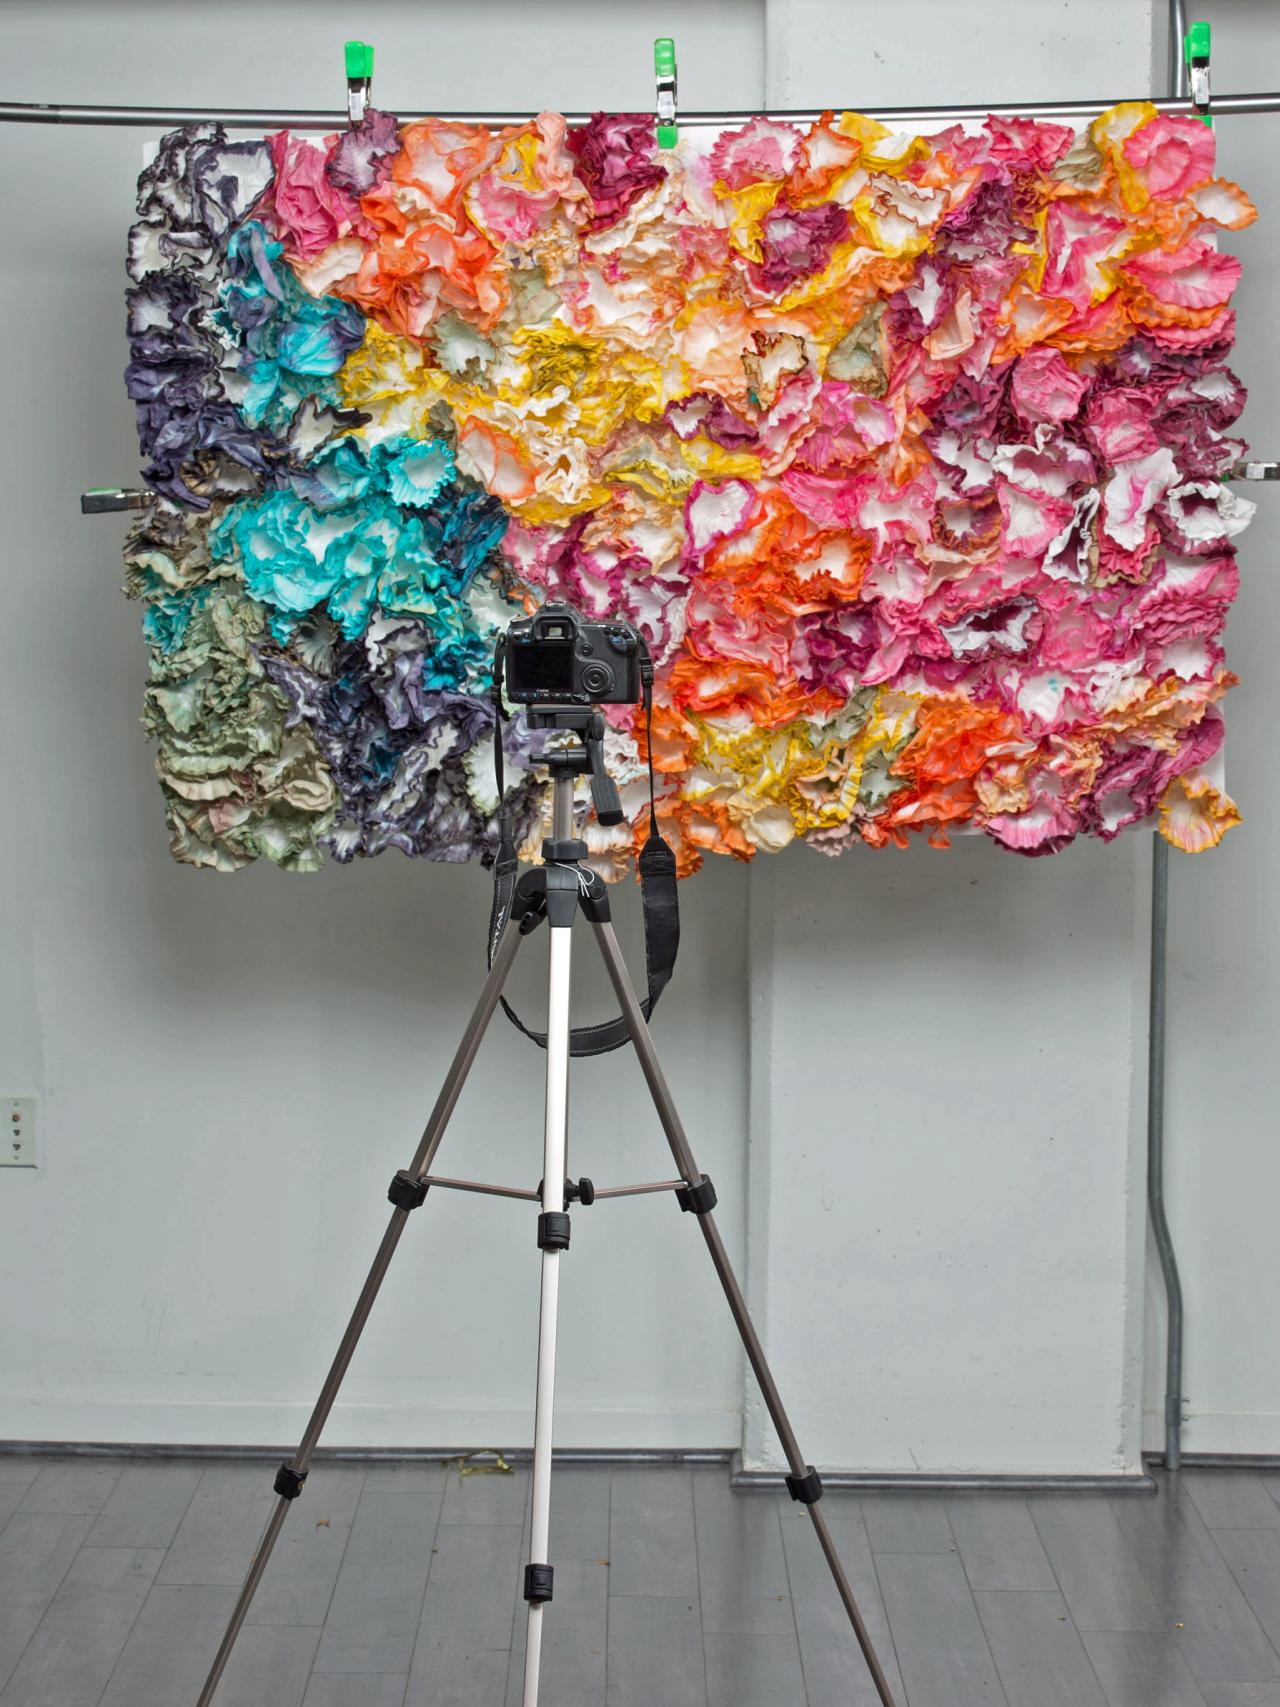
The Camera Equipment
A basic digital point-and-shoot camera works perfectly for a DIY photo booth. You’ll also need a tripod that’s tall enough to extend to eye level and a remote shutter release for the camera (available online or at camera shops.) A remote shutter release allows guests to take their own photo, letting you enjoy the party instead of playing photographer all night. Some attach to the camera with a cable, others operate wirelessly.

The Lighting
For a truly professional photo booth, good lighting is a must. A spotlight and photography umbrella (available online or at camera supply shops) diffuses the light and adds a flattering glow to friends’ faces. If you opt against lighting equipment, turn your camera’s flash on or place a floor lamp beside the camera facing the backdrop.
The Backdrop
This is where you get to show off your creative skills. A printed fabric backdrop is most common, but why limit yourself to store-bought options? Make one that adds life to the photos.
Videos
See All Videos


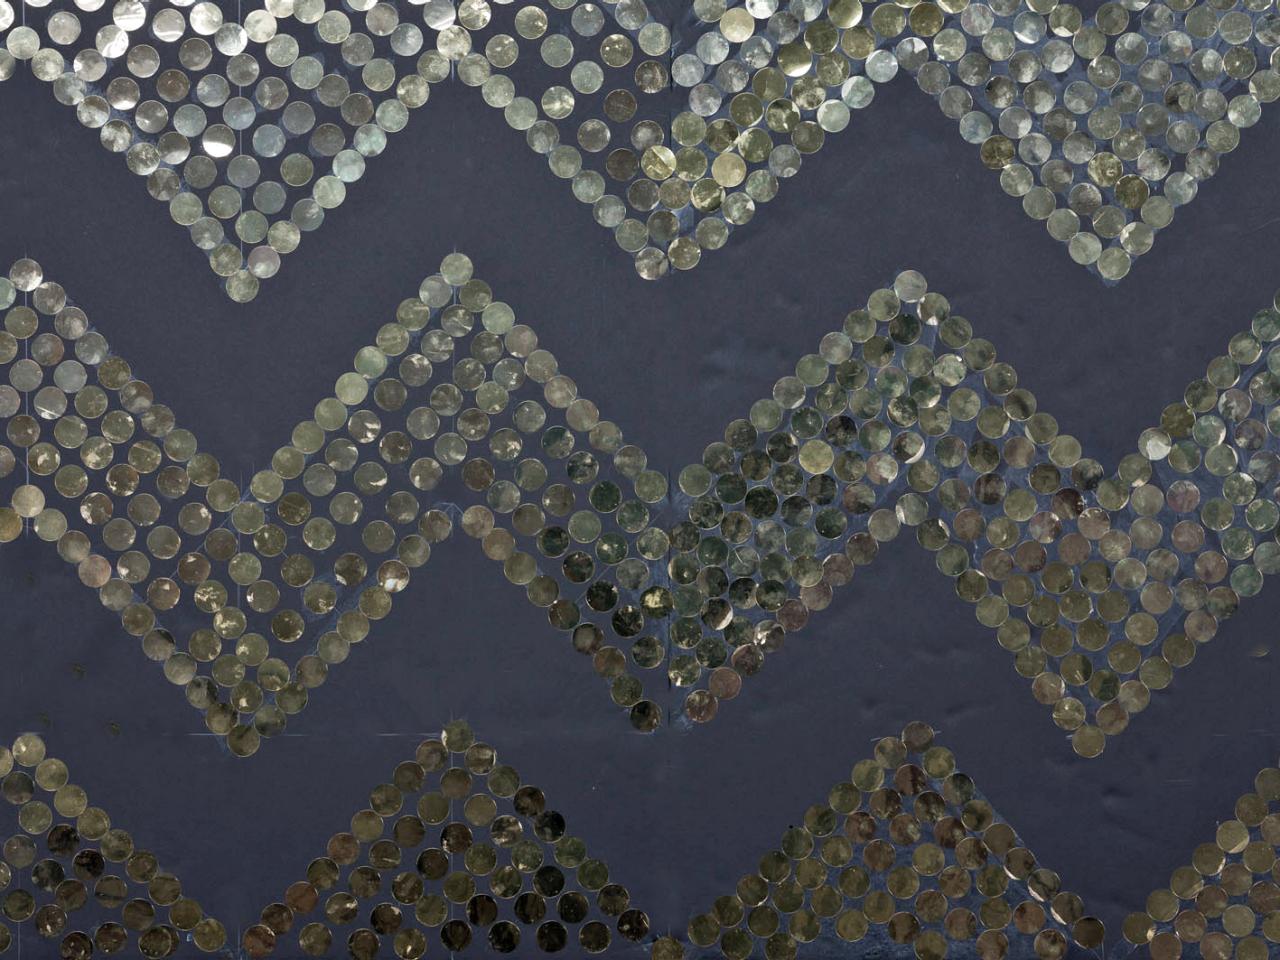
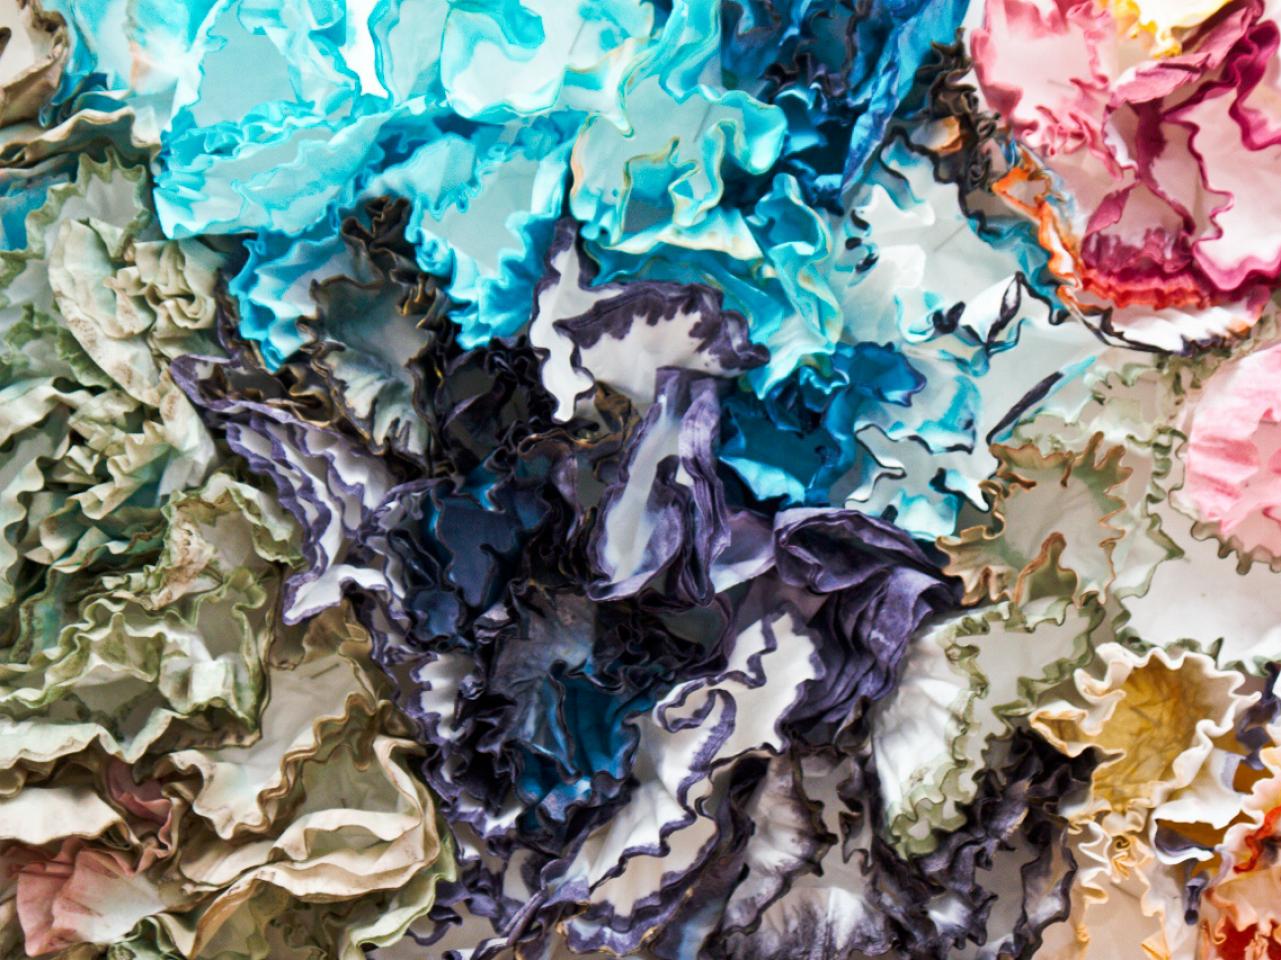
Create a chevron-inspired backdrop with black foam board, a glue stick and jumbo gold sequins. Draw the chevron stripes using a ruler, then fill in rows of sequins. For a more colorful backdrop, try dipping the tips of coffee filters into multi-hued fabric dyes, then affixing to a foam board for a floral effect. For a simpler backdrop, hang a section of Kraft paper and paint it with gold stripes or polka dots.


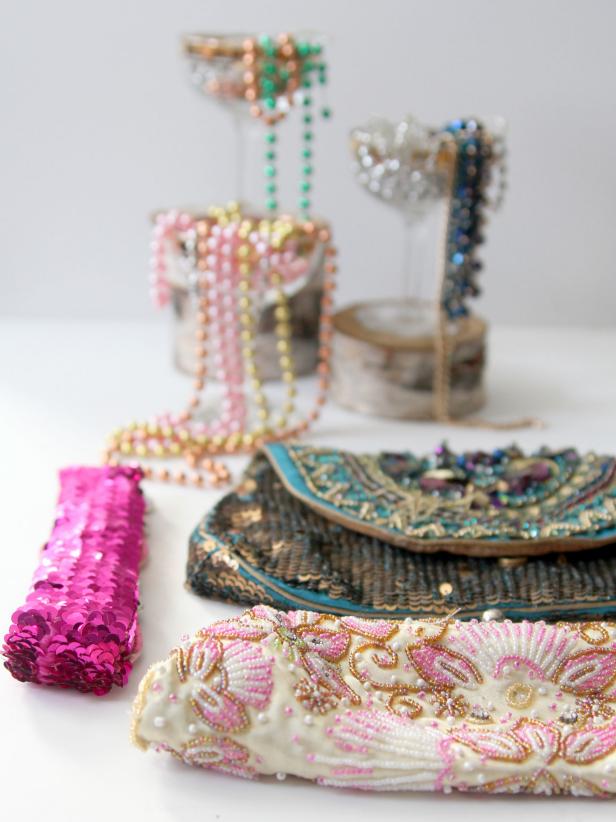
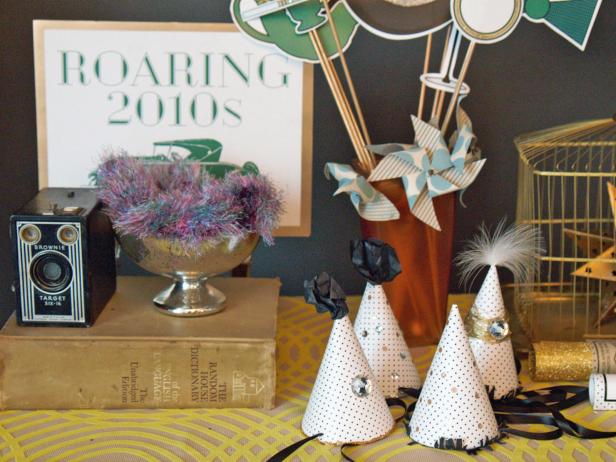
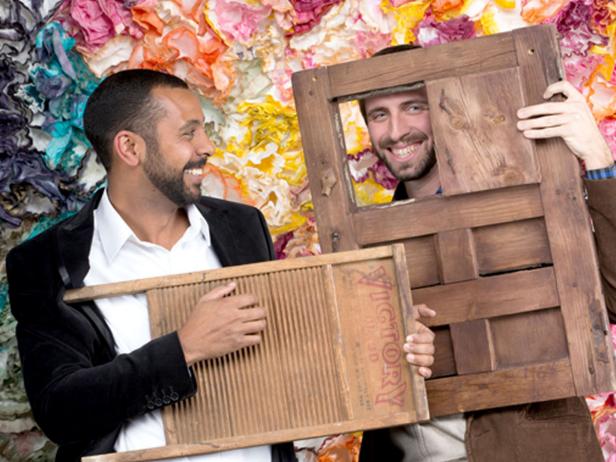
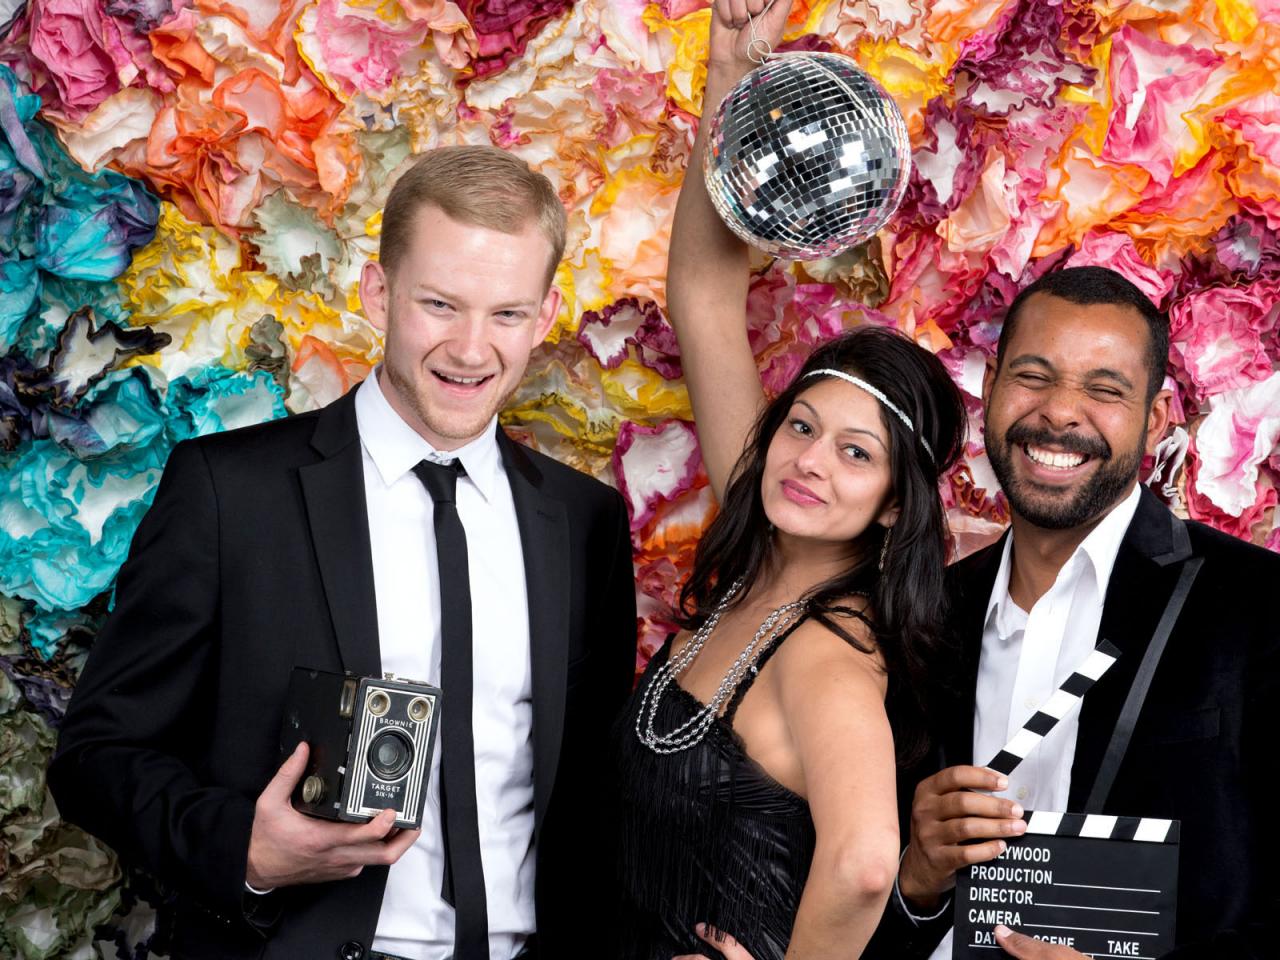
The Props
A variety of props keeps things fun and guests interested. Don’t know where to look for props? Start with your own closet: that furry scarf you got as gift but never wore, those silky gloves that belonged to your great aunt and that fascinator you wore to the races can all become kitschy props. Ask your friends to scavenge their own closets for similar items.
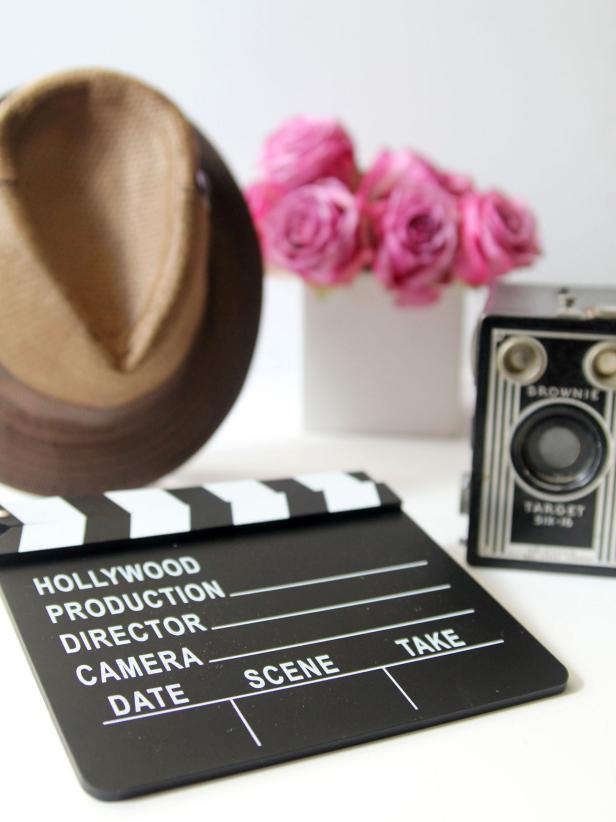
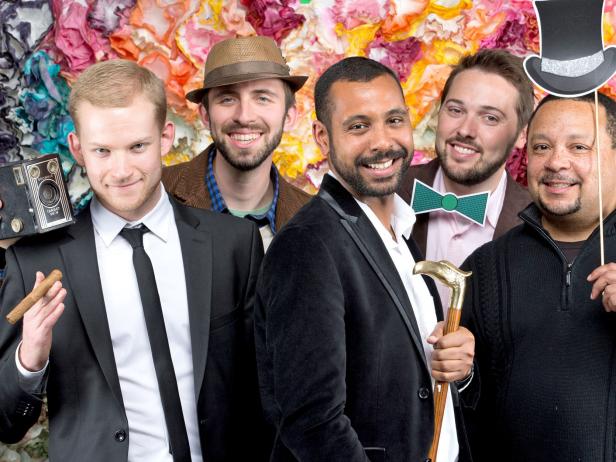
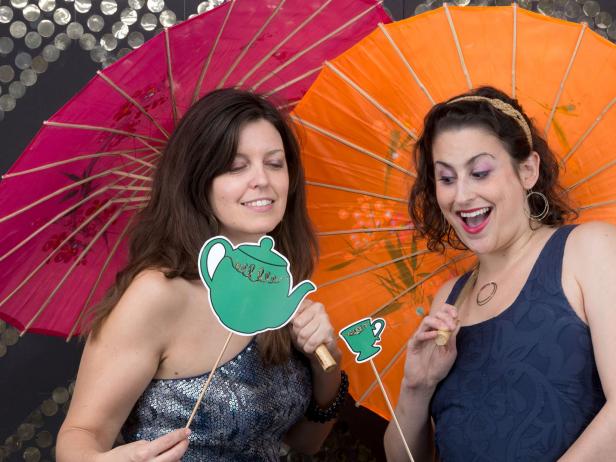
Next, hit up thrift stores, vintage shops and estate sales in your area. Look for objects like cameras, musical instruments, telescopes, binoculars, magnifying glasses, old ship and car steering wheels, picture frames, necklaces, clocks, tea cups, telephones, suitcases, vintage pieces, books, antlers and pretty much anything that is large enough to show in a photograph. To narrow down the prop options, choose a theme or era to work from.
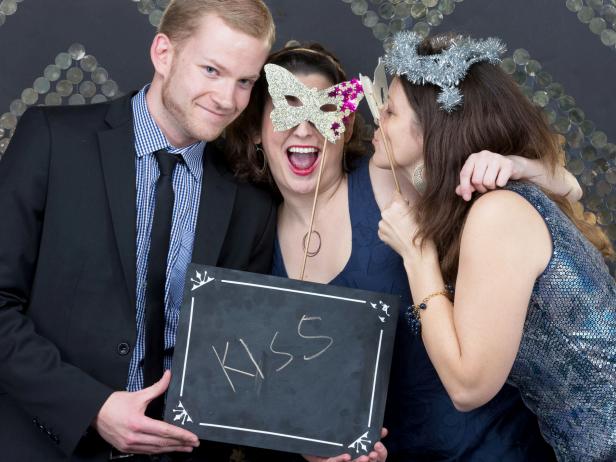
A chalkboard or dry-erase board lets guests create their own custom messages. Buy your own inexpensive model, or make your own using a piece of wood and a picture frame with our easy DIY chalkboard how-to.
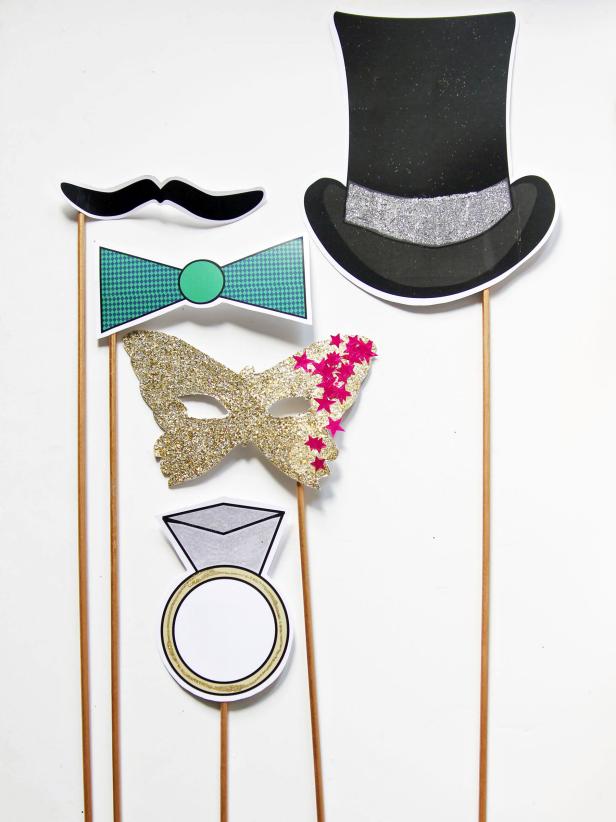
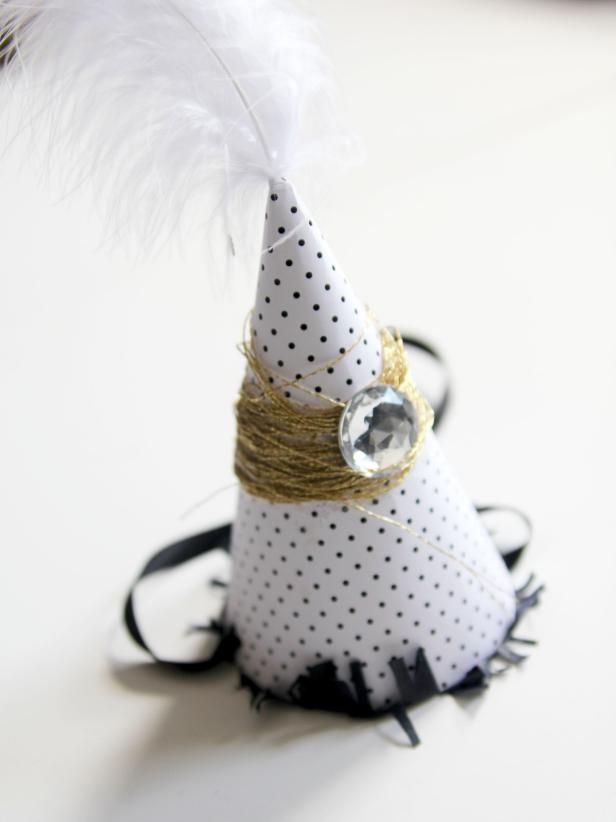
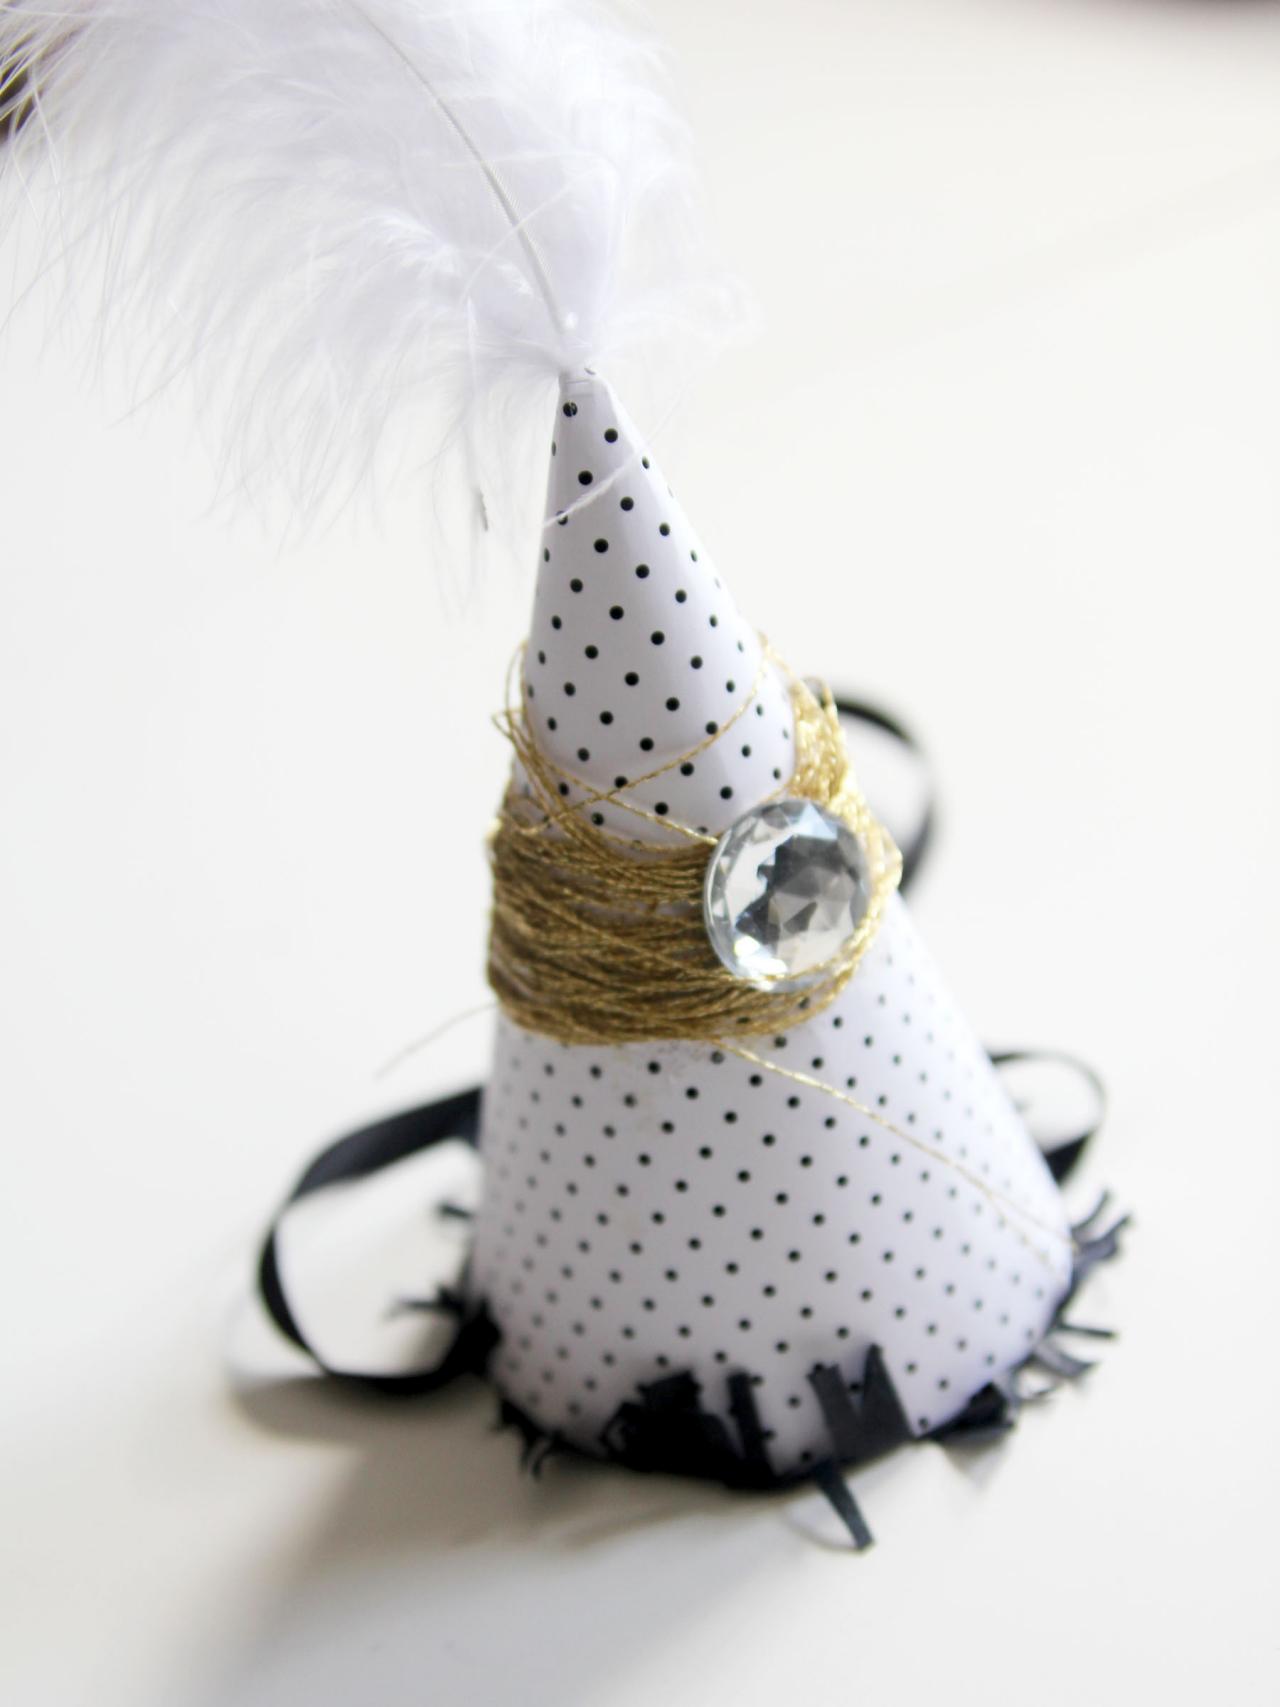
Printable props can also add whimsy to your photo booth. Download our collection of printable props and assemble them before your party starts.
-Polka-Dotted Party Hat Template
-Glamorous Party Printable Props
-1920s Printable Props
-Glitter Mask Printable Template
The Location
When choosing where to set up your photo booth in the party space, look for an area that doesn’t obstruct the flow of the party but is still easily accessible. Even if you are hosting a large gathering, you don’t need a lot of square footage to set up the photo booth. Tip: Hallways are often underutilized as gatherings; a wide hallway can be an ideal spot for a photo booth.
The space should also have a wall large enough to accomodate your backdrop. Ideally, 5 feet across and 3 to 4 feet tall is sufficient to frame 3 to 5 people waist-up in the shots.
The Setup
Once you’ve chosen the location, clear all wall decor and furniture from the space. If there are windows in the space, cover them with a dark cloth to ensure that the flash properly lights the photos. Next, measure the wall space to plan the size of the backdrop. Use painter’s tape to mark the area on the wall for guidance.
Mount the camera on the tripod and place it a few feet away from the wall. Frame the shot and angle the camera accordingly. Ask someone to stand in front of the camera while you frame the shot. Using painters tape, make an X on the floor to mark the spot for the tripod and the center and outer limits where guests can stand for photos. Set up remote shutter release and test before the party begins.
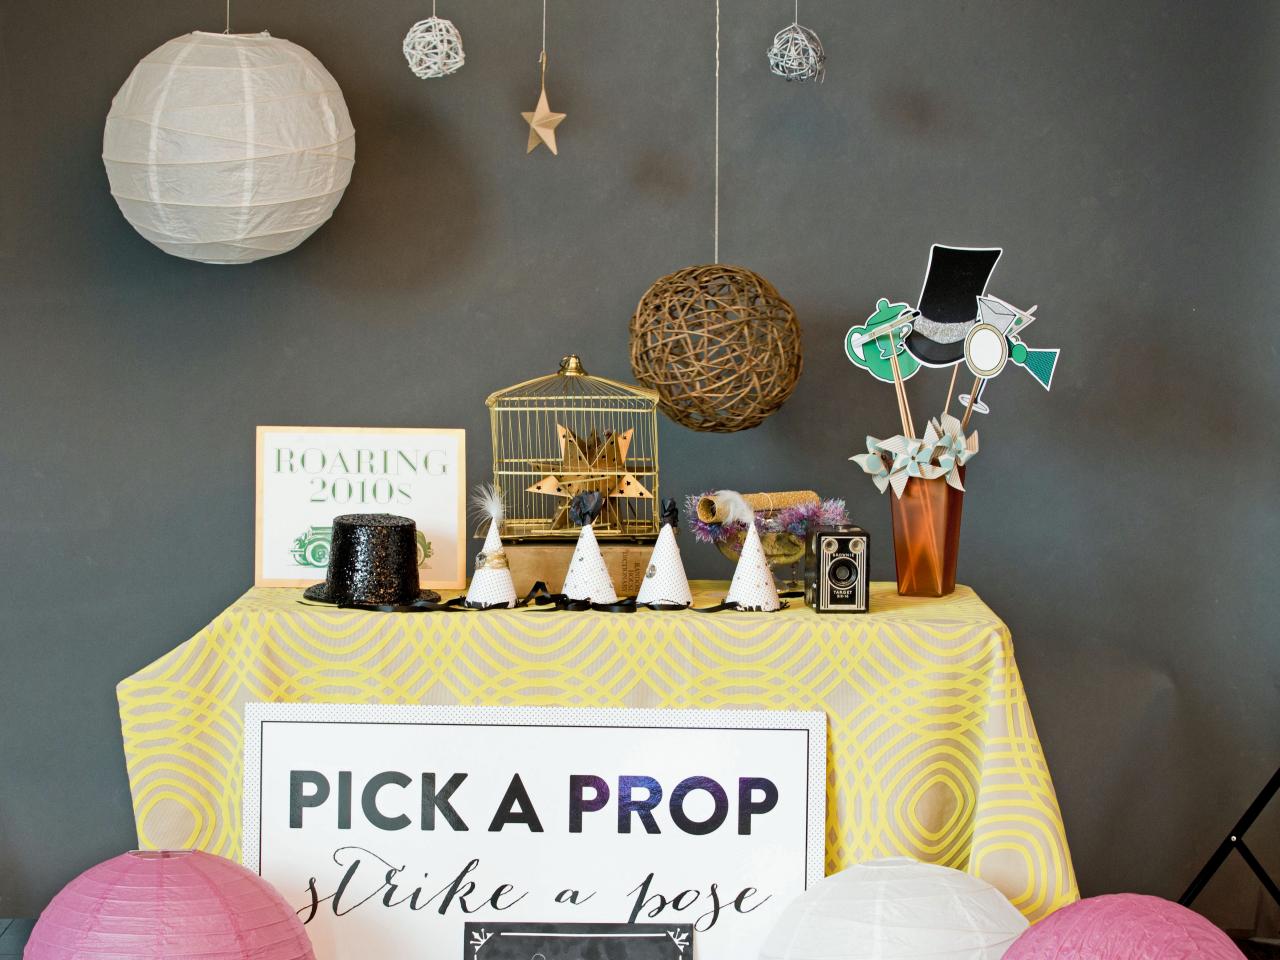
Assemble a prop station and display items guests can grab easily to pose with. A practical way to decorate the prop table without adding unnecessary items to the surface is to hang objects from the ceiling using twine and push pins. Make a simple signboard instructing guests to pick a prop and strike a pose and place it near the prop table.

The Photo Booth Party
Be sure your camera has ample battery life and memory card space for the party, and be sure to have backups on hand. Tell guests about the photo booth when they enter your party and demonstrate how it works by snapping a few photos with each guest. Then, let guests use their creativity to experiment with props and poses.
After the party, create an online album of all the shots from the photo booth, or send each guest a print as a thank you note or keepsake favor.


