


Digital Declutter: How to Organize and Store Your Photos
Try these space-saving tips for your mobile phone and learn how to safely archive and display your most precious memories.

Shutterstock/REDPIXEL PL

They say that the best camera is the one you have with you, and for most people, the memorable moments in life are captured with their mobile phones.
Smartphone cameras and software have gotten so good in recent years that it’s difficult to tell when a photograph has been taken with a phone or professional DSLR camera. The ease of use means everyone is a photographer, but with that convenience does come a downside.
Your device’s limited storage space means that it won’t be long until you start receiving notifications that your phone is running out of space. That’s where we can help.
Whether you decide to keep your photos in the digital space or go old school and print them out, here are a few tips to help you organize, display and store your most precious images.
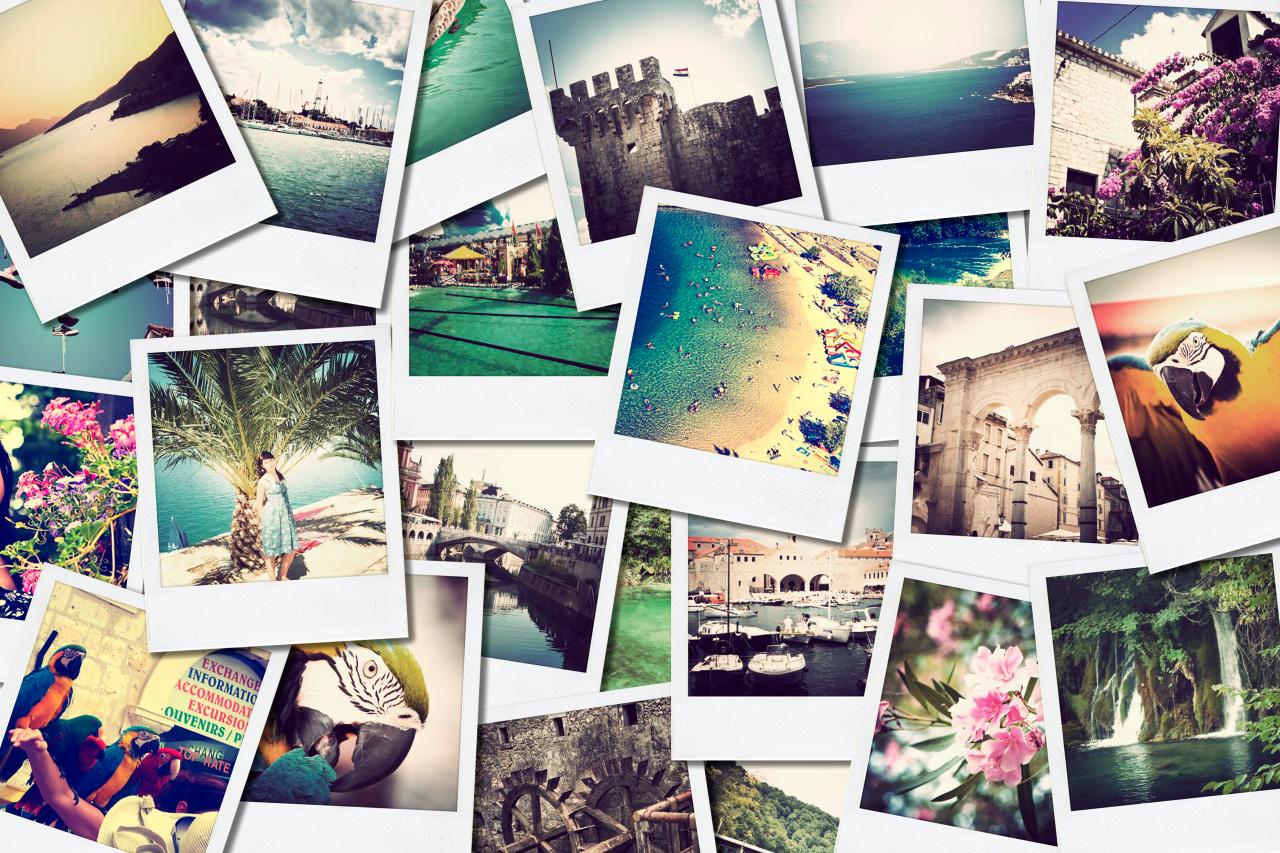
Organize Your Camera Roll

Shutterstock/Fizkes
There’s no easy way to do this. You took 28 photos of that delicious brunch you ate last weekend, and you’re going to have to delete all of the ones that didn’t make the cut for Instagram. In fact, get into the habit of deleting excess photos right after you decide on your favorite(s) to avoid digital clutter.
Once your camera roll contains only the best photos, you can start organizing them into albums. No matter what kind of mobile device you have, you should be able to organize them into albums on the go using the default photo app. You can create an album for all of your dog photos or create one around an event like your daughter’s first birthday.
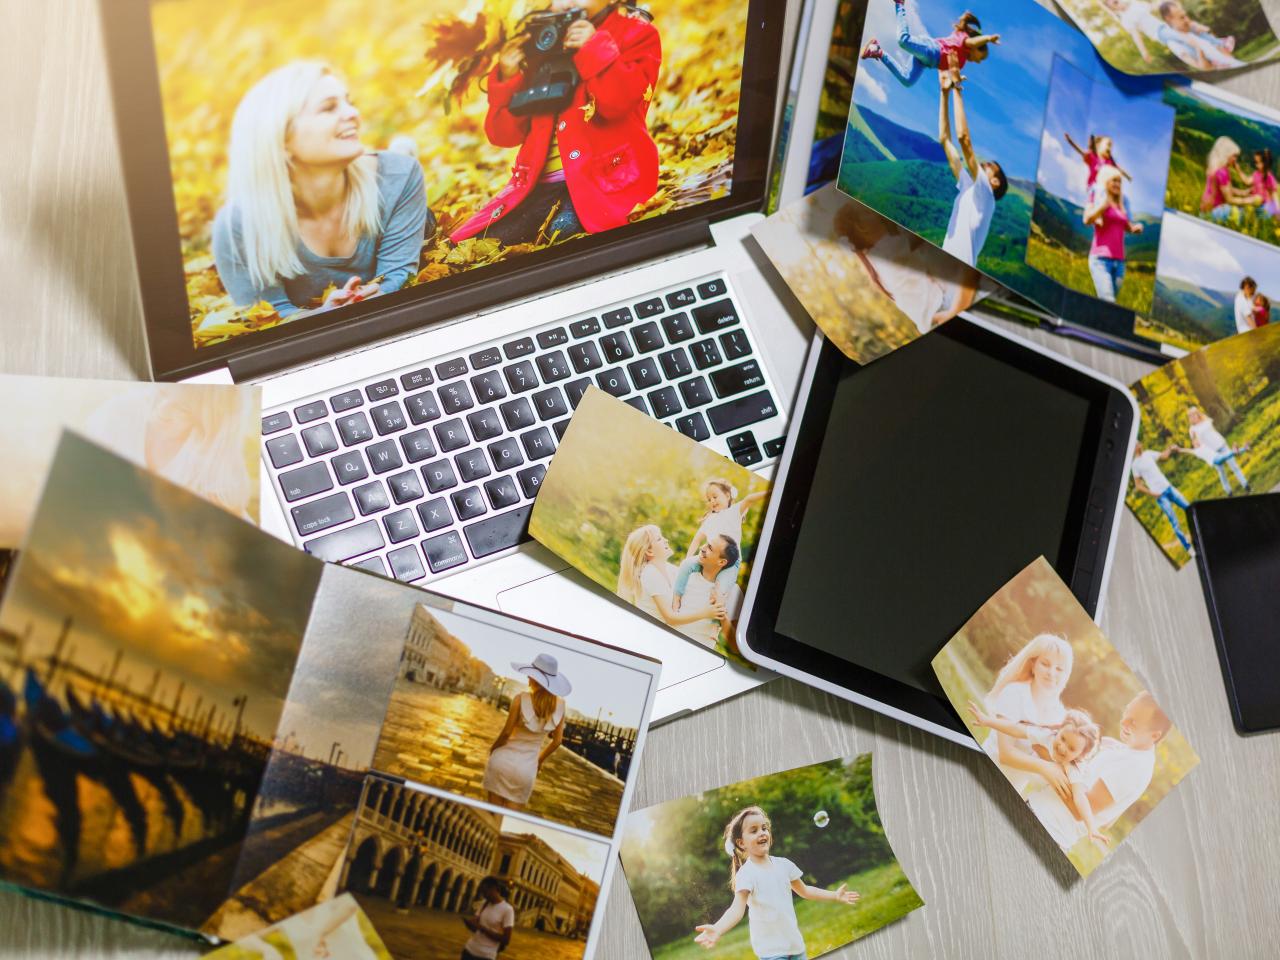
Upload and Archive
Creating albums on your phone is a great first step to digital organization, but eventually (I recommend every month) you’ll want to migrate these images to your computer. Doing so will open up better editing options and make it easier to back up all of your images (which we’ll get to later).
Use the wire that likely came with your mobile device and connect it to your computer. Programs like Apple Photos and Google Photos can emulate the folders you have on your phone and make importing easy, but I suggest you take a more manual approach.
Create a folder on your desktop titled, "Photos," and inside of it, create folders for all of the years that your photos span ("2020," "2019," etc.). Click into each one and create 12 more folders for each month ("01_January," "02_February," etc.). Inside each month folder, that's where you’ll drag your subfolders featuring your cute dog or kiddo’s first birthday party. If you know your way around a photo editing program, you may want to create a "To Be Edited" folder and a "Final" folder inside those subfolders.
Photo Storage 101

Shutterstock/Andrew Angelov
When it comes to backing up your images, you have a few options. You can upload them to a cloud service, such as iCloud for Apple iOS or Google Photos for Android. There are other services not associated with these tech companies — Dropbox, Flickr and Amazon Photos to name a few — but Apple and Google make it seamless to use their services from their devices. Keep in mind that with most of these services there is a monthly cost for server space, especially as your library grows in size.
If you think "cumulonimbus" when you hear the word "cloud," local storage may be for you. This requires purchasing an external hard drive, connecting it to your computer, and dragging the "Photos" folder you created earlier to the hard drive so that your photo library lives in two places.
My suggestion is to go with a combination. I’m a fan of local storage that also offers a cloud option, such as the My Cloud Home from Western Digital. This allows you to save all of your photos to an external hard drive, but it connects to the internet so you can access your entire library anywhere you go as long as you have internet access.
Of course, there’s always the option to print your best photos for the ultimate backup. I would recommend you leave this to the professionals though, as your at-home printer doesn’t produce the highest-quality prints. Online services, such as Printique, are great, but check locally first. You may have an independently owned print shop in your town that can guide you along the process.
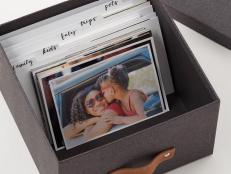
Organize and Protect Your Prints
While you wait for your photos to arrive from your printing service of choice, purchase multiple photo albums that match your decor since you’ll likely be displaying them in a public area. You can also use acid-free envelopes, a binder with acid-free sleeves or even a box lined with acid-free paper. When the images arrive, that’s when the organization begins.
Shop Photo Storage Products


Sort through the photos and separate your favorites from the ones that may be blurry or don’t evoke a special memory. For the keepers, use a pen made to write on photos to record the date, location and who is in the photo on the back of each one. If you discover that you have too many favorites and they won’t fit into the photo album, you can always purchase a photo box for the extras.

Shutterstock/Andrew Angelov
As you fill up whatever storage unit works best for you, remember to label clearly so you never have to guess what’s inside.
Protecting your photos is all about making sure you use acid-free and photo-safe materials. If you fail to do this, your photos could deteriorate over the years and your precious memories could be difficult to recognize.
The Library of Congress, which knows a thing or two about safely storing photos, has a fantastic guide on how to care for your photos. According to their general guidelines, you want to store your photos in a room that has low humidity and remains at room temperature. Limit the amount of light that hits the photos and keep them away from radiators or vents.
Of course, you can always choose to frame your favorite images. I recommend using a professional service to ensure that your photo is framed with acid-free materials.


