


How to Install Ceiling Storage in a Garage
Save precious garage floor space by using ceiling space as a storage solution.


Materials Needed
- chop saw
- stud finder
- tape measure
- drill and screws
- wood glue
- dryer sheets
- palm sander
- plastic bins
- stain in desired finish
- paintbrush
- 2x4s
Measure and Cut Wood
First, measure the size of the bins, and make sure you have enough clearance from the ceiling. Our bins are 15” wide, and the distance between the beams should match that. Measure, and cut 2x4s down to 32” in length.


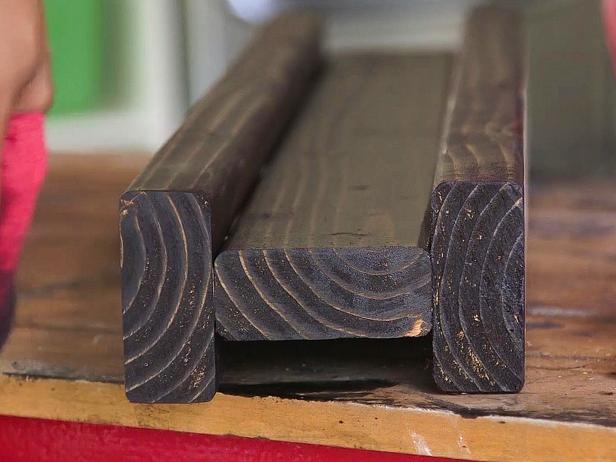
Create 'I'-Shaped Beams
Lay one 2x4 flat, put another 2x4 on top on its side and top with another flat 2x4 to create an 'I' shape. Use wood screws and a drill to attach the 2x4s together. Sand the rough edges with a palm sander and 220-grit paper, then use a tack cloth or dryer sheet to clean off the surfaces.


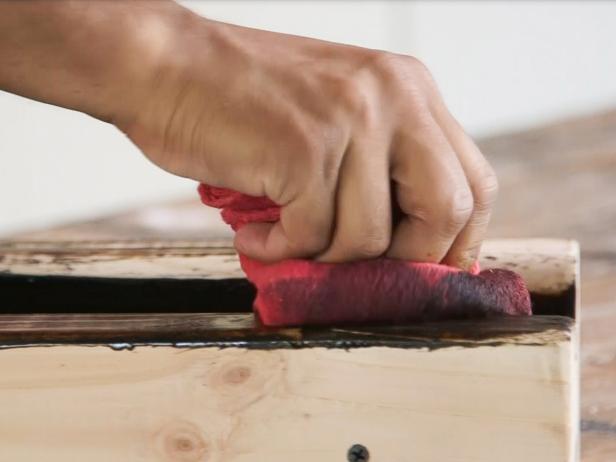
Apply Stain
Apply walnut stain with a paintbrush, and wipe excess off with a clean, dry cloth. Allow the beams to dry for a couple hours.
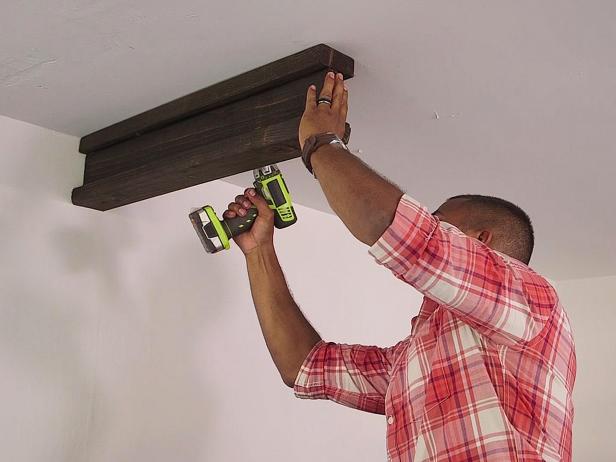
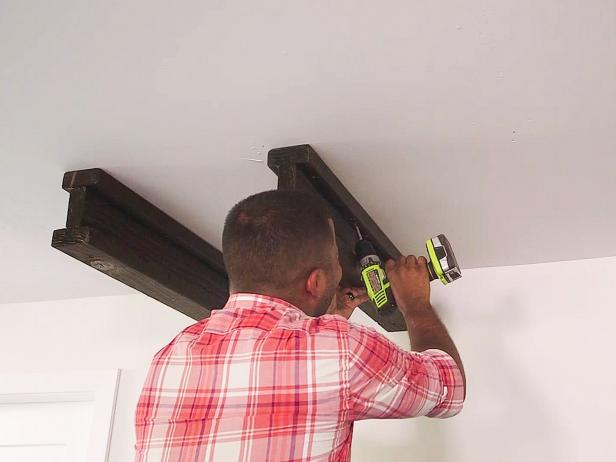
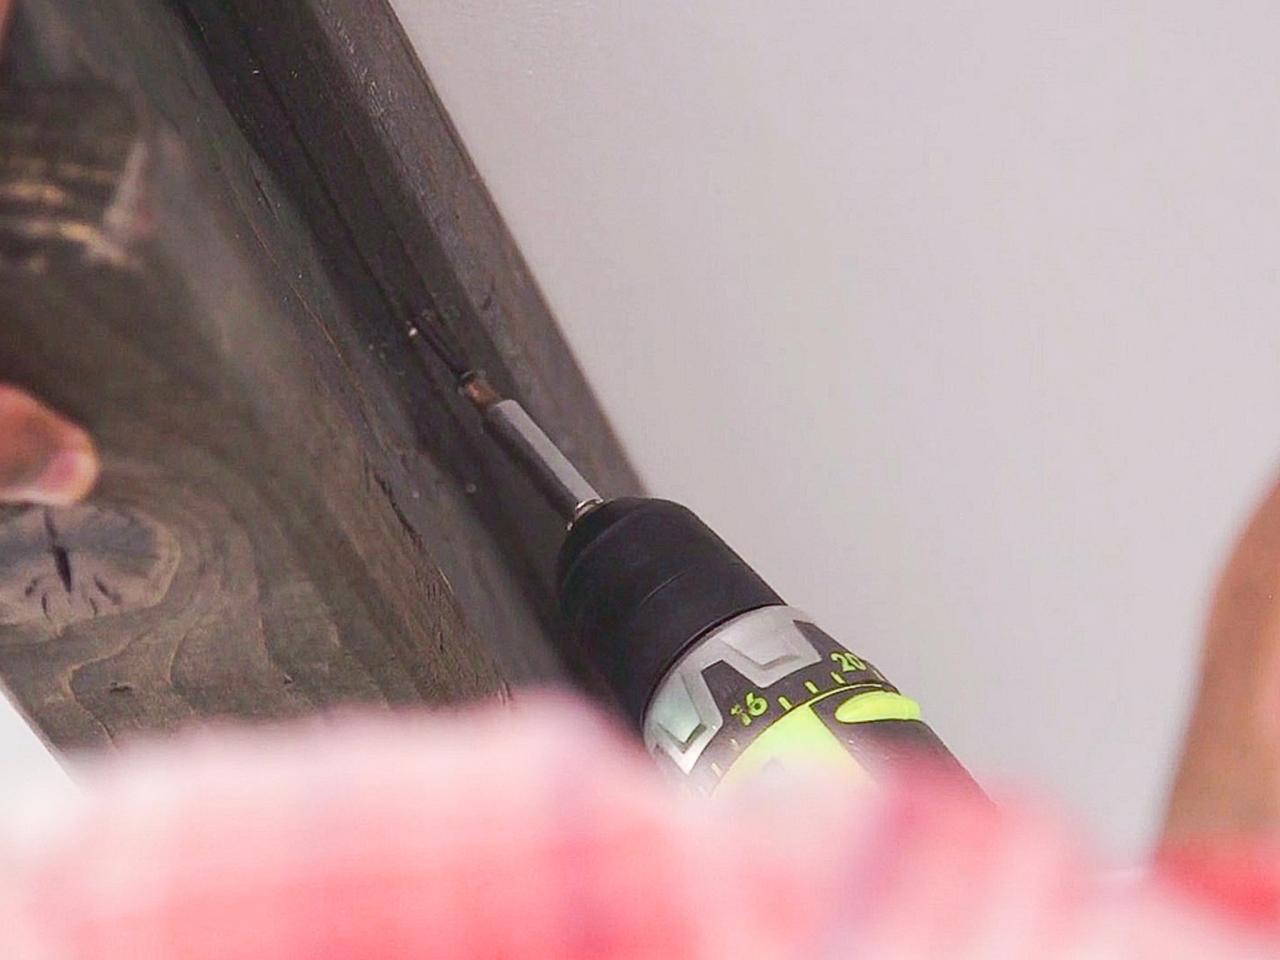
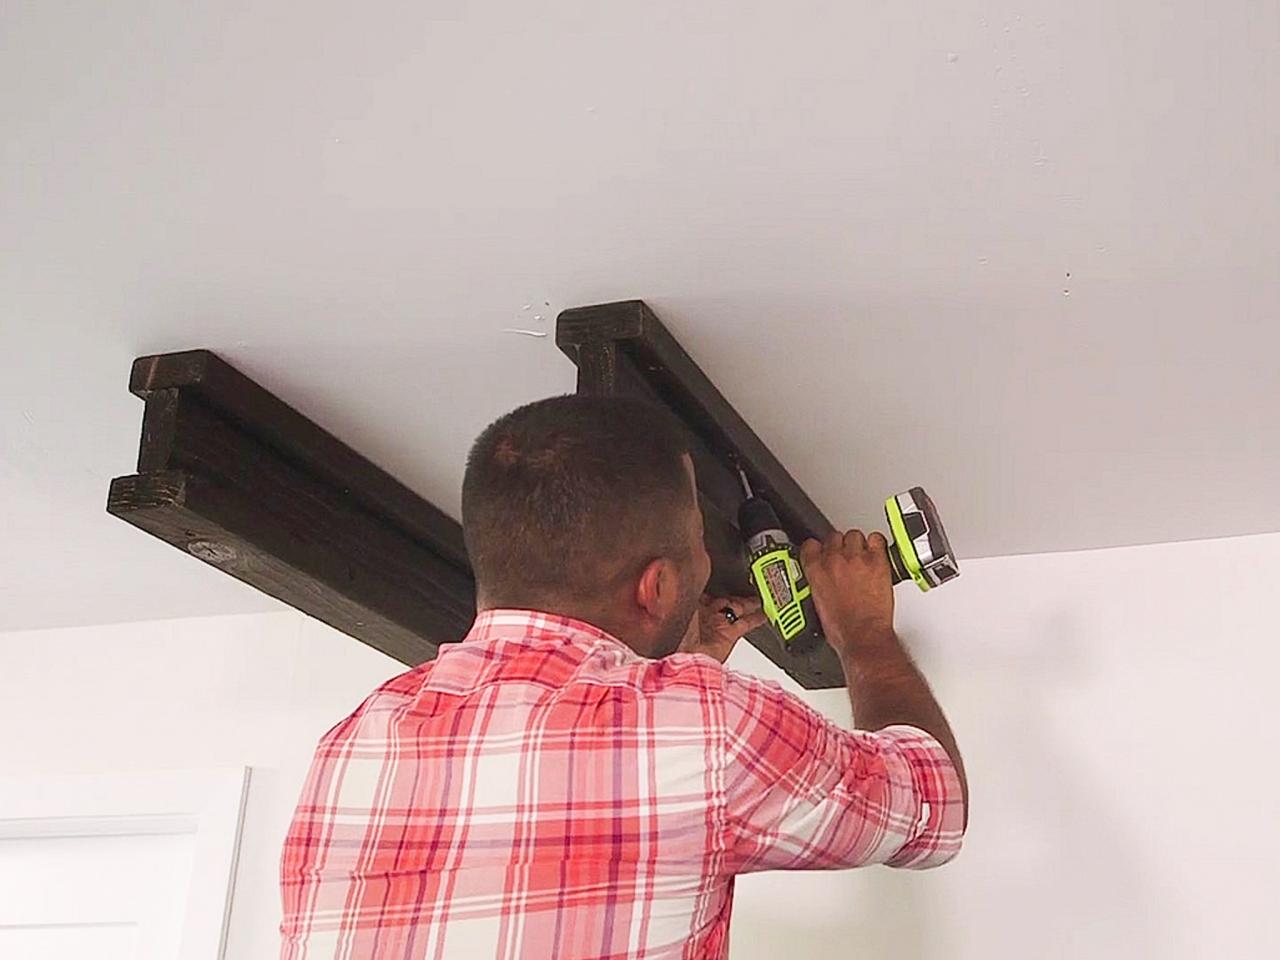
Install First Beam
Locate ceiling rafters using a stud finder. Mark, and screw the first beam directly in the middle of the rafter so it supports the weight of the bin.


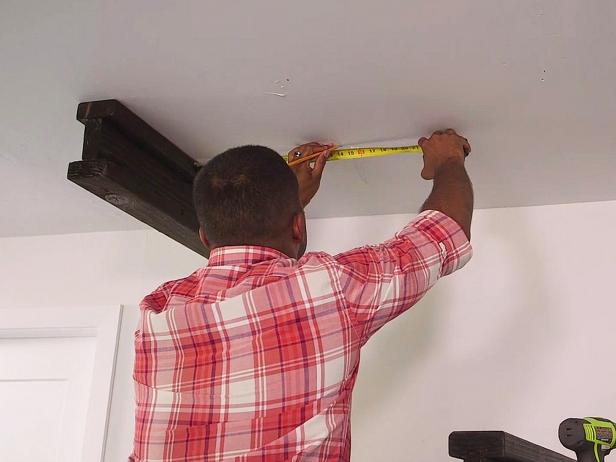
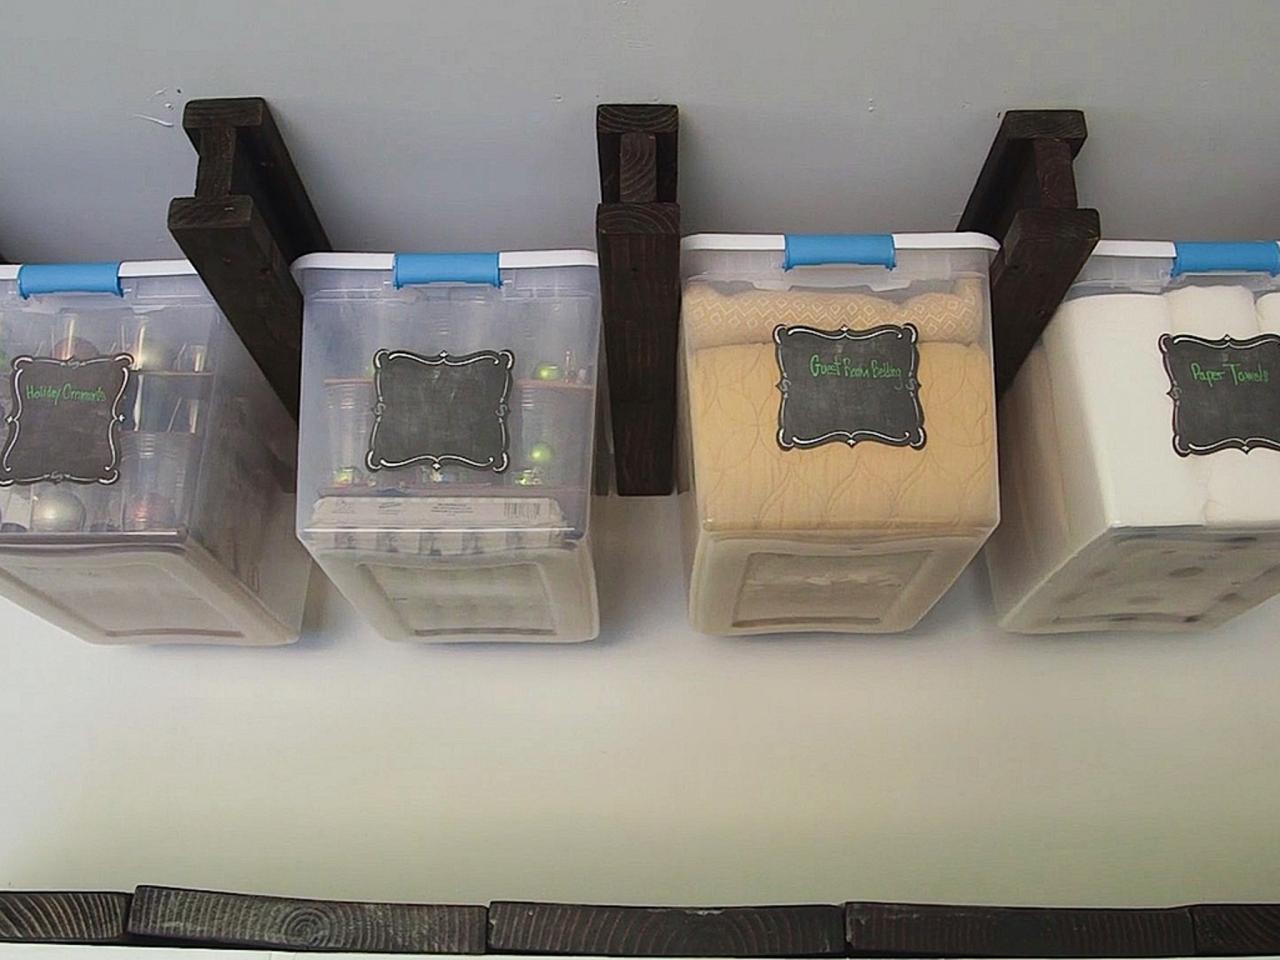
Install Second Beam
Make a mark 15" from the first beam (or the same width as the bin), and secure the second beam using the same process as the first beam. Slide bins into place.


