


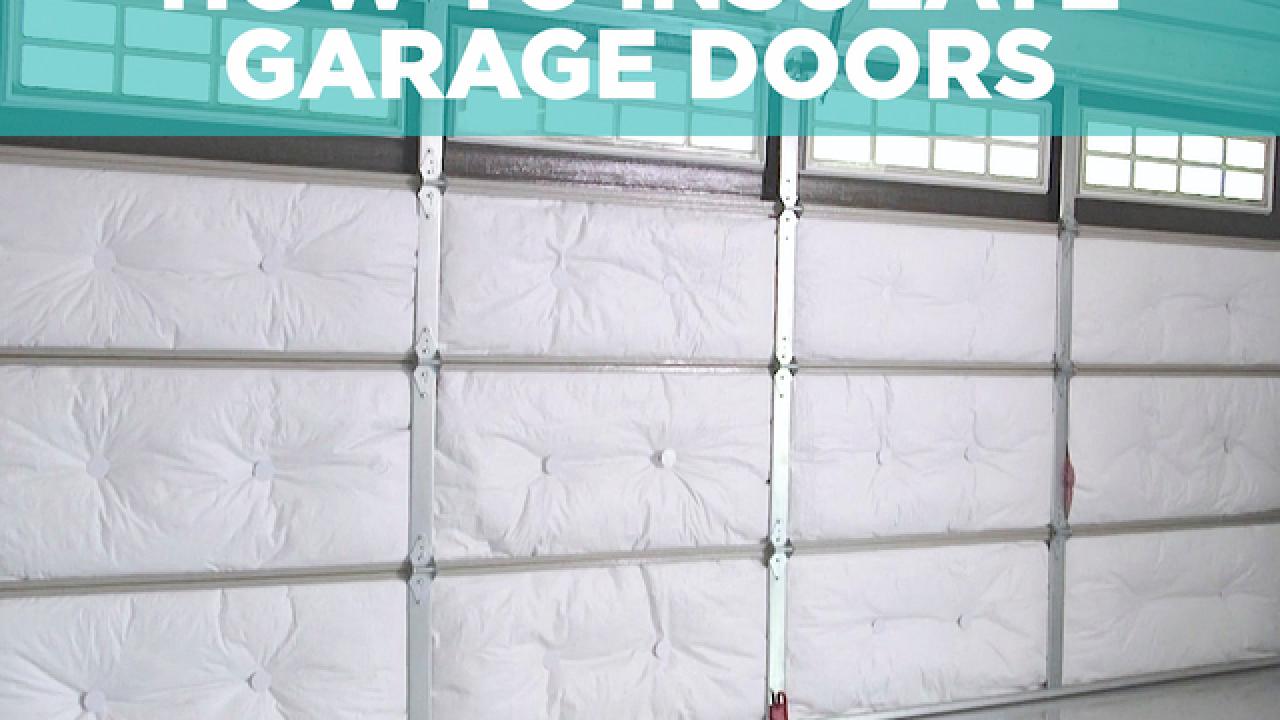
How to Insulate a Garage Door
Keep your garage warm in winter and cool in the summer by installing insulation on the door.

Tools and Materials
- straightedge
- tape measure
- utility knife
- pencil or marker
- rubber gloves
- respirator mask
- insulation panels
- retainer clips
- double-stick adhesive
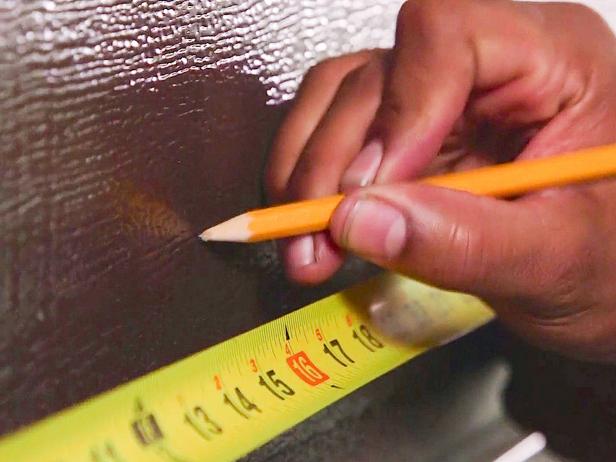
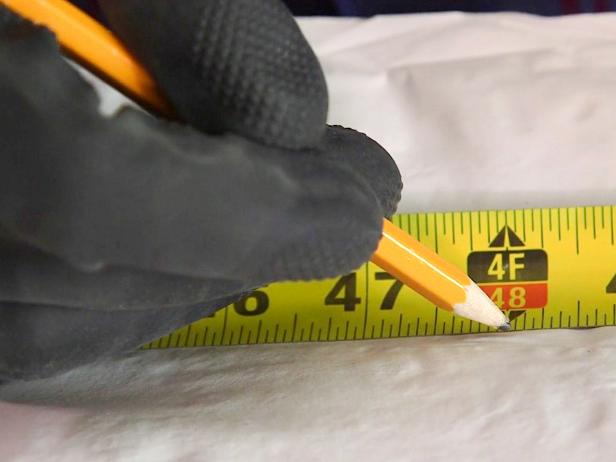
Attach Retainer Clips
Measure the height and width of each panel. If each panel is more than two feet long, plan on using two clips per panel. If using one clip, mark the center of each panel with a pencil or marker. If using two or more clips, evenly space the clip placement across the panels. Apply double-stick adhesive at each mark and then attach the base side of the retainer clip.


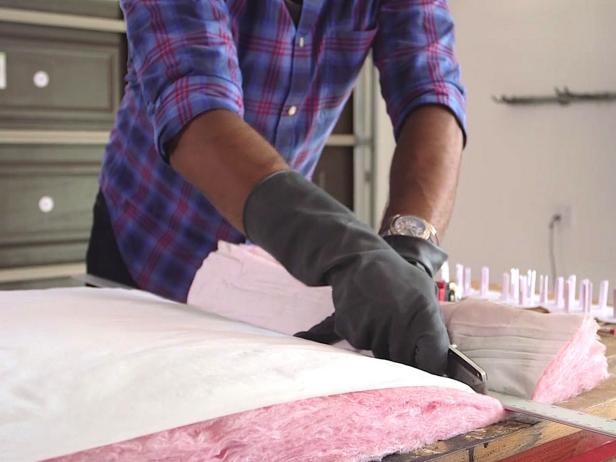
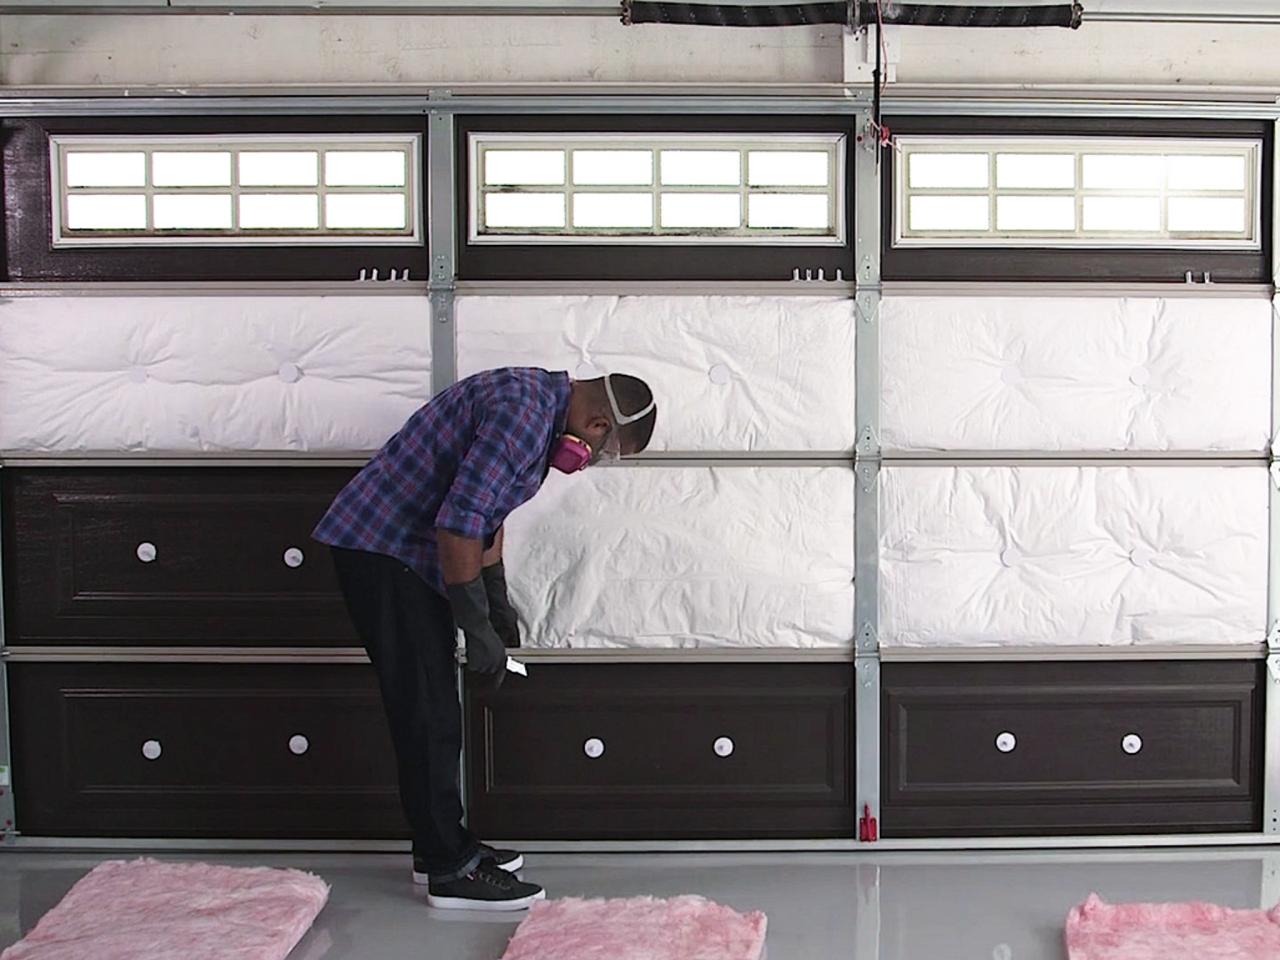
Cut Insulation
Use a utility knife to cut each insulation panel one inch bigger all around than the size of the panel to ensure a snug fit. Wear gloves and a respirator to prevent breathing in insulation particles and getting them on your skin.
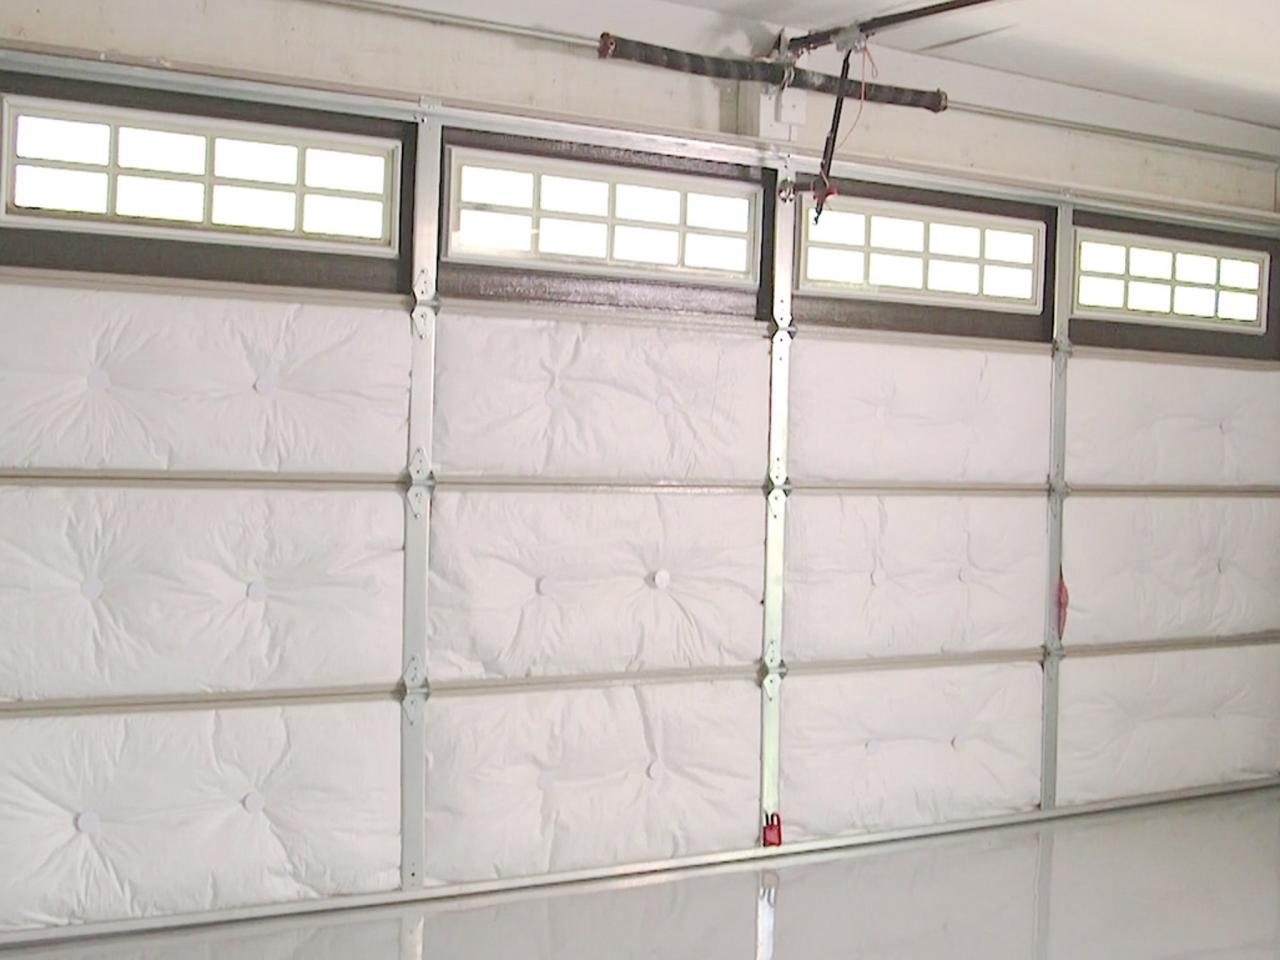
Tuck Insulation in Panel
Starting at one end, tuck the insulation underneath the door's frame.

Secure Insulation
When the insulation is in place, find the previously-attached retainer clip on the door, use a utility knife to poke a small hole so the clip can protrude through the insulation. Press the other half of the clip in place until you hear it click. Continue the process for the rest of the panels.


Insulating a garage can increase thermal performance and help noise reduction. Installs in less than one hour. The only tools needed for installation are tape measure, utility knife, straight-edge and marker.


