


How to Build a Wine Cellar

Materials and Tools:
wine racks*
full glass door
1/4" a/c plywood (15 sheets)
1x3 furring strips (35)
1/4" x 1-1/2" flat trim-molding, 8-foot lengths (35)
2x4x8 lumber (12)
track lights (1 set)
1 gallon floor paint
wall paint (2 gallons)
primer/sealer (2 gallons)
switch box
switch with dimmer
framing nail gun
pneumatic finish nailer
powder-actuated nailer (with charges and nails)
air compressor with hoses
power miter saw (chop saw)
hammer
chalk line
measuring tape
level
pencil
safety glasses
*wine racks available from www.wineracks.com
Steps:
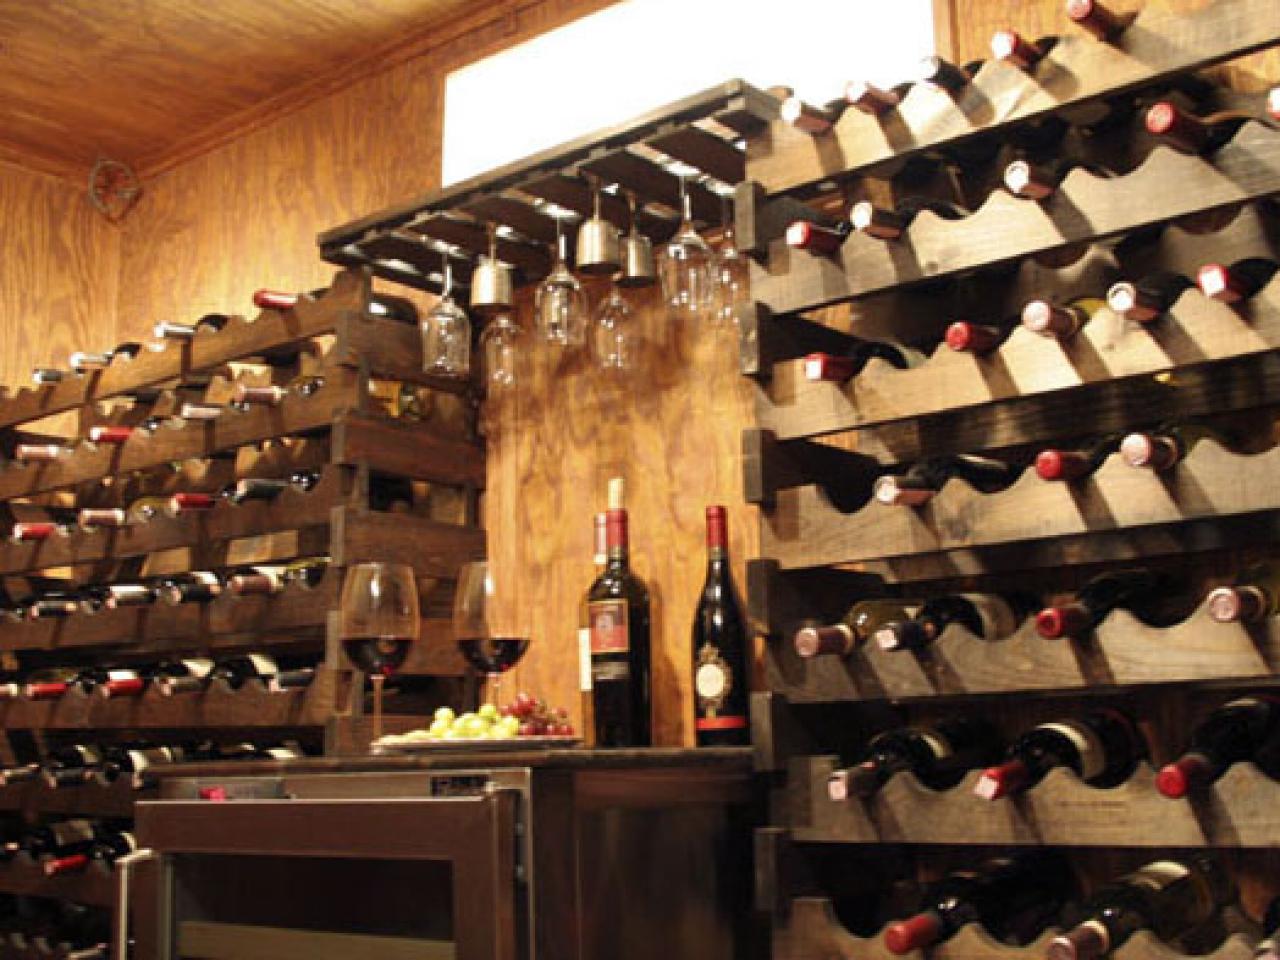
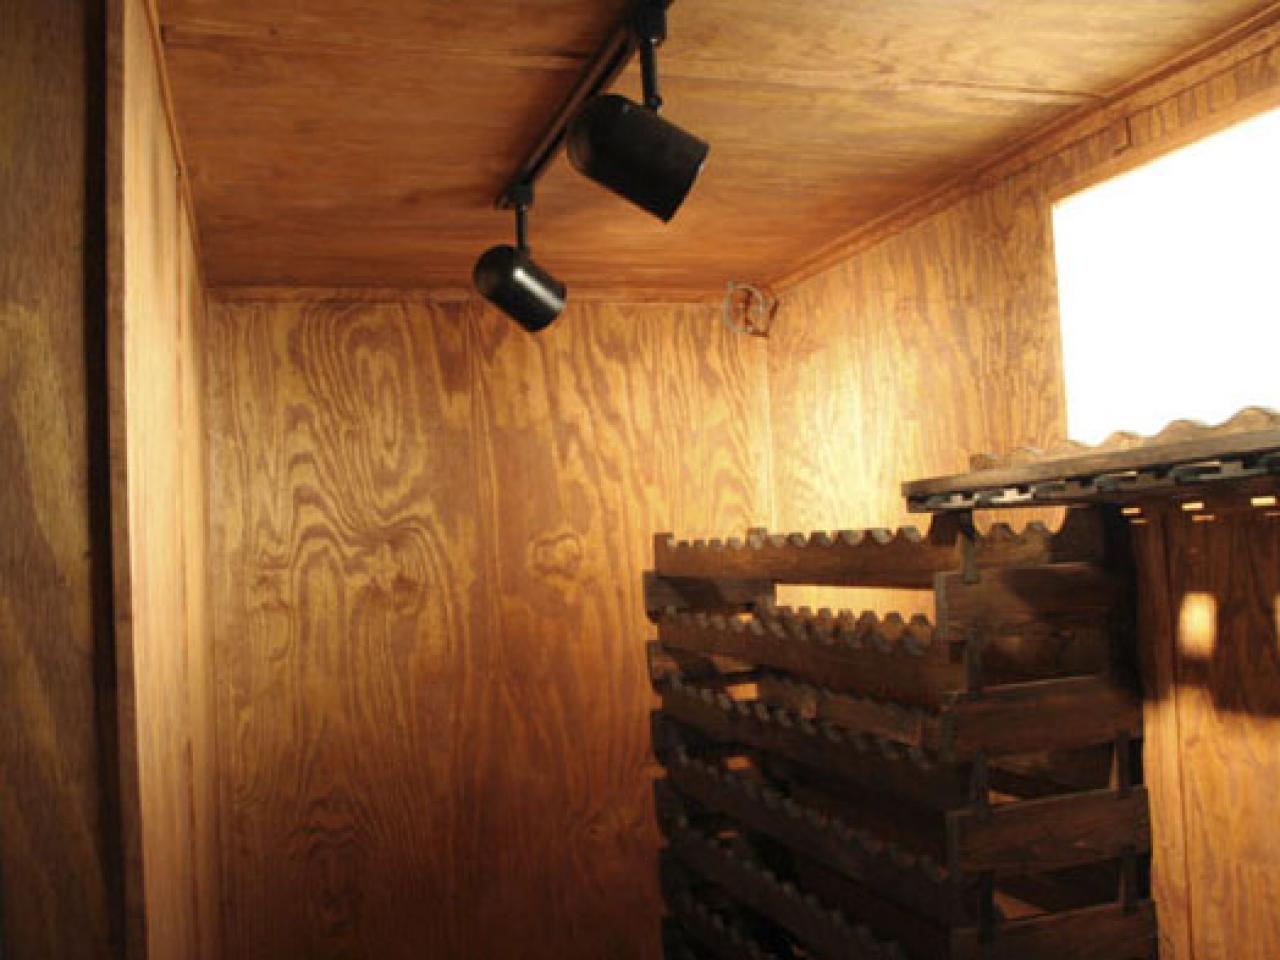
For the basement project, the objective was to create a wine cellar that looks as if it was custom built, not simply a basement that's had a few accessories installed. To achieve this, a new wall was built and new door installed. For the new walls and ceiling, pressure treated plywood was used for paneling to resist moisture damage, and the wood was given a dark, rich stain. Here are the basic steps:
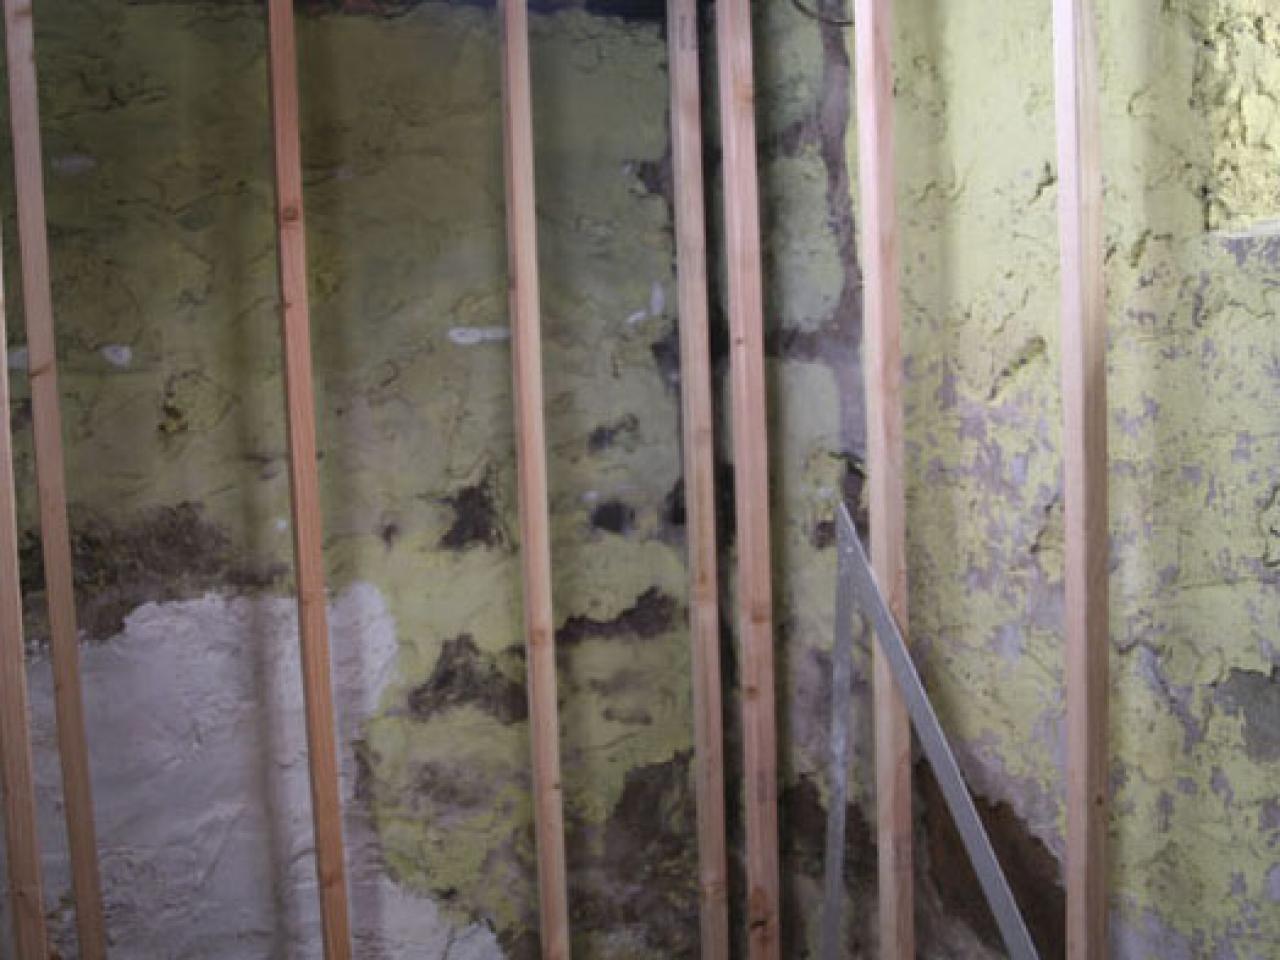
1. Demolish and remove the old wall, shelving and shelf-supports.

2. Frame in the new wall, allowing room for the door to be installed. Start by laying a pressure treated sill plate and laying out the studs for the walls.

3. Determine the door placement then, starting at one end, lay out studs on 16-inch centers, leaving out studs within the area framing the door. Secure the framing with nails.
Important: Use pressure-treated lumber for anything that sits directly on the floor. Pressure-treated lumber is resistant to deterioration from moisture and insect damage.
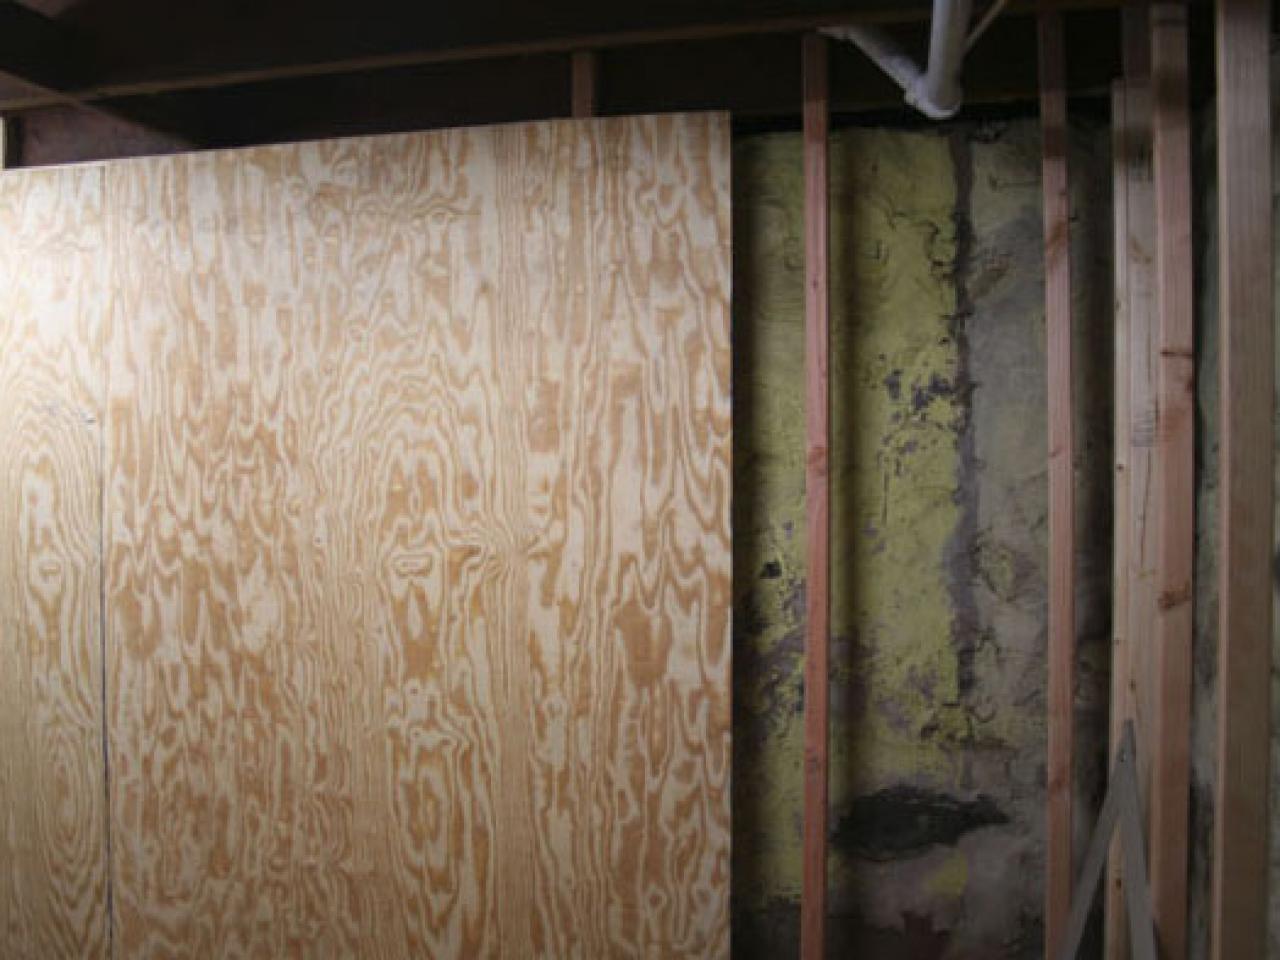
4. Using the 1x3 furring strips, nail them to the interior walls of the wine room using either the framing gun (for wood) or the powder actuated nailer (if nailing into concrete).

5. Using the 1/4" A/C plywood, sheet all the walls and the ceiling. Nail the plywood to the studs and furring strips using the finish nailer.
Note: We opted to use plywood for the walls and ceiling for a couple of reasons. First, A/C plywood is exterior grade plywood, so it will stand up to the moisture. It's also much faster to finish than drywall.
6. Using the 1/4" x 1-1/2" trim, cover all the seams and corners. Cut the trim with a power miter box, and nail it in place using a nail finisher.
7. Prime and paint the walls, ceiling and floor. In this project, we opted to stain the wood with a dark cherry stain rather than paint.

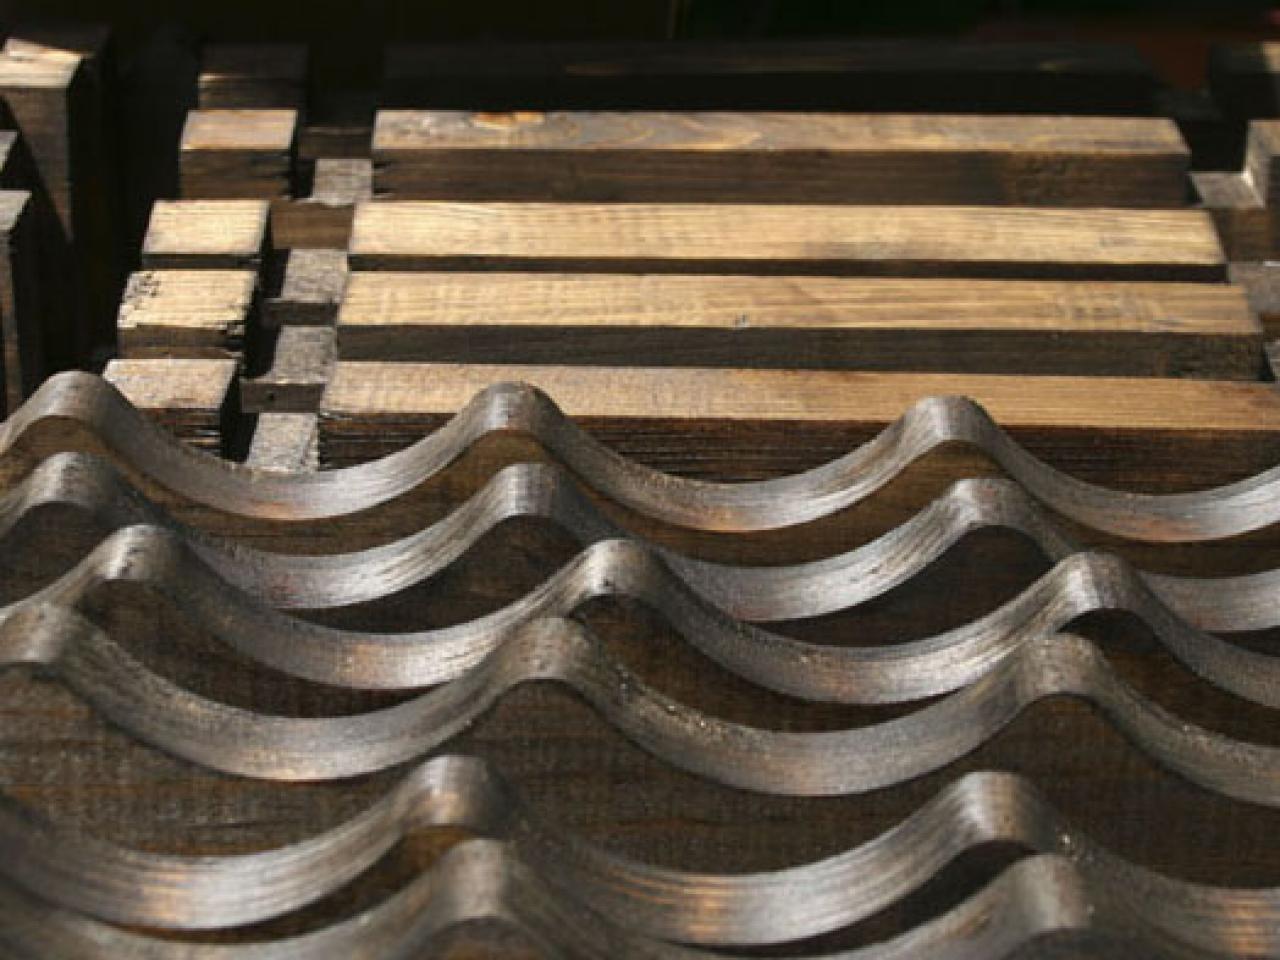
8. Assemble the wine racks according to the manufacturer directions. Again, we opted to use stain for our wine racks.
9. Slide the door into the framed opening, and shim it until it is plumb and level. Secure the door in position with screws.

10. For this project, we opted to install track lighting, suspending it from the newly installed ceiling.


