


Bathroom Update: Add a Frame to a Mirror and Paint a Vanity
This weekend, give your bathroom a new look by adding a wood frame around a plain mirror and giving your vanity a fresh dose of color.

Gary Payne
Tools and Materials
- (2) 1x4 x 8' (depending on the size of your mirror)
- miter saw
- primer
- semi-gloss paint
- paintbrush
- paint roller
- roller cover
- sanding block
- construction adhesive
- caulk gun
- stain
- screws
- drill
- (4) flat L brackets
- painter's tape
- drop cloth
- paint tray liner
- speed square
- level
- cotton cloth
Step 1: Prep Vanity for Paint
Get the vanity ready for a fresh coat of paint: Clean and then do a light sanding to knock off some of the existing finish. Be sure to wipe off all dust from sanding with a cloth. It is usually easier to remove the doors and drawers for this process.
Step 2: Prime
Gary Payne
Go around the edge of the vanity with painter’s tape to protect the wall from paint. Add a line along the edge of the floor as well and lay a drop cloth on the floor. Prime the vanity, door(s) and drawer(s), and let dry completely.
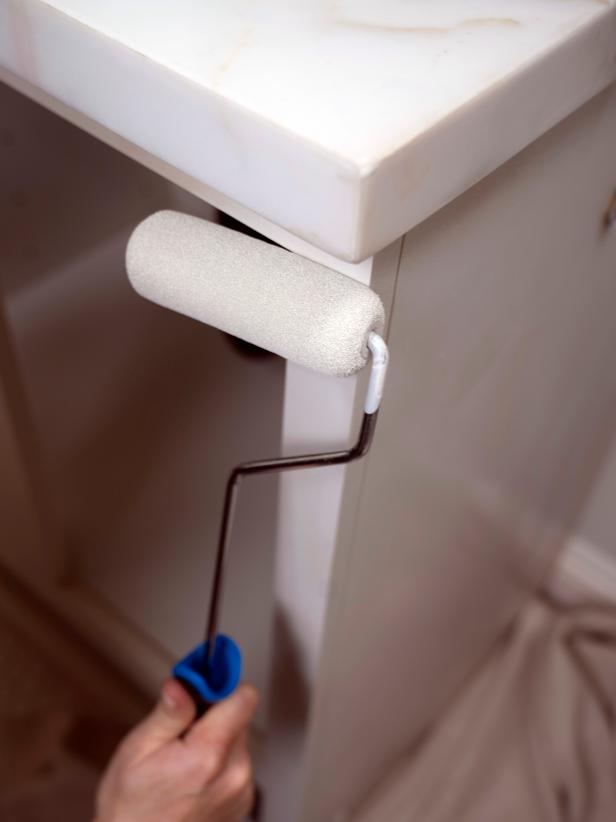
Step 3: Paint

Gary Payne
Paint the vanity, door(s) and drawer(s). Use a good-quality small-nap roller to avoid streaks. Let the paint completely dry between coats. Multiple thin coats are better than one thick coat. When you’re satisfied with the look and the paint has dried, reattach the doors and hardware.
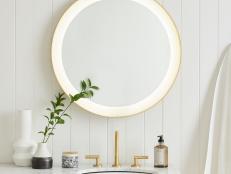
Step 4: Cut + Stain Mirror Frame
If you have a boring builder-grade sheet mirror, give it new life with a frame. Miter cut a 1x4 board for the frame. Cut the boards so that they’ll have a 1/2” overhang on the mirror’s perimeter. Stain the cut boards. After the stain has dried add a coat of clear satin polyurethane to protect the wood from moisture.
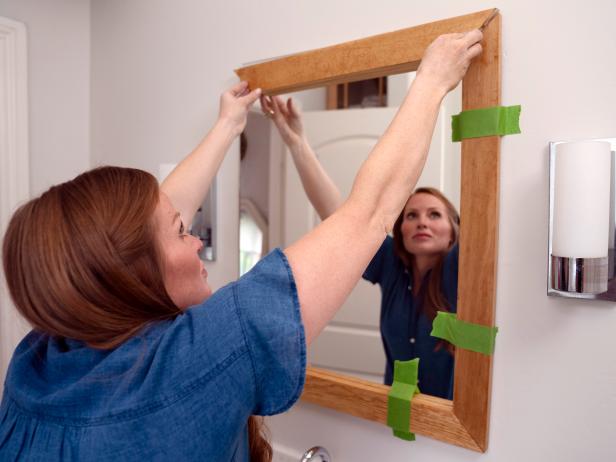
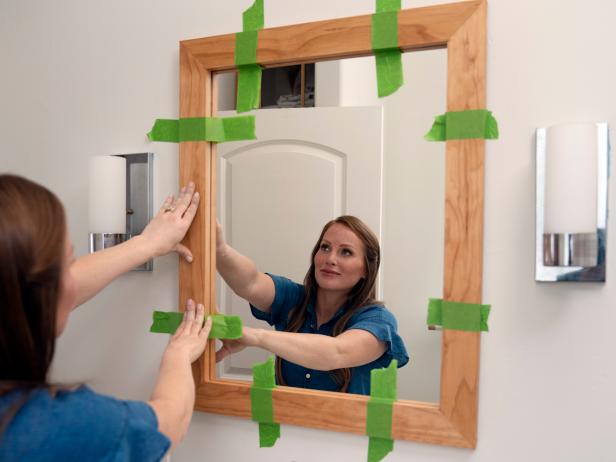
Step 5: Attach Frame

Gary Payne
Gary Payne
Gary Payne
Apply construction adhesive to the bottom piece of the frame and place it on the mirror. Press it down for a few seconds then use painter’s tape to hold it in place. Next, apply adhesive to one of the side pieces and put it in place. Use a level and speed square to ensure your boards are straight and locking together tightly at the corners. Put painter’s tape on all the pieces to hold them in place while the construction adhesive sets.
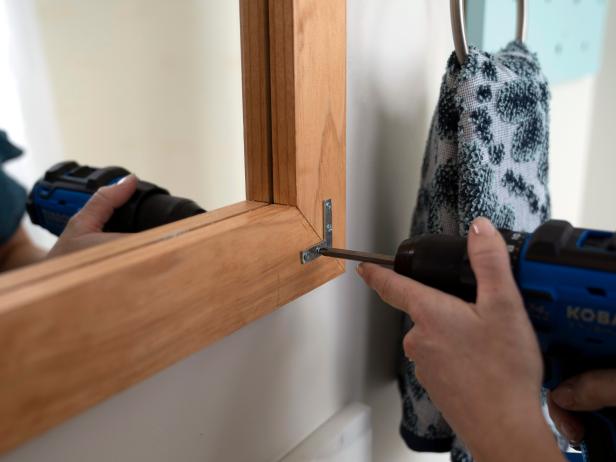
Step 6: Add Brackets
Gary Payne
Gary Payne
Peel off the painter’s tape and then add decorative L brackets in each corner of the frame. These brackets can match the hardware in the room or be painted.

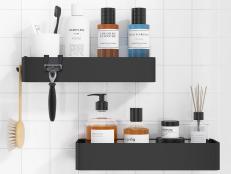
How to Make a Decorative Pegboard Shelf
Need wall storage but can’t find just the right shelving unit? Try this modern take on an old-school storage idea. It’s easy to build and you can customize the colors however you’d like.


