


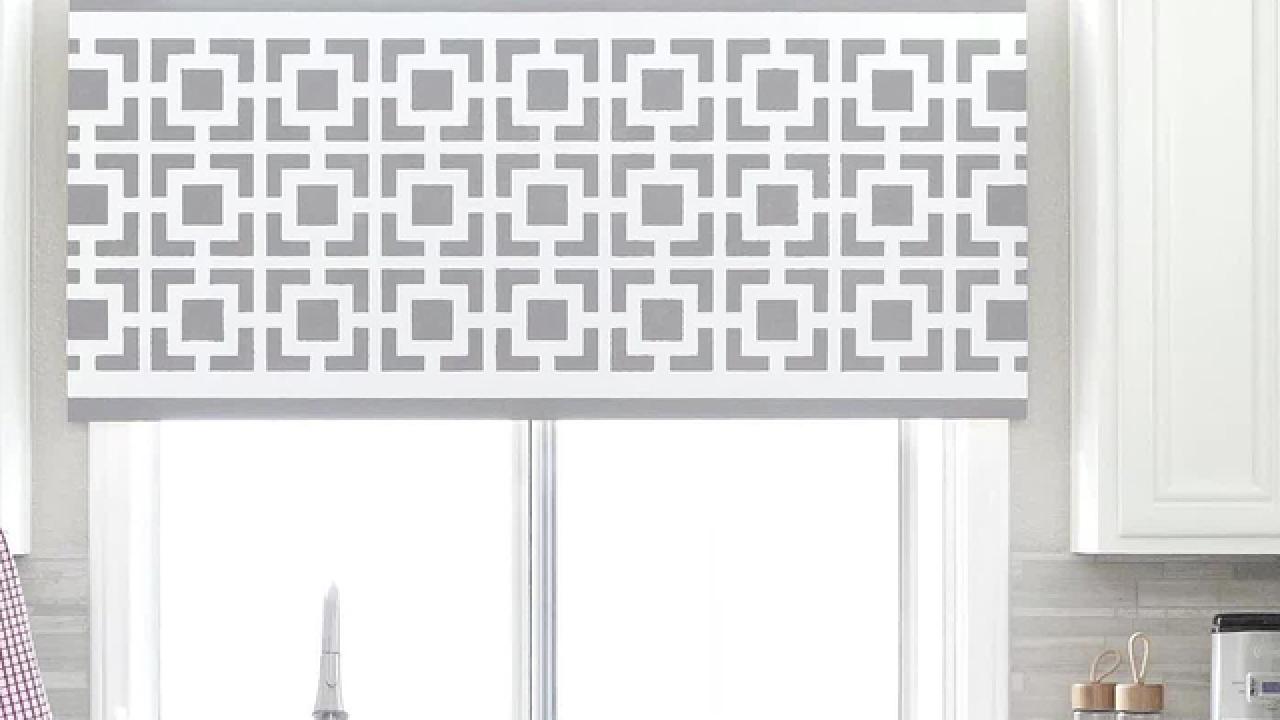
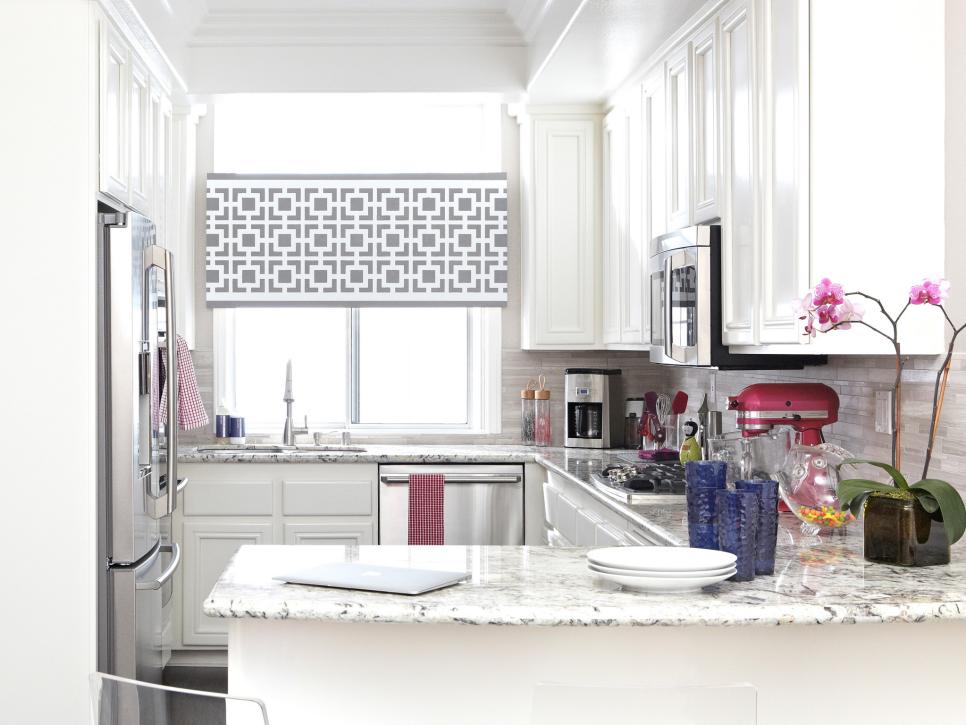
Provide Privacy and Style with a Stenciled Window Treatment


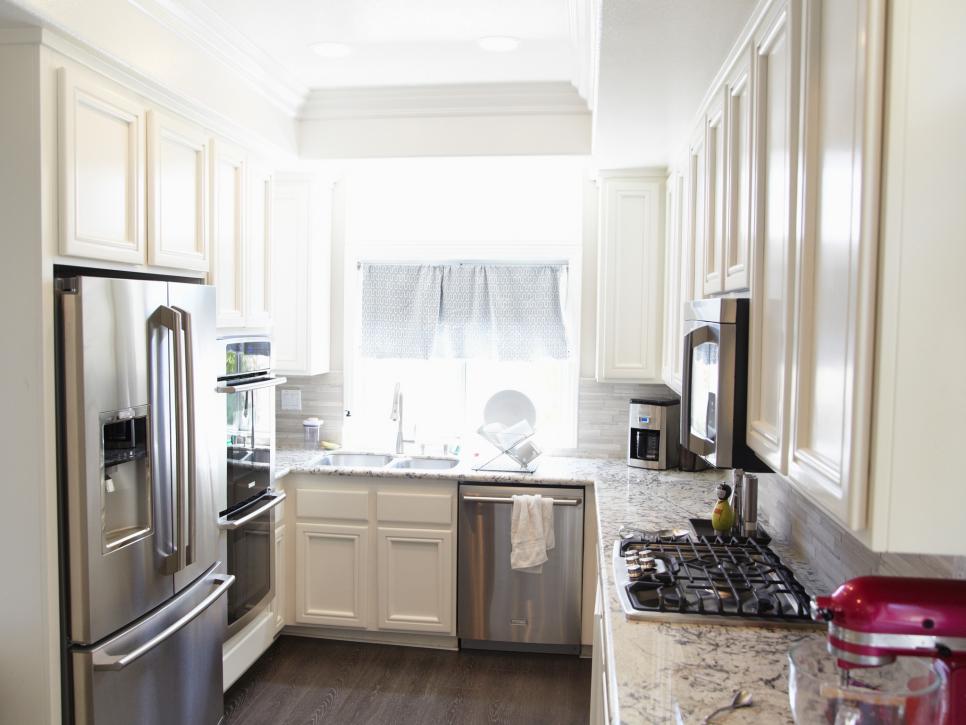
One of the most shocking aspects about buying a home can be exploring the crazy cost of custom window treatments. I stepped in to help my newlyweds, Chelsea and Scott, with their first home's kitchen window. They wanted to keep the light, but lose the nosy neighbor next door. Our solution: a modern, custom window cornice. On a budget of $200, we designed and built a simple frame in half a day.

Get Started: Build, Stencil and Mount
Measure the window opening you want to cover. Your façade will be slightly wider than the window. Add at least 2" in width to make it larger than your window frame.

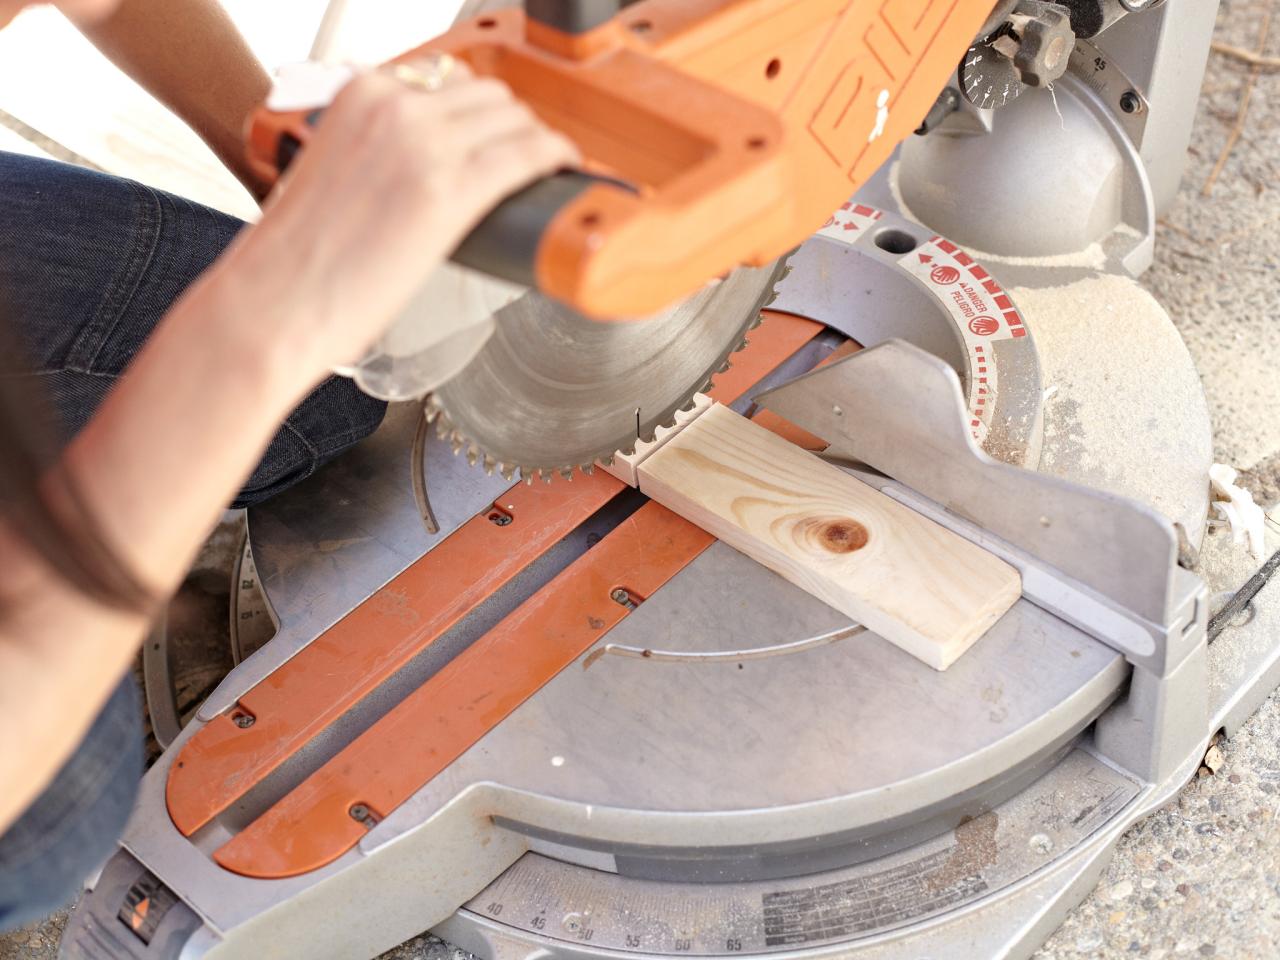
Measurements will vary depending on your window width. The window we're working with was 52" wide, so we cut each of our long horizontal pieces 54" to span the window molding. Because we wanted to leave plenty of light in the space, we measured and cut two vertical frame pieces each at 24". We chose not to cover the entire window to allow for more light in the kitchen. The area we covered blocks the neighbor's sight line.

Place the 54" pieces outside the 24" pieces, forming a rectangle. Before screwing the two boards together, apply wood glue to the joint. This helps all wood working projects stay together longer.

With a power drill, screw the frame pieces together into a rectangle using 1 ¼” wood screws. Two screws for each of the four corners, held our project together nicely.
Pro Tip: Did you know that a 1 x 3" board isn't actually 1" x 3" in dimension? When boards are first rough sawn, they're 1 x 3" but by the time we get them, they're 3/4" x 2-1/2".

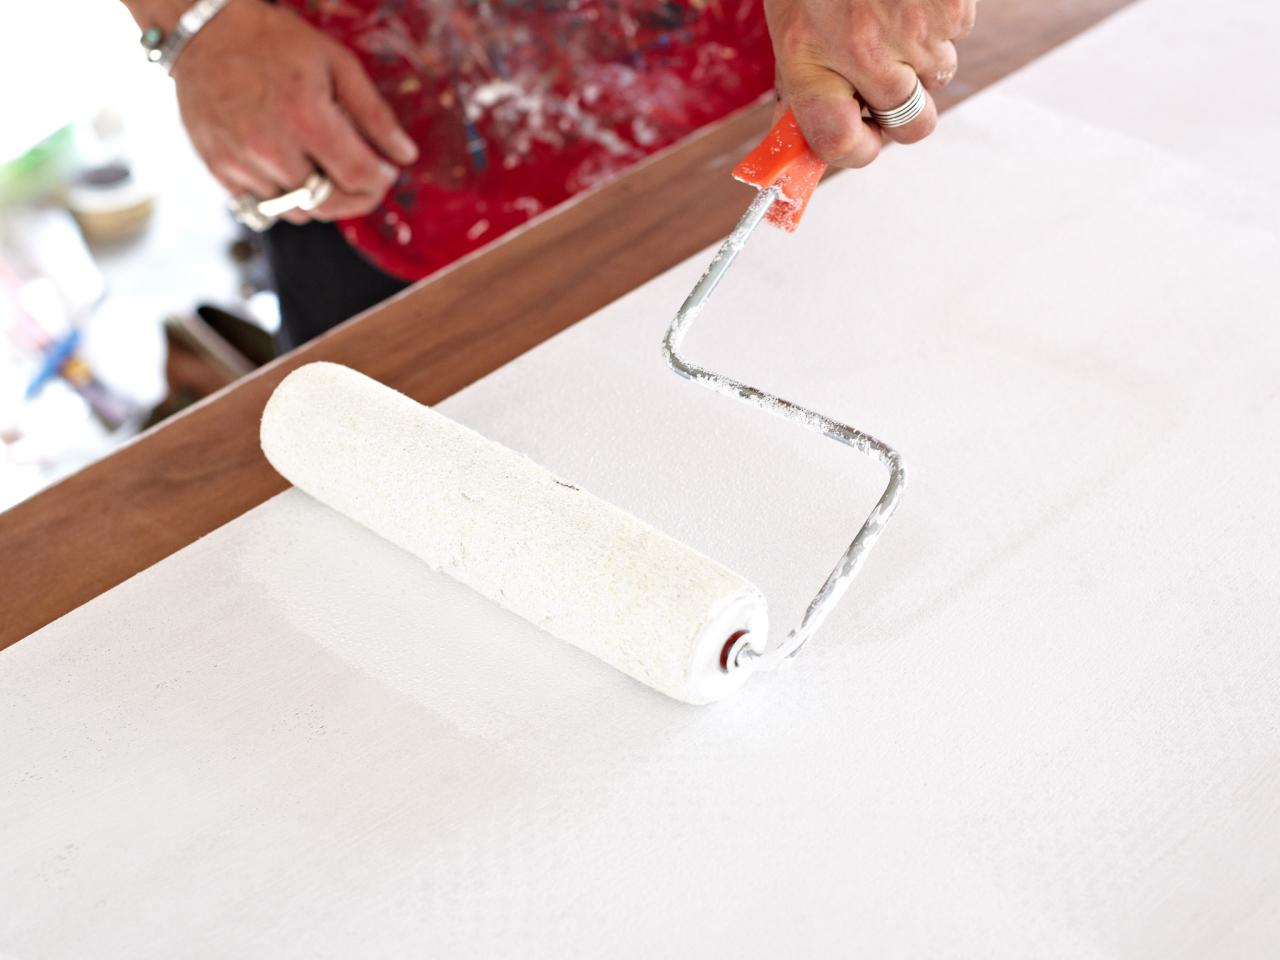
Apply a thin coat of primer to the rectangular frame, and the front and edges of the plywood piece you'll be attaching. This is so the primer and wood glue can dry before moving on.

An insider secret I use on smaller projects is to have wood cuts made at a big box home improvement store. We had our plywood cut to size at 54" by 25.5".
After applying wood glue to the face of the frame, carefully place the plywood on top of your rectangle. Drill pilot holes, if desired. Then fasten the plywood to the frame with screws and apply spackle to fill in the holes.

Get Your Stencil On
Before you stencil, decide where you'll want your stencil to start and stop. Symmetry is very pleasing to the eye.
If your background color isn't completely dry, take a blow dryer to it. Hold it at least 8" off the surface on medium heat and move around a lot so you don't get the paint too hot as it dries. Don't stencil until your background color is all the way dry. We cheated a bit and used primer as our background color, which has a wonderful contrast with the full gloss charcoal gray stencil color.

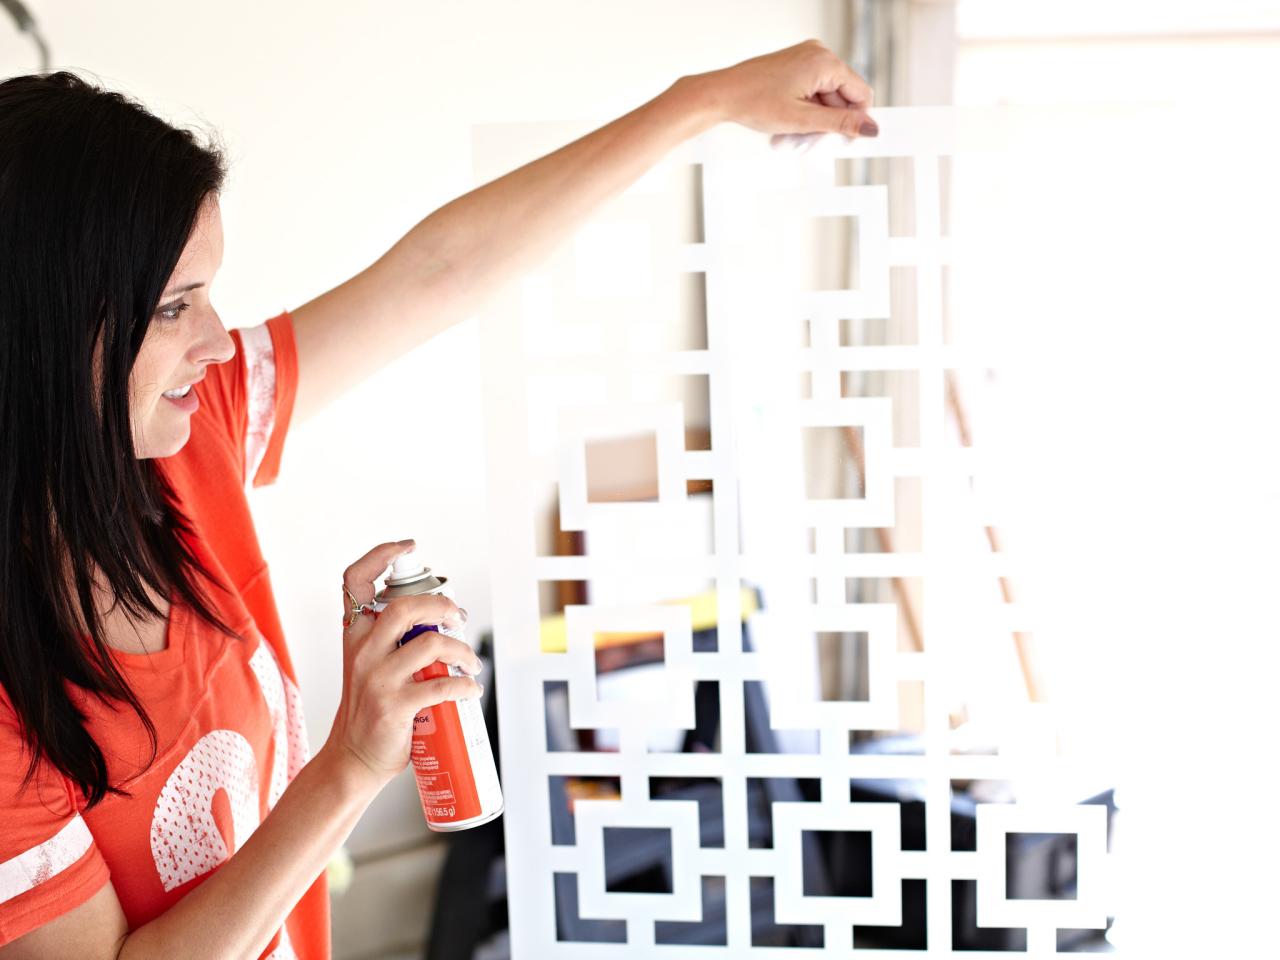
Apply repositionable spray mount to the back of your stencil and place it on your dried painted surface. The spray mount will help your stencil stay in place while you paint. Push down firmly on it with your hand or a dust free cloth to make sure paint won't creep behind your stencil. Don't skip this step.
A roller works great for this, but after you dip it into your paint roll off all the excess paint onto a clean paper towel. The first coat of a stencil should be very light and your brush almost dry of paint. You can always follow up with another light coat as many times as desired, but too much paint is surely the villain of any good stencil project.

Some stencils, like this one, are meant to repeat, so carefully move the stencil over and roll on more paint to complete the pattern. Look for a stencil that has marks to guide you to for easy repositioning.

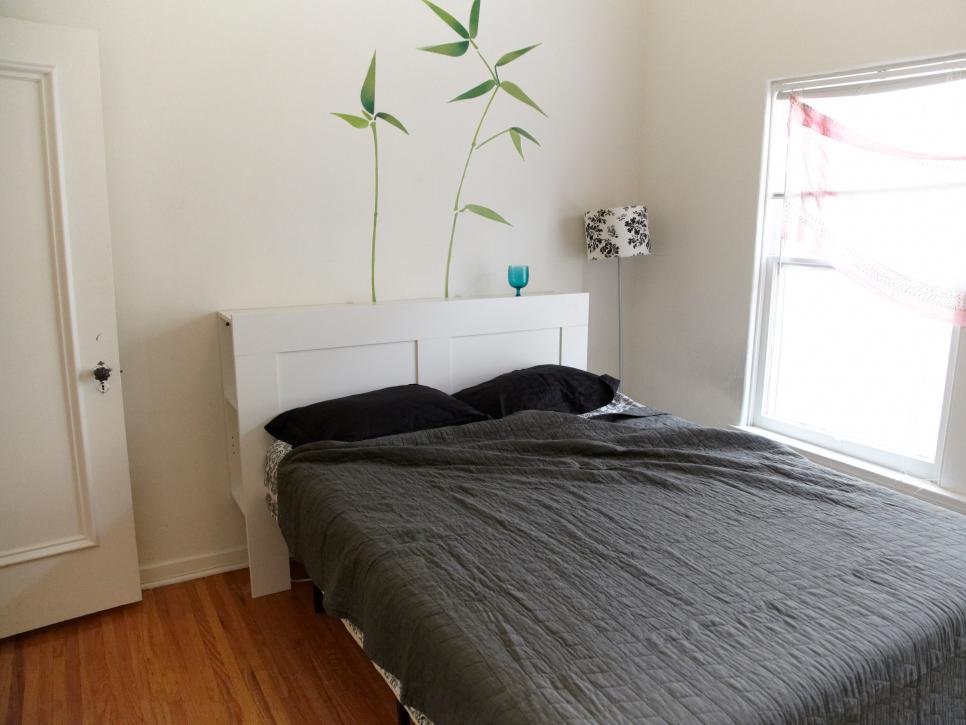
Mounting the Window Treatment
This frame is pretty light, so we were able to mount it to our window frame with two three-hole L-brackets with ease.


