


10 Festive and Easy Ways to Fold Napkins for the Holidays
Impress your family and friends with minimal effort with these easy Christmas napkin folding ideas.

Sarah Busby

Hosting for the holidays? Simply whipping up a menu of food can be exhausting enough — not to mention getting guest rooms ready, decorating and setting the table. But fear not! We're sharing six adorable and oh-so-easy ways to fold napkins for your next holiday tablescape. Your guests will only think you spent tons of time on these.
Christmas Bow Napkin Fold

Clara MacLellan
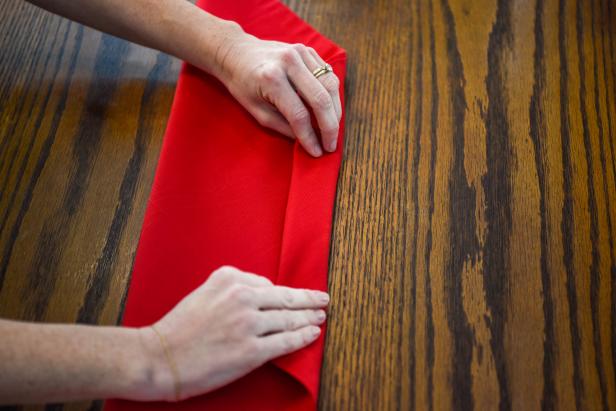
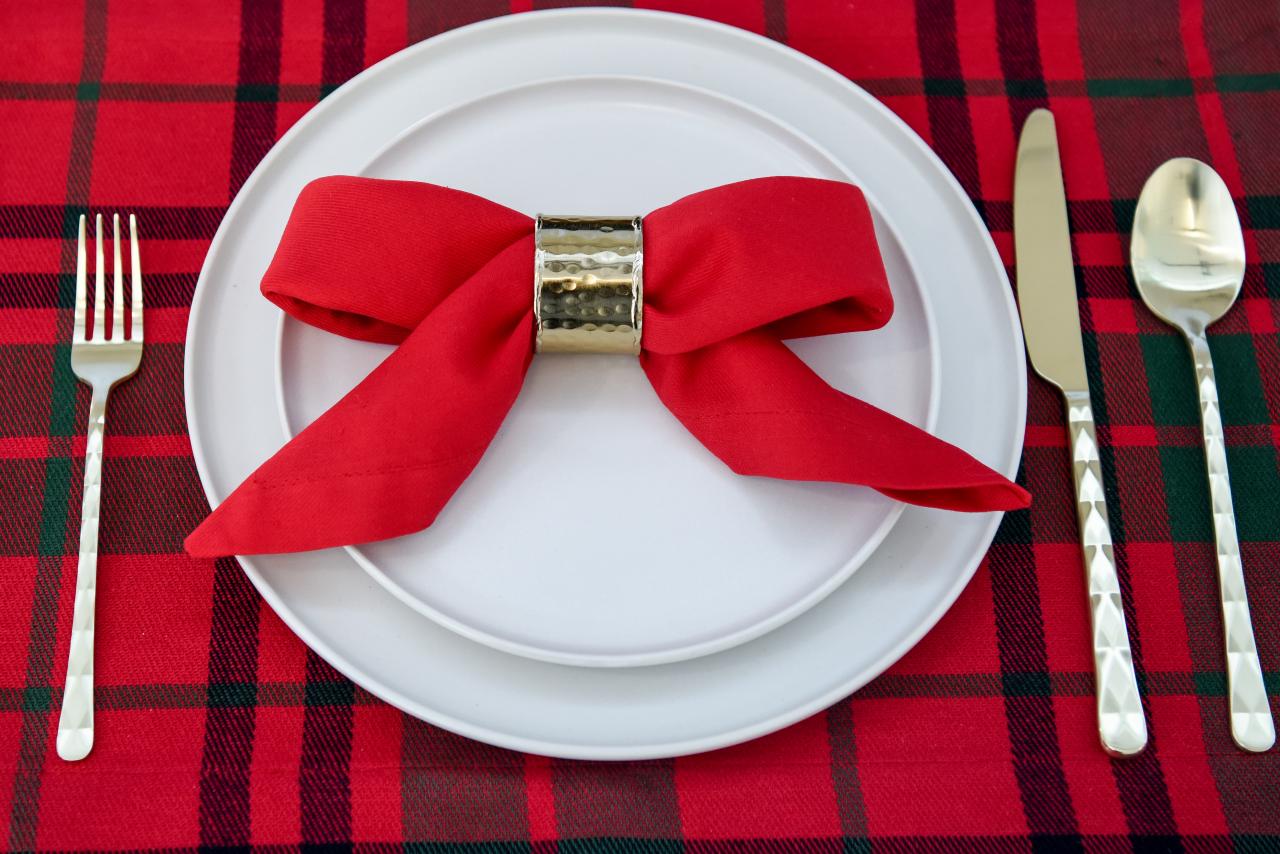
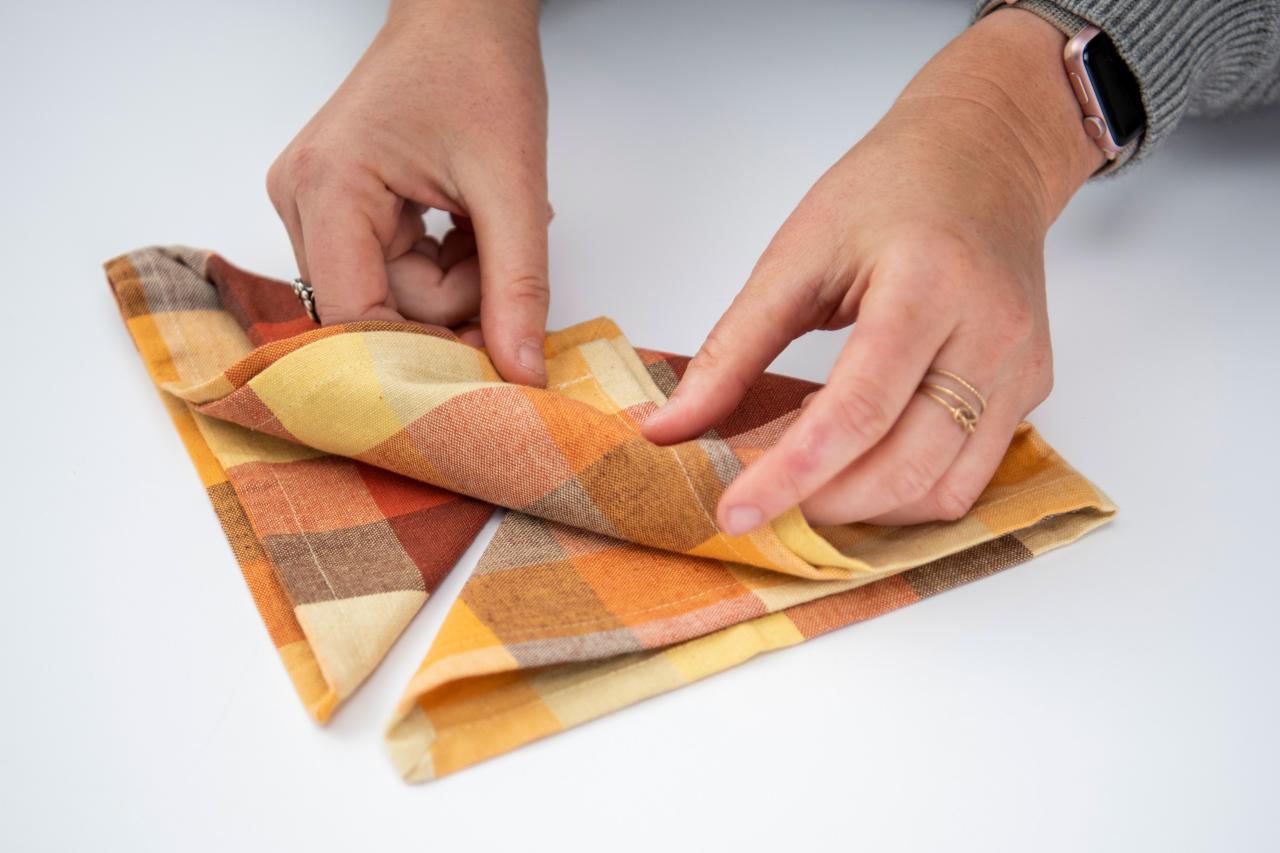
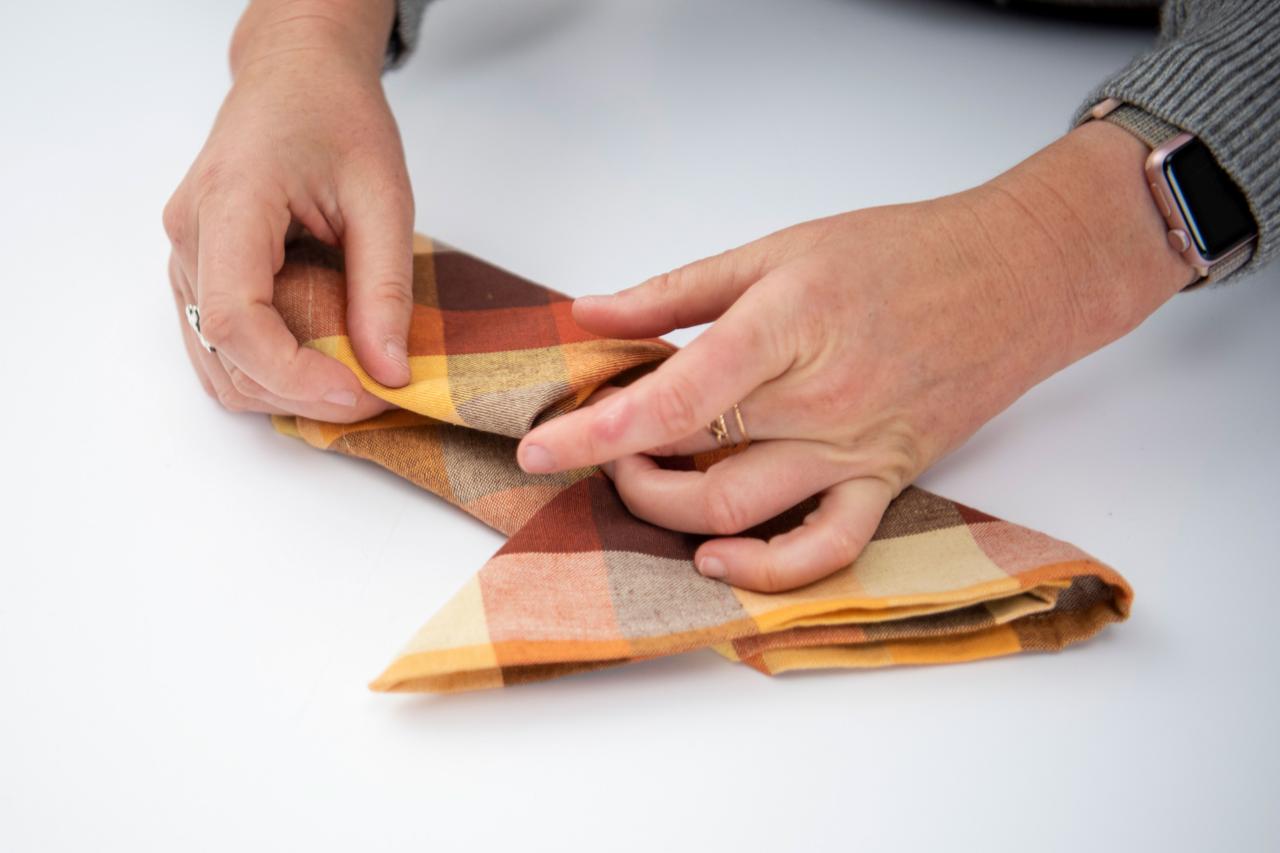
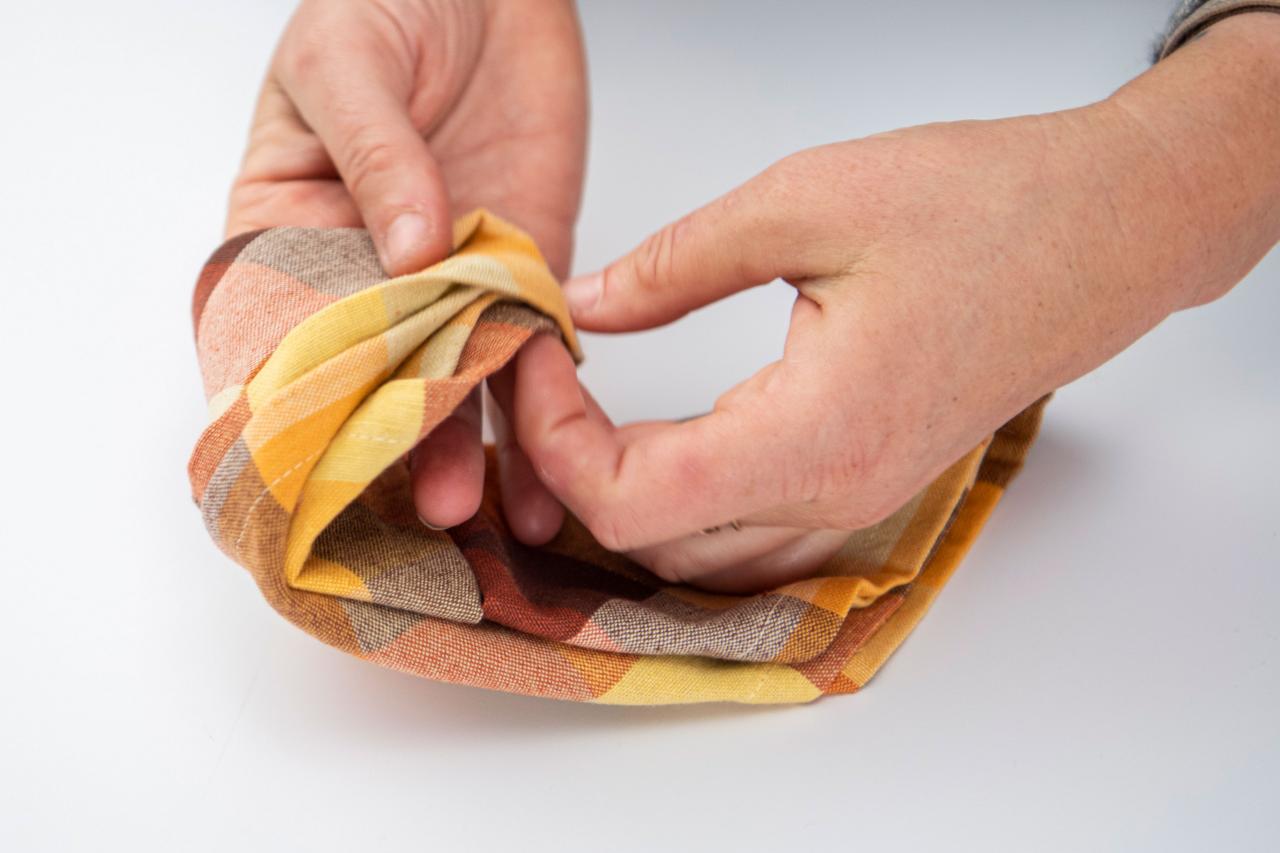
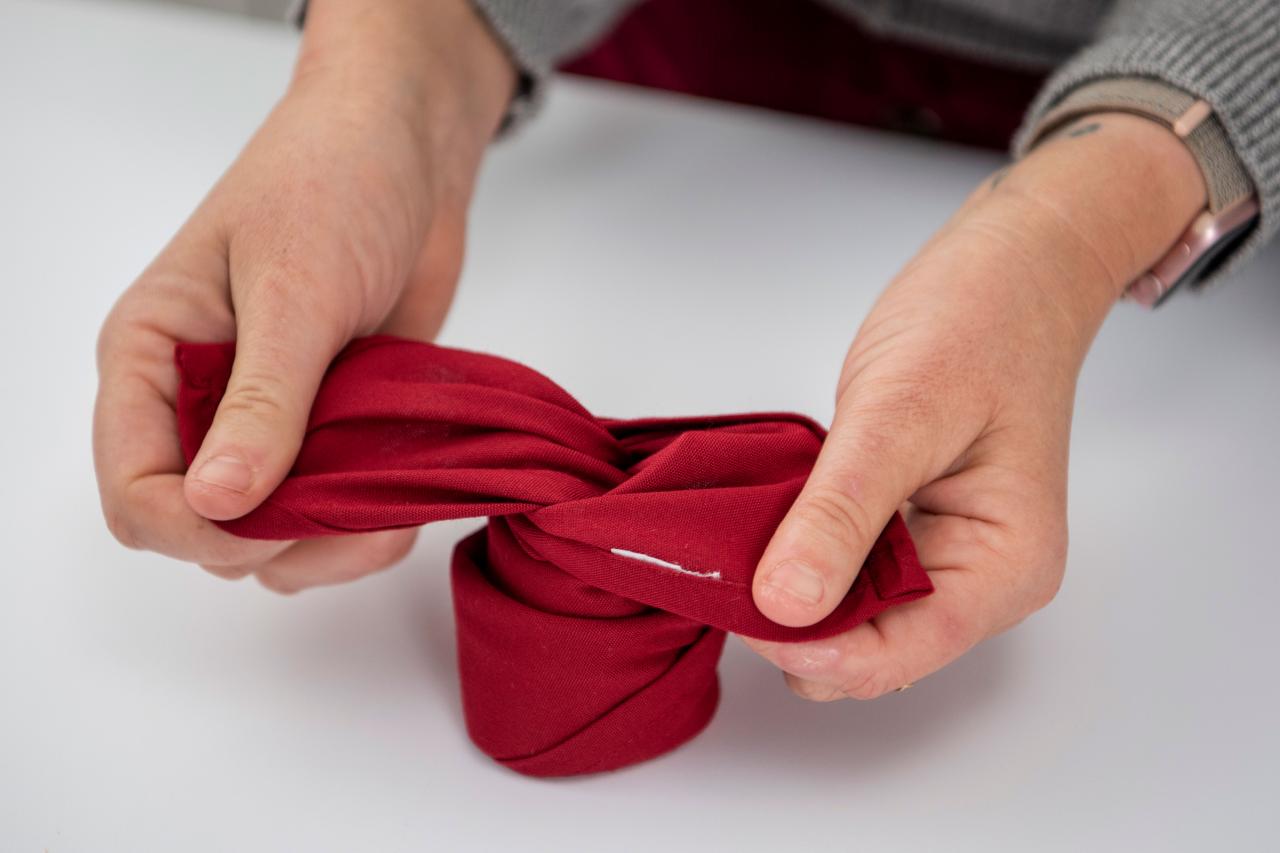
Your cooking is a gift, so why not top it with a red bow? Start by folding a square napkin in half to form a triangle (Image 1). Grab the center peak of the triangle and fold downward several times until you're left with one long strip with pointed ends (Images 2 & 3). Fold each end inward at an angle to create a bow shape (Image 4). Hold the shape by sliding a napkin ring into the middle (Image 5).

Clara MacLellan
Clara MacLellan

Clara MacLellan

Clara MacLellan

Clara MacLellan
Give each tail a quick adjustment to maintain the classic bow shape, then adorn each place setting with your festive creation.

Clara MacLellan
Star Napkin Fold

Clara MacLellan
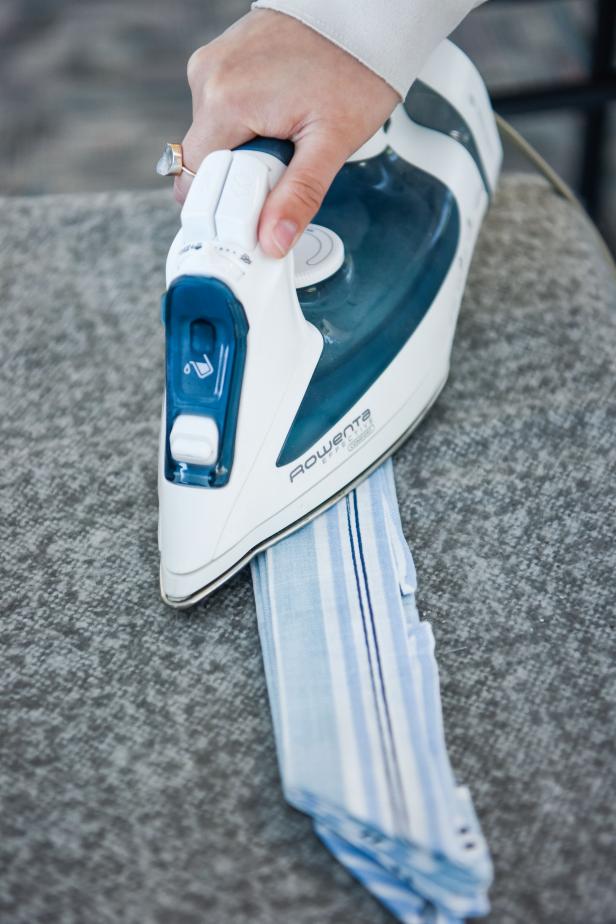
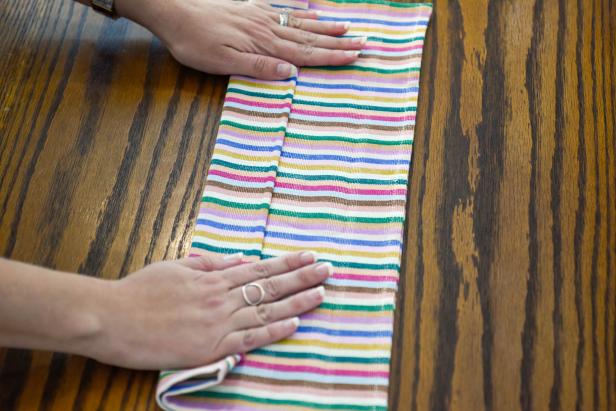
Fold the top and bottom of a square cloth napkin to the middle, creating a rectangle (Image 1). Turn the rectangle 90 degrees and accordion fold the napkin, pressing with an iron to better define the folds (Image 2). Tuck in the corners of each layer until you're left with an equilateral trapezoid shape, pressing once more with an iron (Image 3 through 5).

Clara MacLellan

Clara MacLellan

Clara MacLellan

Clara MacLellan
Clara MacLellan
Flip the trapezoid up and pull each layer out until the two sides meet and form a star shape, then press the sides together to hold the shape (Images 1 & 2).

Clara MacLellan

Clara MacLellan
Clara MacLellan
Christmas Gift Napkin Fold

Clara MacLellan
Everyone loves a beautifully wrapped gift. Start your napkin's transformation by folding it in half, then accordion fold from the bottom to the top (Images 1 & 2). Turn the napkin 90 degrees and accordion fold once more to form a cube (Images 3 & 4).
Clara MacLellan

Clara MacLellan

Clara MacLellan

Clara MacLellan
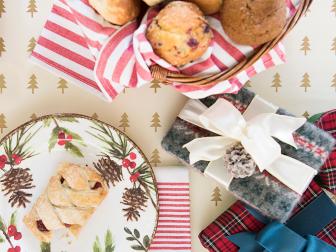
Hold the cube together by tying a festive ribbon around it just as you would a Christmas gift (Image 1). Don't forget a gift tag name card for each place setting (Image 2).

Clara MacLellan

Clara MacLellan
Clara MacLellan
DIY Place Cards + Gift Tags

28 Thoughtful + Creative Holiday Place Cards 28 Photos
Set the table in style with one of our easy, unique ways to show guests to their seats this season.

How to Make Personalized Clay Gift Tags
Personalize stamped clay gift tags and add essential oils to bring in the scents of the season.
Envelope Napkin Fold

Clara MacLellan
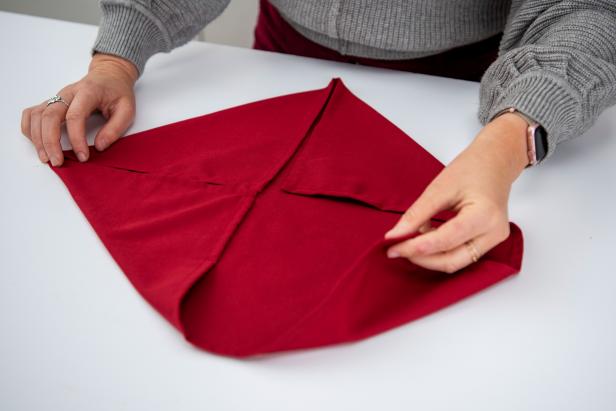
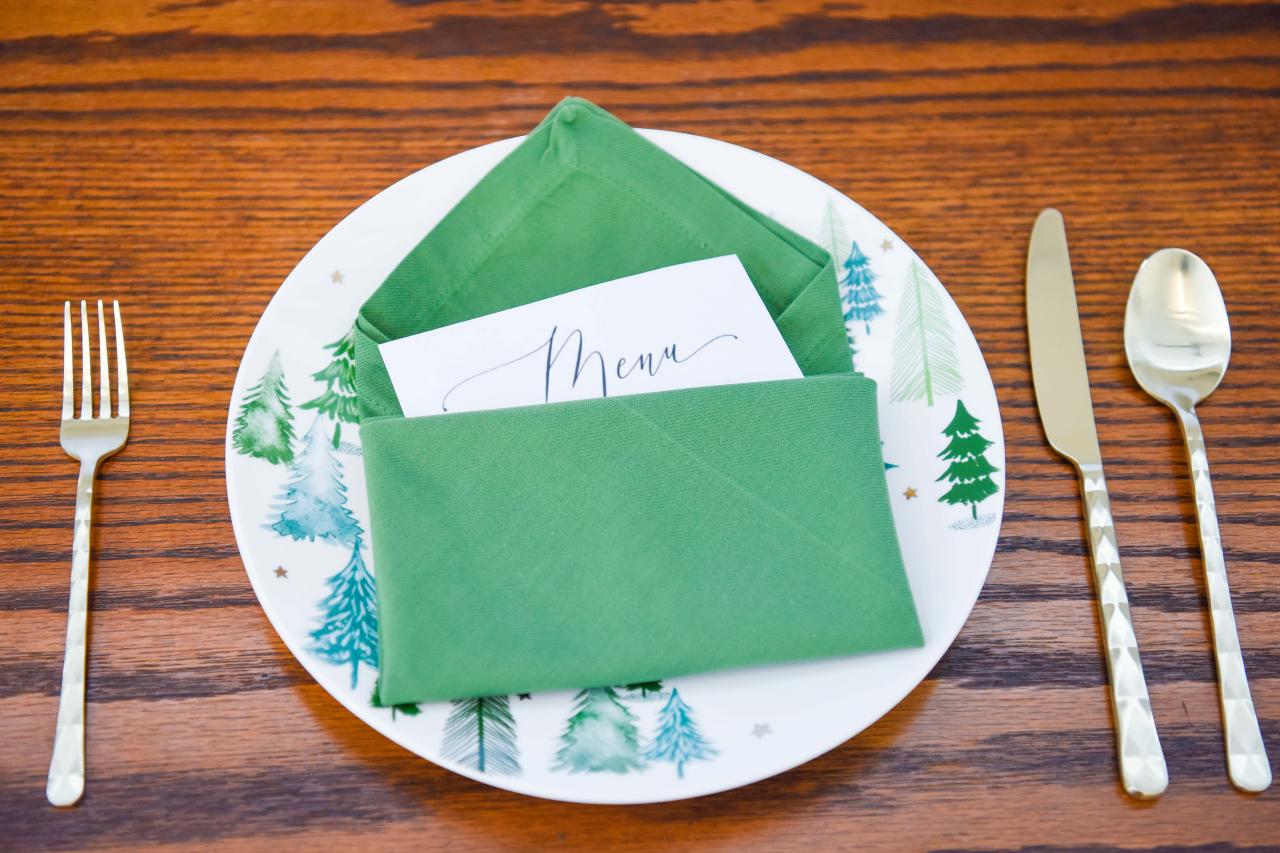
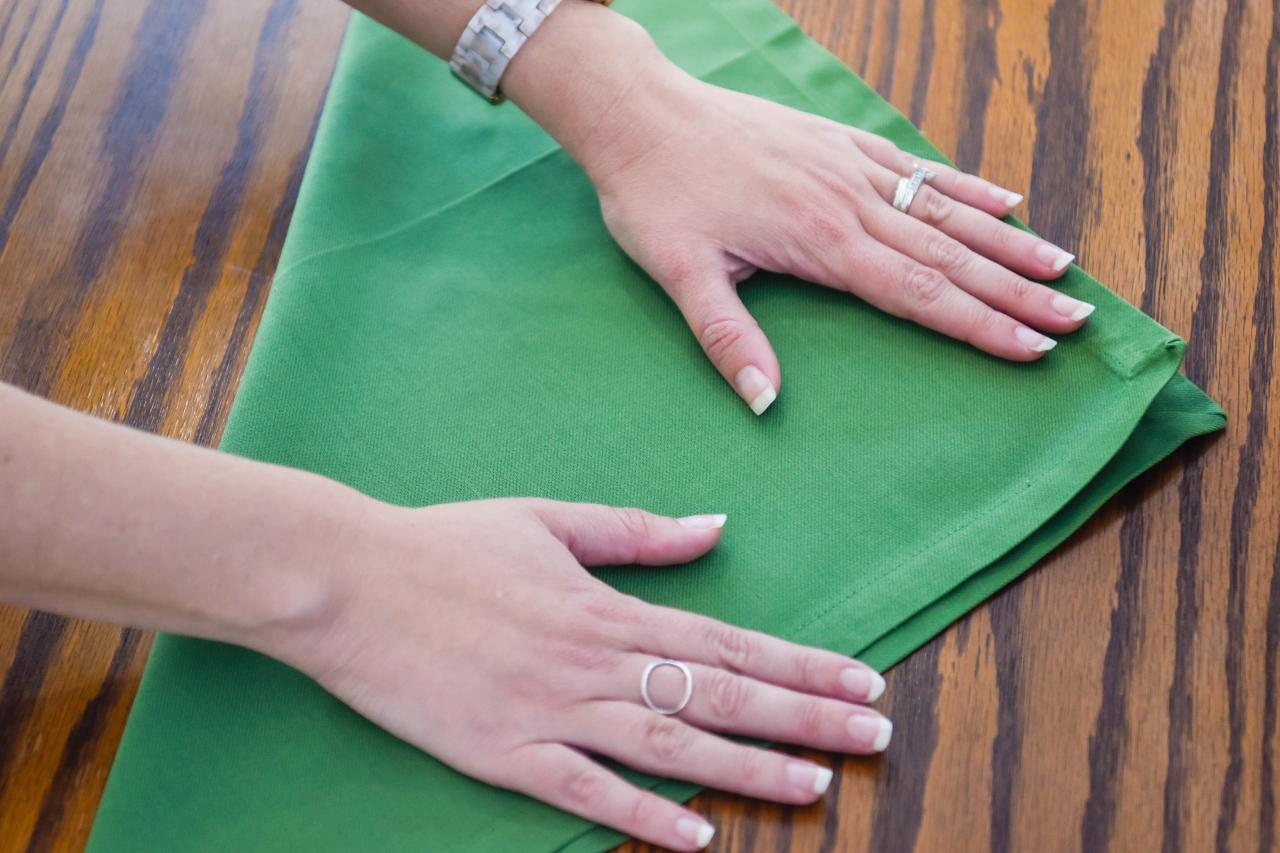
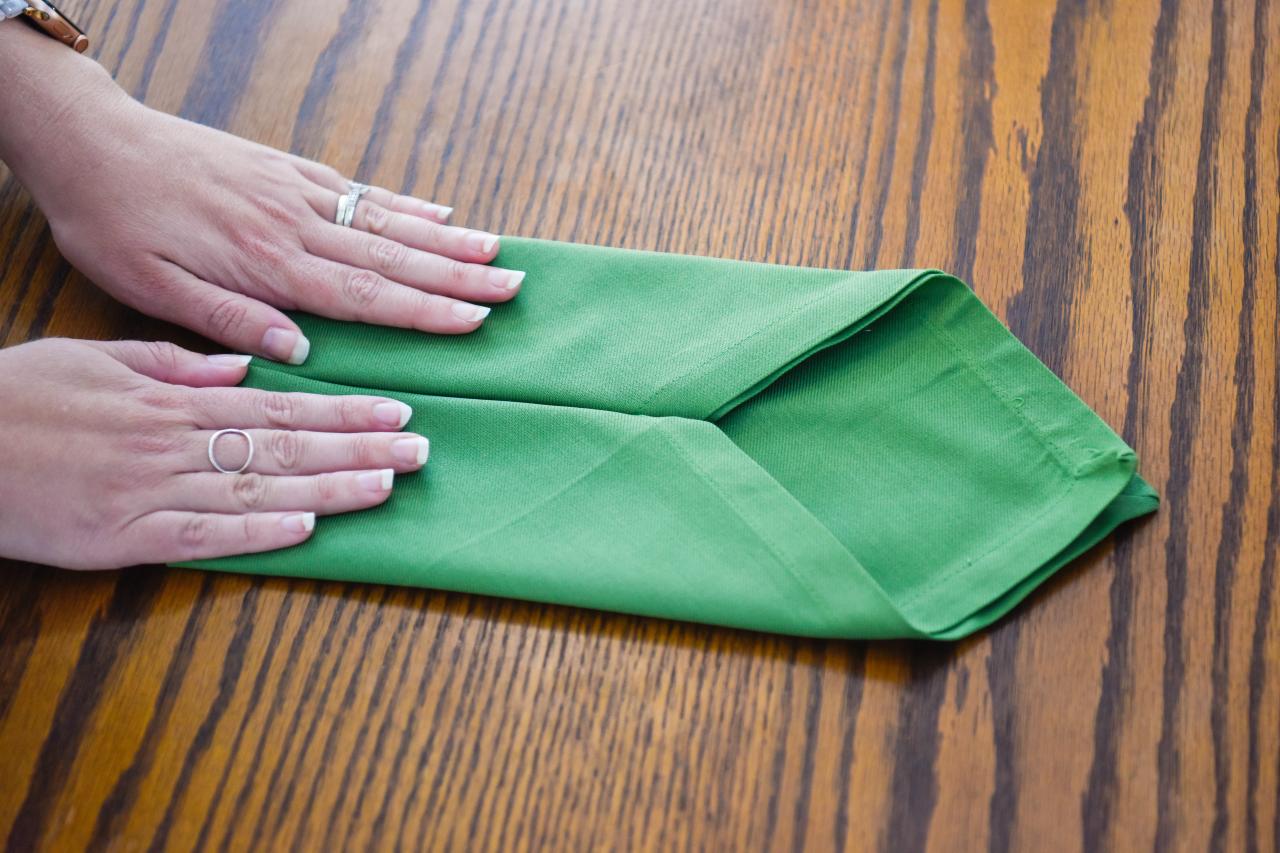
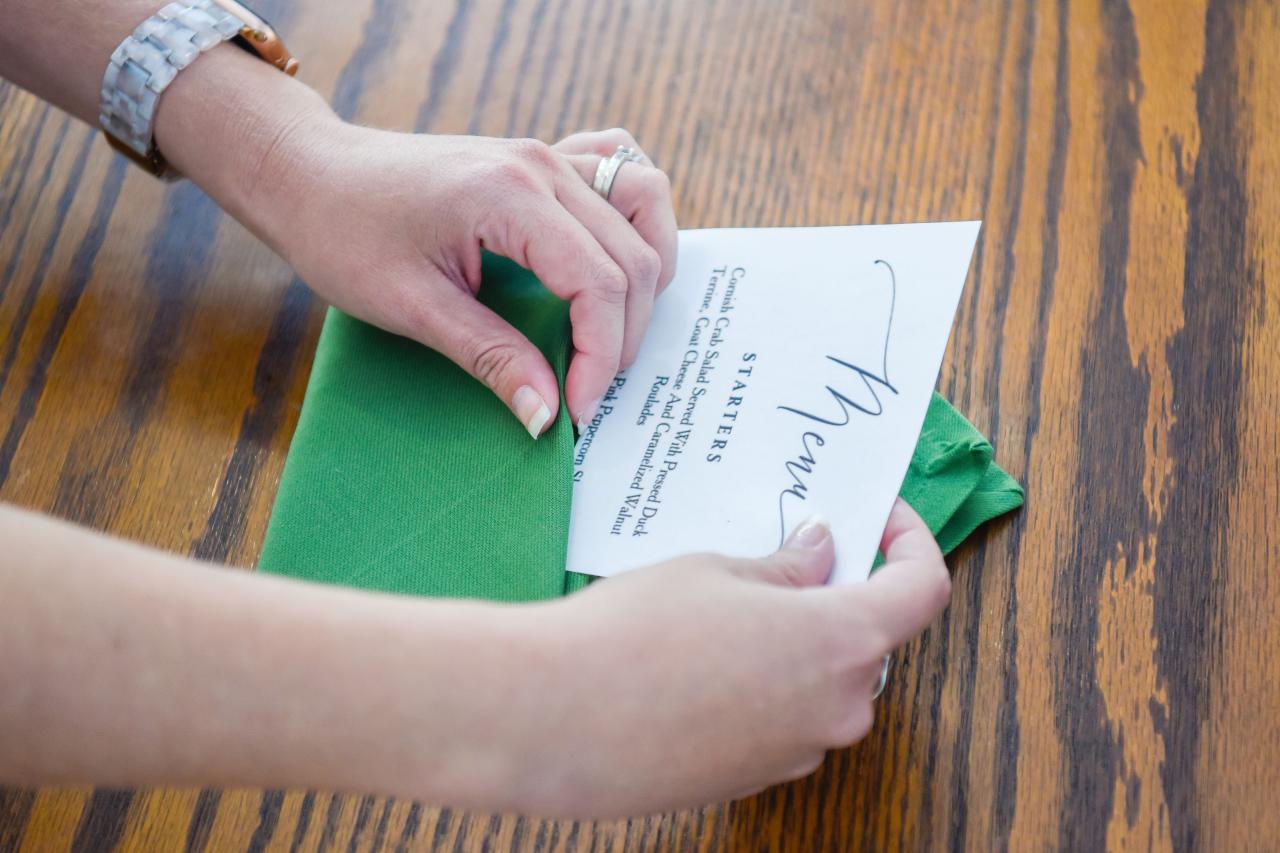
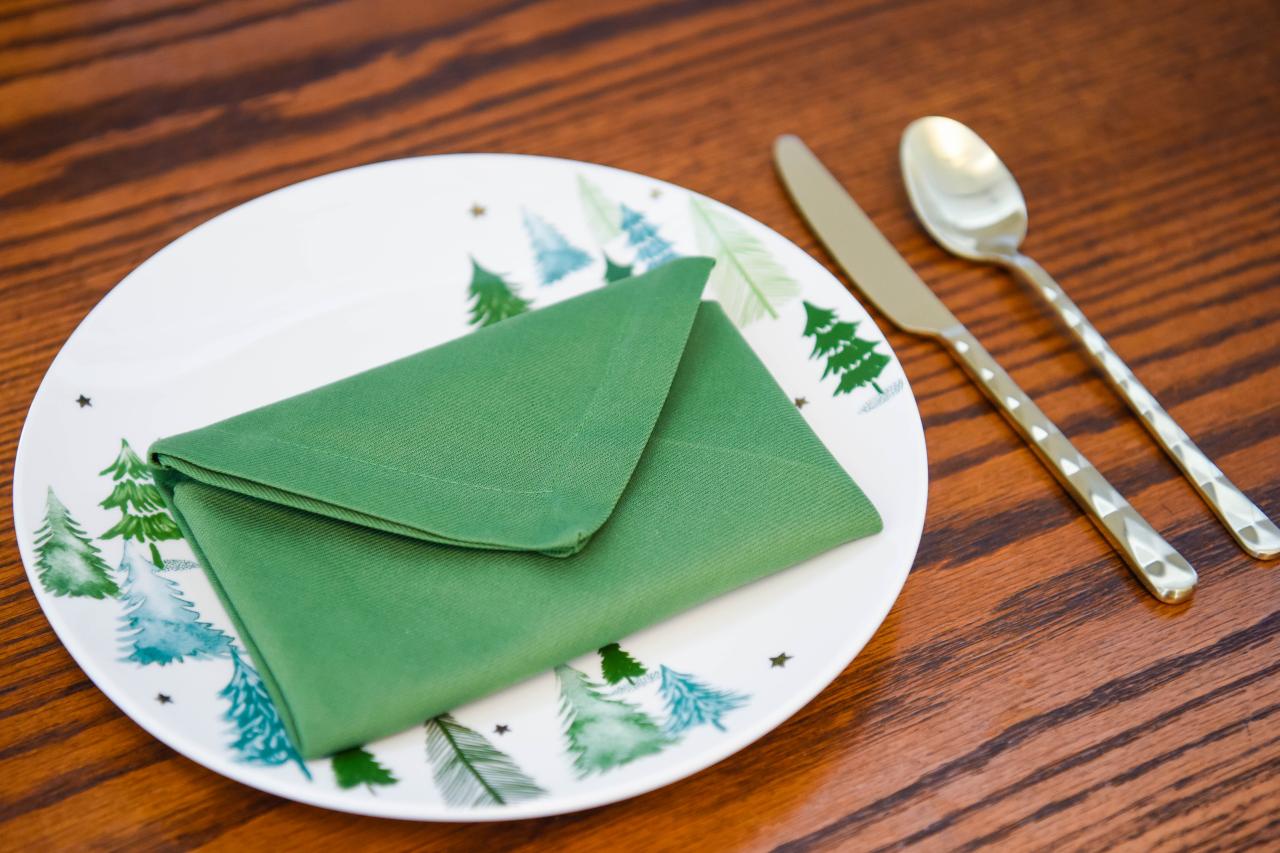
Start by placing a square napkin on a flat surface and folding it in half to form a triangle (Image 1). Fold each bottom corner inward until the tips meet in the middle (Image 2). Next, fold the sides in so they meet in the middle (Image 3). Fold the bottom upward to create the envelope, then slide your Christmas dinner menu inside (Images 4 & 5).

Clara MacLellan

Clara MacLellan

Clara MacLellan

Clara MacLellan

Clara MacLellan
Fold down the top to close the envelope or simply leave it open so guests can get a glimpse of the meal to come.

Clara MacLellan
Poinsettia Napkin Fold

Sarah Busby
Start with a red square napkin on a table or flat surface. The napkin should be wrong-side-up. Fold each of the four corners into the center to form a diamond shape (Image 1). Repeat and fold each corner into the center again to form a square shape (Image 2). Flip the napkin over. Fold each of those four corners into the center, creating a diamond shape again (Image 3). Reach under the napkin and pull each corner up to form the poinsettia flower petals (Images 4 & 5).
Sarah Busby

Sarah Busby

Sarah Busby

Sarah Busby

Sarah Busby
A sprig of greenery makes the perfect topper for this beautiful poinsettia place setting.
Sarah Busby
Christmas Tree Napkin Fold

Sarah Busby
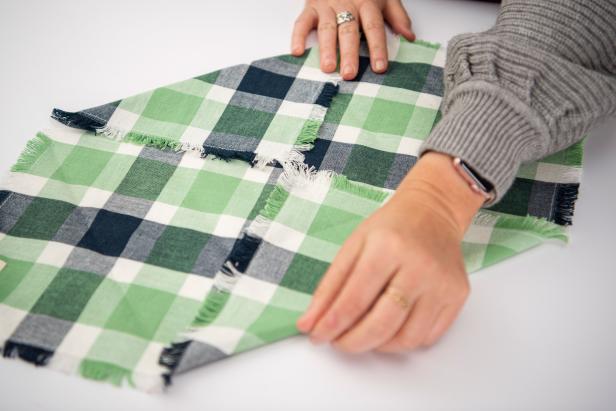
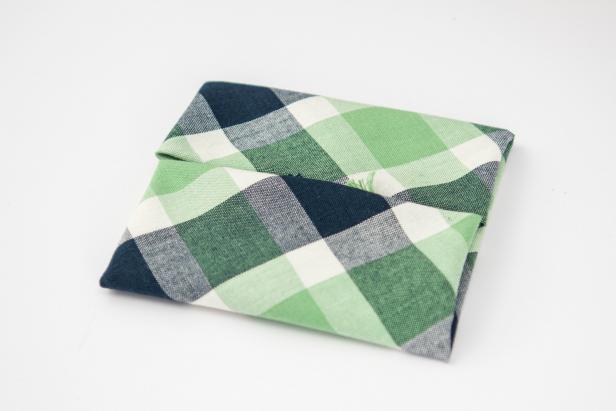
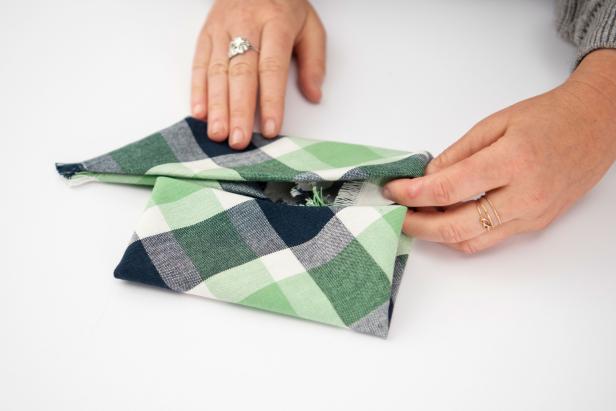
Start with a green square napkin on a table or flat surface. The napkin should be wrong side up. Fold the napkin in half lengthwise. Fold each corner in to make two pointed ends at the top and bottom of the napkin (Image 1). Next, fold the top and bottom points into the center to form a square shape (Image 2). Fold the napkin in half horizontally so that the triangles are on the outside pointed up (Image 3). Lift and tuck each side under (Image 4). Stand the napkin up and crease along the back edge (Image 5).

Sarah Busby

Sarah Busby

Sarah Busby

Sarah Busby

Sarah Busby
Don't forget a glittery star on top!
Sarah Busby
Treat Container Napkin Fold

Sarah Busby
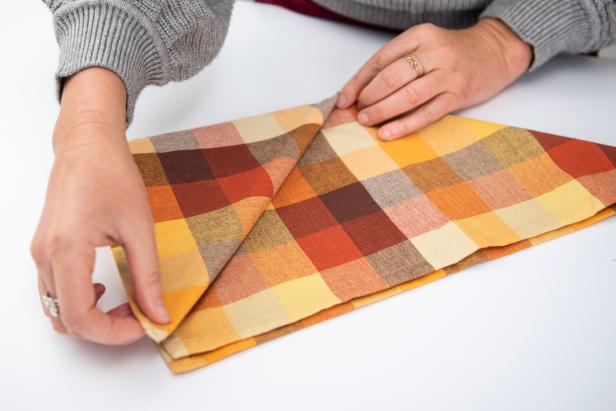
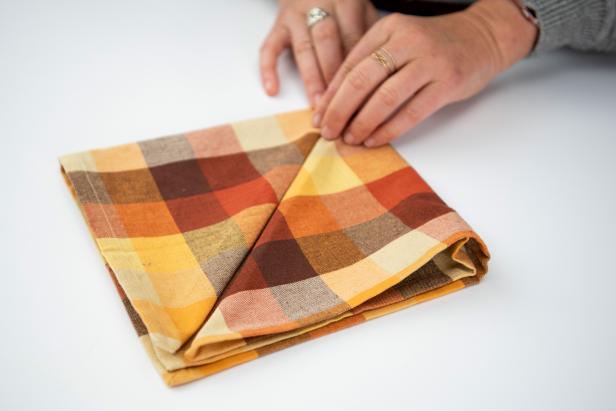
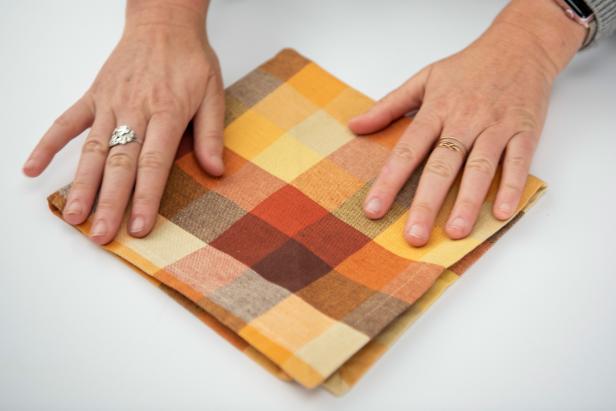
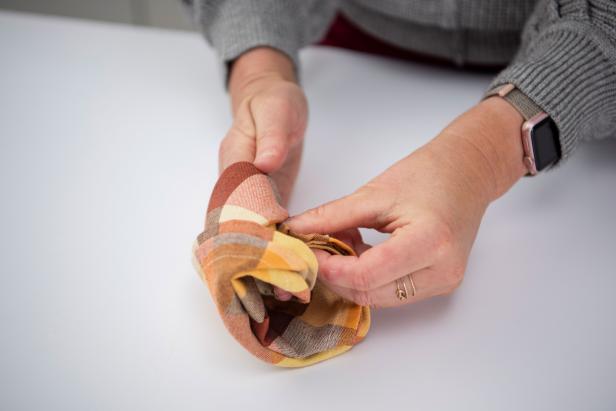
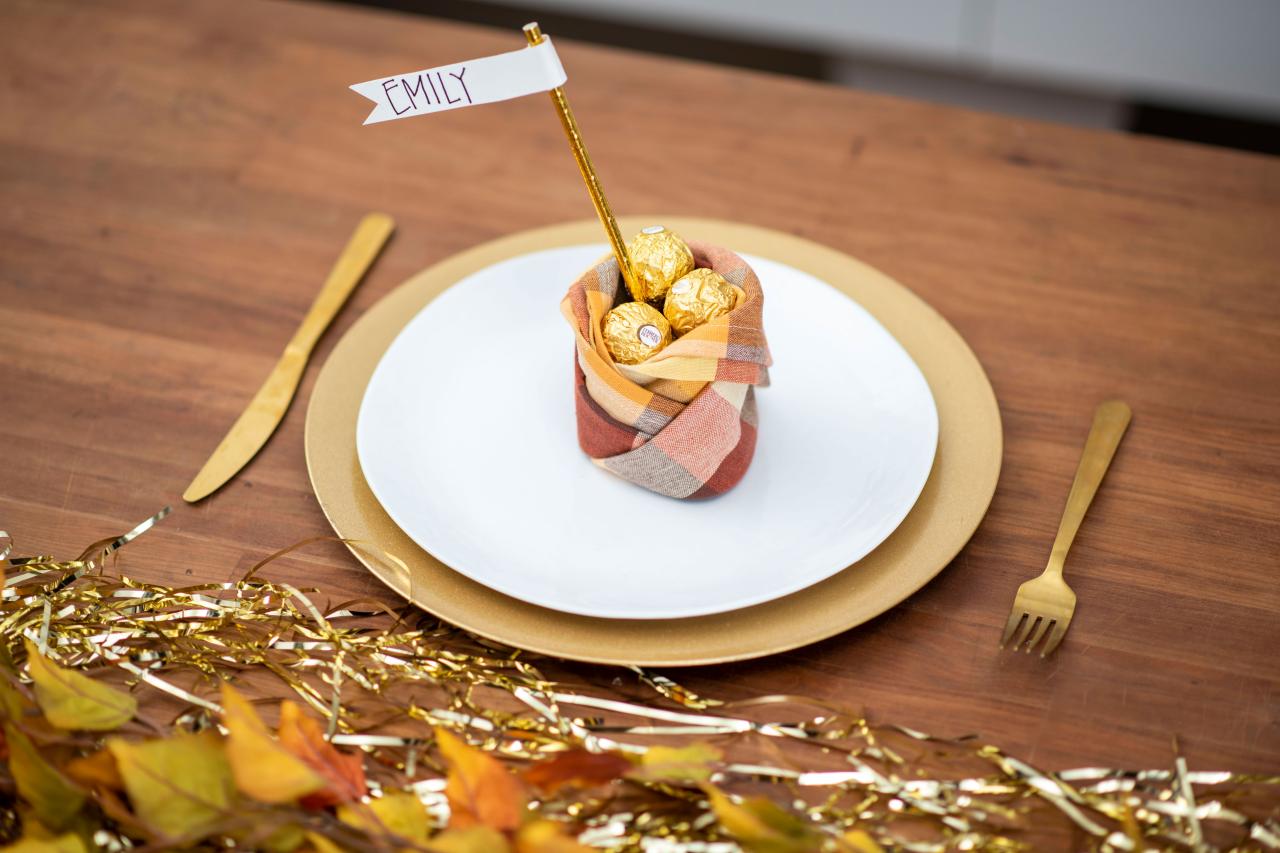
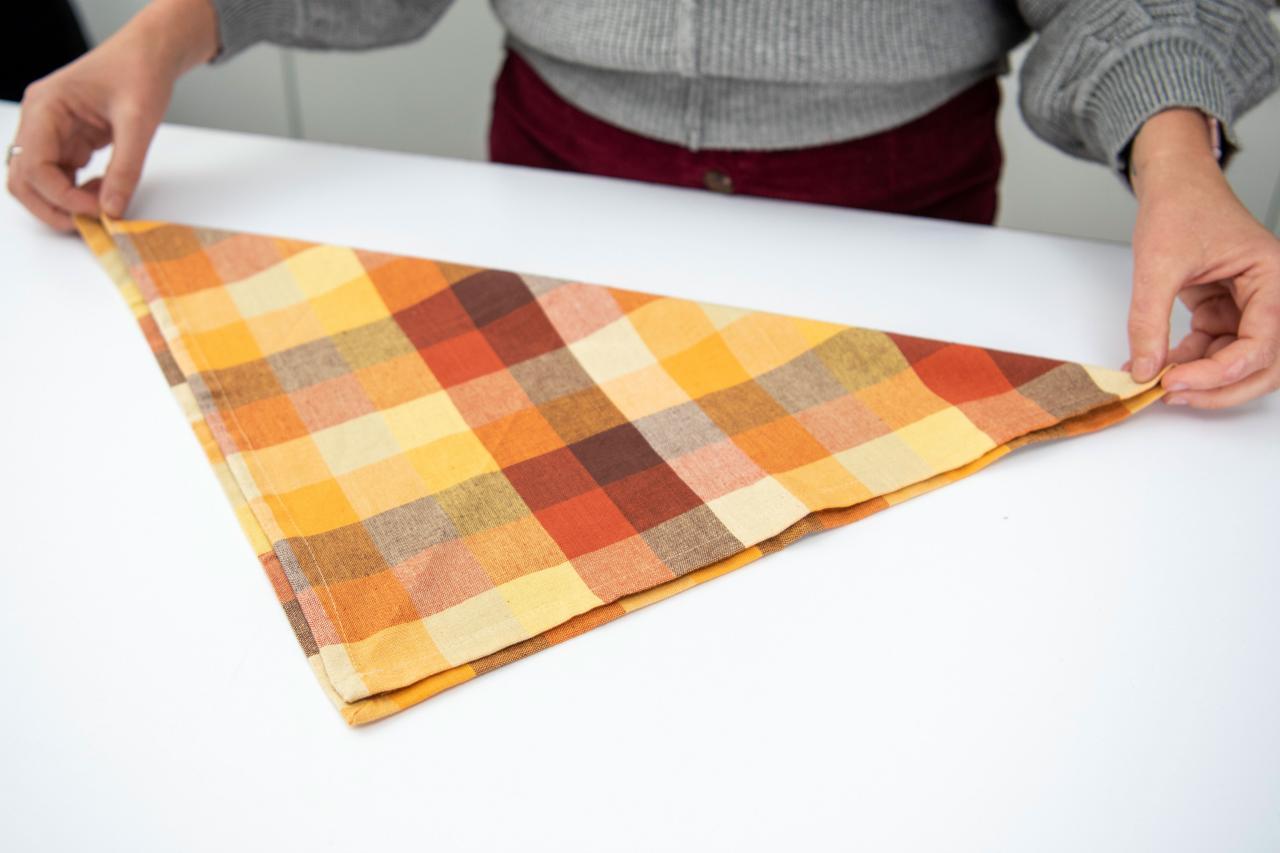
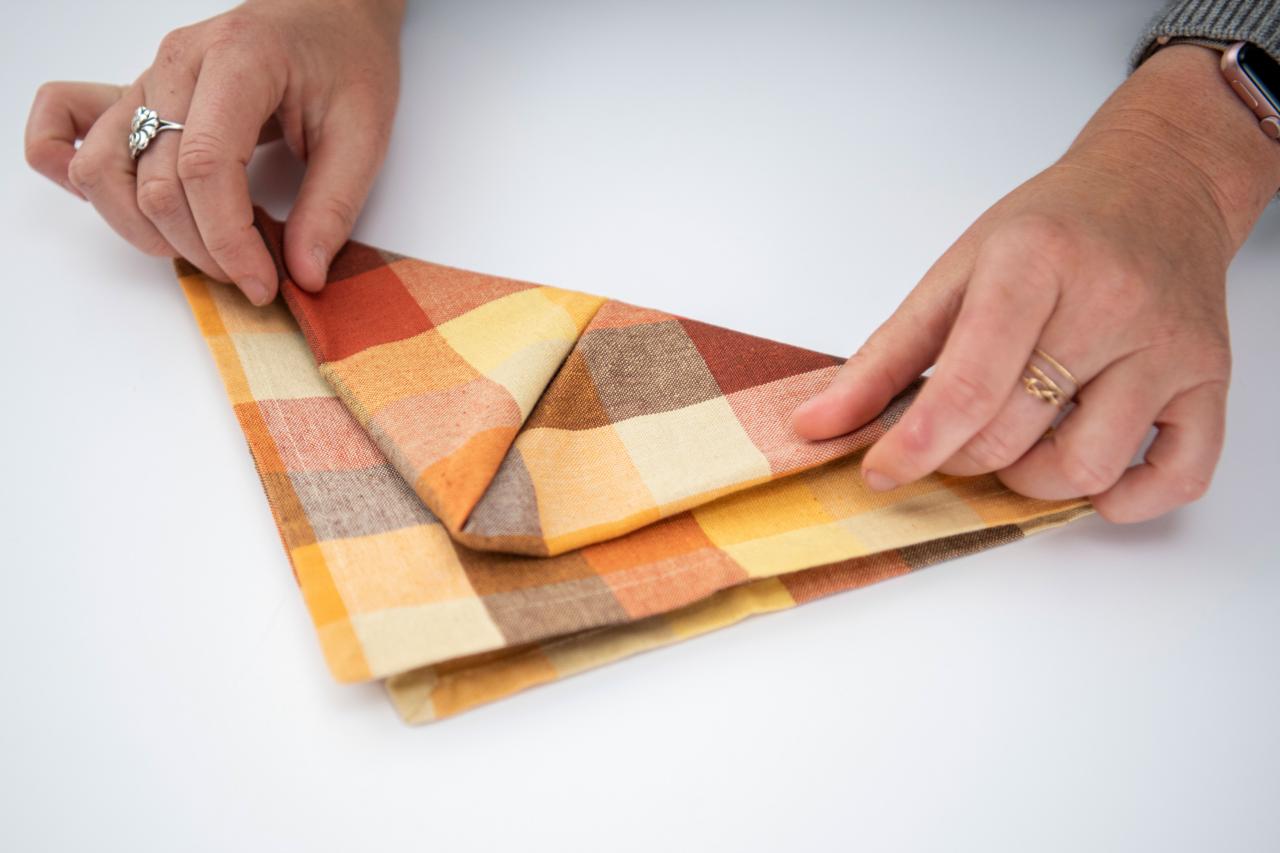
Start with a square napkin on a table or flat surface. The napkin should be wrong side up. Fold the napkin in half diagonally to form a triangle with the long side closest to you (Image 1). Fold each corner of the triangle to the top to make a diamond shape (Images 2 & 3). Flip the napkin over (Image 4). Fold the bottom up, forming a small, one-inch border on each side (Image 5).

Sarah Busby
Sarah Busby
Sarah Busby
Sarah Busby

Sarah Busby
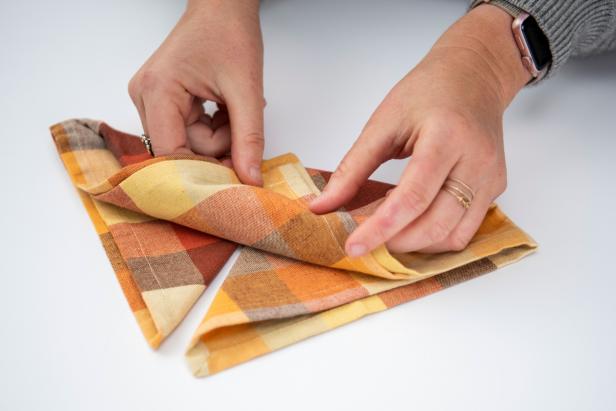
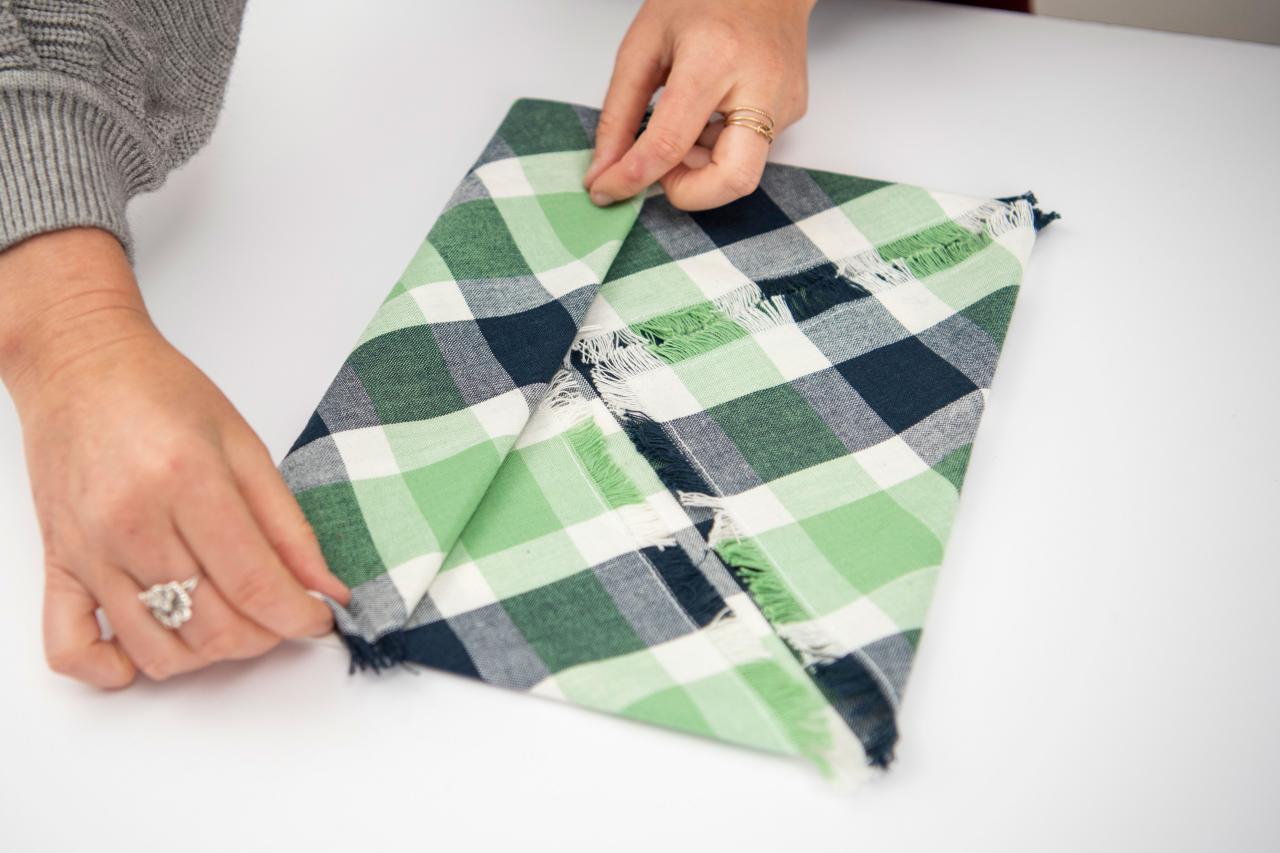
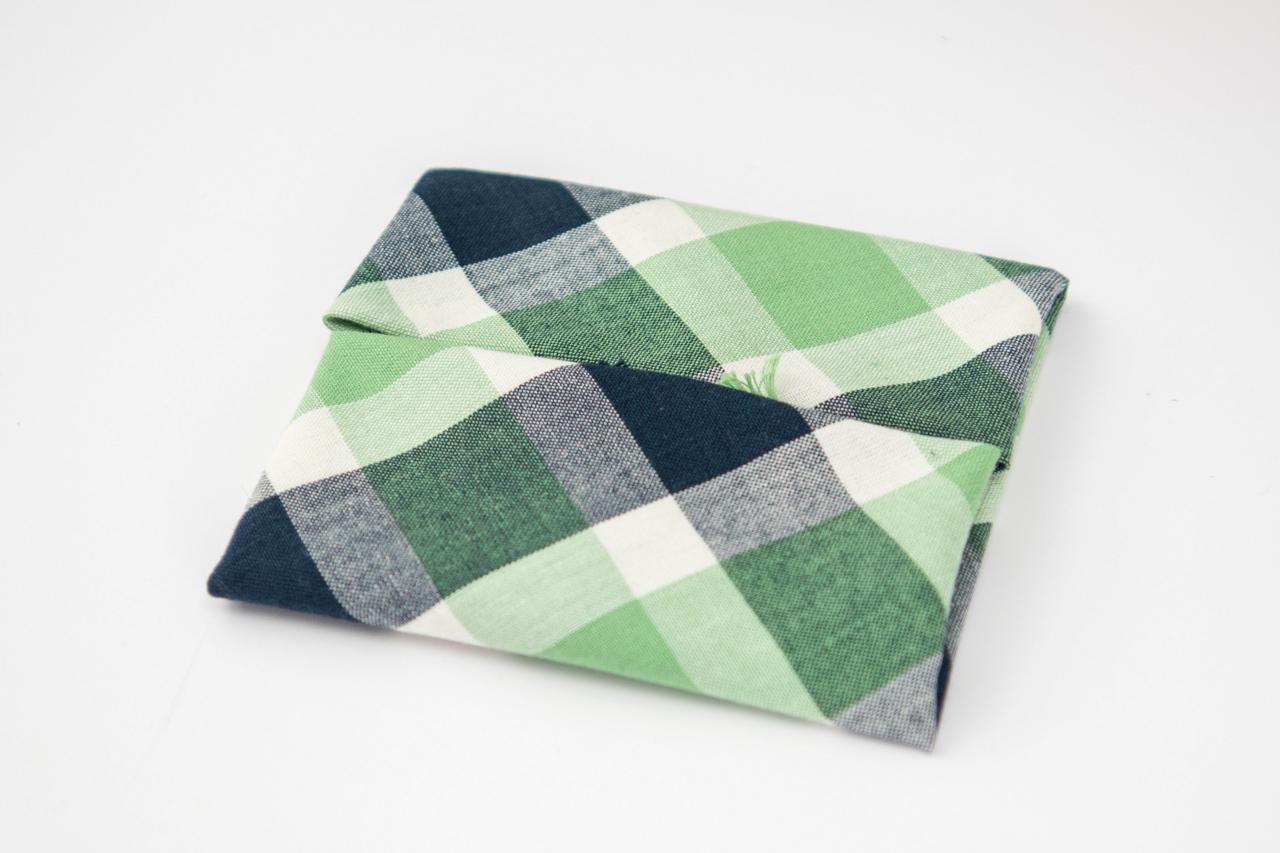
Fold the entire top triangle down to the bottom edge (Image 1). Flip the napkin over again, and tuck in each of the two tips of the loose triangles (Image 2). Fold the right corner three-quarters of the way over to the left (Image 3). Take the left corner and tuck it into the right to form a basket (Images 4 & 5).
Sarah Busby

Sarah Busby

Sarah Busby
Sarah Busby

Sarah Busby
On each plate, stand up the napkin and fill it with treats. We're willing to bet your guests won't mind a few sweets to start the meal.
Sarah Busby
Elf Hat Napkin Fold

Sarah Busby
Start with a square napkin on a table or flat surface. The napkin should be wrong side up. Fold the napkin in half horizontally with the napkin edge away from you and the folded side toward you. Place one finger in the center of the folded side to hold the napkin down (Image 1). With another hand, pinch and roll the napkin into a cone shape from left to right (Image 2). Fold back the bottom edge to hold the cone in place (Image 3). Stand the napkin up (Image 4). For an embellishment, attach a red pom-pom to a toothpick and insert it into the top of the hat (Image 5).

Sarah Busby

Sarah Busby

Sarah Busby

Sarah Busby

Sarah Busby
What's more festive than topping each place setting with Santa's little helpers' iconic hat?
Sarah Busby
Rose Napkin Fold

Sarah Busby
Start with a square napkin on a table or flat surface. Fold the napkin at a diagonal and then turn the napkin so that the long side of the triangle is closest to you. Roll the napkin from the bottom about halfway up (Images 1 & 2), then turn the napkin over. Take the end of the left tail and roll it across (Image 3), all the way to the other side. Tuck in the end of the napkin (Image 4). Set the napkin up and pull the two inside flaps down (Image 5). These will be the rose petals. Flip the napkin over once more for a finished rose-shaped napkin.

Sarah Busby

Sarah Busby

Sarah Busby

Sarah Busby

Sarah Busby
A centerpiece bouquet may only last one dinner, but these red roses will be a hit year after year.
Sarah Busby
Pinwheel Napkin Fold

Sarah Busby
Start with a square napkin on a table or flat surface. Fold each of the four corners into the center to form a diamond shape (Images 1 & 2). Turn the napkin to make a square shape, and fold each side into the center lengthwise to create one long rectangle (Images 3 & 4).
Sarah Busby

Sarah Busby

Sarah Busby

Sarah Busby
Fold the bottom and the top into the center to form a square (Image 1). Take one flap and pull it out to create a triangle (Image 2). Repeat with the next flap (Image 3). Fold the first flap down (Image 4). Repeat these three steps on the opposite side of the napkin (Image 5).
Sarah Busby
Sarah Busby

Sarah Busby

Sarah Busby

Sarah Busby
This creative fold is sure to leave your guests' heads spinning.
Sarah Busby
Set the Christmas Table

60 Merry & Bright Christmas Centerpiece Ideas 72 Photos
Entertain in style this season with a festive centerpiece for your holiday table.
Copy These Christmas Table Setting + Decorating Ideas 60 Photos
Be the holiday host with the most and set the scene for an unforgettable get-together.

5 Free Ways to Decorate With Christmas Tree Clippings
Ho-ho-hold on to those tree clippings this year for holiday decor you won't find in stores.


