


Upcycle a Quilt Into Charming Christmas Stockings

Quilt Becomes Blue and White Checked Stockings on Basket
Upcycle a past-its-prime family quilt that's hidden away in a closet or trunk into charming Christmas stockings you'll be proud to display year-after-year. Get sewing with our step-by-step instructions.

Photo by: Marian Parsons
Marian Parsons
Materials Needed:
- cutter quilt or spread
- optional: coordinating fabric for backs of stockings
- paper or cardboard for template
- scissors
- pins
- sewing machine
- all-purpose thread
- coordinating ribbon
Create Template and Cut Stocking
Create stocking template out of paper or cardboard and pin to quilt. Note: When creating the template, make sure it's larger than desired size of finished stocking — it will be smaller once it's sewn and turned right-side-out. Cut two pieces of fabric that are mirror images for each stocking, so they'll fit together to make one stocking (Image 1). Place both pieces of stockings together with right-sides facing each other. Place a few pins to hold stocking halves together (Image 2). Sew edges of stocking together, leaving top unsewn. Tip: Use a coordinating fabric for backing in order to make more stockings out of the quilt.

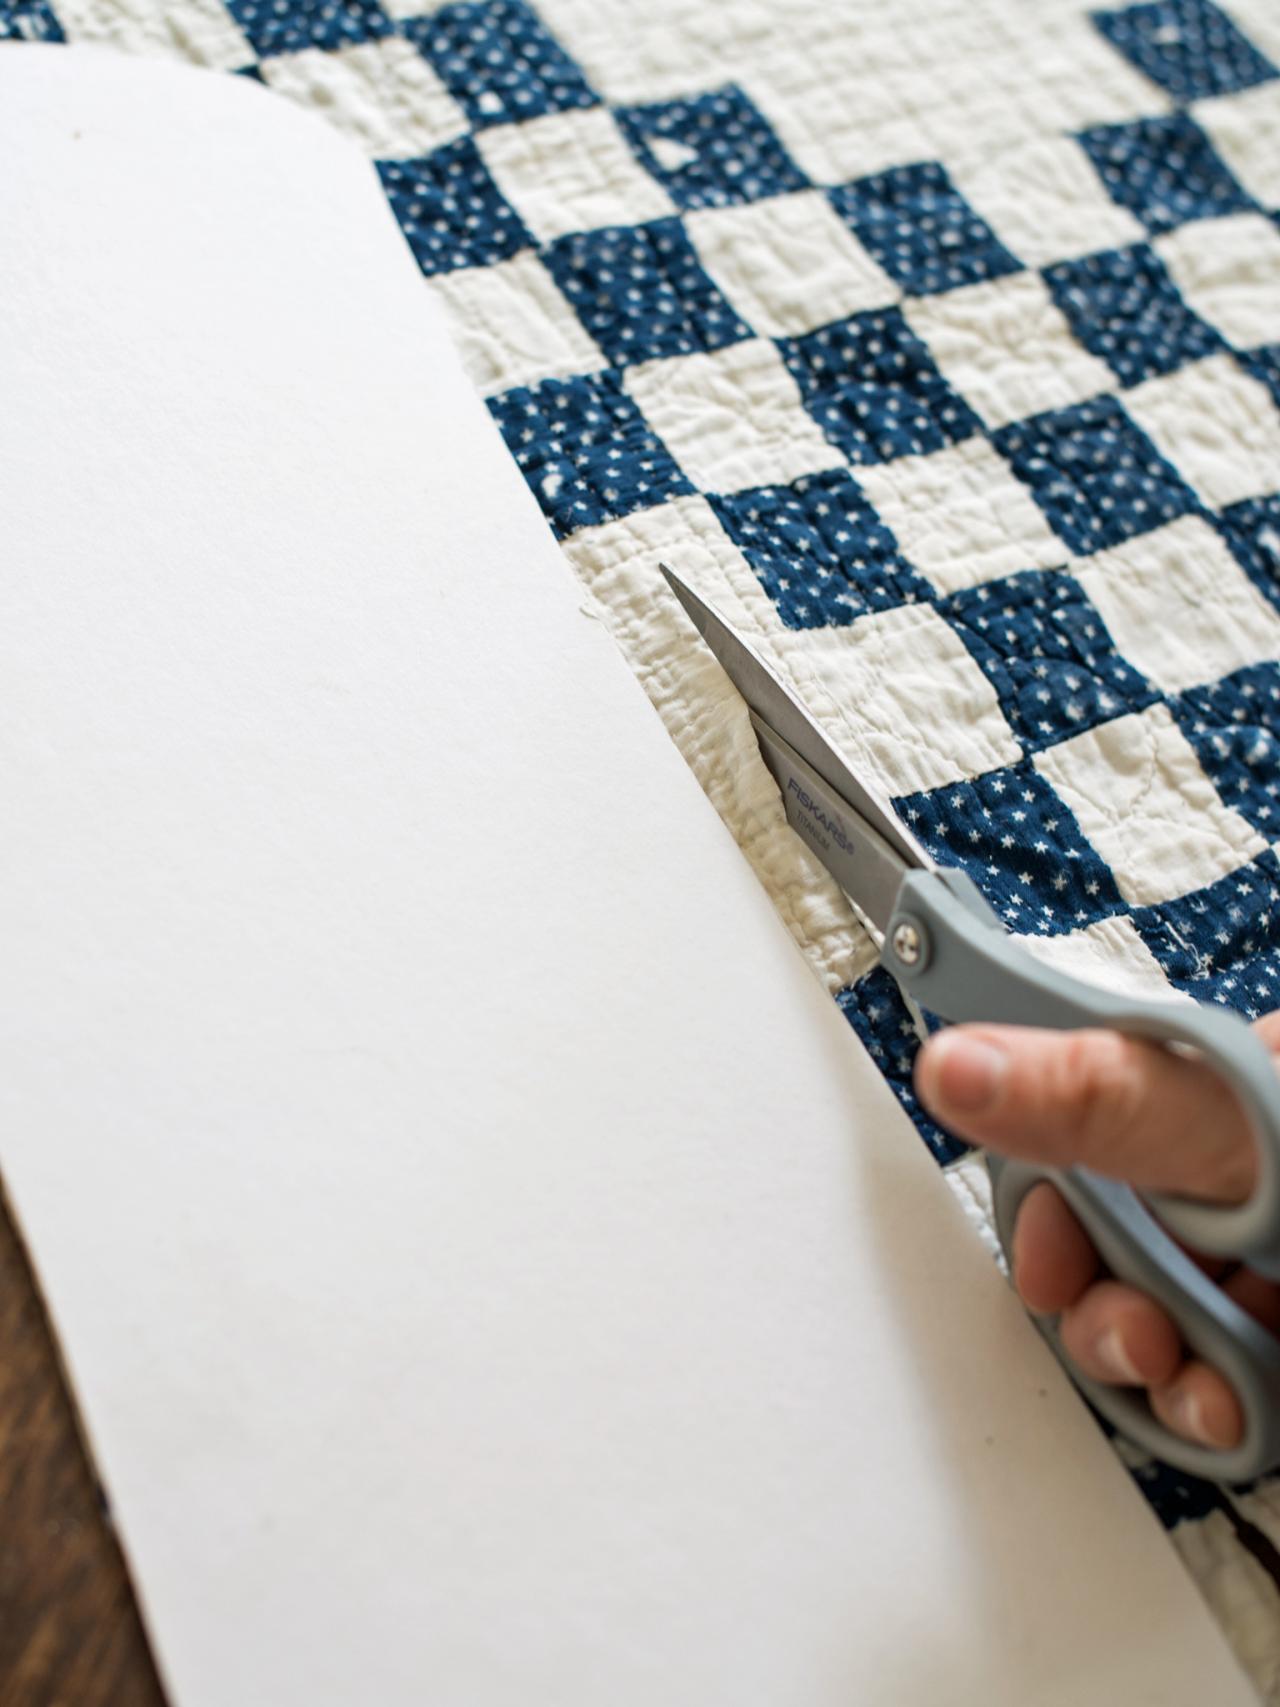
Cutting Blue and White Quilt
Create stocking template out of paper or cardboard and pin to quilt. Note: When creating the template, make sure it's larger than desired size of finished stocking — it will be smaller once it's sewn and turned right-side-out. Cut two pieces of fabric that are mirror images for each stocking, so they'll fit together to make one stocking.
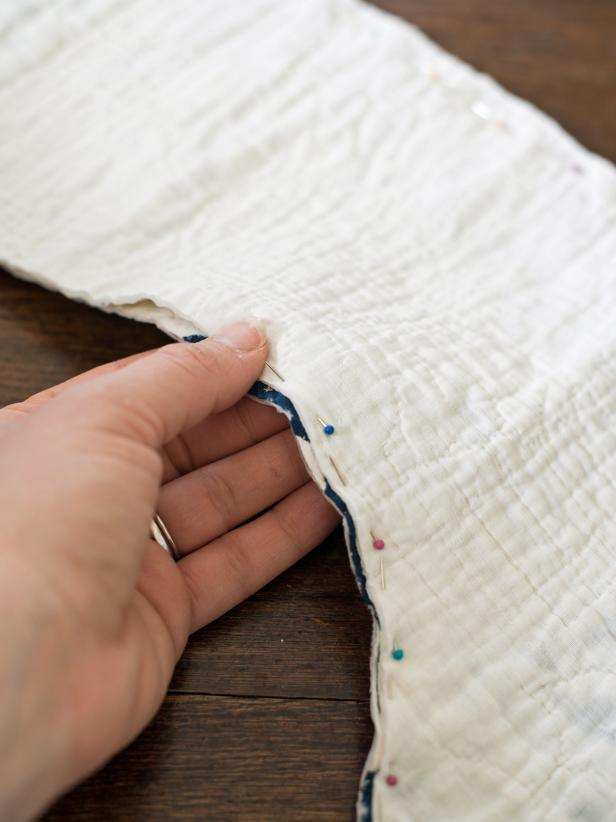
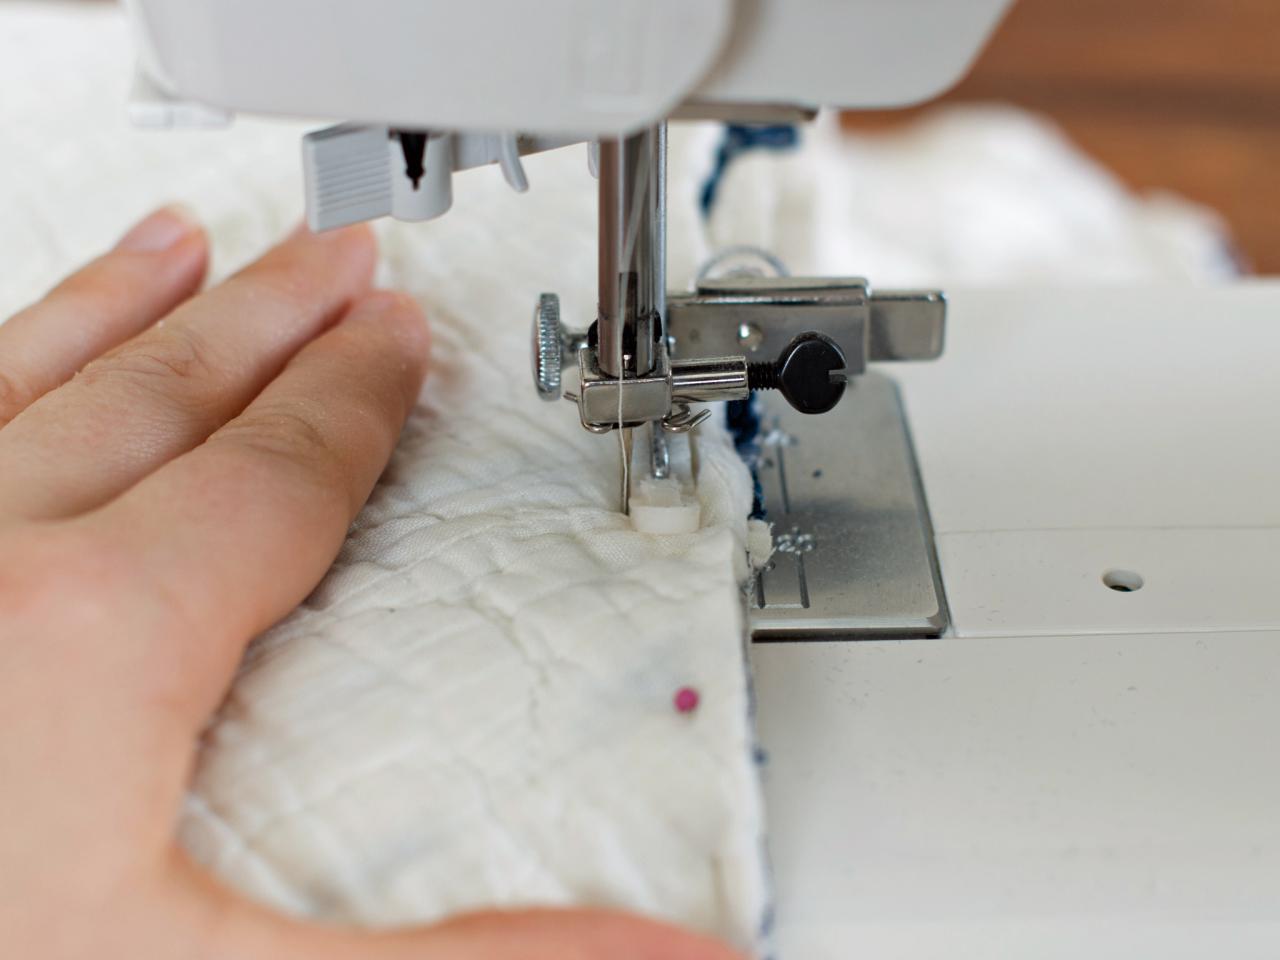
Pinning Pieces of White Fabric Together
Place both pieces of stockings together with right-sides facing each other. Place a few pins to hold stocking halves together.
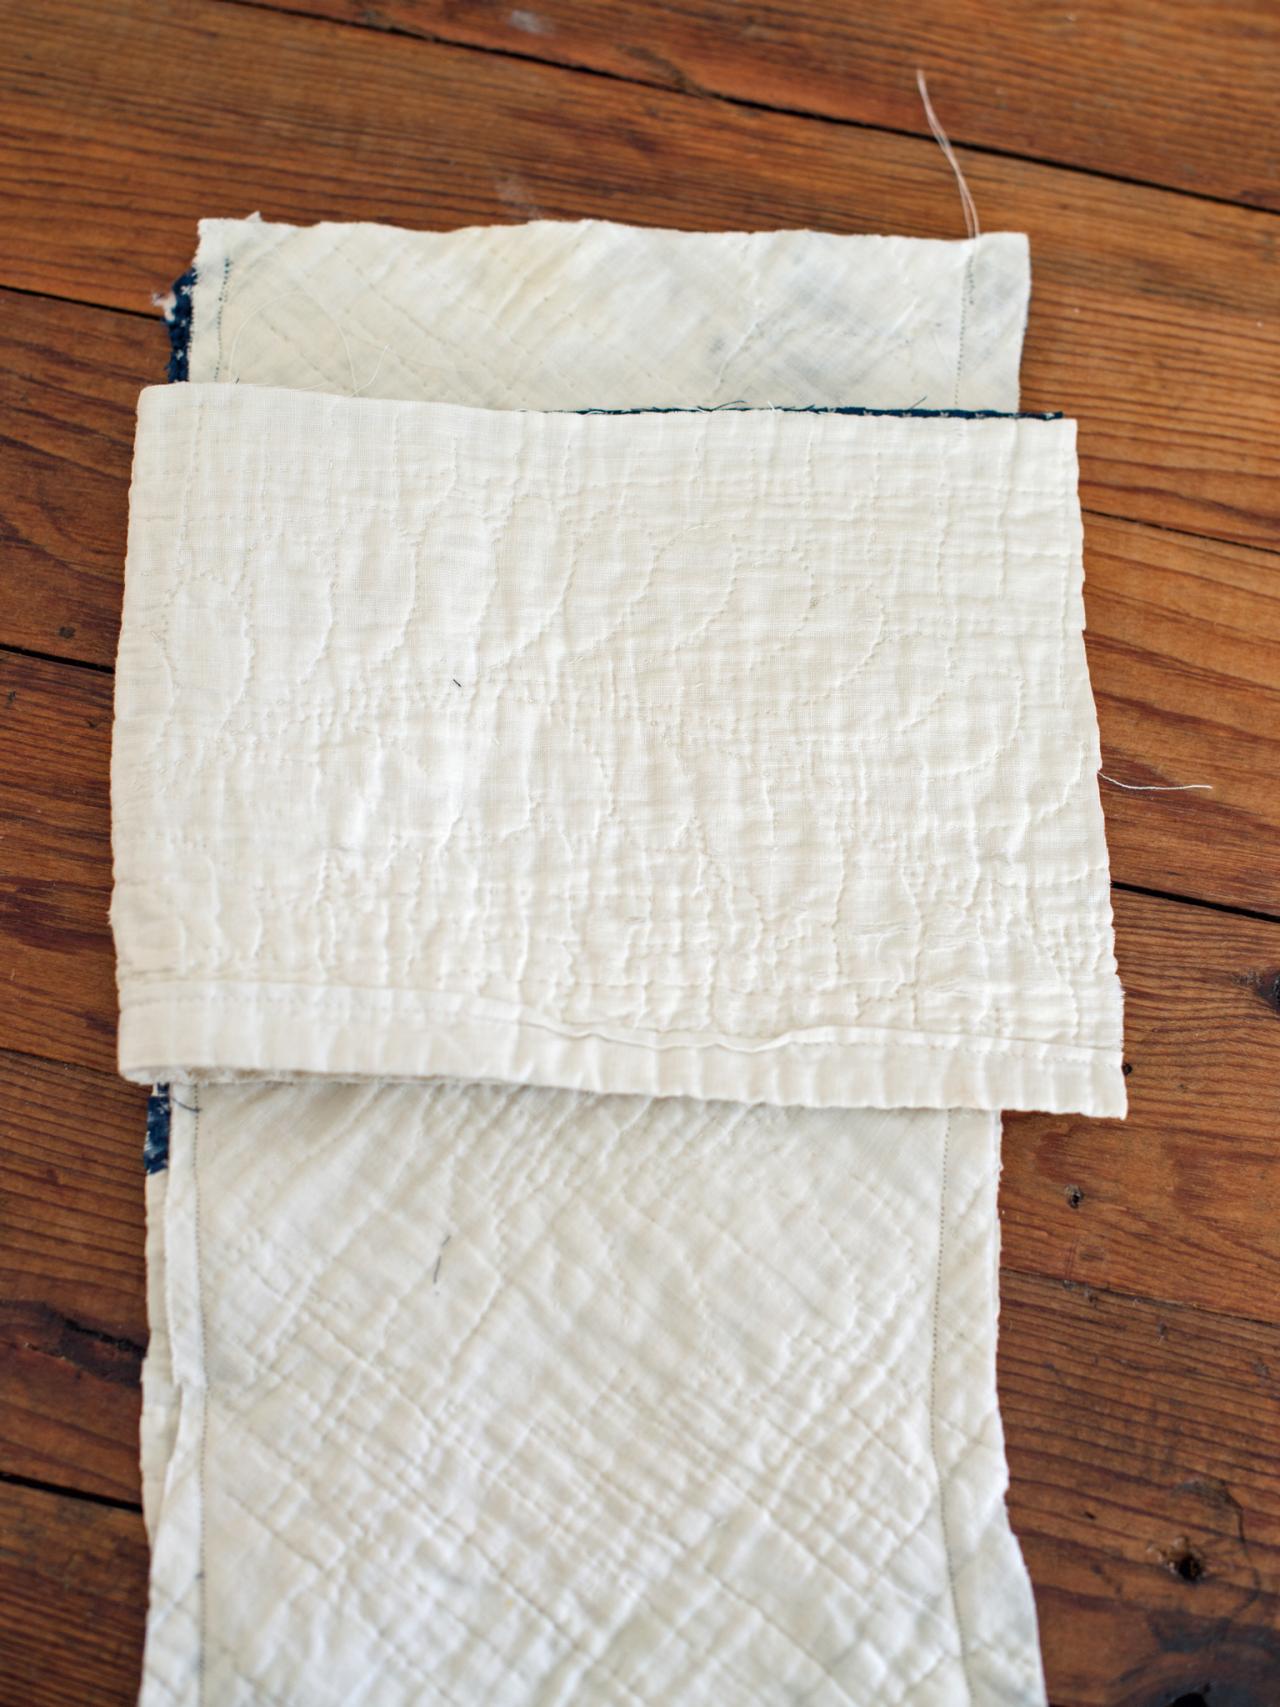
Make Stocking Cuff
Cut rectangular shape off quilt border measuring twice the width of stocking opening plus an inch for a seam allowance and approximately 5-7 inches long. Fold fabric for cuff inside-out and sew raw seams together, leaving the top open.

Pieces of White Fabric
Cut rectangular shape off quilt border measuring twice the width of stocking opening plus an inch for a seam allowance and approximately 5-7 inches long. Fold fabric for cuff inside-out and sew raw seams together, leaving the top open.
Sew Cuff
Turn stocking and cuff right-side-out (Image 1). Cut length of ribbon approximately 3 inches long to use as a stocking hanger. Insert cuff in stocking with right-side facing out and cuff seam lined up with heel-side stocking seam. At the place where those seams meet, insert ribbon, making a loop, so raw edges point the same direction as the raw cuff and stocking edges. Pin ribbon and cuff in place (Image 2). Stitch along pin line (Image 3). Remove pins, trim threads and fold cuff over (Image 4).


Marian Parsons
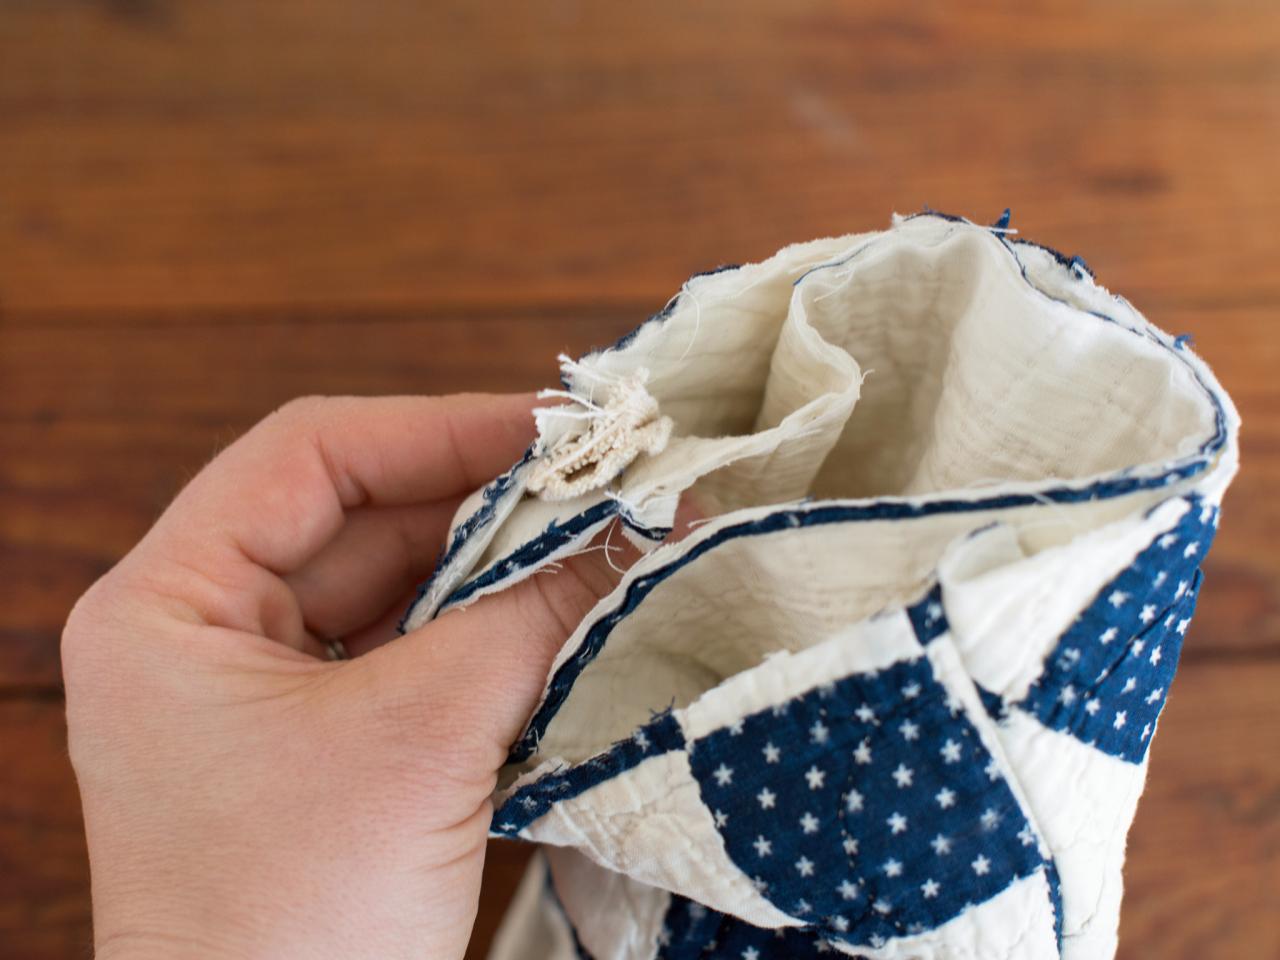
Pinning Blue and White Quilt Fabric
Cut length of ribbon approximately 3 inches long to use as a stocking hanger. Insert cuff in stocking with right-side facing out and cuff seam lined up with heel-side stocking seam. At the place where those seams meet, insert ribbon, making a loop, so raw edges point the same direction as the raw cuff and stocking edges. Pin ribbon and cuff in place.
Blue and White Stockings Hung on Basket of Greenery
Give new life to a tired quilt that's stored away in a linen closet, attic or trunk by making it into Christmas stockings for your family. These stockings will certainly become heirlooms that will be treasured for many holidays to come.
Photo By: Marian Parsons


