


How to Make Tin Can Lanterns
Light up lazy summer nights with these almost-free outdoor luminaries.

Rae Sturm


What You'll Need
- empty metal cans (soup cans or large coffee cans work best)
- graph paper
- permanent marker
- tape
- hammer
- finish nails
- clamp
- drill
- 3/32" masonry drill bit
- outdoor spray paint
- wire hanger (optional)
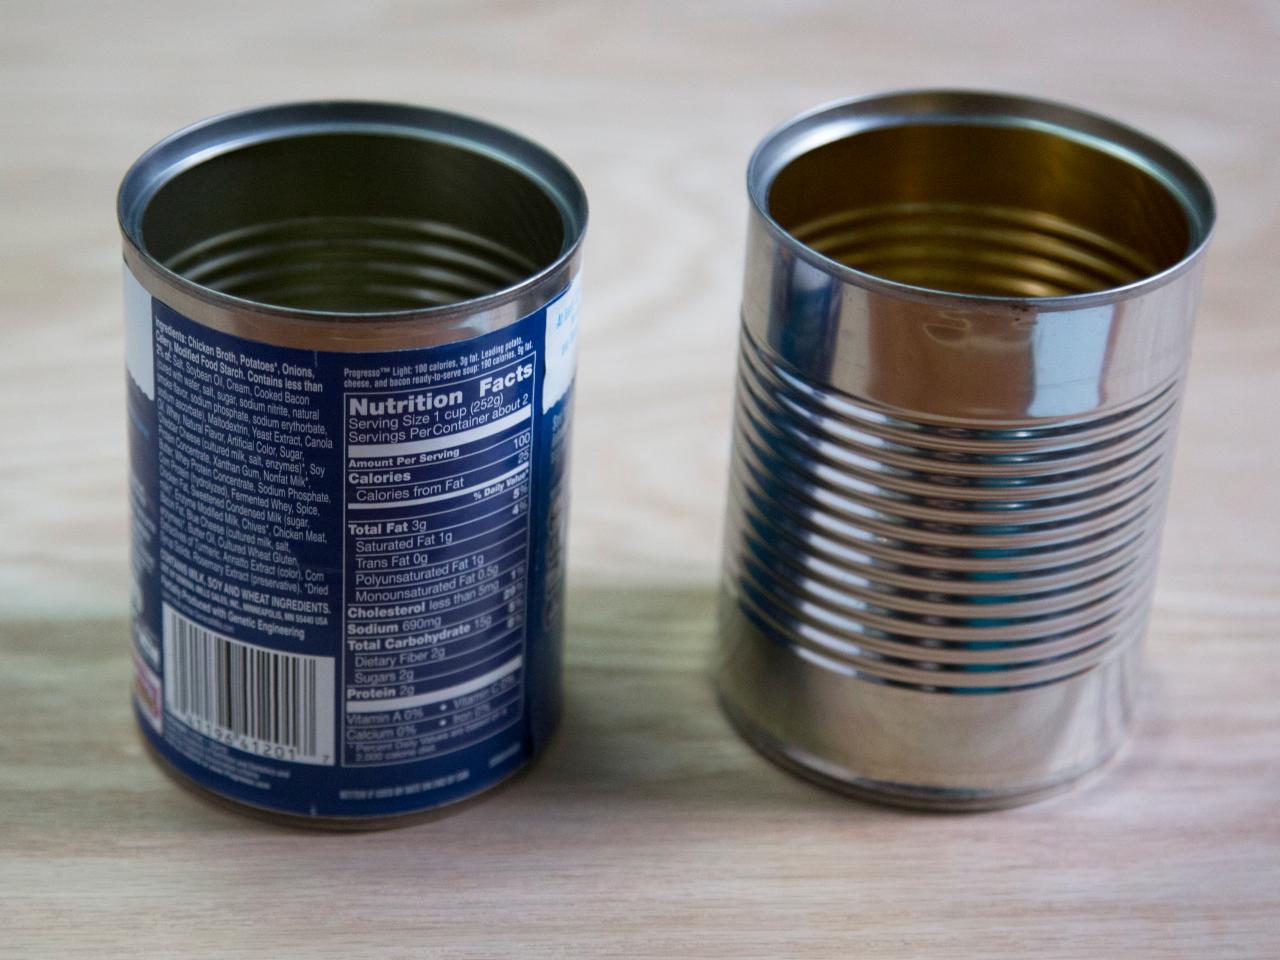
Remove Label

Rae Sturm
Run label under hot water to loosen adhesive, then remove by gently scrubbing with a sponge or rag.
Sketch Out Design
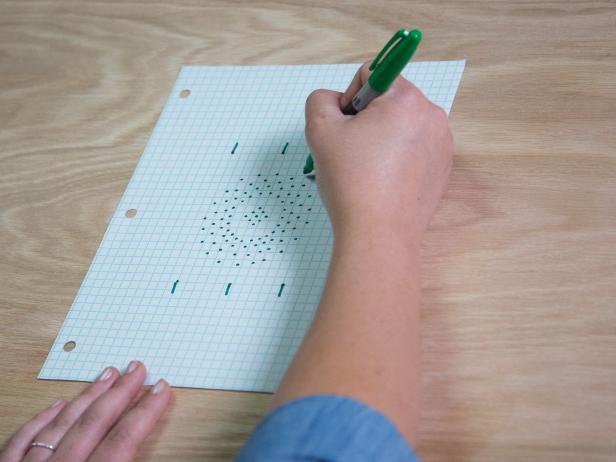
Rae Sturm

Rae Sturm
On graph paper, mark the top, bottom and sides of can with a permanent marker. Remove can and create a dot design within the marked parameters. Tip: the more dots you draw, the more light will show through the finished lantern.
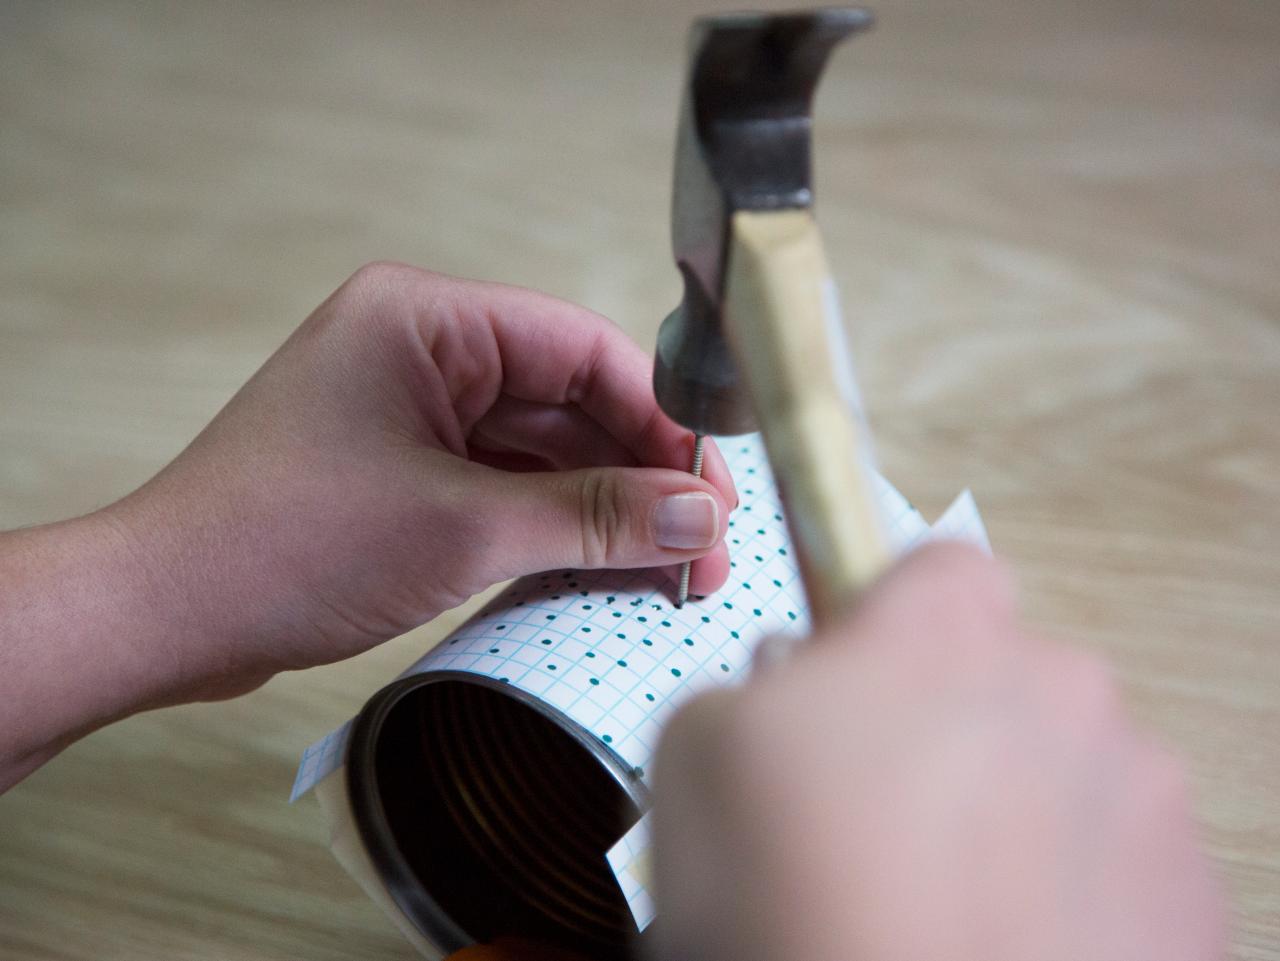
Tape Graph Paper to Can

Rae Sturm
Trim paper to fit the top and bottom of can, then attach with masking tape.
Punch Pilot Holes

Rae Sturm
Attach can to a solid work surface with a sturdy clamp. Using a hammer and finish nail, stamp each drawn dot to create small holes in the can underneath. When finished, remove graph paper.
Drill Larger Holes
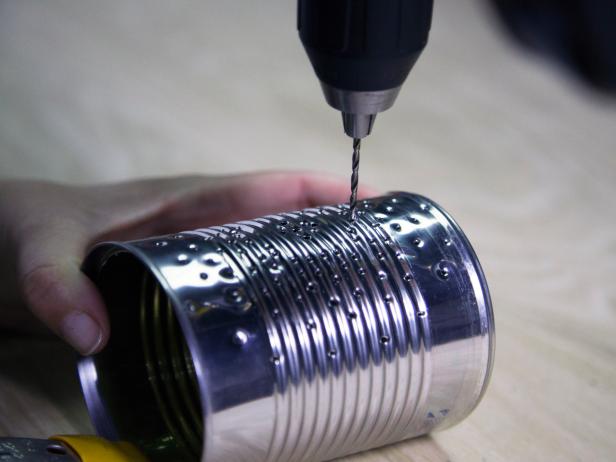
Rae Sturm
Using a 3/32" masonry drill bit, drill through each of the small pilot holes made by the nails. This will clean up the holes and create a consistent, polished look. Feel free to play around with other drill bit sizes to create different looks.
Paint

Rae Sturm
Stuff the inside of the can with paper towels or an old rag. Holding the can at least six inches away, lightly coat with outdoor spray paint. Layer three or four thin coats until metal is no longer visible. Remove rag when dry.
Optional: Add a Handle

Drill a hole on each side of the can and add an old wire clothes hanger or piece of rope for carrying or hanging.


