


How to Make a Tin Can Lantern

Materials Needed:
- several tin cans (we used coffee cans)
- hammer
- nails of different sizes (to make holes of different sizes)
- a towel to stabilize the can during hammering
- a Sharpie to plan your design
- wire hanger for the handle
- wire-cutter pliers
- cordless drill (optional)
- tea-light candles
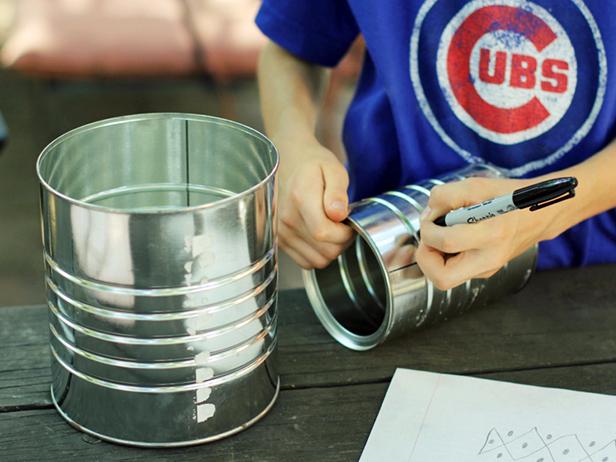
Decide On Design
First, draw your design on paper. Then draw your design in dots on the can in Sharpie.
Tip: Cans that are a little thinner in width might bend a little when you're hammering in the nails in the next step. They'll still look and work fine in the dark but to avoid this, fill cans nearly full with water and freeze them overnight BEFORE you hammer them in the next step.

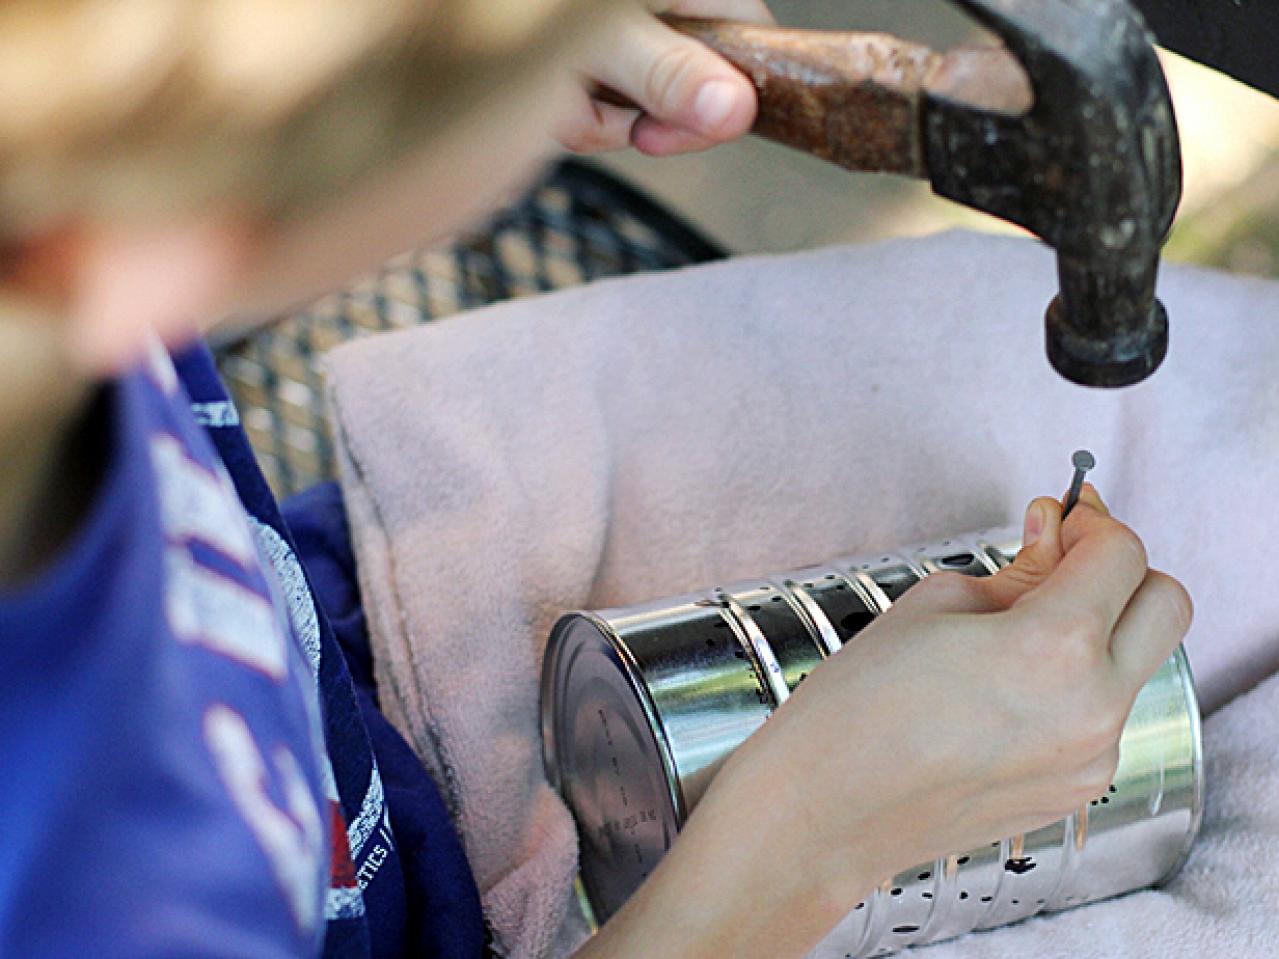
Hammer Nails to Make Holes
Next, find the most comfortable way to hammer nails into the can, poking holes where you’ve made Sharpie dots. You can use a cordless drill to speed this step up, but it is not necessary to get so high-tech. Remember, the more holes you poke, the more dramatic the lanterns will be.

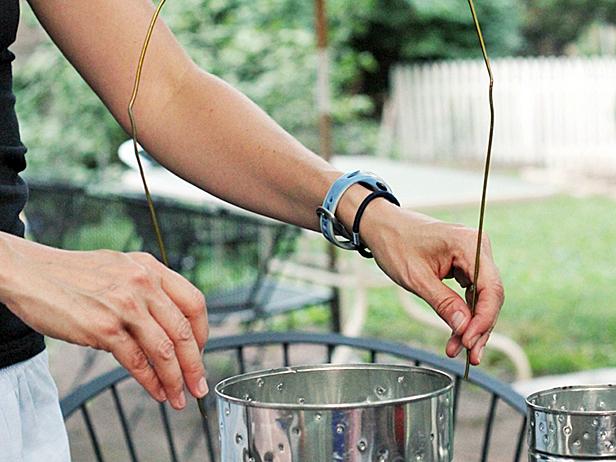
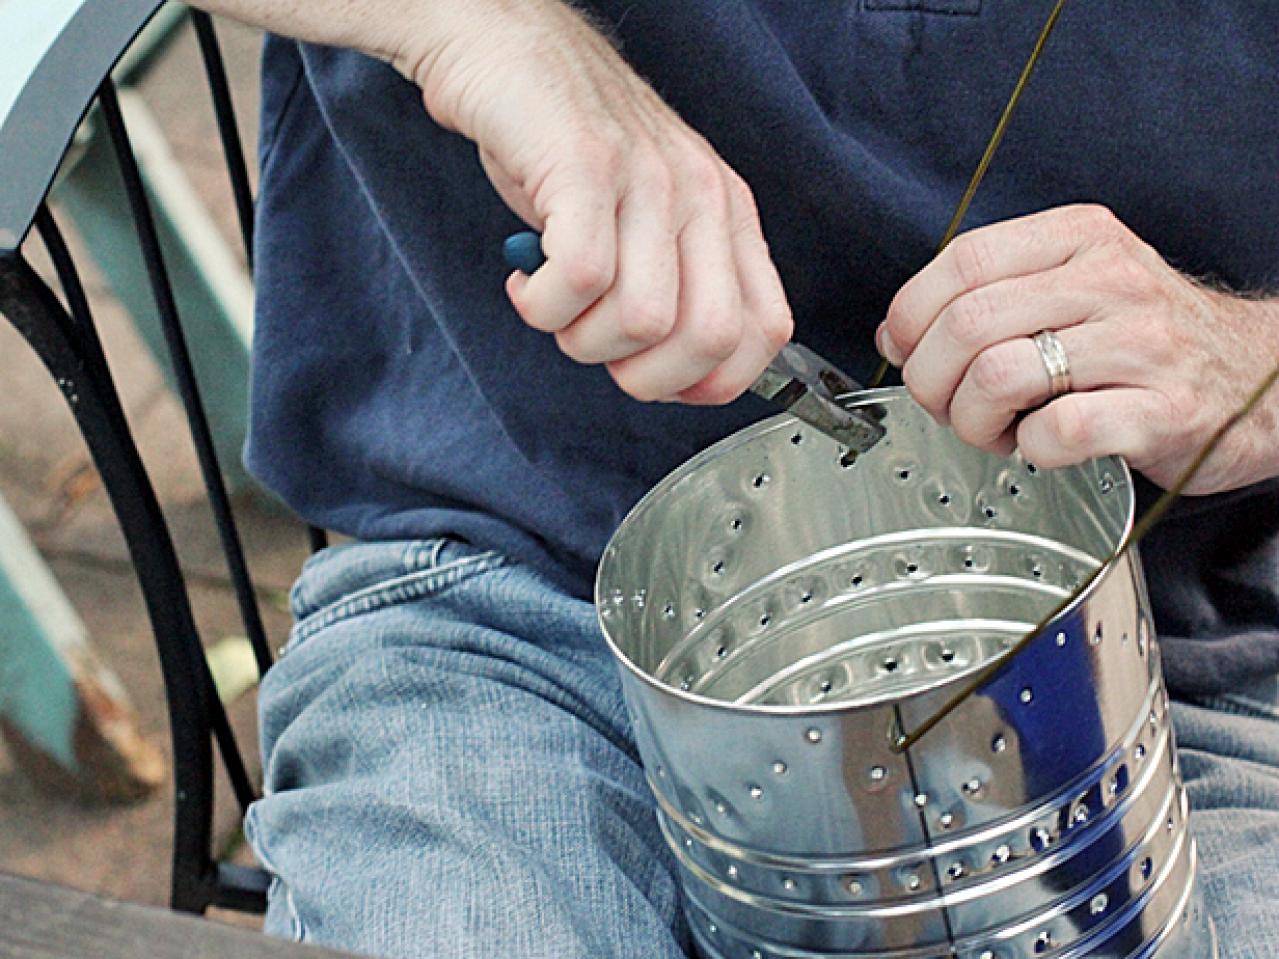
Add Handles
After you think you have poked enough holes, it is time to attach your handles. Clip your hangers and bend them into long loops. Hook the ends through holes in the cans and crimp them into hooks with your pliers. Be sure to make the handles long enough that the heat from the candles doesn't burn little hands.
Once it's dark, add tea-light candles (that won't tip over), light and enjoy.


