


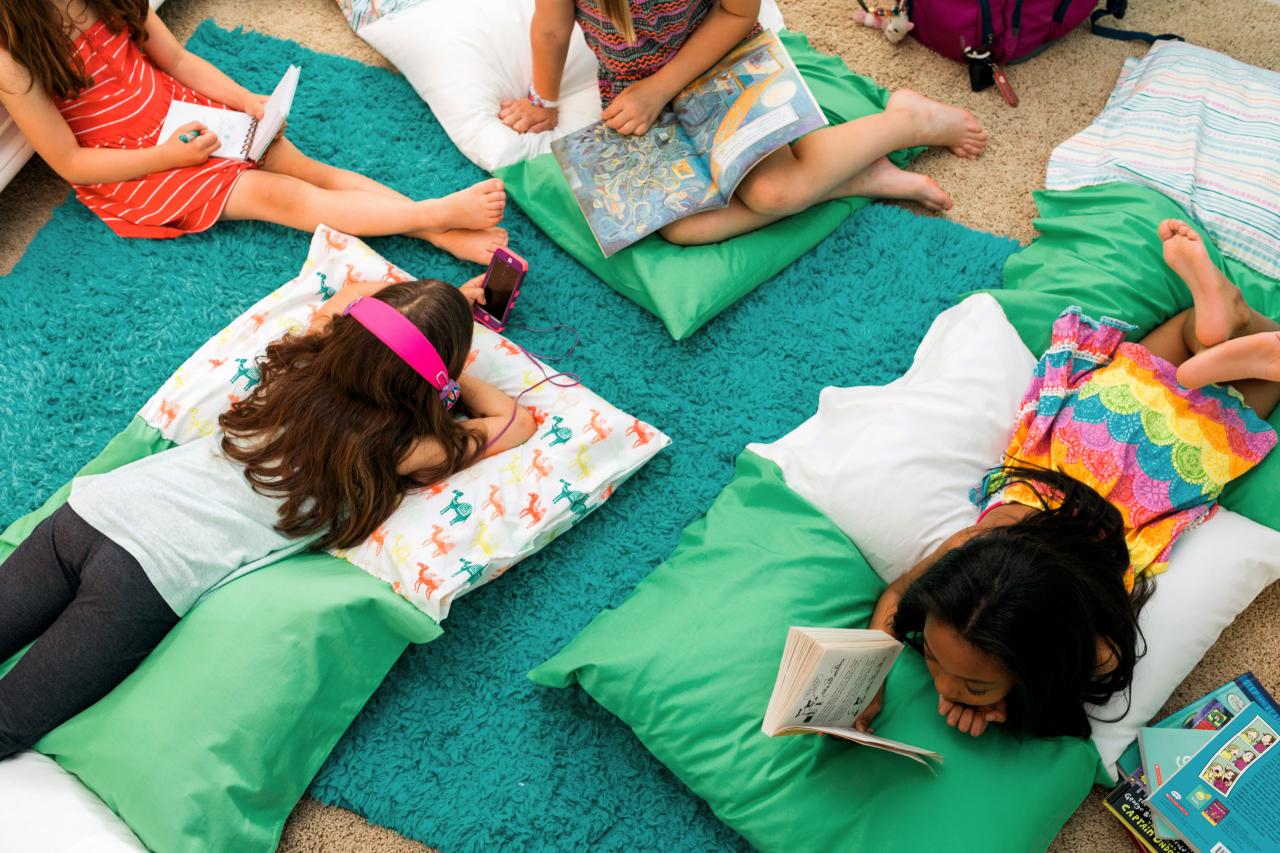
Turn Pillows Into Cozy, Kids' Sleeping Pods
Make your kids' next sleepover extra-special with these fun, handmade sleeping pods made from pillows.

Flynnside Out Productions

Materials Needed
- 3-4 pillowcases, in desired colors
- 3-4 pillow inserts
- sewing needle
- thread
- scissors
- hook and loop tape
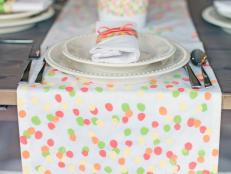
Coordinate Pillowcases
When you're getting the pillowcases together, play around with color and pattern to create a fun and cheerful vibe. Also, for smaller children, three pillowcases may suffice.

Flynnside Out Productions
Whipstitch Pillowcases Together
Using a contrasting thread, use a simple whip or blanket stitch to secure the pillowcases together. Make sure the open ends of the pillowcases all face in the same direction.

Flynnside Out Productions
Prep Hook and Loop Tape
The inserts will be secured in the pillowcases with the hook and loop tape. Cut three 3-inch sections of tape for each pillowcase. Note: Our sleeping bag had four pillowcases and required 12 pieces of tape total.

Flynnside Out Productions
Secure Hook and Loop Tape
Peel off the hook side's backing and affix the sticky side along the inside edge of the pillowcase, then press firmly for a few seconds. Next, peel off the loop side's backing and gently lay the top pillowcase edge down on the sticky tape, making sure to line up the pillowcase edges nicely. Use firm pressure so the adhesive connects with the fabric properly. Once that's done, you can gently pull the hook and loop tape apart to prep for the next step.

Flynnside Out Productions
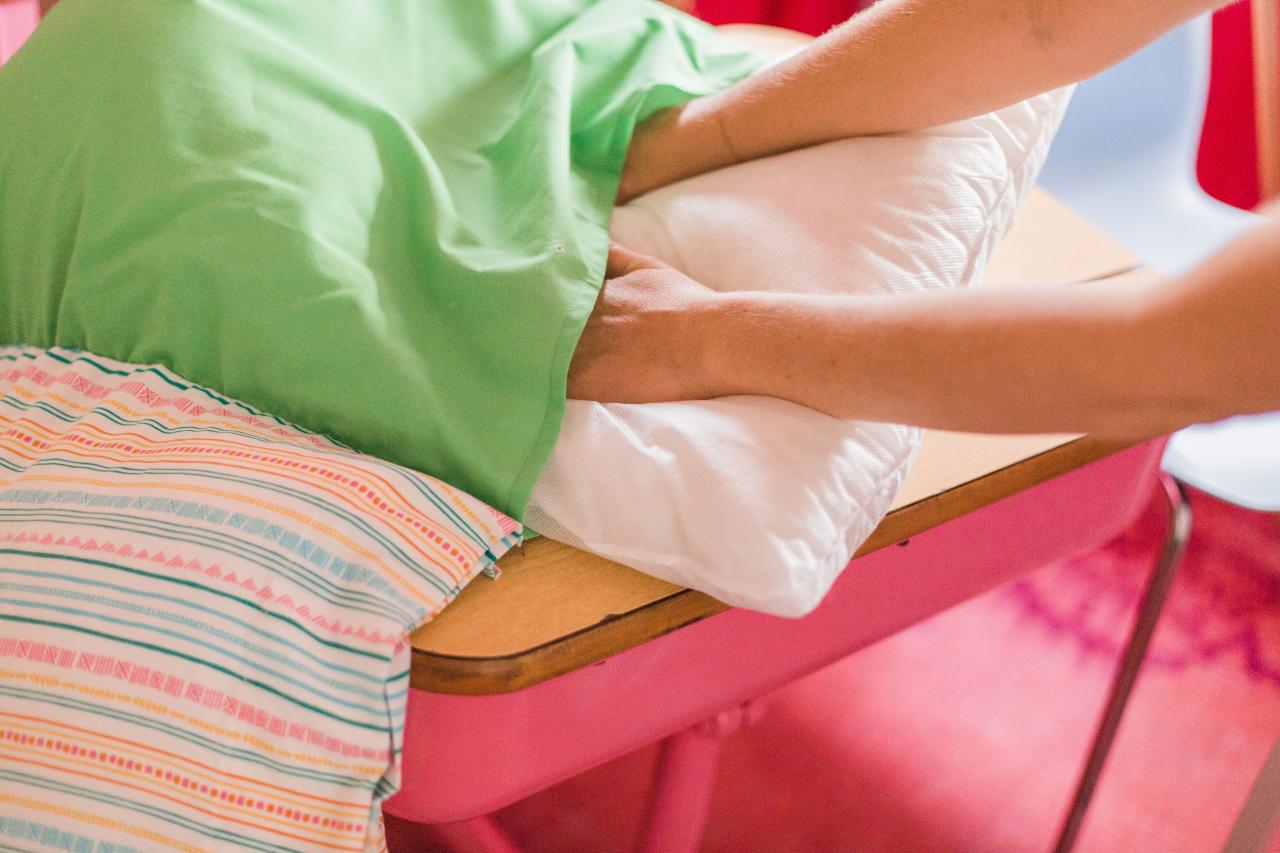
Stuff Pillowcases
Before a sleepover or camping trip, stuff with pillow inserts. When not in use, simply remove the pillows, launder the cases and store until the next adventure.

Flynnside Out Productions


