


Basic Quilting Tips

If you're a beginner at quilting, here are the basics you'll need to know to get started, including a design for a simple ribbon star block:
Tools
A rotary cutter is probably the most important tool you'll use as a quilter. It features a sharpened, round razor blade with a plastic handle. Rotary cutters should be used in conjunction with a self-healing surface mat and some sort of measuring tool that helps you cut accurately.
Other useful tools are scissors (to snip threads), pins, a seam ripper, a sewing machine, a regular steam iron and a pressing surface.
Fabric
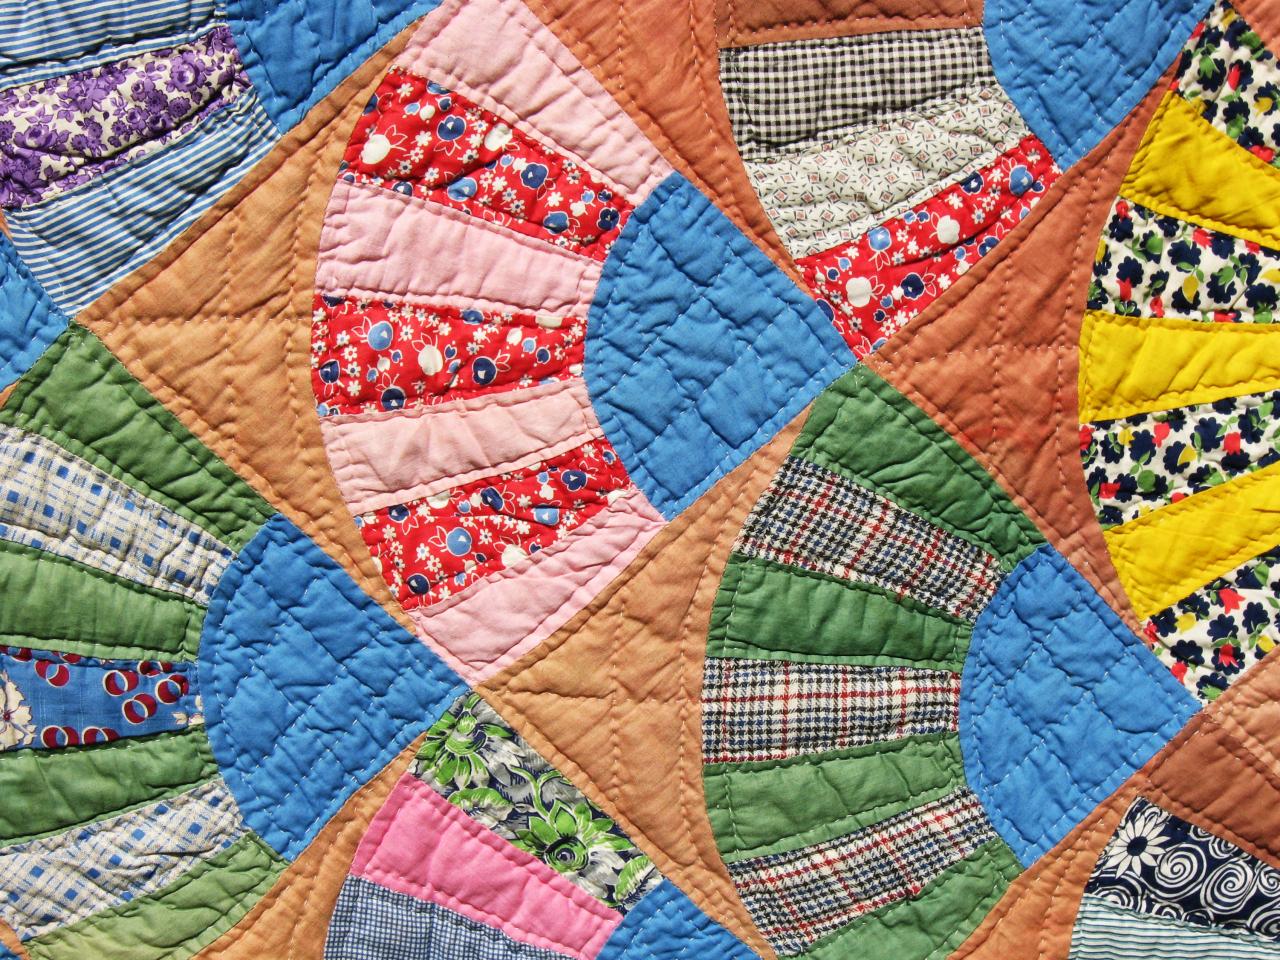
Most quilters have a stash that they add to periodically. Depending on your quilt, you could need three fabrics or 50 fabrics. Scrap quilts can be made of many hundreds of fabrics. Most seasoned quilters choose 100 percent cotton for consistency. Cotton handles well, wears well and dyes easily. It also presses easily, which is important in quilting.

It's a good idea to pre-wash because fabrics can shrink and fabric dyes can bleed. Also, if the quilt is going to be used rather than just displayed, you want to wash the fabrics just like you'd probably do before wearing new clothing or using a store-bought blanket.
Quilt-Top Designs
When just beginning, choose simple patterns. You can find patterns and books at local quilt, craft and book stores and online.
A good starter pattern is the ribbon star block. It looks complex, but don't worry-it's a variation on the nine-patch, one of the easiest patchwork designs you can make. Here's how to make it:
Materials and Tools:
light-colored fabric
medium-dark fabric
dark fabric
batting
backing fabric (print fabric is recommended to hide any imperfect stitches)
rotary cutter
self-healing mat
ruler
scissors
sewing machine
thread
sewing needle (optional)
quilting hoop or basting pins
Steps:
1. Wash or prepare the batting according to the manufacturer's instructions.
2. Line up selvage edges and then fold fabric in half. Using a rotary cutter, a measured self-healing mat and a ruler, trim away the cut edge of the fabric at a 90-degree angle (straight up and down).
3. Cut strips of light-colored fabric 3 7/8 inches wide. Cut the strips into 3 7/8-inch squares. Cut the squares in half diagonally to create triangles. You'll need four light-colored triangles per block.
4. Repeat step 2 with dark fabric, cutting eight triangles.
5. Repeat step 2 with medium-dark fabric, creating four triangles. Cut an extra 3 7/8-inch square to use as the center block.
6. Lay out the cut fabric as shown at right. Stitch the half-square triangles together using a ¼-inch seam allowance. Note: To ensure you're getting an accurate ¼-inch seam from your sewing machine, measure ¼-inch from the needle to the throat plate. Place a sticky note at the ¼-inch mark. Cut two squares that measure 2½ inches each. When stitched together on all sides, the squares will finish at 2 inches. Stitch the squares together with a ¼-inch seam allowance. Measure across the front of the stitched squares. It should measure 4½ inches.
7. Chain-piece the triangles by stitching two at a time in assembly-line fashion without clipping the threads.
8. Take the chained patchwork to your pressing surface and press seams (toward the dark fabric is the rule, but press adjoining rows in opposite directions to get crisper corners). Set the seam by holding the iron on the stitches for a second, and then open the triangle to reveal a square shape and press. Note: Press fabric while it's right side up so you don't press a tuck into it.
9. Sew the pieced and pressed squares into three rows. Sew adjoining rows together with a ¼-inch seam to create the block. Repeat the steps to make four blocks.
10. Stitch blocks together to create the quilt-top design.
11. To add borders, measure across the quilt from one raw edge to the other. Cut the top and bottom borders at 3 7/8 inch by the measurement found in the first part of this step. Stitch the top and bottom borders onto the quilt top using a ¼-inch seam allowance. Press. Measure from the top border across the quilt to the bottom border. Cut two side borders at 3 7/8 inches by the measurement just found. Stitch the side borders on. Press.
12. To complete the quilt, layer the backing fabric (right side down), batting and quilt top (right side up). Tape down the corners of the backing so it doesn't shift.
13. If hand-quilting, take long hand-sewn basting stitches down the center of the quilt top, biting into all three layers. Baste horizontally, vertically and diagonally. Use a neutral-colored thread for basting to avoid any dye-bleeding issues that could occur. If machine quilting, baste with quilter's basting pins (curved safety pins). The goal is to keep the layers from shifting while you quilt. If hand-quilting, position the quilt in a hoop to keep it taut while you quilt.
14. Quilt thread designs into the quilt layers. You can quilt simple lines or squares, or go for bolder, free-form designs. For quilting ideas, look at other quilts.
15. Add a binding by folding and stitching a bias-cut (cut diagonally across the grain of the fabric) strip of fabric to the front of the quilt. Trim away excess batting and fabric, squaring up the quilt. Fold the bias strip around to the back, turn under and hand-stitch down.


