


How to Update Your Bathroom in Just One Day
Think it has to take big bucks and weeks of waiting to transform your existing bathroom? You won't believe what one day, one can of paint and a few new accessories can do!

Let’s face it: Whether you’re lucky enough to be able to work from home, or you simply find yourself spending more evenings and weekends in these days, it was bound to happen. That boring bathroom that you once considered “okay for now” has been getting to you. Day in and day out, as you use it more frequently and eye it from nearby rooms, all you can think about is how much happier you’d be if you could finally give it the makeover it’s been begging for all these years.
Hello, sad before.

Bonesteel Films
The good news? You can! The bad news? Once you see how inexpensive and quick it is to make a major impact on a builder-grade bathroom, you’re going to kick yourself for waiting so long to do it. But enough stalling, let’s get to it!
Materials + Tools
- screwdriver or drill
- deglossing pre-paint wipes
- painter's tape
- interior primer
- paint brush
- paint roller + pan
- interior paint
- optional: updated hardware
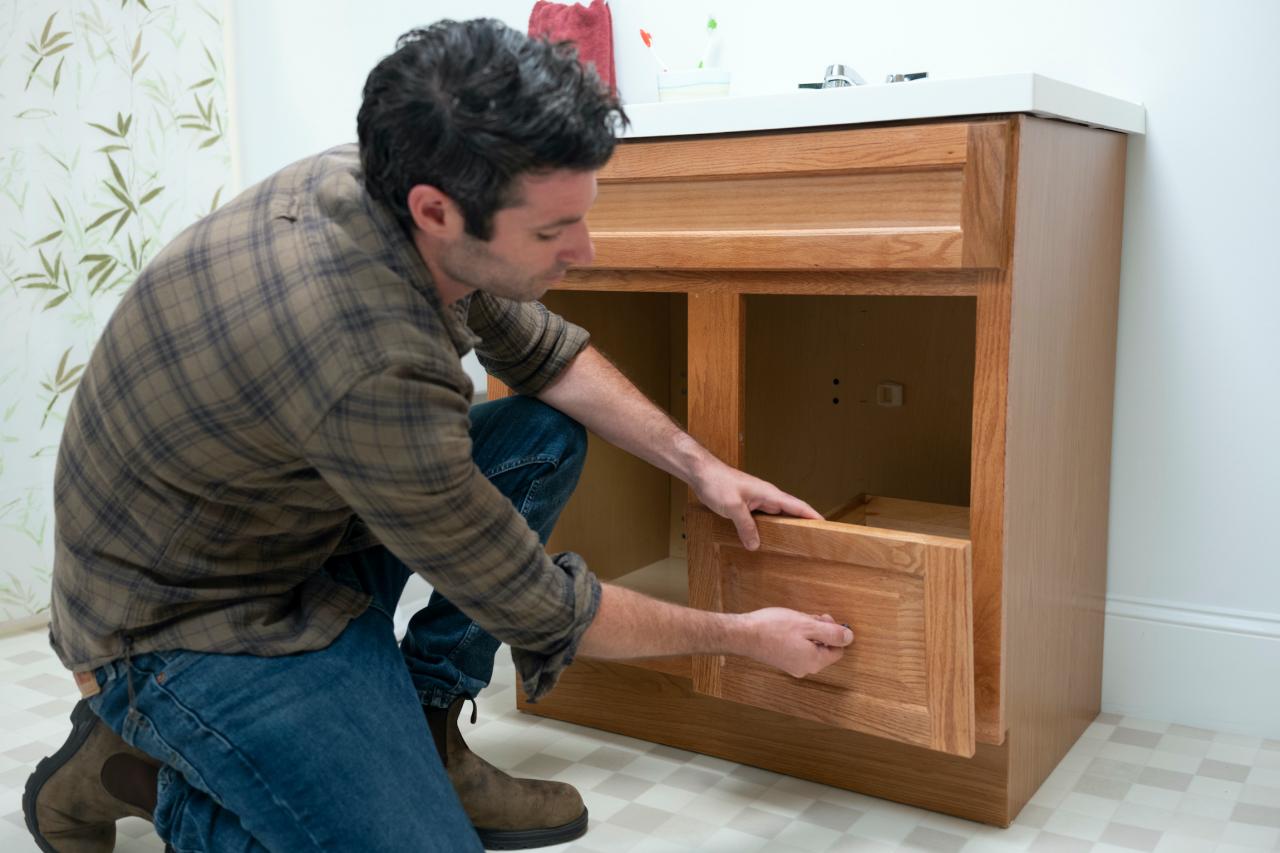
Remove Doors + Drawers
Without spending thousands on a full renovation (not to mention being without your bathroom for weeks), you can still give your existing bathroom a major facelift, starting with the vanity. You may not believe it now, but there are so many positives to keeping your existing vanity. Even if you aren't concerned with the financial savings, you’ll also get to skip the tiresome plumbing and exhausting flooring work you’d likely have to do if you opted to install a new one. If you’re looking to get the most bang for your buck and save major time and frustration, just trust us on this one. To start, remove all doors, drawers and hardware.

Bonesteel Films
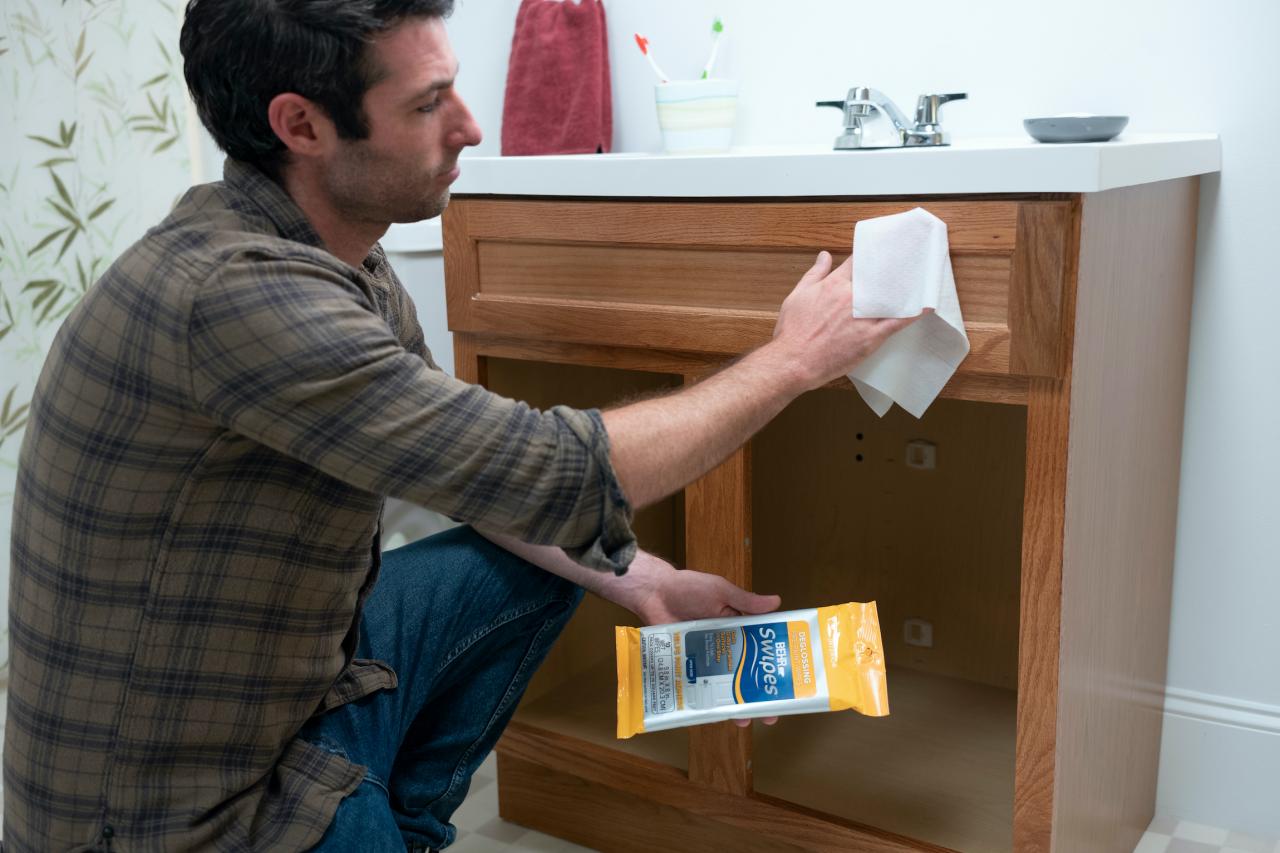
Prep the Surface
Dull the glossy surface and save some elbow grease by opting for a deglossing wipe to prep the surface for paint before moving onto priming (Image 1). We used the BEHR SWIPES® Deglossing Pre-Paint Wipes. Once the surface is prepped, tape off the wall and countertop (Image 2) and coat the vanity with a layer of primer (Image 3).

Bonesteel Films

Bonesteel Films
Paint
Once your primer has dried, it’s time to move on to paint. We went with a vibrant blue hue (Voyage by BEHR) to brighten the space and be an instant focal point in the bathroom (Image 1). Use a brush for trim detail (Image 2) followed by a roller on the flat surfaces for a nice smooth finish (Image 3). Allow to dry for two hours, and apply a second coat.

Bonesteel Films

Bonesteel Films

Bonesteel Films
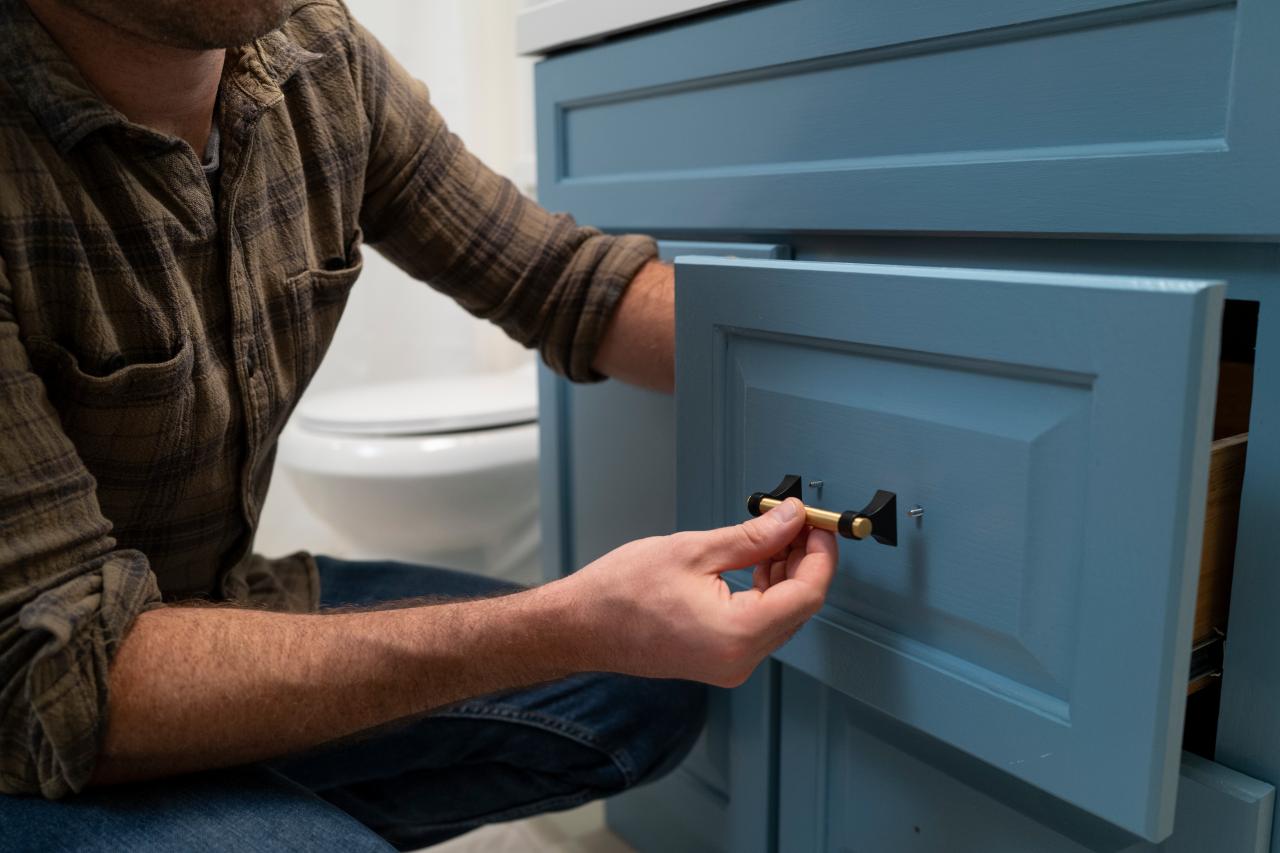
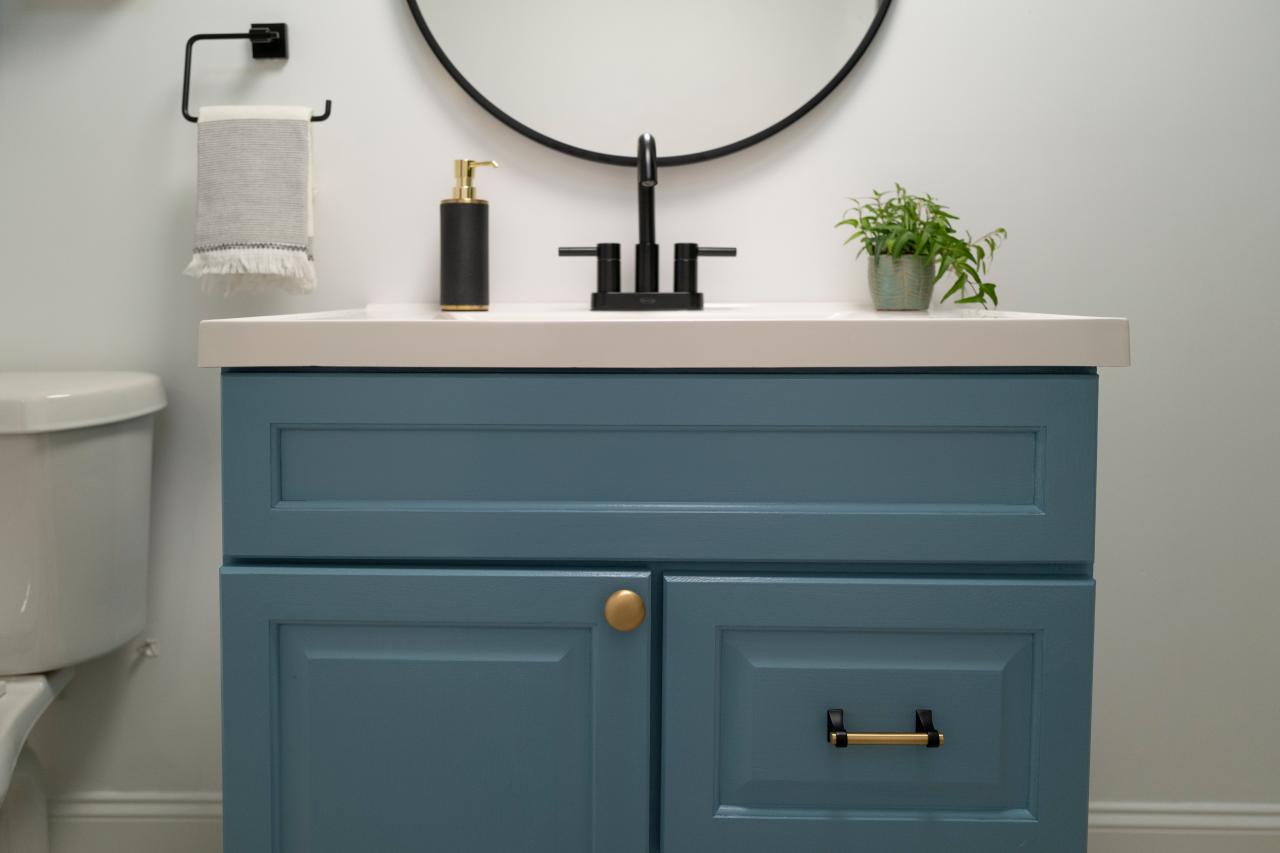
Dazzle With Decor
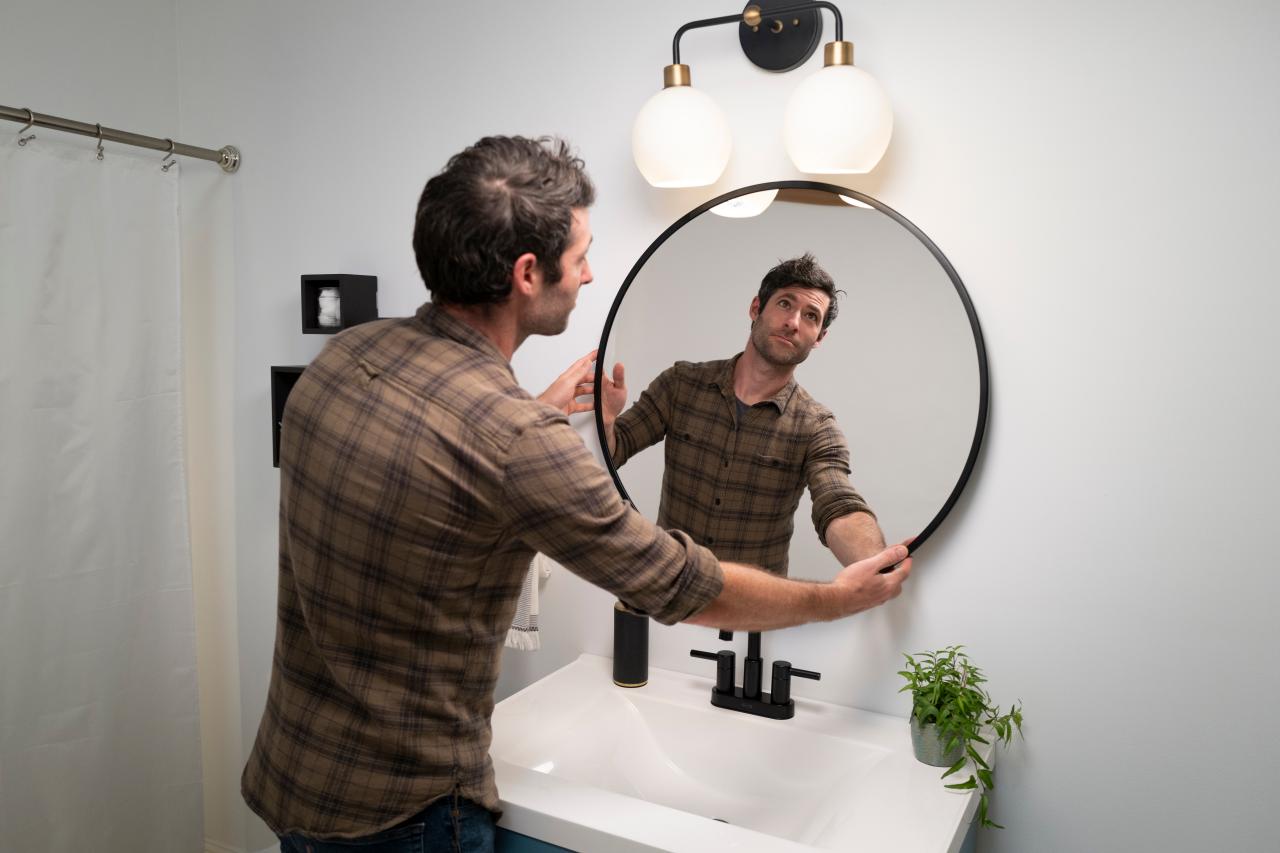
By now, you’re probably already blown away by the power of a new paint job, but we’re not stopping there! Take your vanity to a whole new level by swapping out the old hardware for something that speaks to your individual style (Image 1). To elevate the space even further, we opted for sophisticated black and brass hardware throughout, including new lights, a sleek black faucet and a circular mirror that modernizes the entire space (Images 2 & 3).

Bonesteel Films

Bonesteel Films

Bonesteel Films
Enjoy!
Same bathroom, great new look.

Bonesteel Films


