


How to Make a Chinoiserie Halloween Pumpkin
Make your Halloween decor the most design-forward on the block with these chinoiserie-inspired pumpkins.


Chinoiserie is a time-tested motif that has experienced a recent comeback. Adding small touches is a great method to show your love of the pattern without going overboard. Show off your style by decorating Halloween pumpkins and place them outside for everyone to see.
Materials Needed:
- pumpkin(s)
- masking tape
- flat white spray paint
- pencil
- acrylic craft paint in three shades of the same color
- artist paint brushes
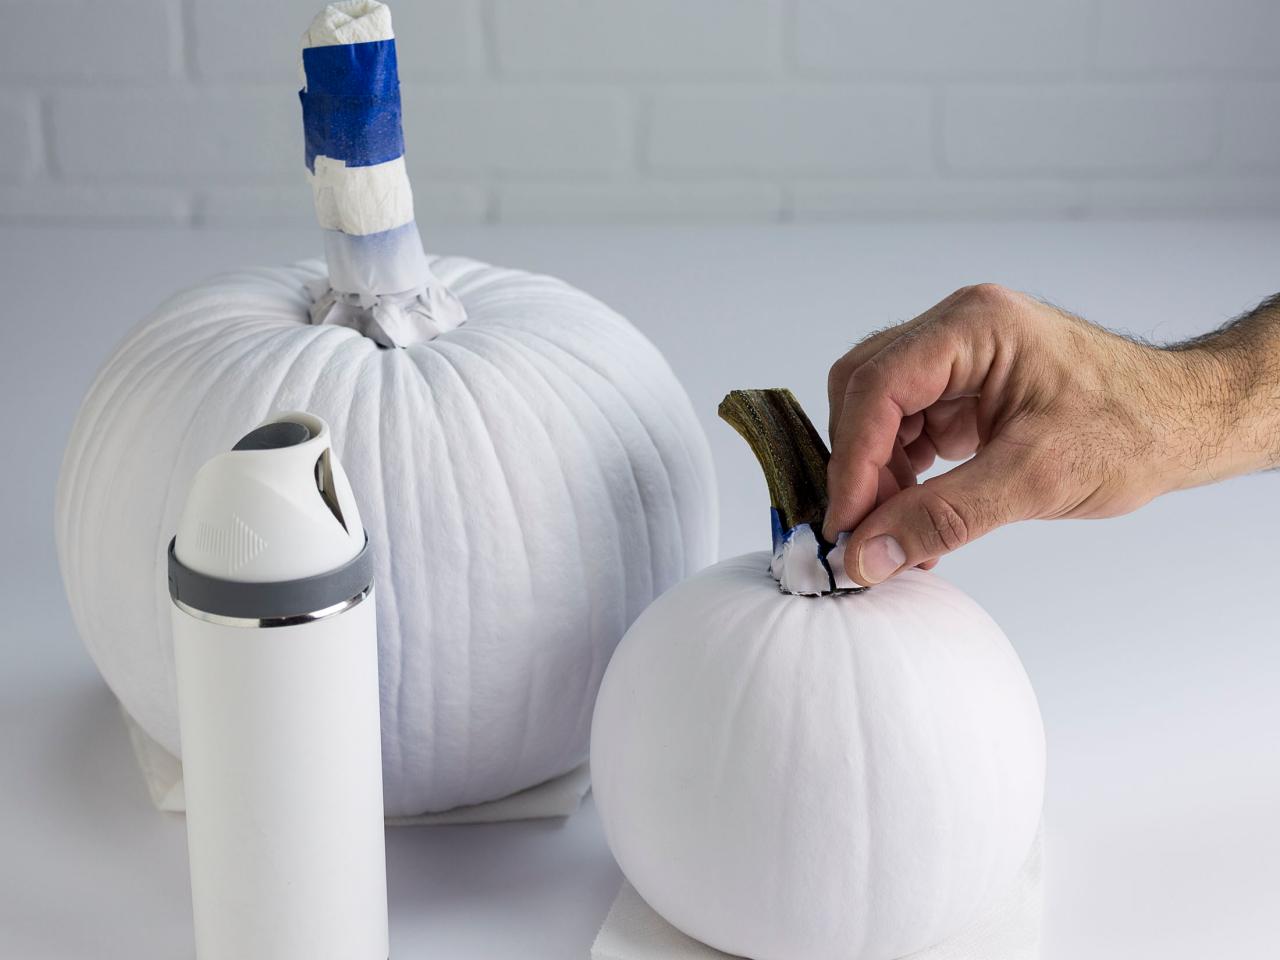
Begin by masking the stem. Use masking tape to work around the base of the stem carefully. Then wrap the remainder of the stem in paper and masking tape. Paint with flat white spray paint. Apply two coats if necessary to cover completely. Allow to dry fully before carefully removing the masking tape.

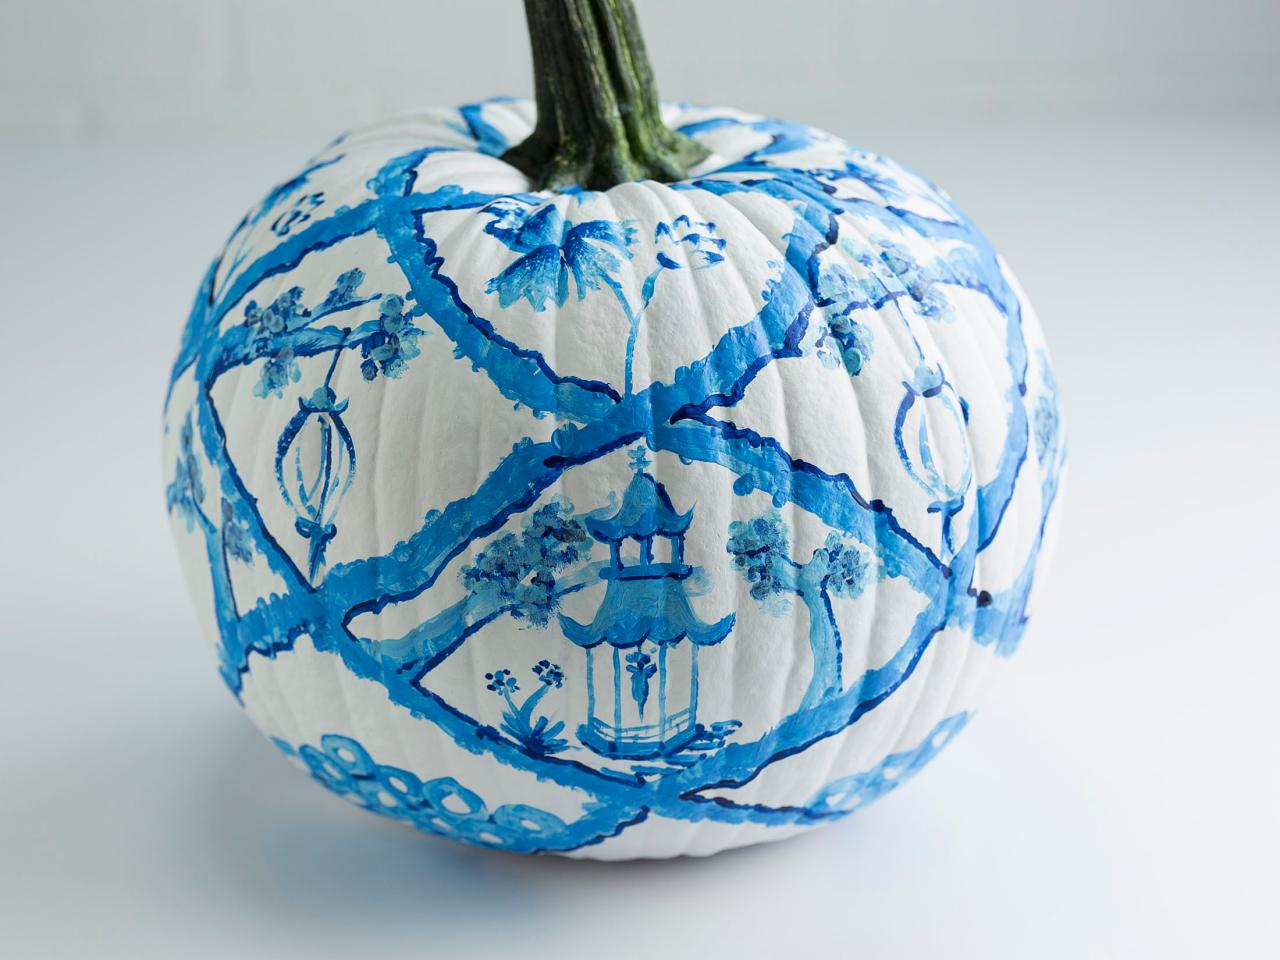
Make four small marks at the base of the stem spaced equally apart. Make corresponding marks on the bottom of the pumpkin. With the pencil, lightly draw a spiraling line from one of the marks on the top of the pumpkin to the mark on the bottom of the pumpkin that corresponds. Repeat for the other marks. Next repeat the process, spiraling the lines in the opposite direction.

Use the medium shade of the paint to cover the lines. TIP: Making perfectly straight lines on the surface of a bumpy pumpkin will be very difficult. Opt for somewhat rough lines instead.

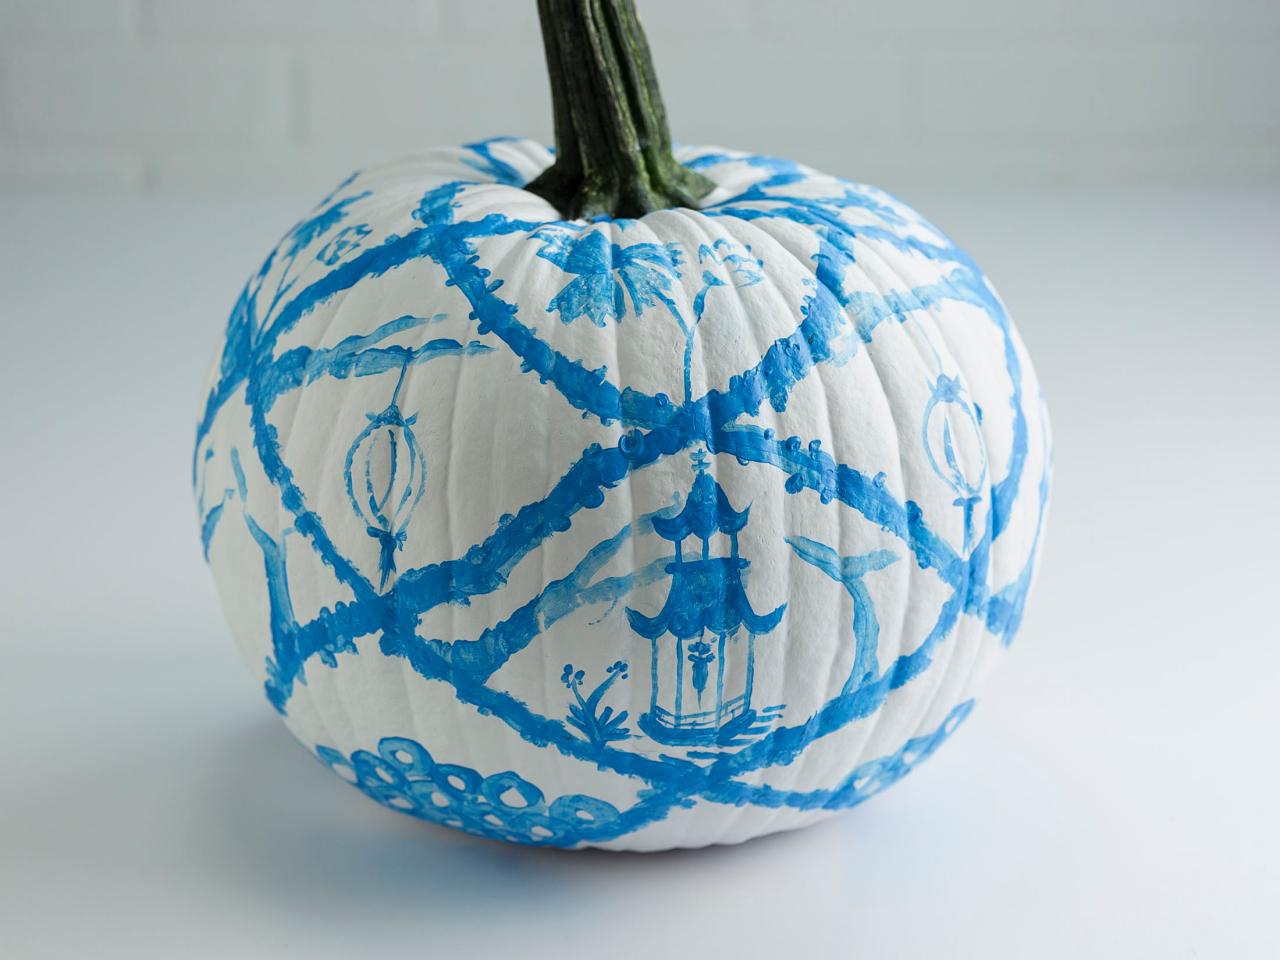
Add chinoiserie-inspired details in the resulting diamond shapes with a pencil. Stick with designs that match your skill level. For this example simple pagodas, hanging lanterns and flowers were used. The bottom shapes are filled with a simple circle pattern. Paint over the pencil drawings with the medium colored paint.

Use the darkest shade of paint to add shadows and depth. For this example, shadows were added to two sides of the inside of the diamond shapes and to one side of the design elements.

Finally, add the lightest shade of paint to the sides opposite the darkest shade to create some highlights. Allow the paint to dry fully before displaying.

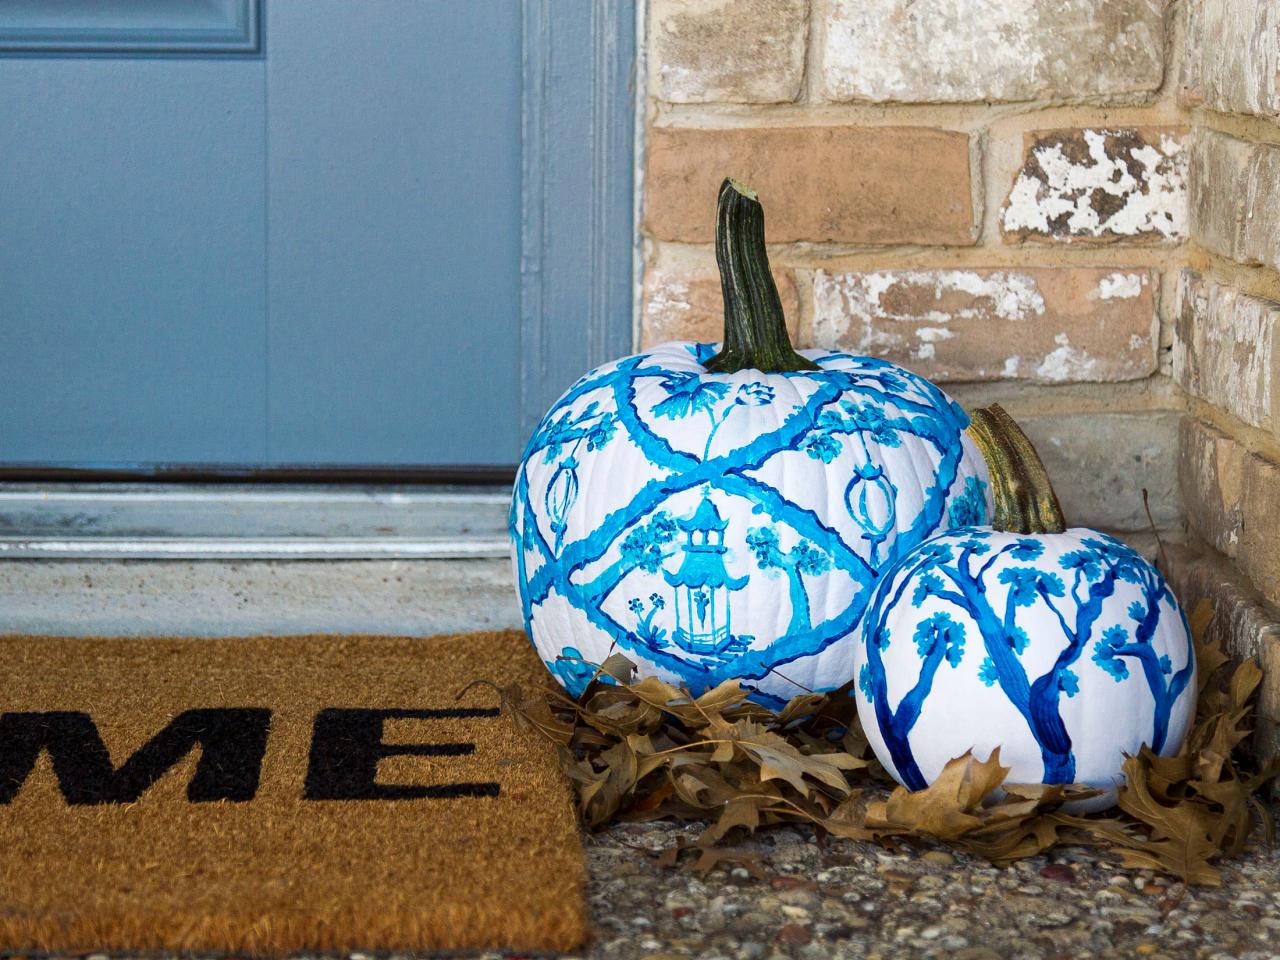
For the second pumpkin example, simple branches with flowers were used. Draw branches randomly with the darkest shade. Add circles randomly at the ends of each of the branches. With the medium shade, add petals to each of the circles, starting just outside the circle and pulling the paint in toward the center.

Now go impress your neighbors by decorating your porch or doorstep with your design-forward pumpkins!


