


How to Install Decorative Arches on a Wall
Bring style and elegance to a bland space by creating accent wall arches that add dimension, visual interest and a classic touch.

Inspired by classical architecture, arches can transform any blank wall into a work of art. The addition of rounded lines softens a space, and the recessed arches add dimension and interest. While this isn’t quite a beginner project, it is certainly doable with a solid attention to detail and an extra set of hands. Precise measurements and careful cuts will make for beautiful results. Arches act almost as a frame that draws the eye in and creates a focal centerpiece in a room.

Jennie Andrews
Tools and Materials
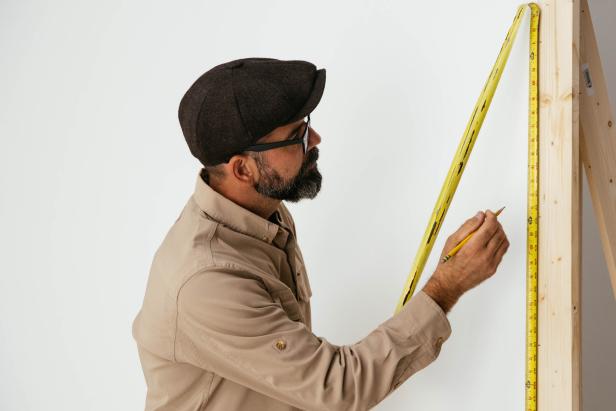
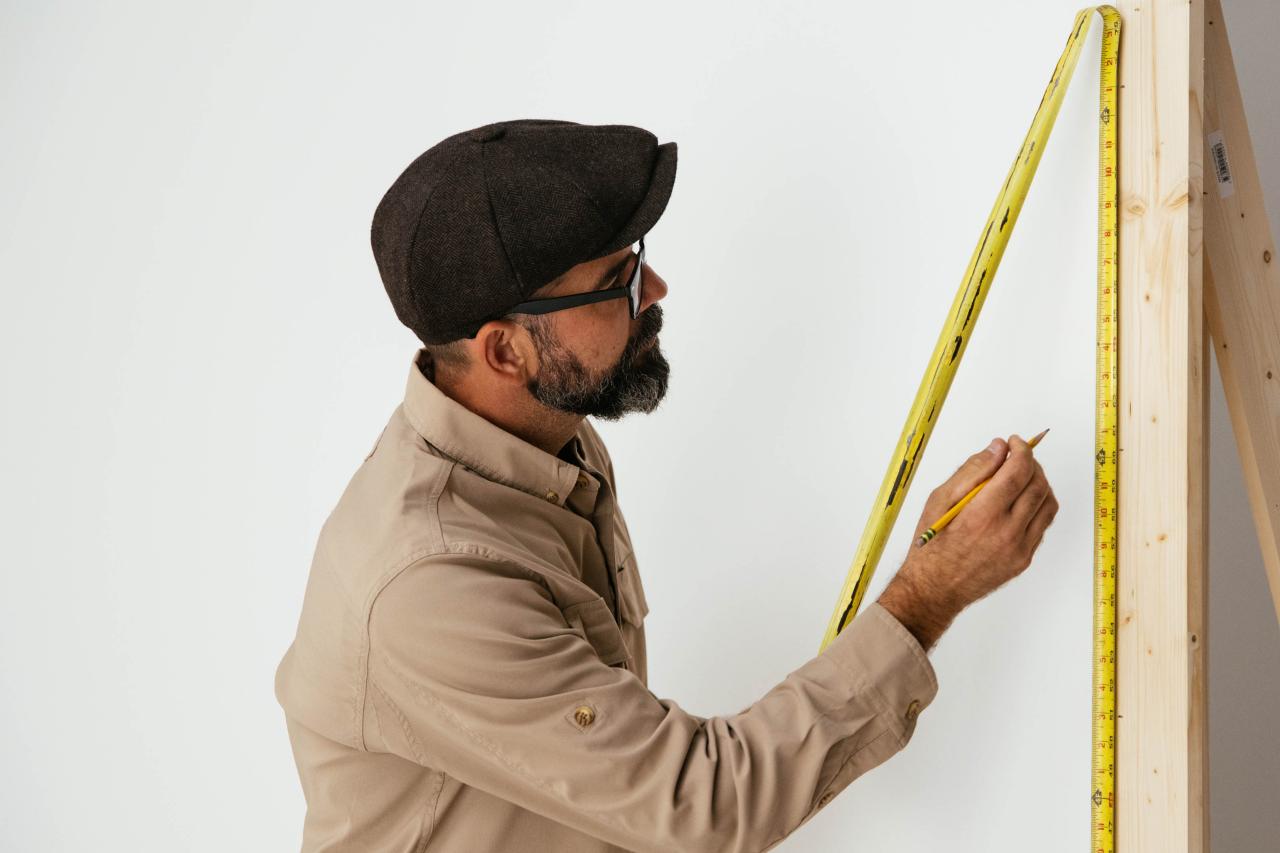
1. Measure the Wall
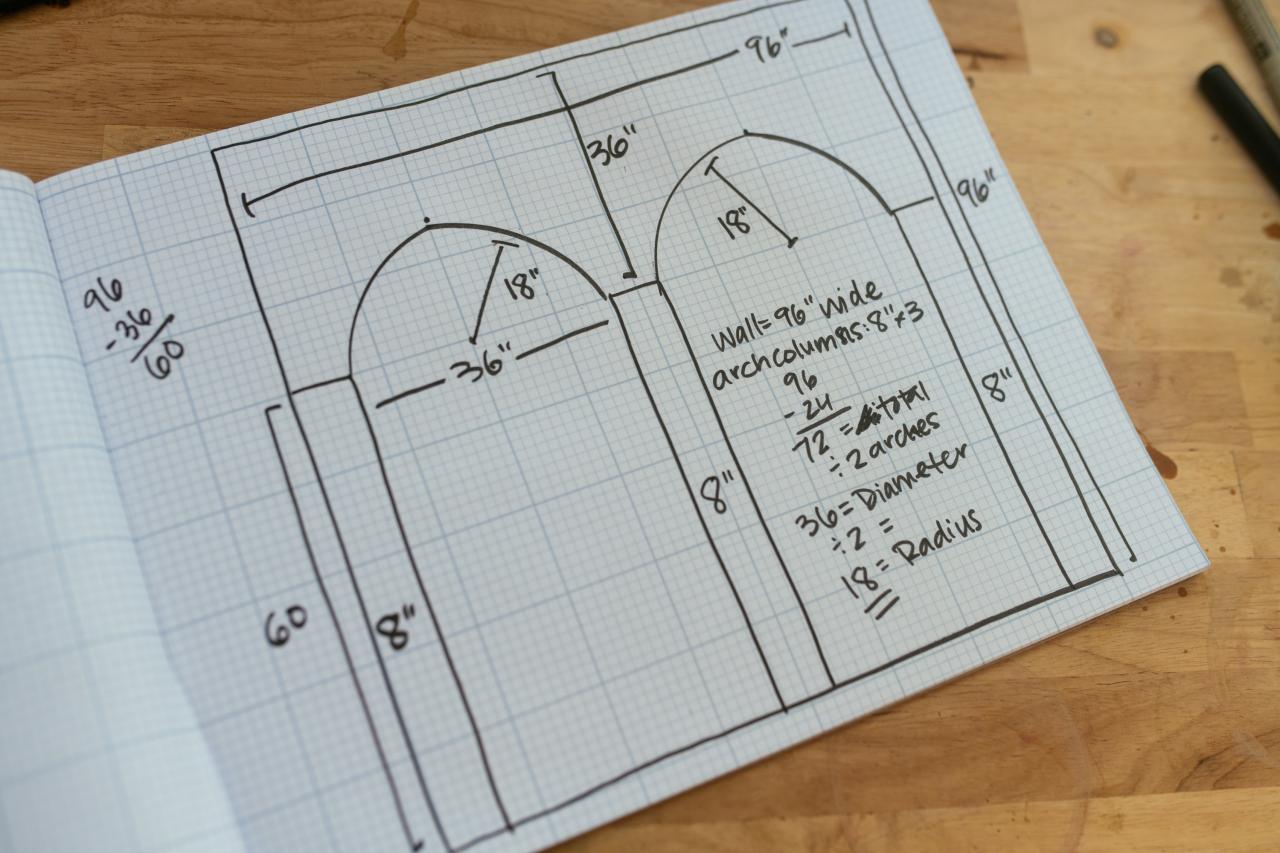
Measure the height and width of your wall and determine the number of arches you want. Also, determine the width of the columns as well as the radius of the arches. To determine the radius, subtract the total width of all the columns from the total width of the wall. Then, divide that by the number of arches you wish to have. That gives you the full width of the arches. Then divide that number in half to find the radius of your arch.
To find the length of the columns, determine how close to the ceiling you want your arches to end (for visual reference, our arches sit 18” below the ceiling). Subtract that number and the radius of your circle from the height of the wall. This will be the height of your column pieces. For reference, our wall is 8’ high and 8’ wide. Our arches are 36” across (18” radius), our columns are 8” wide and we have 18” between the top of the arches and the ceiling.

Jennie Andrews
Jennie Andrews
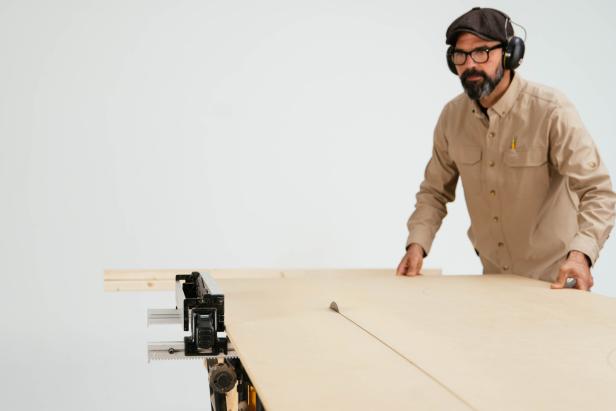
2. Measure and Cut Columns
From a piece of 3/4” MDF, use a table saw to cut the columns based on your determined measurements.
Jennie Andrews
Jennie Andrews
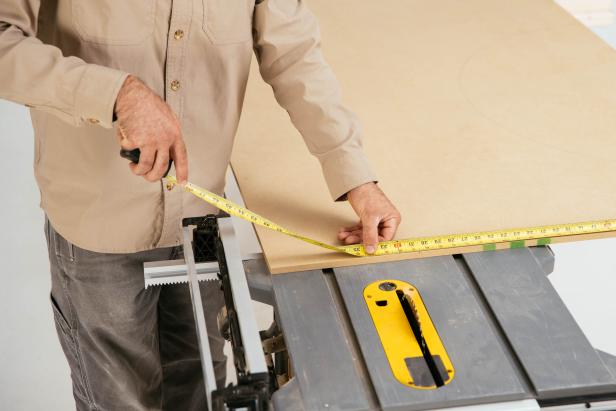
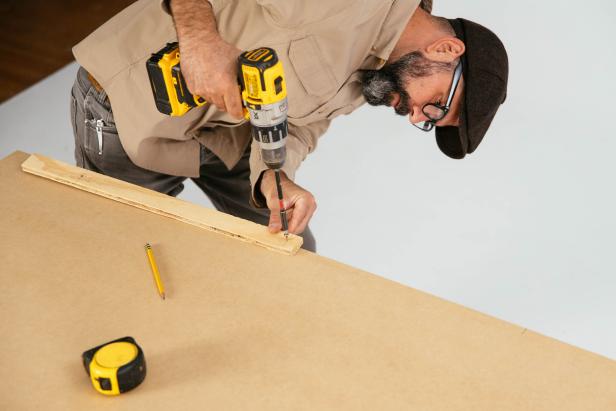
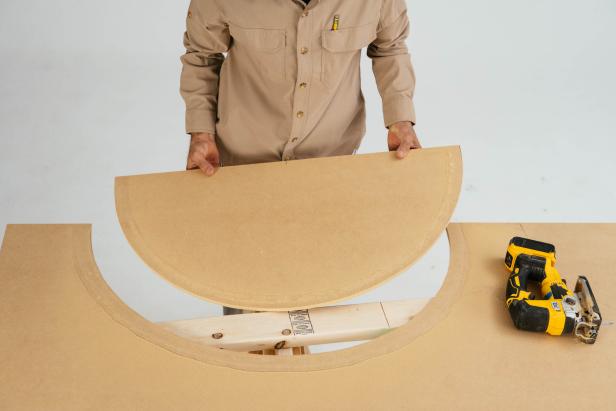
3. Measure and Draw Arches
The top part of the arches will be cut from a different board. Add the radius and the height above the arches to determine the total height of this piece. Cut to size. Then, measure in from the edges of the board the length of the radius plus the width of one column. This will be the center of your half-circle.
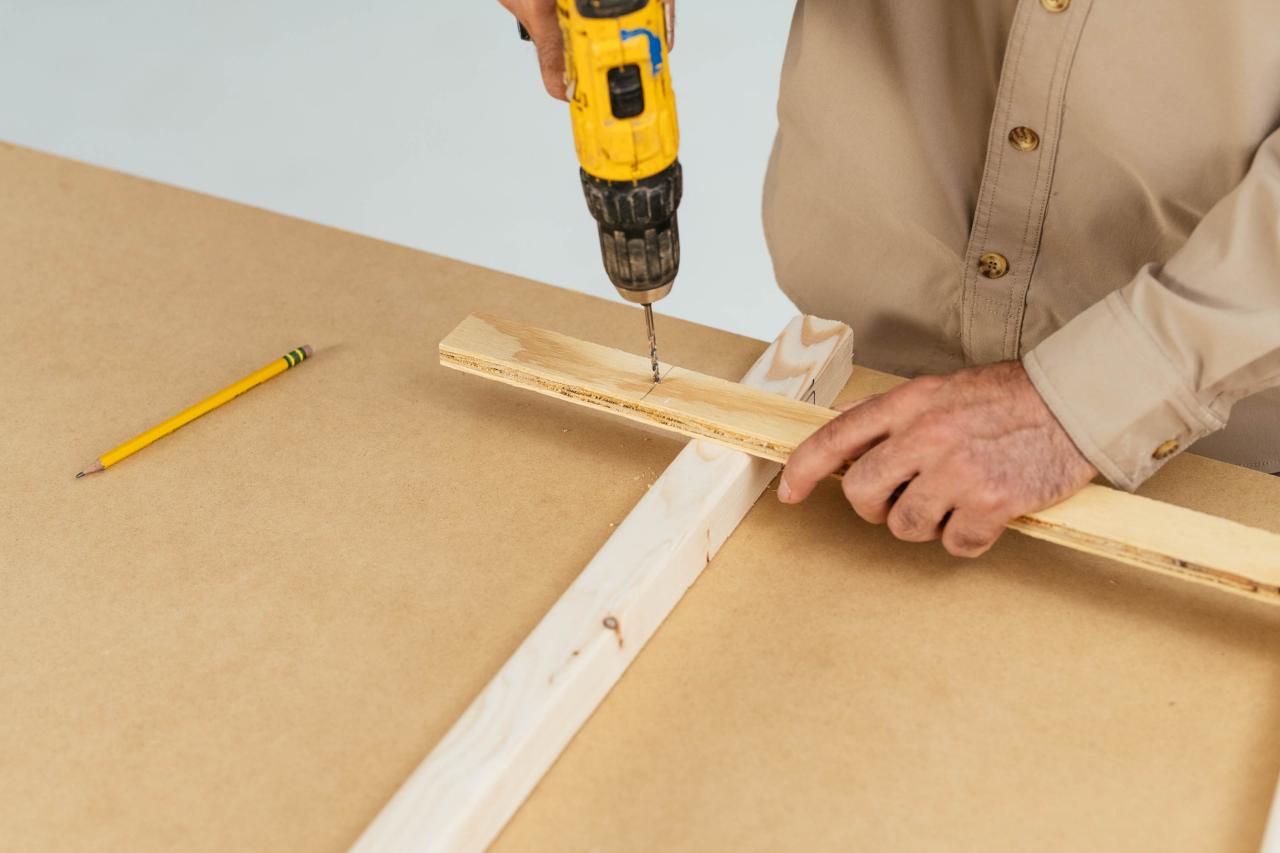
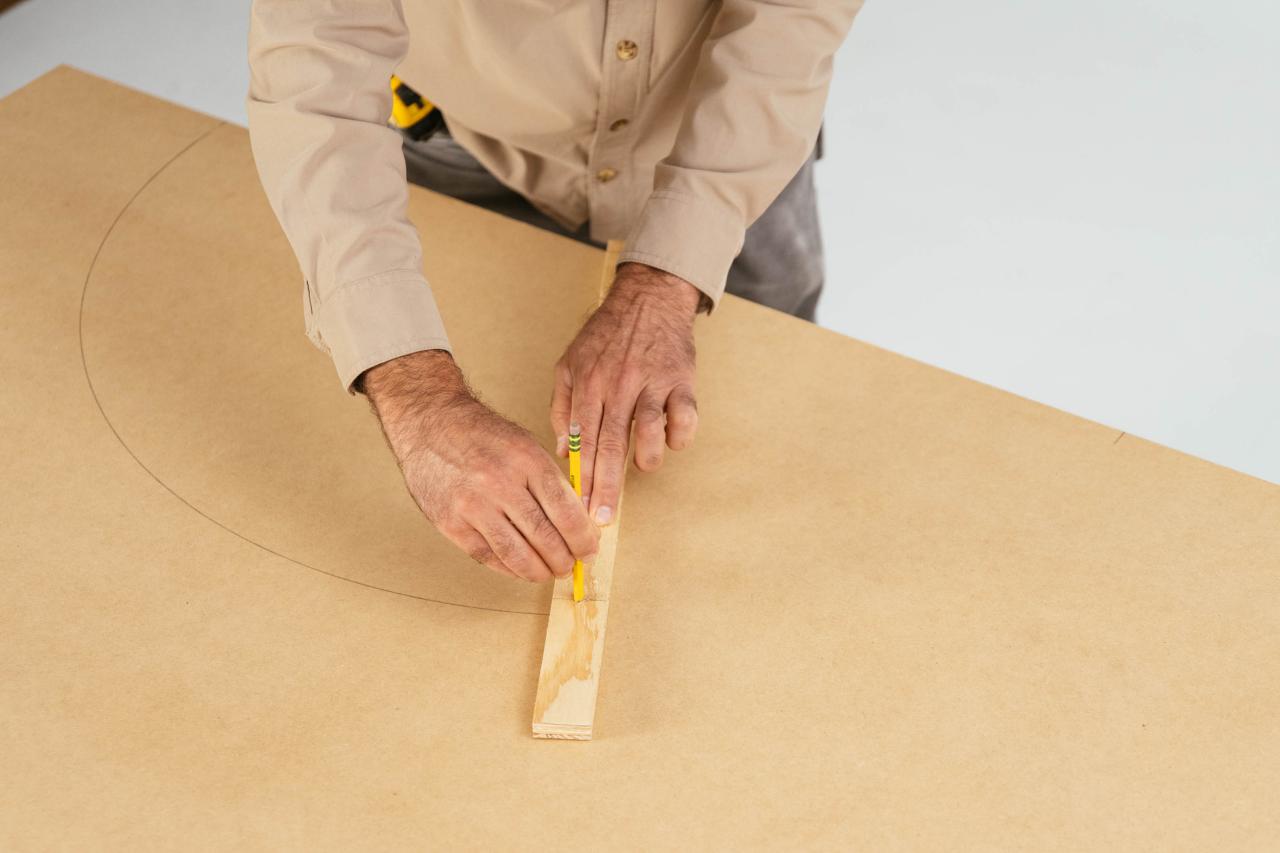
Make a compass to draw the arches, start with a piece of scrap wood slightly longer than the radius. Measure the radius on the board (leaving a little space at each end) and mark. At the two marks respectively, drill one hole for a screw and another for a pencil. Slightly drill in the screw at the center of the circle marked on the MDF and make a half-circle mark by orbiting the pencil. Repeat for any additional arches.

Jennie Andrews
Jennie Andrews

Jennie Andrews
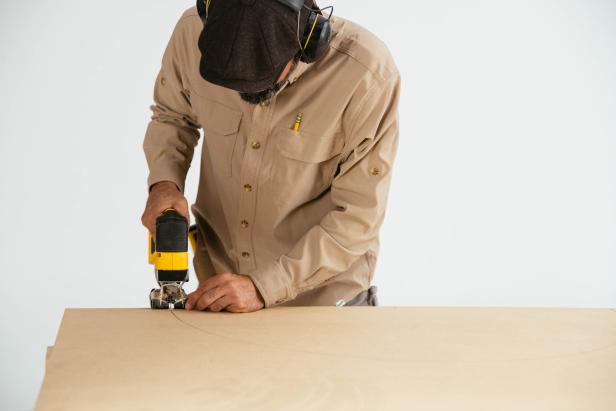
4. Cut the Arches
Using a jigsaw, carefully cut out arches.
Jennie Andrews

Jennie Andrews
Jennie Andrews
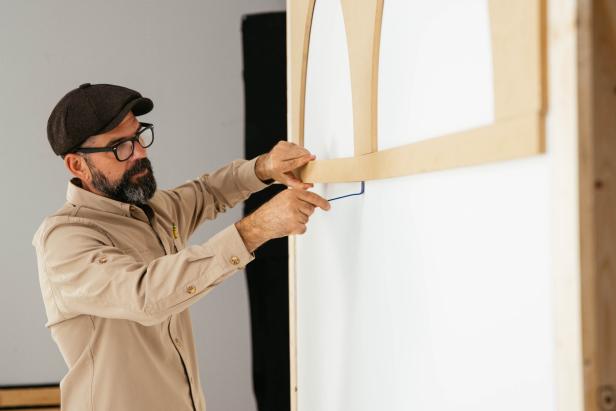
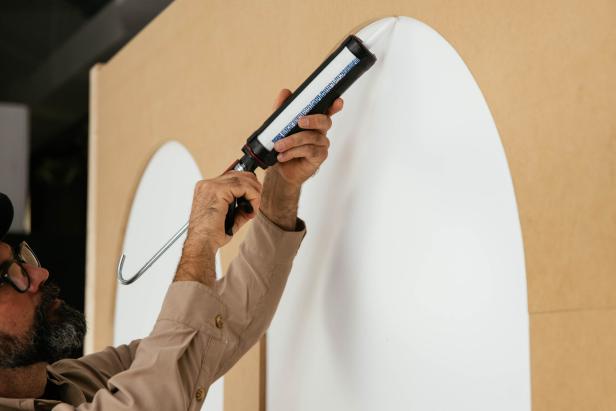
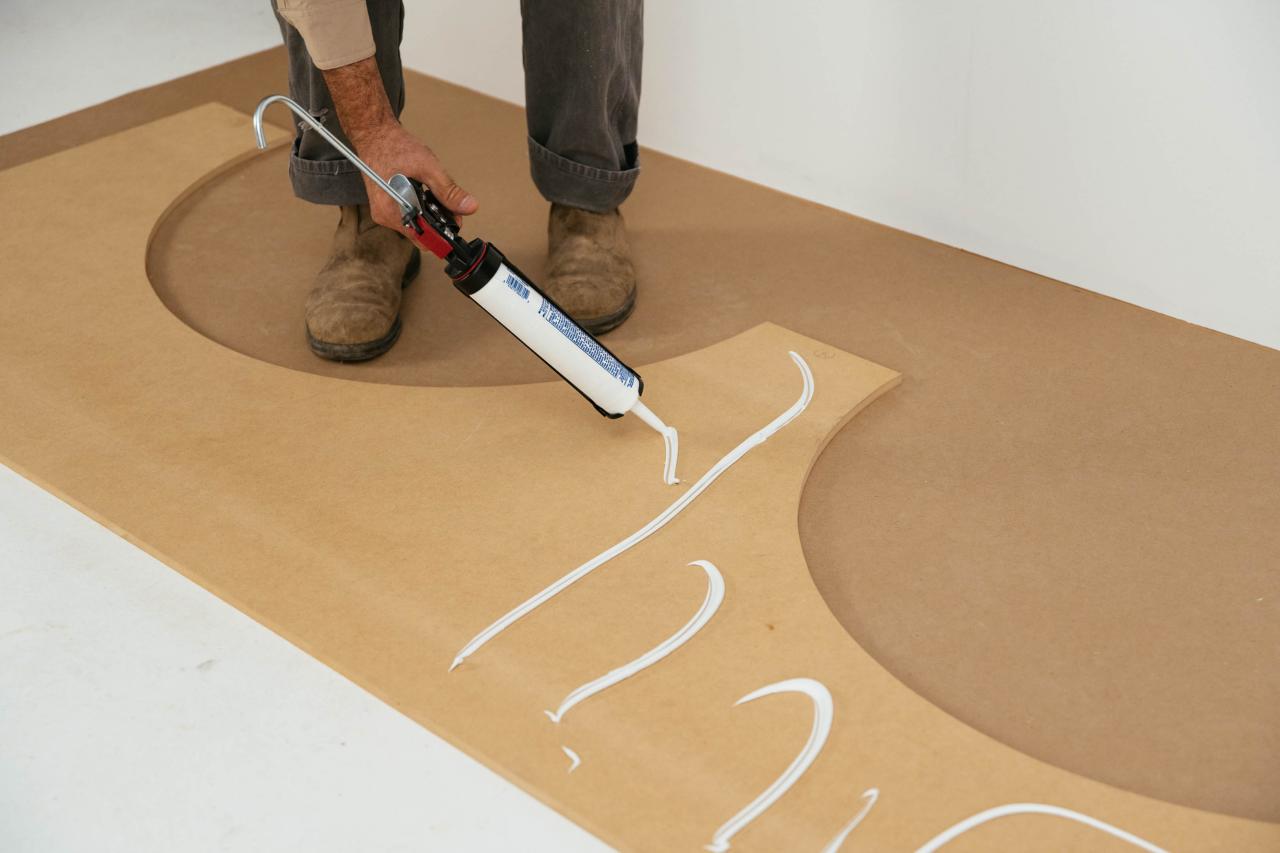
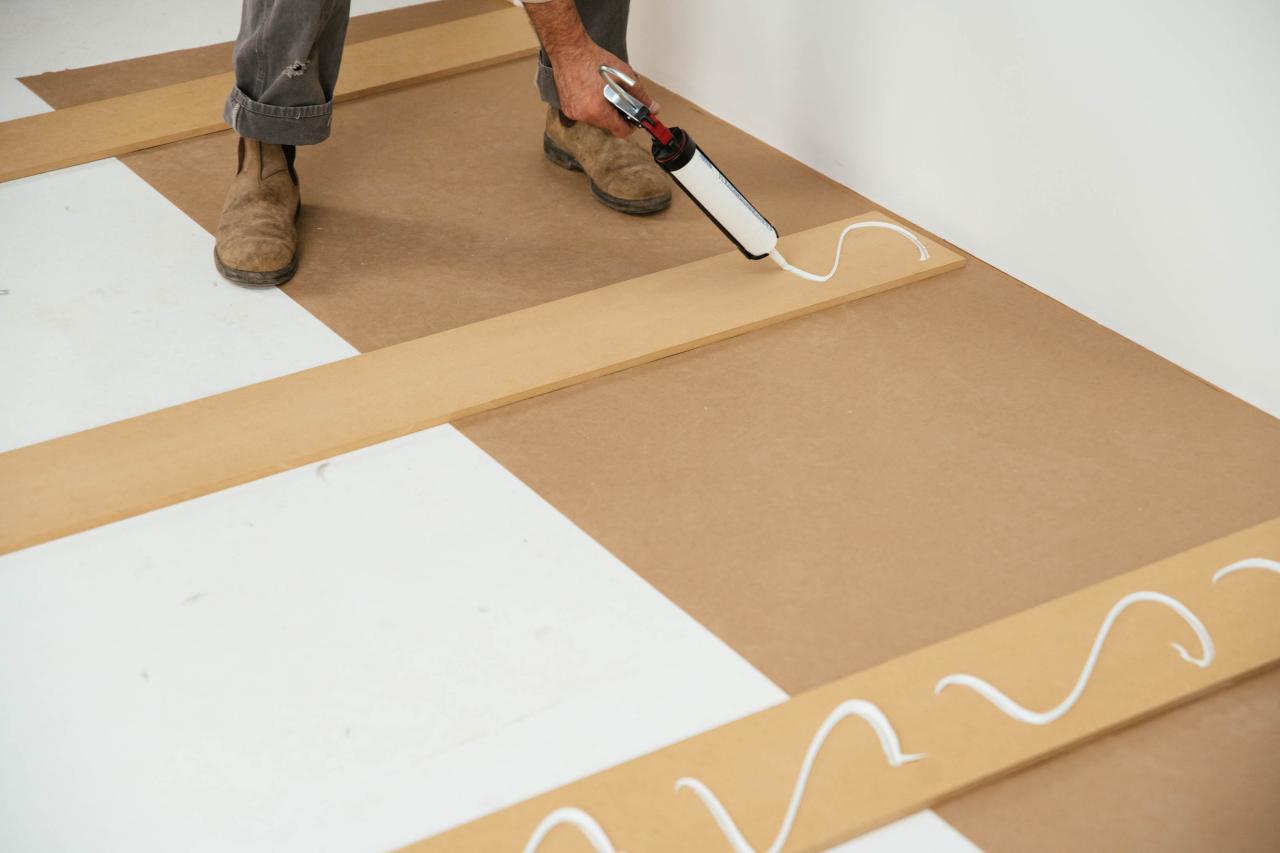
5. Attach Arches to the Wall
Measure and mark the wall for placement of columns on each side of the wall. Attach a piece of scrap MDF using a brad nailer at these marks to serve as a temporary ledger board for supporting the upper arch. Check to be sure the board is level. Apply construction adhesive liberally to the back of the upper arch piece and, using a brad nailer, attach it to the wall above the ledger board.

Jennie Andrews

Jennie Andrews

Jennie Andrews

Jennie Andrews

Jennie Andrews
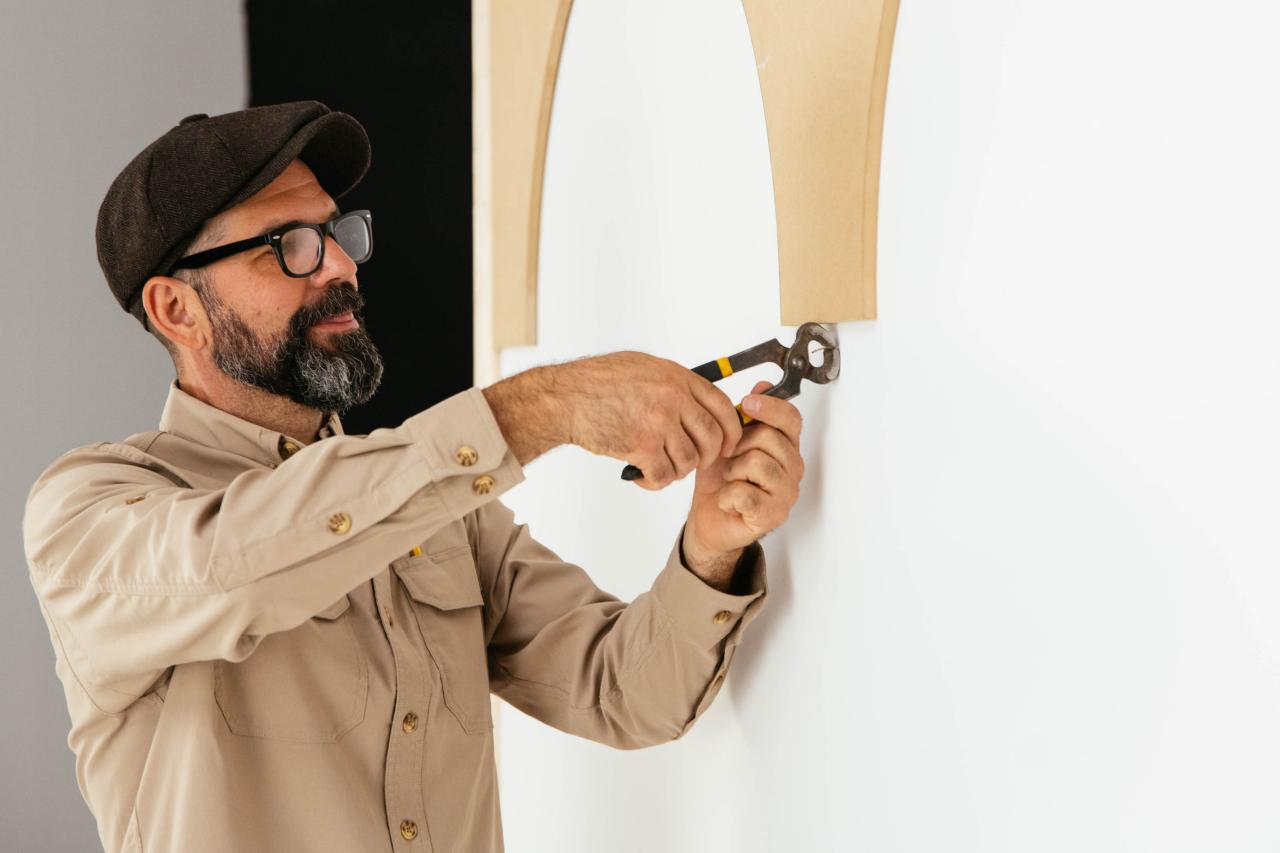
6. Remove Ledger Board
After the upper arch piece is secure, use a pry bar to remove the ledger strip and pliers to remove brads.
Jennie Andrews

Jennie Andrews
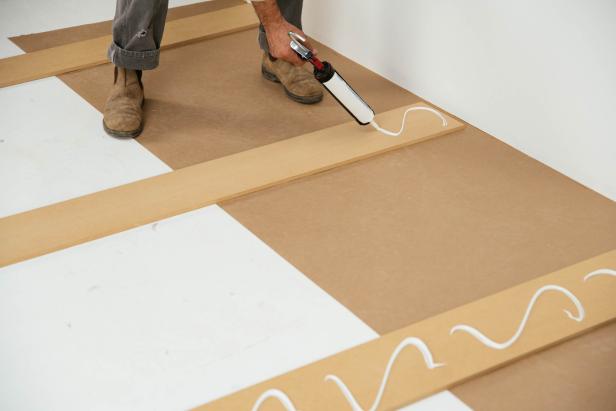
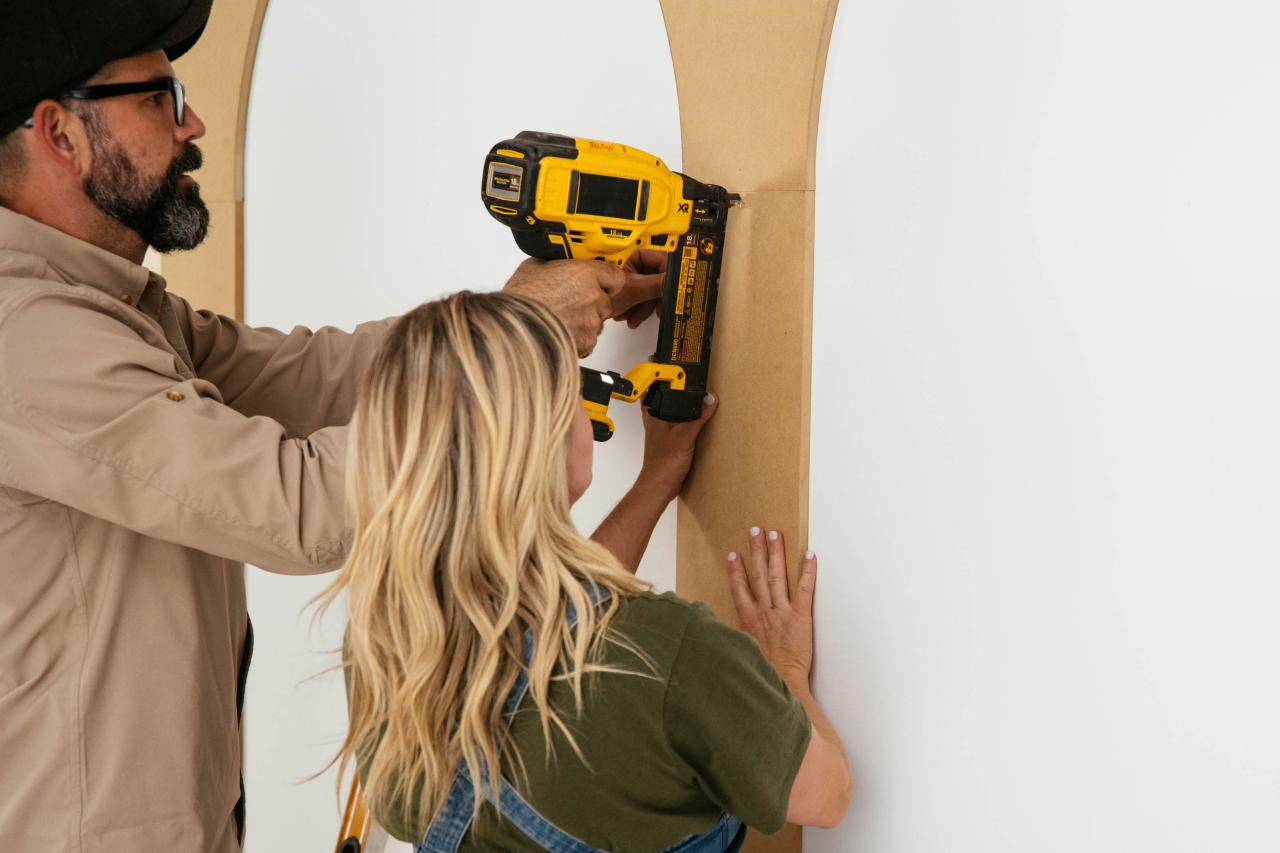
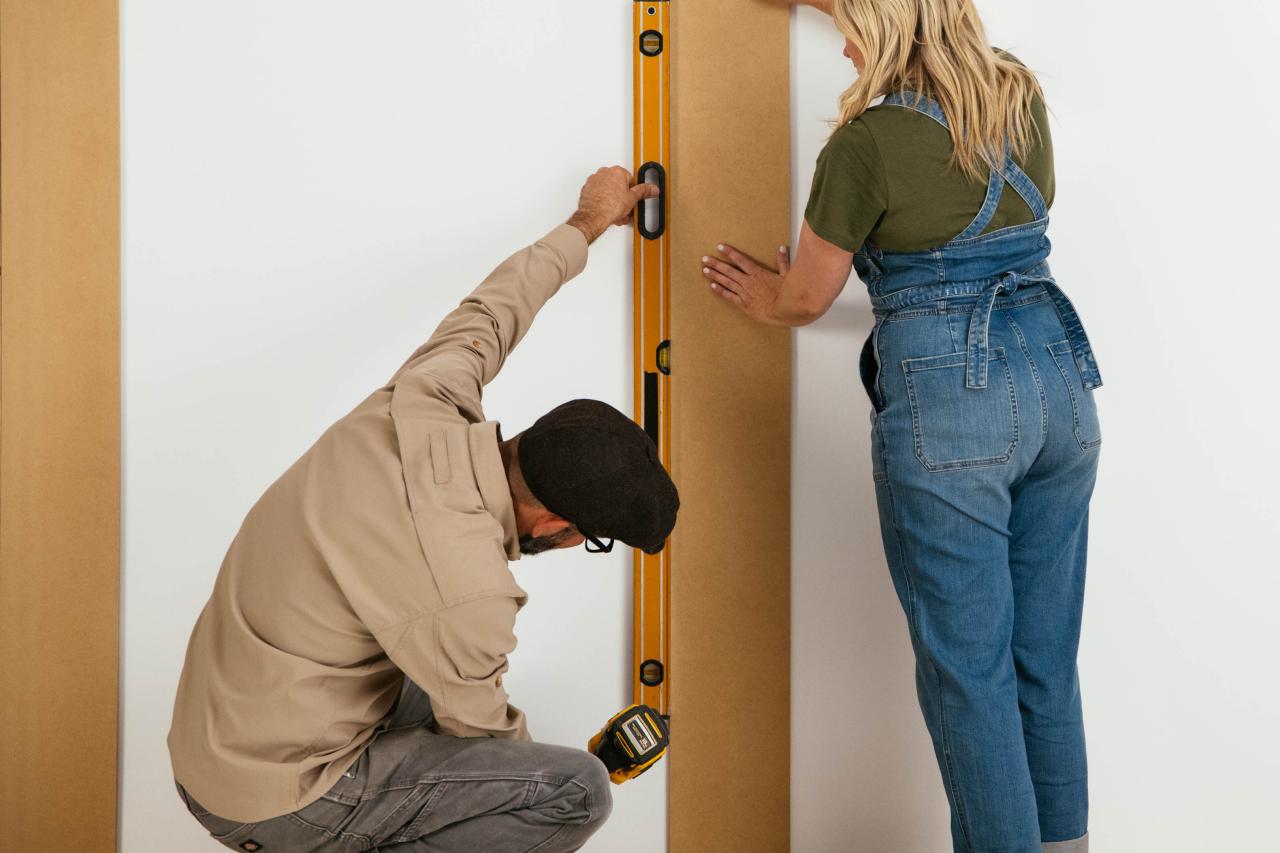
7. Install Columns
Attach columns to the wall using construction adhesive and a brad nailer. Use a level to make sure they are plumb.
Jennie Andrews

Jennie Andrews

Jennie Andrews
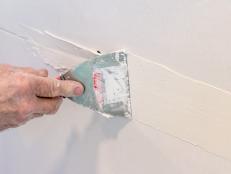
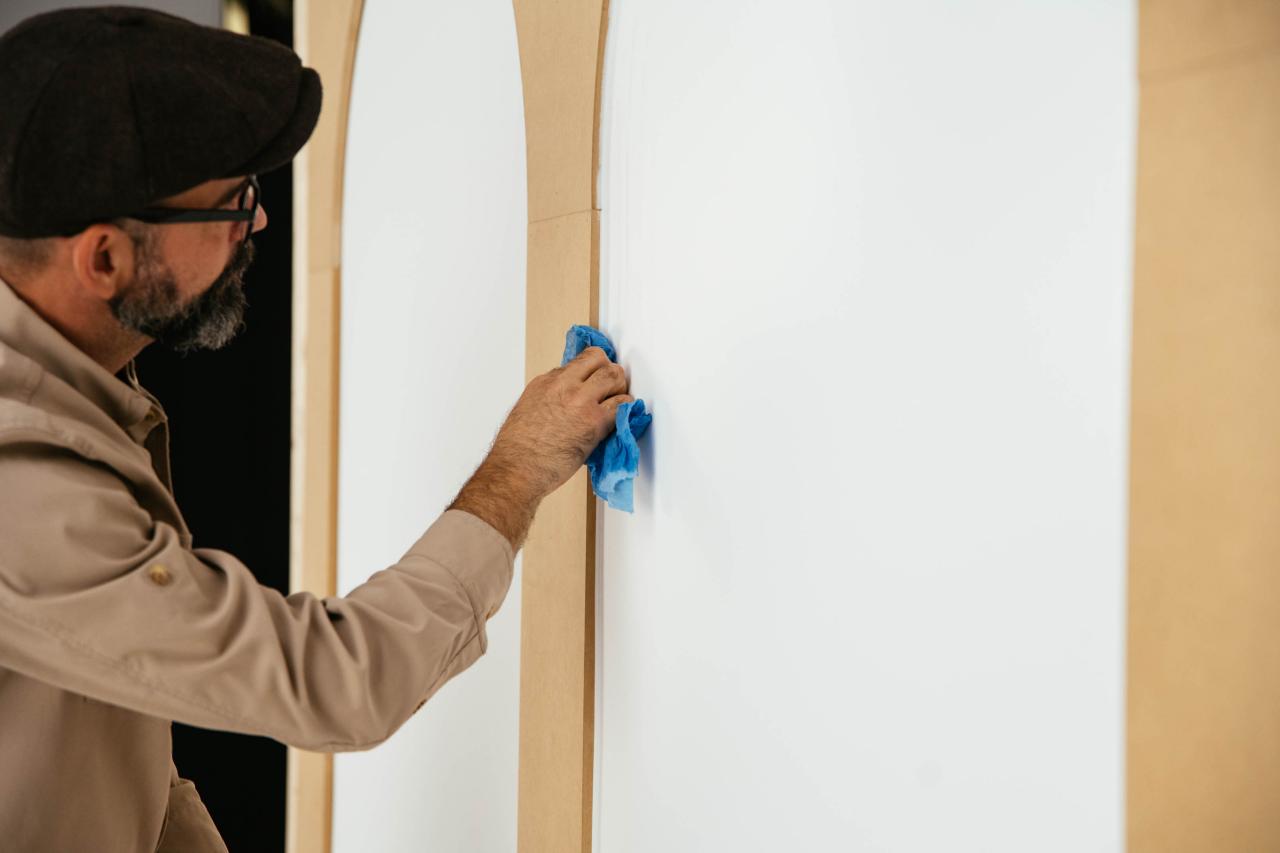
8. Caulk
Spackle the seams between the column and the upper part of the arches. Let dry and sand smooth. Repeat as necessary until the seams disappear. Caulk along all edges and in nail holes. Continually wipe smooth with a damp rag as you work. Let dry.
Jennie Andrews

Jennie Andrews
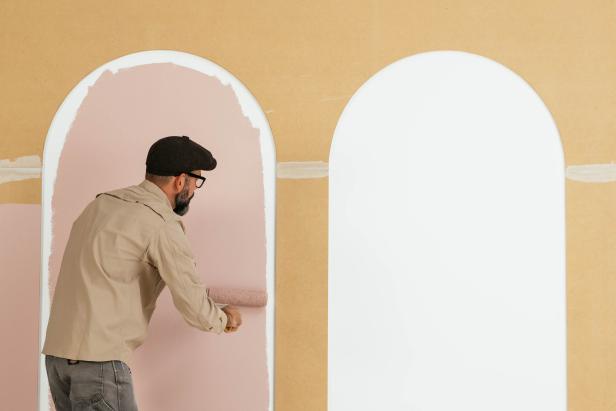
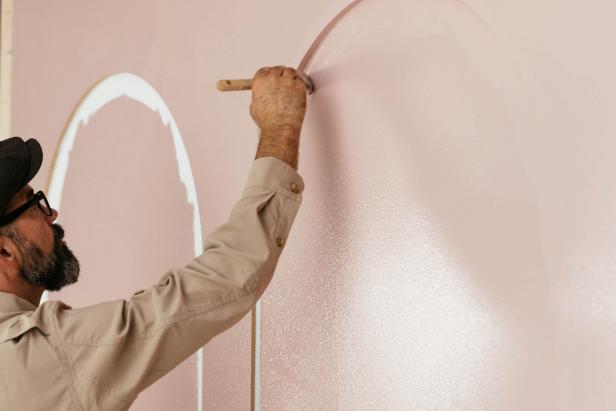
9. Paint
Paint using a combination of a roller and a brush.
Jennie Andrews
Jennie Andrews
10. Applaud Your Effort
You’ve added drama and sophistication to your wall. Beautiful artwork paired with some gallery-style lighting will make your wall arches feel extra special.

Jennie Andrews


