How to Turn an Old Washing Machine Drum Into a Fire Pit
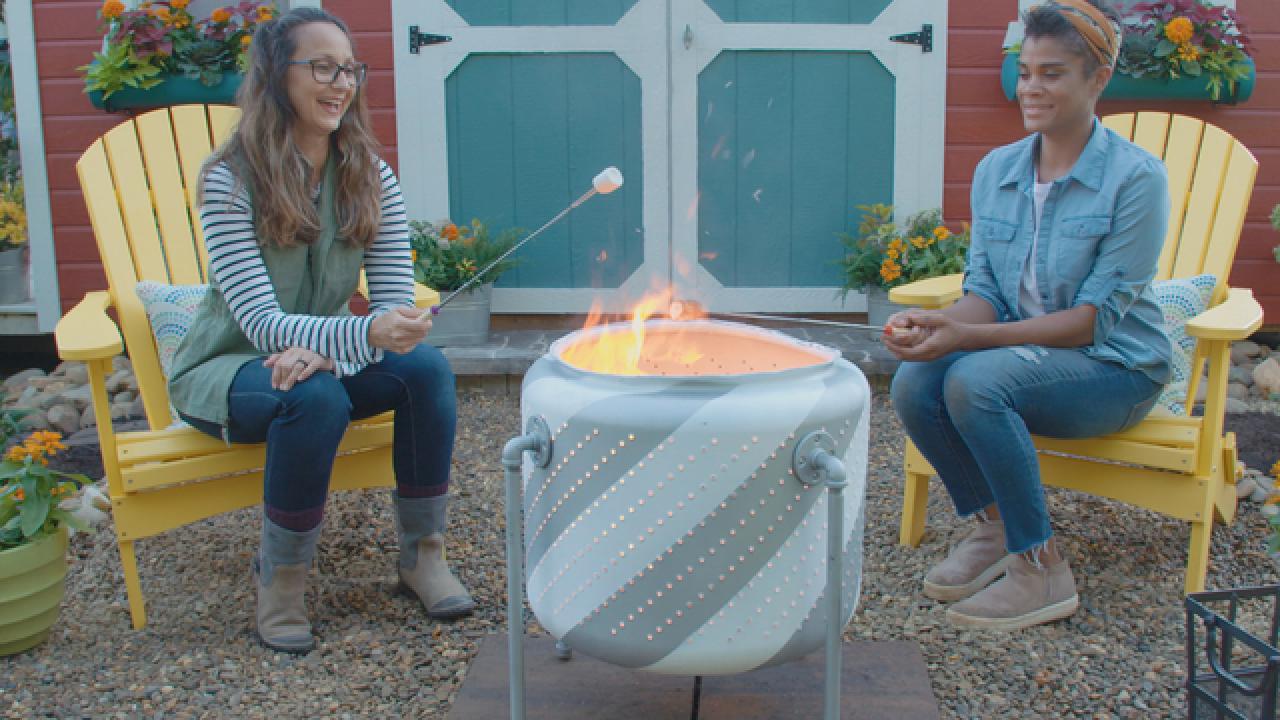
Transform what otherwise would be trash into an outdoor treasure. Start with a tossed-out washing machine drum, which you can pick up at an appliance repair shop or scrap yard.

We love this fun look. But if you want to make a washing machine drum fire pit and skip the decorative elements, just be sure to hammer down or file any sharp edges and use steel parts for the legs. Painting isn’t necessary, but if you do paint, just be sure to use high-heat paint like we did.

Materials
- old washing machine drum with all plastic parts removed
- painter’s tape
- can of high heat spray paint that withstands heat up to 1200 degrees, or more cans for multiple colors
- (4) 1/2" black iron pipe 18” long
- (4) 1/2” black iron floor flange
- (4) 1/2” black iron 90-degree street elbow
- (4) 1/2" black iron cap
- (16) stainless steel wing nuts – 8-32
- metal mallet
- (2) large pavers to go under firepit (optional)

Step 1: Prep Washing Machine
Use warm soapy water to clean inside and outside of washing machine. Remove any plastic parts. Our plastic rim was easily removed after pulling two screws off that attached it at the rim.

Step 2: Hammer Down Rim
Use a metal mallet to pound rim and fold down any sharp parts. Do this to any area where the metal is jagged.

Step 3: Tape Off Pattern
Use painter’s tape to mark off diagonal pattern on drum. Our pattern has 5 white and 5 silver stripes. Start at the top and angle down to the very bottom. Use the holes in the drum to help guide your lines. Don’t like stripes? Use a stencil to create a fun pattern.

Step 4: Paint Drum
Spray entire outside of drum with high-heat silver spray paint. This spray paint comes in limited colors at the hardware store and multiple colors online. Be aware that the paint will bubble and fade after a few hot fires in the drum so you may want to refresh.

Step 5: Paint Piping
While the drum is drying, lay out all of the iron pipes and fittings on a tarp. Paint them with high heat spray paint as well. Make sure you clean the pipes thoroughly before painting.

Step 6: Remove Painter’s Tape
While piping is drying, remove the painter’s tape on the drum to reveal the diagonal stripes.

Step 7: Assemble Legs
Add cap to 18-inch pipe, then attach pipe to elbow. Attach elbow to flange to form the leg. These fittings need to not only be tight, but also line up correctly to allow the leg to stand up straight. This is why we assembled the entire leg first and then attached it to the drum.

Step 8: Attach Legs to Drum
Tilt drum on its side to attach the first leg. Line up flange holes with holes in drum. Place machine screws through hole in flange. We used stainless steel hardware, which can take the heat of the fire.

Step 9: Secure Legs
Place wing nuts on back of screw on inside of the drum (Image 1). Once all four legs are attached, the drum will stand up on its own (Image 2).


Step 10: Place On Pavers
The firepit should be placed in a heat-safe setting.

Step 11: Light and Enjoy
Fill the drum with logs and enjoy your new DIY fire pit.


