


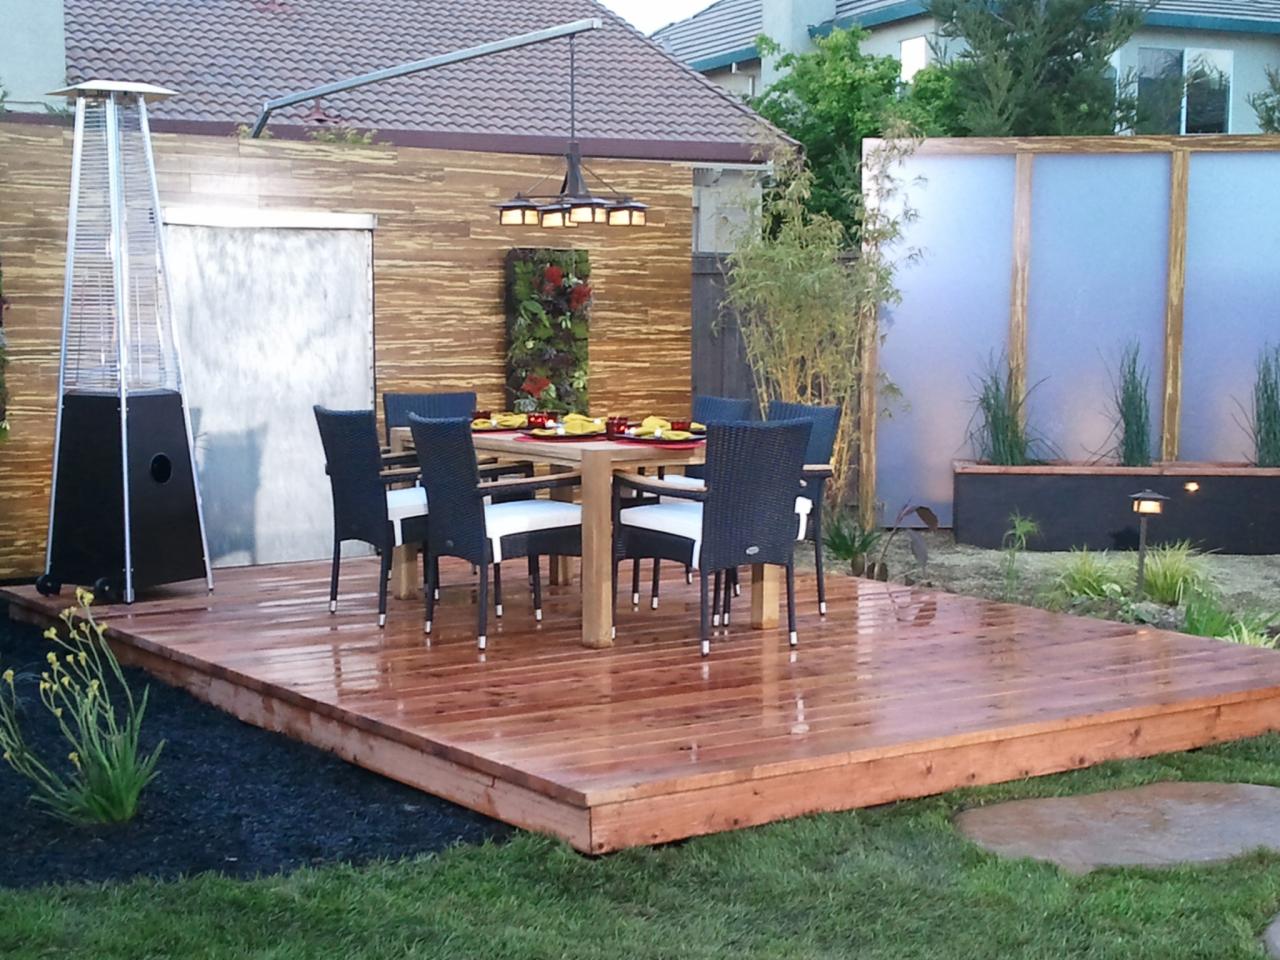
Floating Decks

Decks & Patios in Depth
Discover more ways to optimize your outdoor space for greater enjoyment.
- Deck Planning Guide
- Dream Decks & Patios
- Smart Chic Outdoor Living
- Big Beautiful Backyards
- Fire Pit Ideas
Deck building can be a daunting project, but if you're willing to elevate your approach a bit, floating decks can provide a fairly simple, elegant design addition to any outdoor space.
The design idea behind a floating deck is simple: instead of sitting flush with the ground, a floating deck gives the impression of "floating" a few inches off the surface. It's an aesthetically pleasing touch, and it also provides guests a great vantage point from which to survey the natural beauty of the backyard.
The steps for creating a floating deck are fairly straightforward. First, you'll want to level the area you've chosen for the deck. Excavate down to hard, flat ground, then use a laser level to ensure the area is totally flat.
Next, you'll need to set and level four corners of blocking. Blocks should be spaced to make a 7' x 19' rectangle, leaving enough space from each block for deck boards to add another 8' x 20' rectangle. Use a laser level or string level to ensure that each block is level.
Now you need to create lines for the interior blocks. Measure two feet from the corners, then spray paint a straight line down the short portion of the deck (this is the line for the interior blocks). Spray another line two feet between two interior lines. You should now have three horizontal lines—dig a six-inch trench along the lines, then dig a trench between your corner blocks.
On each trench line, space four interior blocks two feet apart from one another. Level the interior blocks and corner blocks. You'll have two blocks between horizontal corners and three between vertical corners.
If all blocks are equally spaced, set them and make sure they're level, adding and removing wet concrete as necessary. Make sure the concrete has dried, then lay the 2" x 6" pressure-treated deck joists. Make sure they are evenly spaced two feet apart.

More Ideas for Decks
All About Deck Planning
Finally, lay down your deck boards. Start with one board in the middle of the deck, and make sure it hangs evenly off each end of the 2x6s. Deck planks should have a space between them, so use a small nail as your spacing guide. Where the plank meets the joist, screw two square head trim screws 1-1/4 inch from each side of the deck plank. Hammer the screws down, then repeat on each plank.


