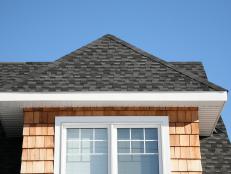
Weekend Project: How to Add Architectural Design to a Roof Gable
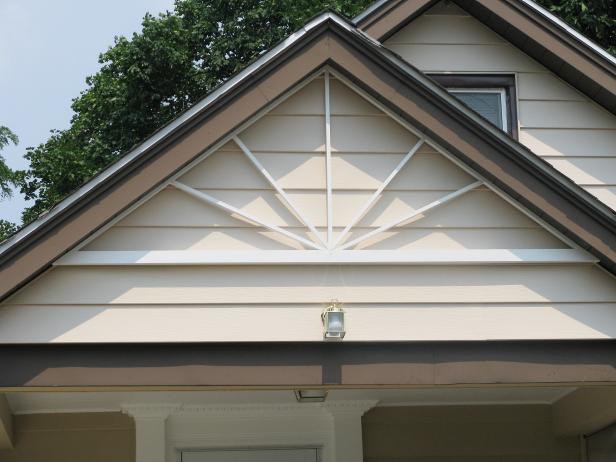
Tools and Materials:
1x4 poplar boards
wood glue
screw gun and wood screws
sliding bevel
hand saw and miter box or chop saw
nail gun
primer, paint and wood putty
Steps:

1. Prime and paint all of the wood that you will be using to create your gable decoration.
2. Measure the angle of the roof with a sliding bevel to determine the layout and length of the gable, beginning with the bottom.
3. Measure and cut a piece of 1x4 poplar to fit the bottom length of your triangle.
4. Next, measure the two sides of the triangle using the formula A2 + B2 = C2, which will allow you to measure a perfect triangle. The two legs of the triangle will be sides A and B while the bottom base will be side C.

5. Use a chop saw to cut the mitered edges.
6. Using a screw gun, screw the three pieces of the triangle together using a counter-sink bit to push the screws below the surface of the wood. Fill the holes with wood putty to make it water tight.
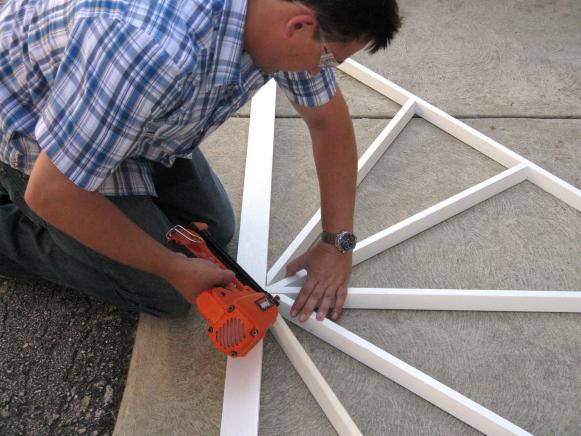
7. Mark the triangle where the remaining six beams will be placed and cut those pieces to fit inside the triangle.
8. Attach the six remaining beams inside of the triangle with a screw gun from underneath.
9. Attach the gable to the front of your home with a screw gun.


