


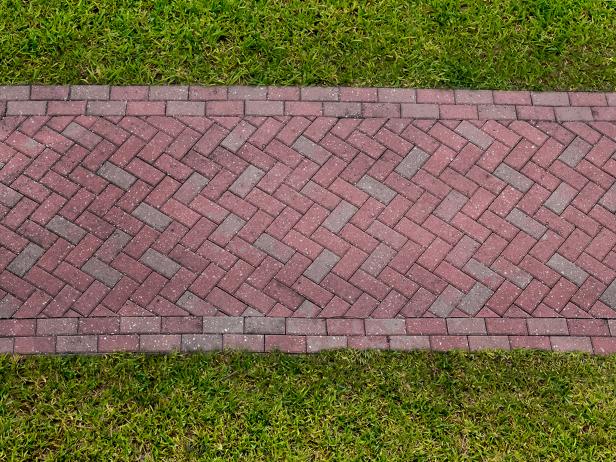
How to Lay a Brick Pathway
This weekend, elevate your home’s exterior by installing an elegant brick paver walkway in your landscaping.

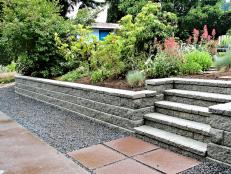
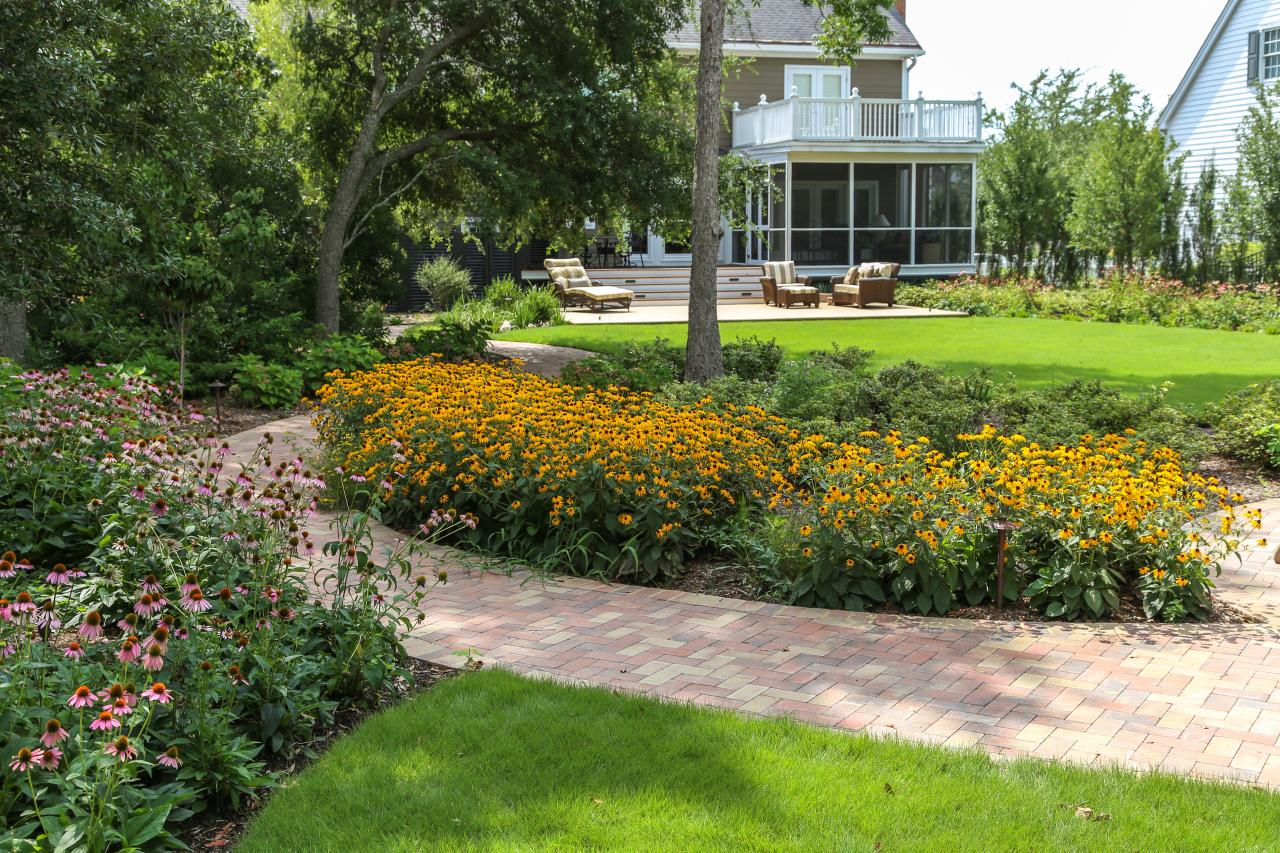
Classic Backyard With Brick Pathway
Purple coneflowers and Black-eyed Susan flowers serve as colorful accents along the the brick paver walkway to the patio.

Photo by: Charleston Home + Design Magazine
Charleston Home + Design Magazine

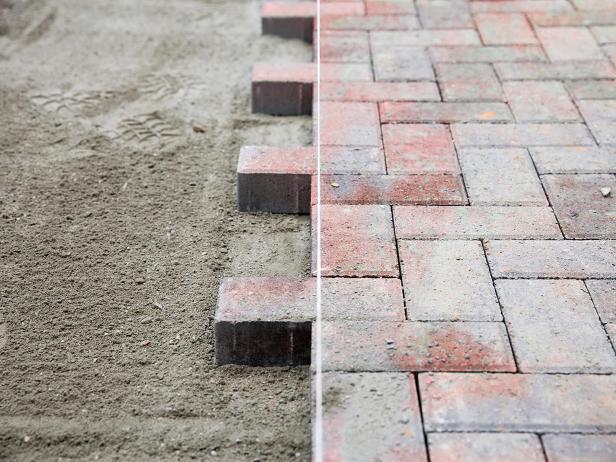
A brick paver walkway or patio can take your landscaping from bland to grand in one weekend. This gorgeous addition to your home’s exterior won’t blow your budget like concrete and can be done by anyone willing to get their hands a little dirty.
Materials Needed
- brick pavers
- crushed stone paver base
- polymeric sand
- plate compactor
- plastic edging
- landscape spikes
- hammer
- shovel
- rake
- circular saw or angle grinder with masonry blade
- wooden stakes
- string
- string level
- measuring device
- 4' level
- metal pipes
- broom
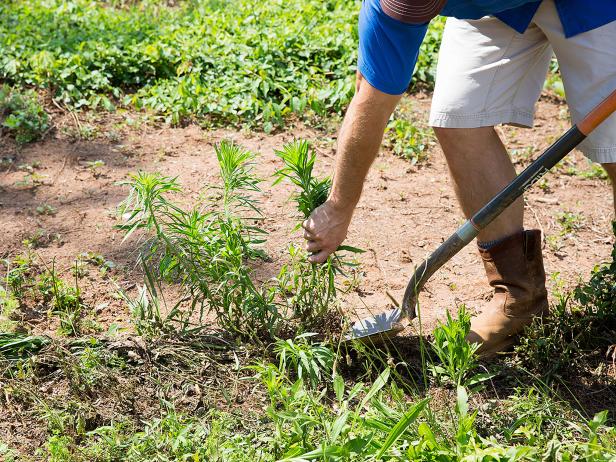
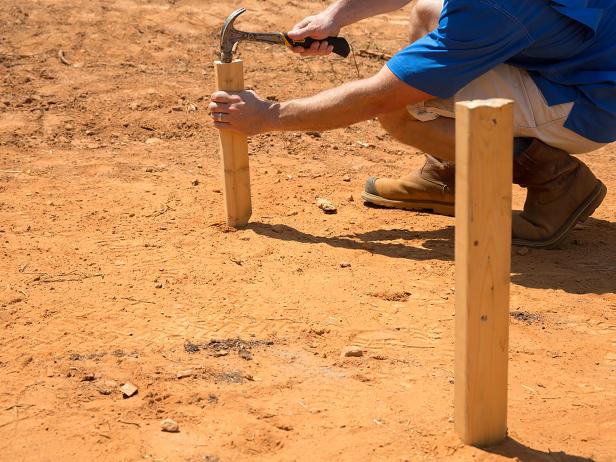
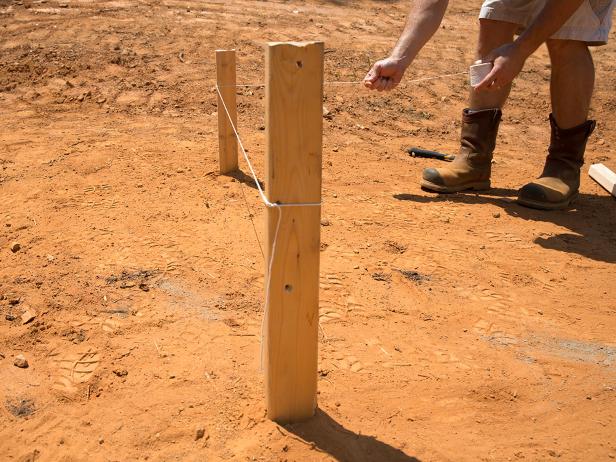
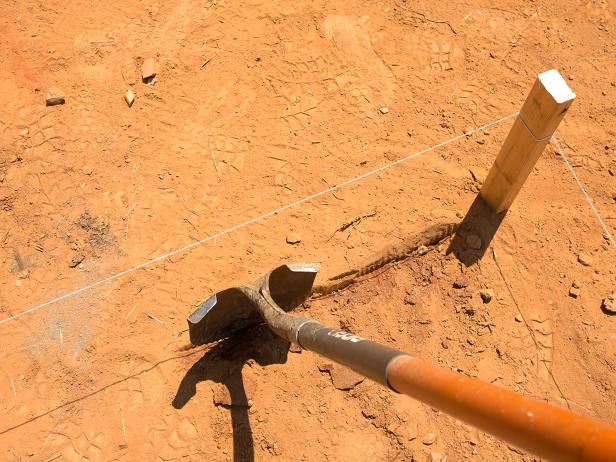
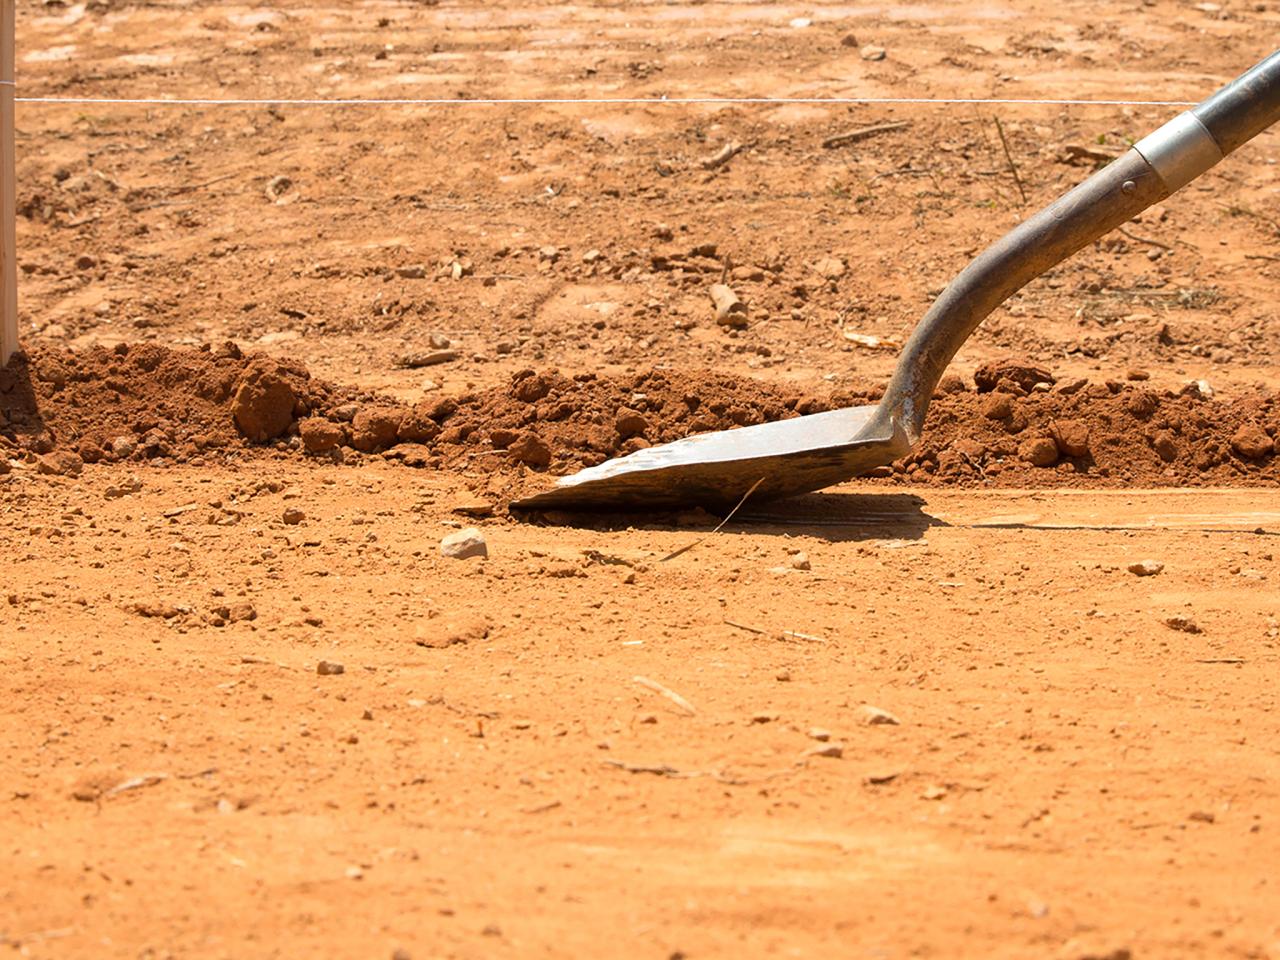
Prep Ground Area
Begin by prepping the area in which you plan to install your walkway. Remove any rocks, plant matter and other debris from the area, then smooth the ground with a shovel (Image 1). Use a hammer to set wooden stakes in the ground to mark the corners of the walkway (Image 2). Run string between the stakes to indicate the edges, leaving enough room under the string for a shovel to fit (Image 3). Define the edge beneath the string using the blade of a shovel or edging tool (Image 4).
Wade Works Creative
Wade Works Creative
Wade Works Creative
Wade Works Creative
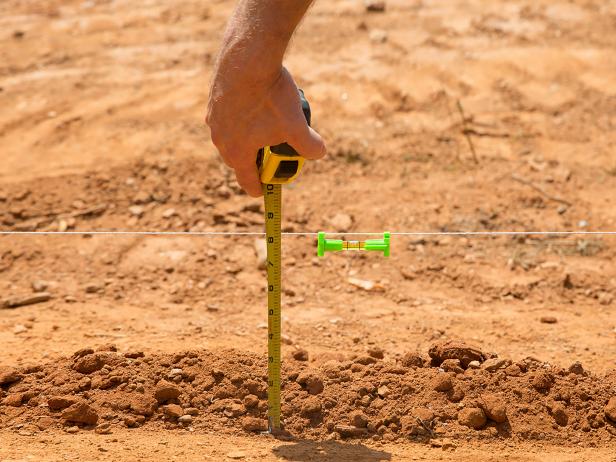
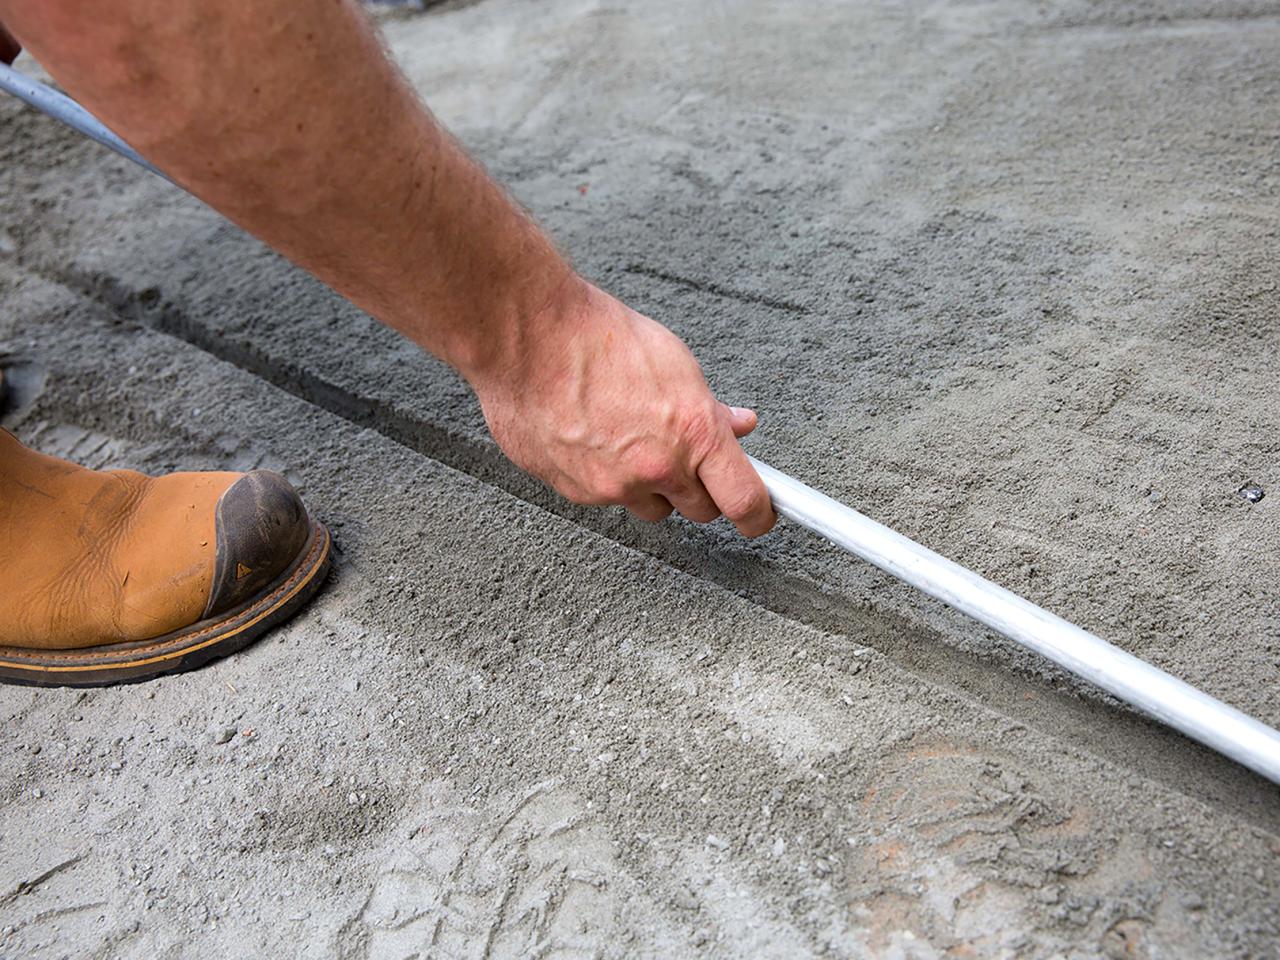
Level the Ground
Before moving forward, establish a level line with your string using a string level, then use a measuring device to find the distance between the string and ground (Image 1). Dig out the base of the pathway to the depth of your bricks plus an additional 2 inches for the crushed stone paver base. This measurement will guide you as you excavate the ground with a shovel to establish a consistent, level surface (Image 2). Once you're satisfied with your surface’s depth, fill the area with crushed stone paver base and rake around until you achieve an approximate depth of 2 inches throughout (Images 3 & 4).
Wade Works Creative

Wade Works Creative

Wade Works Creative

Wade Works Creative
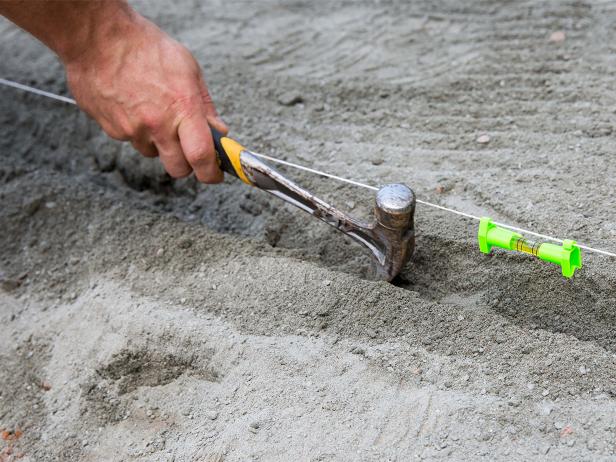
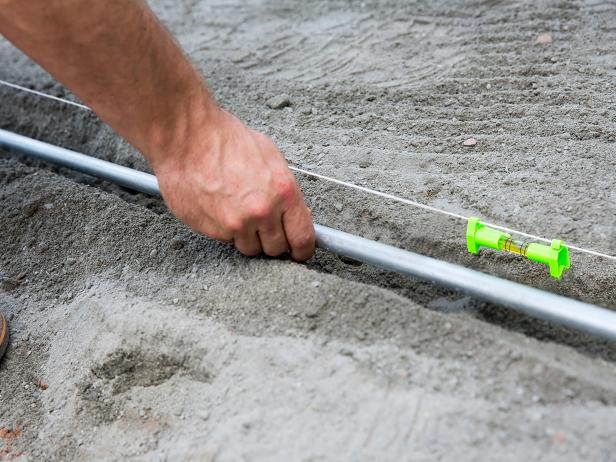
Lay Pipe Guides
Using the claw of your hammer, dig an ample trench for metal pipes on each side of the walkway and slide the pipes into place (Images 1 & 2). The pipes will serve as guide rails to create a consistently flat surface of crushed stone. It is imperative that the pipes are level, as they will be the benchmark for the stone, so double-check using your string before moving forward. Scrape along the top of the pipes with a brick to smooth the crushed stone around them, then remove the string and wooden stakes (Image 3).
Wade Works Creative
Wade Works Creative
Wade Works Creative
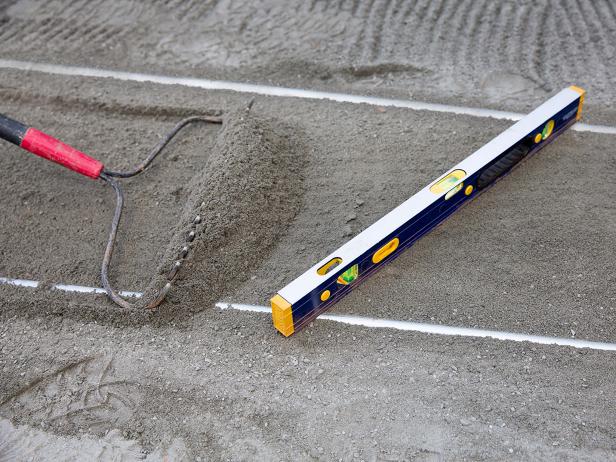
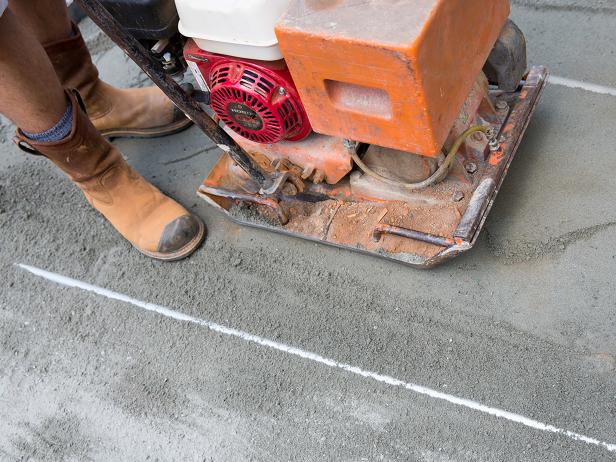
Smooth and Compact Stone
Before you get into the detail work, roughly flatten the walkway with a rake and a level, adding or taking away the crushed stone base material as needed (Image 1). Once relatively flat, screed between the metal pipes with a long level, then use a plate compactor to compact the surface (Image 2). Once compacted, carefully remove the pipes and fill the trench with crushed stone using a shovel (Images 3 & 4).
Wade Works Creative

Wade Works Creative
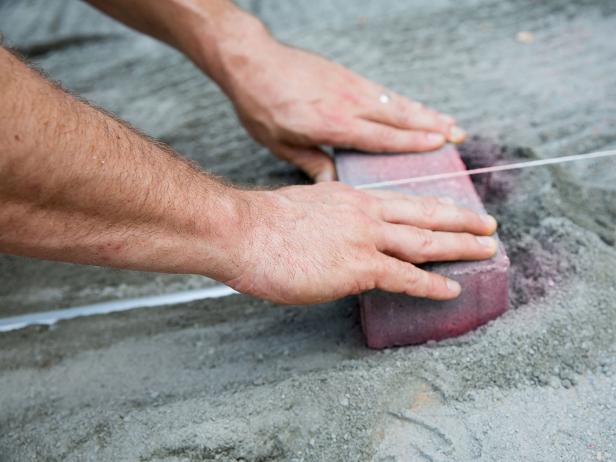
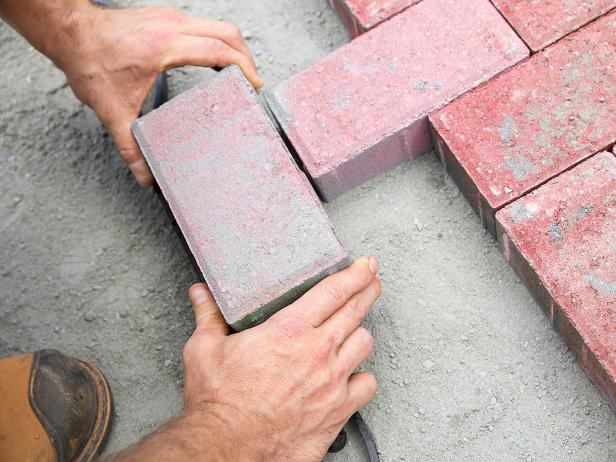
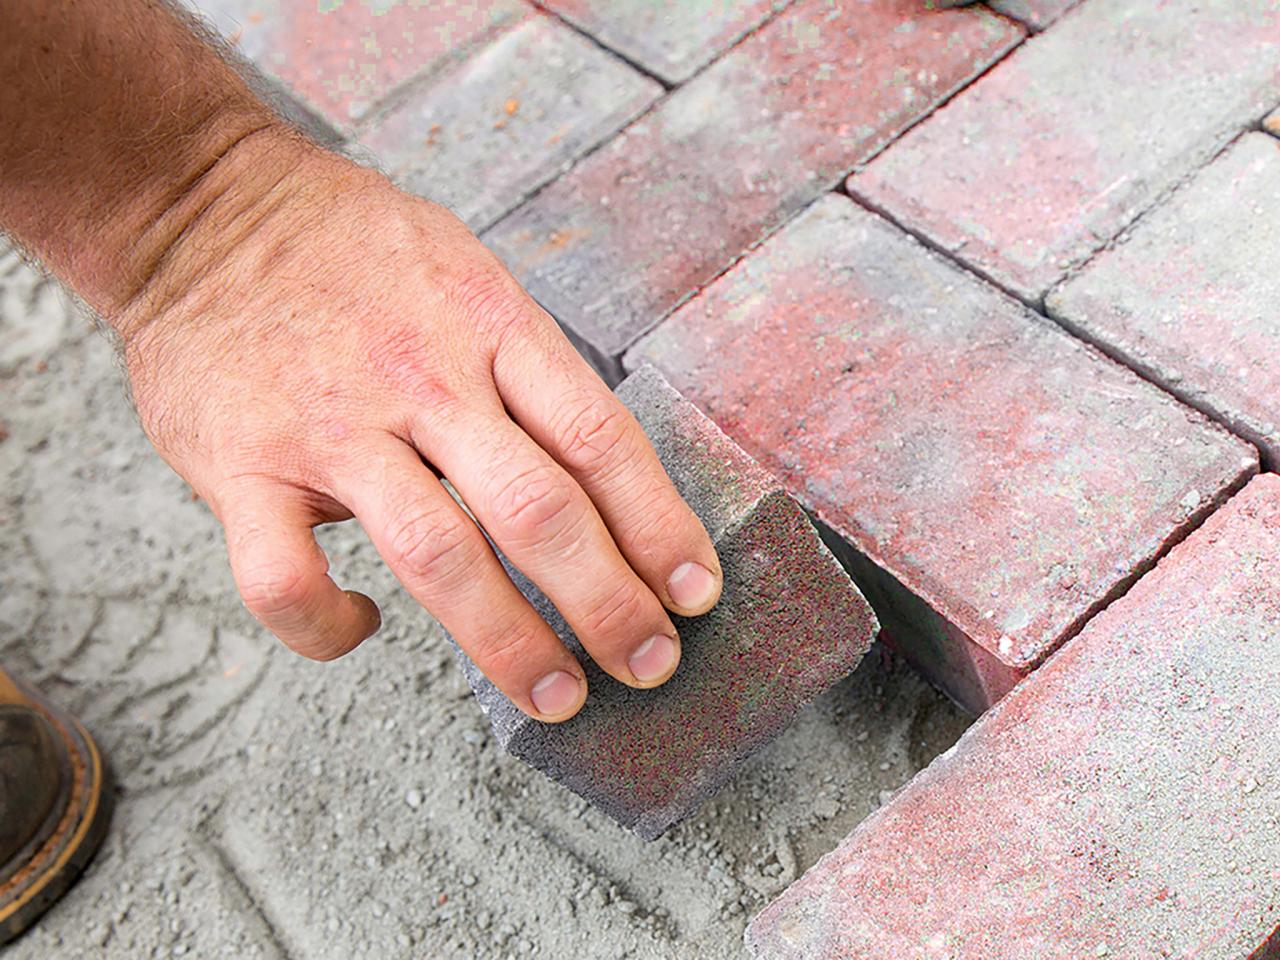
Lay Bricks
Replace the wooden stakes and string to act as a precise guide for the edges of the brickwork (Image 1). The string should be one brick width inside the outer edge of the walkway. Start laying bricks in your desired pattern using the string as your guide to keep the pattern straight (Image 2). Wait until the end to place any cuts or bricks on the edge (Image 3).


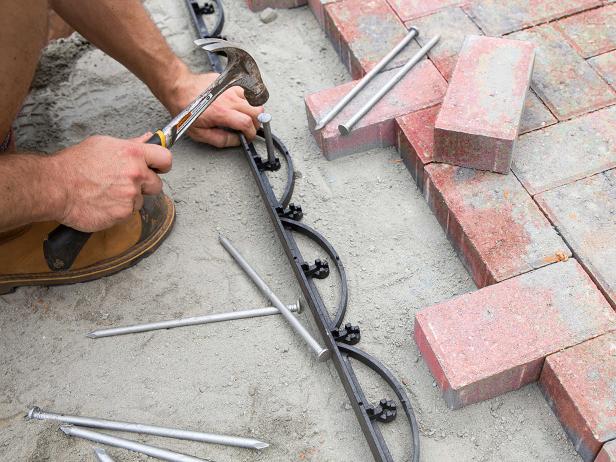
Install Edging
Install the plastic edging into the compacted ground with landscape spikes, leaving enough room for your final row of bricks or desired edge detail (Images 1 & 2). Cut bricks to fill in any gaps with a circular saw or angle grinder complete with a masonry blade, then finish the final row of bricks by fitting them snugly against the edging (Image 3).

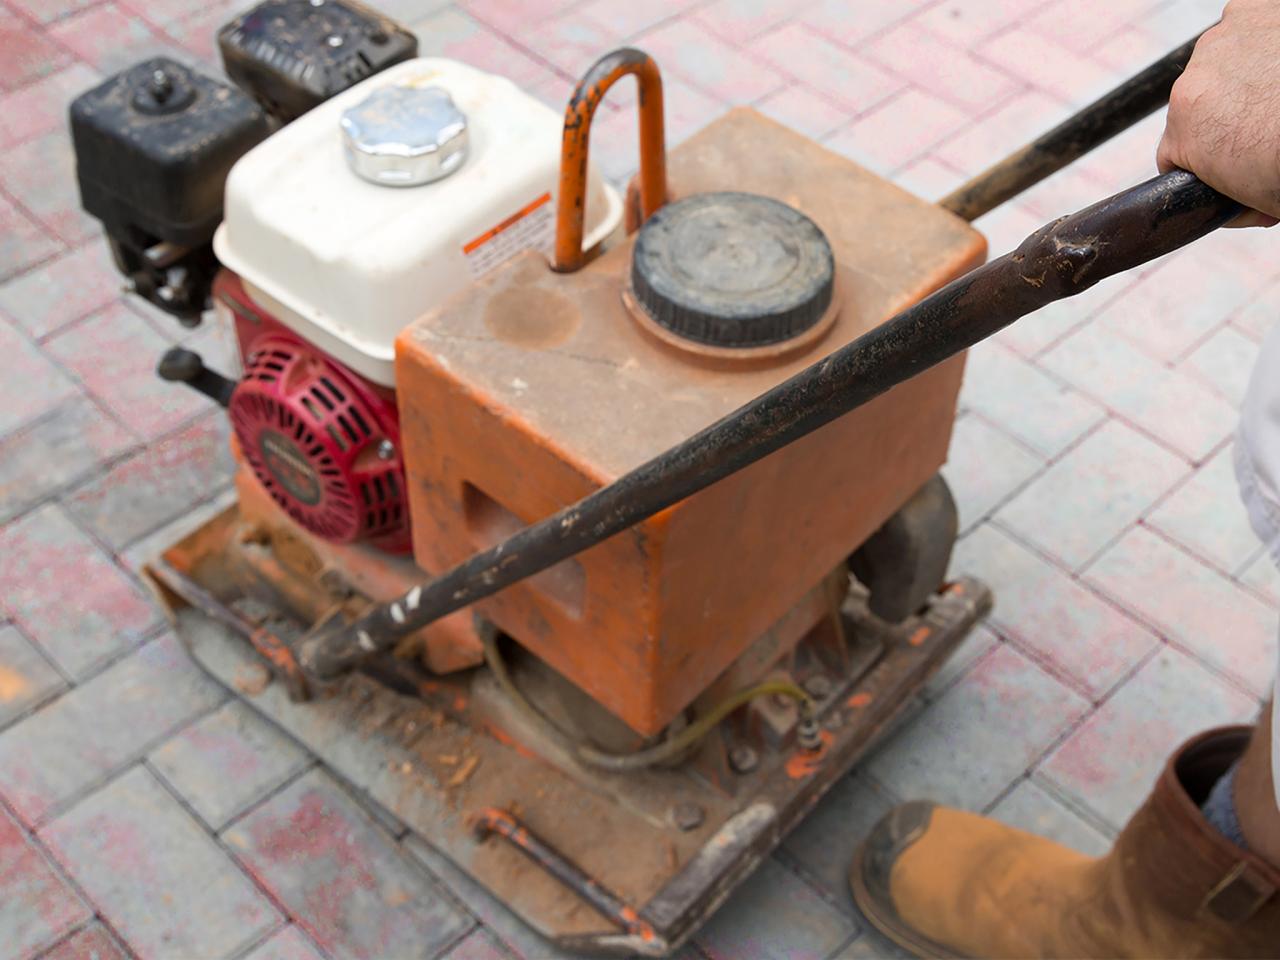
Compact Brick Pathway
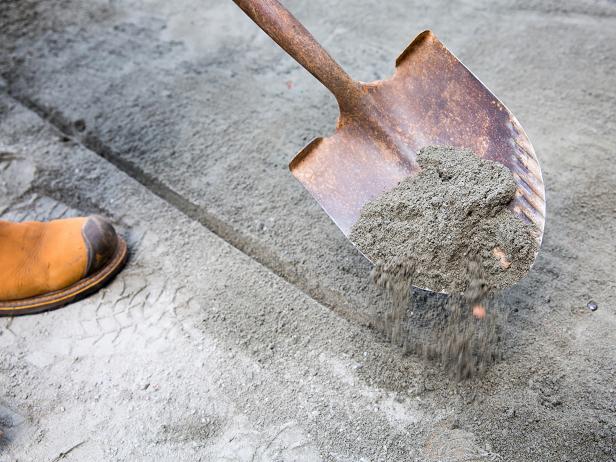
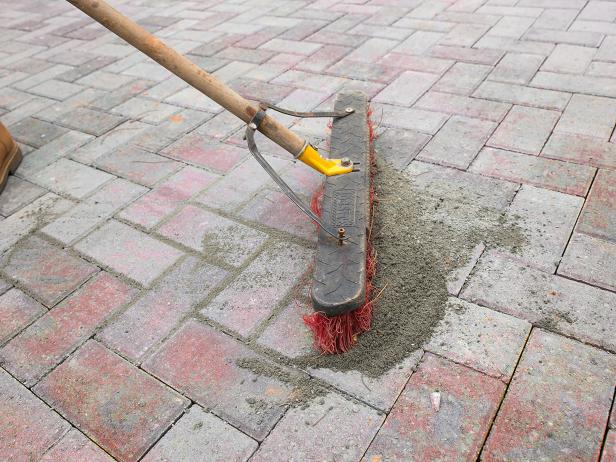
Set the brickwork with the plate compactor, then scatter polymeric sand over the surface of the bricks with a shovel (Image 1). Use a broom to sweep the polymeric sand diagonally across the bricks in both directions to force the sand into the seams, then use the plate compactor once more (Image 2). Repeat this process until an ample amount of polymeric sand has been worked into the paver joints, then sweep the surface to clear any remaining sand.

Final Steps
As a final step, mist the entire surface of the walkway. This will activate the binding agents in the polymeric sand and turn the individual pavers into a monolithic surface. You can now step back and admire your handiwork, but follow the manufacturer’s instructions for drying time before walking or driving on the brick pavers.

More Walkway Ideas

16 Charming Brick Walkway Ideas to Inspire You 16 Photos
These walkway ideas are so charming they'll step up your walking game.

How to Design a Perfect Path
A good path not only tells you where to walk, it sets the mood for your landscape.


