


Daffodil Don't: A Pruning Guide


There’s nothing quite like that first blooming daffodil to reassure us that winter is finally almost over and spring is just around the corner. Swaths of yellow, white and orange trumpets brighten the barren landscape like lights on a Broadway stage, giving us a month of glorious early color in an otherwise brown garden.
Yet, once that show’s over, something comes over us. We deadhead the spent blooms, as we would most flowering plants, but instead of allowing the bulb’s yellowing foliage to wither, we suddenly play hair stylist. We tie it up. We braid it. Or worst of all, we chop off its leaves.
Tidying up the garden by removing the bulb’s dying foliage is well intended. But in doing so, we risk stunting the bulb and its ability to re-bloom next year. That’s because bulbs rely on their foliage to soak up energy from the sun through photosynthesis. If those leaves are removed or even damaged, we hurt the bulb’s food supply.
Daffodil leaves should remain attached to the bulb – even after they’ve completely yellowed -- because even while they’re flopped over they continue to absorb sunlight and nutrients.
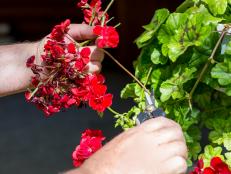
Some old-school gardeners like my late grandmother often opt to tie the strappy leaves in a knot to avoid what they consider the unsightliness of the floppy foliage. Others braid if like pig tails in order to force the leaves upright. And still others take the extreme, hauling out the clippers. Or worse: cranking up the lawn mower. All tempting, I know.
Yet, a better solution is to plant the bulbs among perennials that emerge later than the daffodils so that the plants’ new leaves can hide the bulbs’ dying foliage. You’ll be glad you did next spring when that bed of yellow re-emerges – bigger and brighter than before!


