


STEM Craft: DIY Drawing Robot
Give kids a fun introduction to robotics with this simple science project.
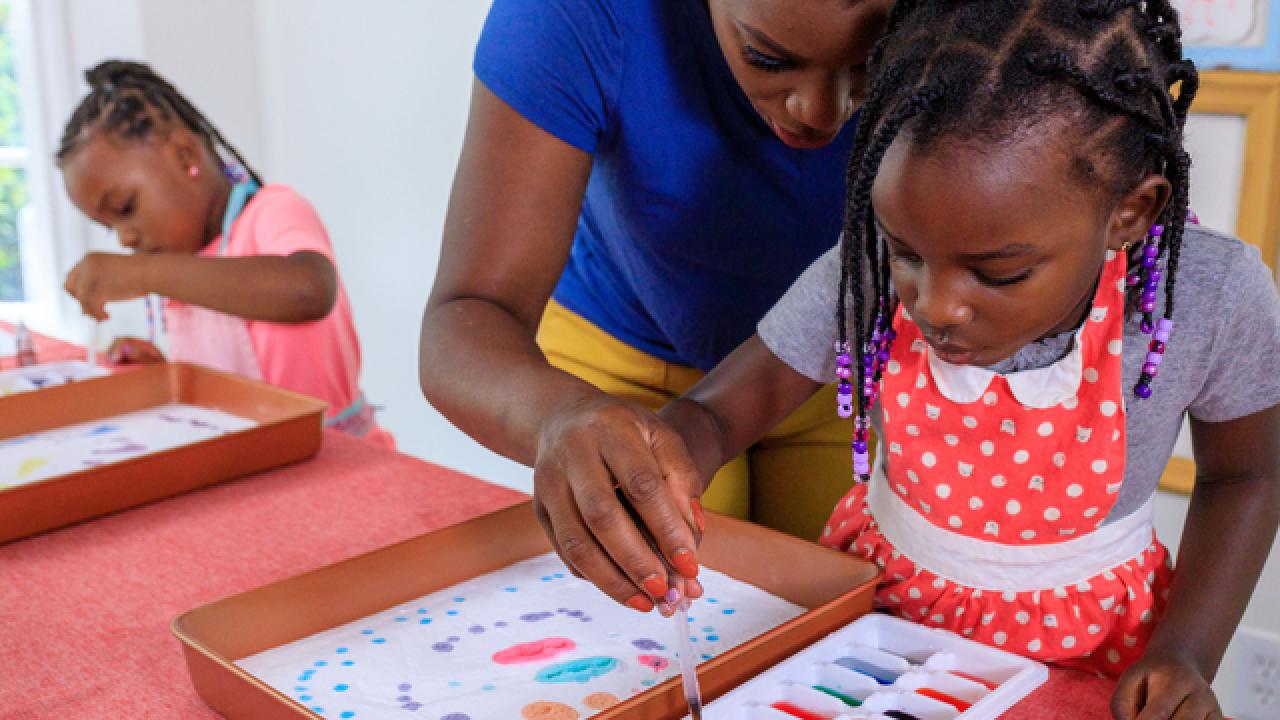
Looking for a fun science-fair-type project to make with your kids? Try this motorized draw bot that has markers for feet.

Tomas Espinoza Photography
Tools + Materials
- disposable cup
- (3) colored markers
- heat-safe glue gun and glue sticks
- electrical tape
- AAA battery holder for two
- (2) AAA batteries
- 1.5-3 V DC motor
- clothespin
- popsicle stick
- scissors
- decorations for your bot such as: googly eyes, pom-poms and pipe cleaners

Tomas Espinoza Photography
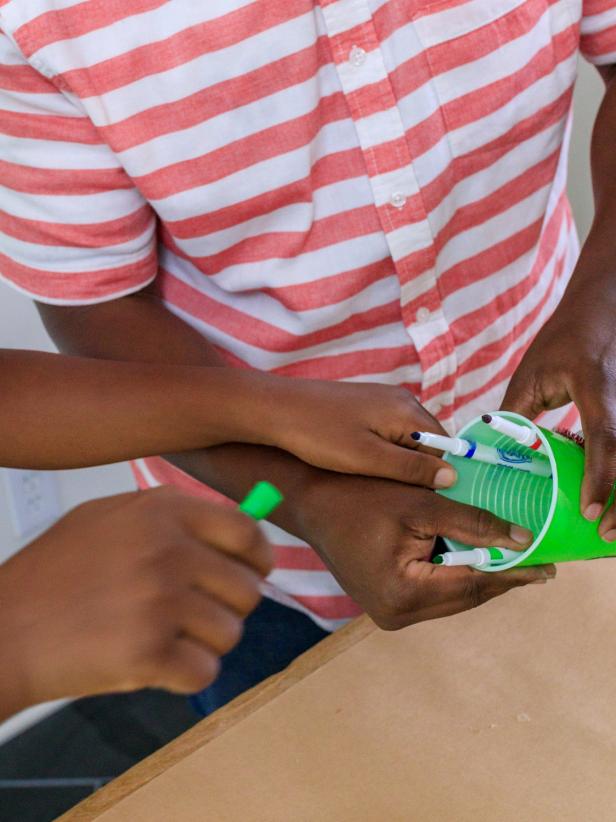
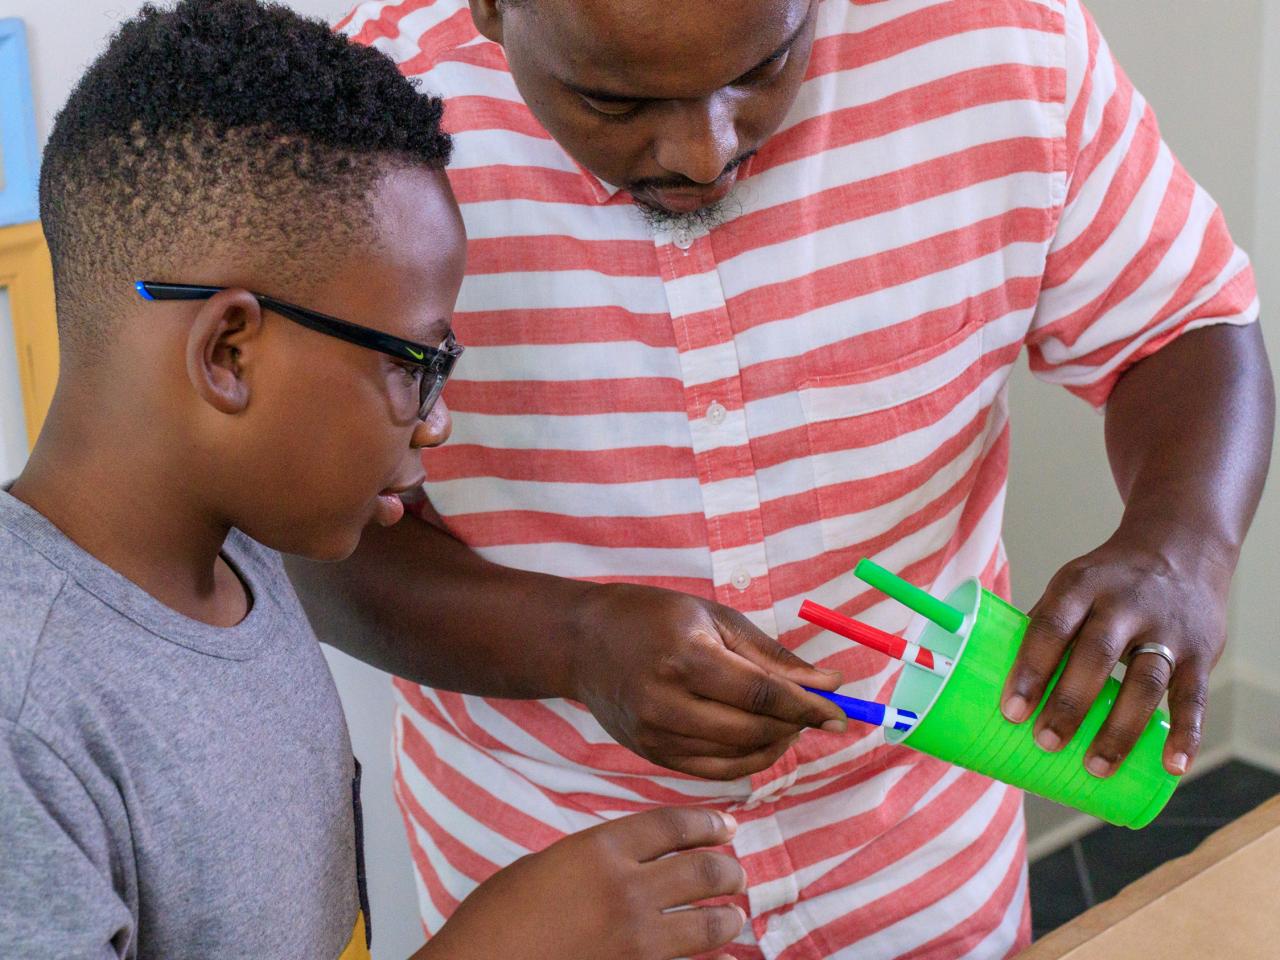
Attach Markers to Cup
Glue three markers to the inside of the plastic cup. Make sure the markers are all glued at the same height otherwise your cup will be off balance. You’ll want to glue the markers so that they create a tripod and make it possible for the cup to stand on its own.

Tomas Espinoza Photography

Tomas Espinoza Photography
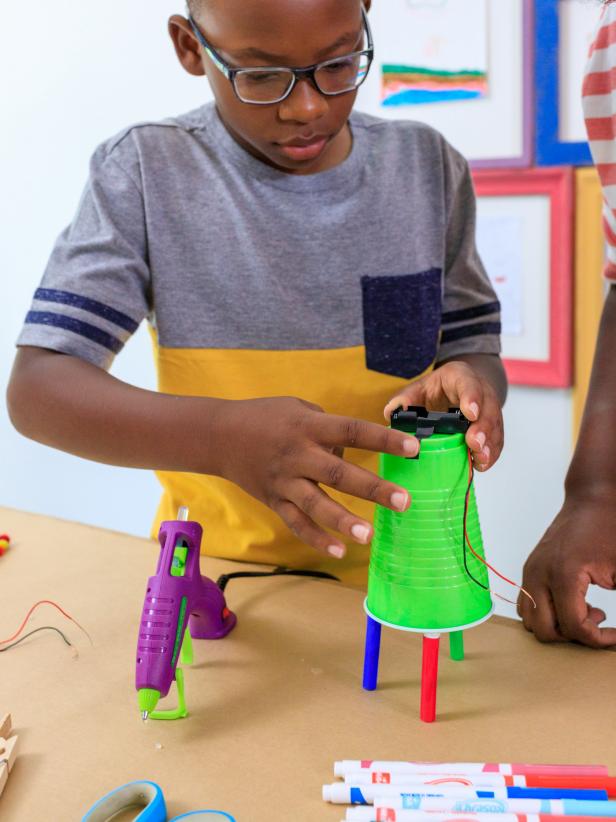
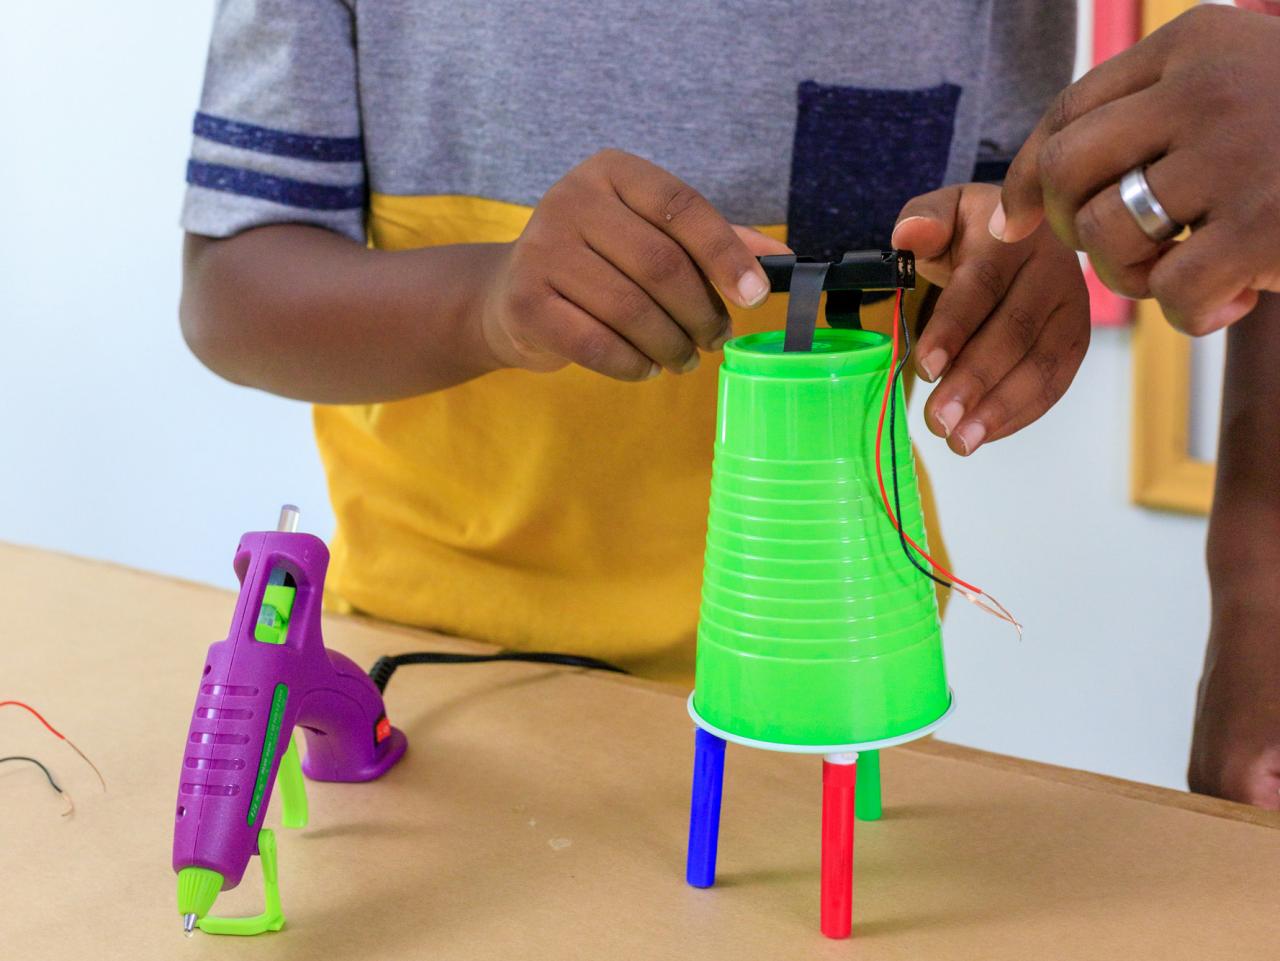
Attach Battery Holder
Use a strip of electrical tape long enough to be able to adhere the battery holder to the top of the cup. The tape will go over the holder, but underneath where the batteries will be installed.

Tomas Espinoza Photography
Tomas Espinoza Photography
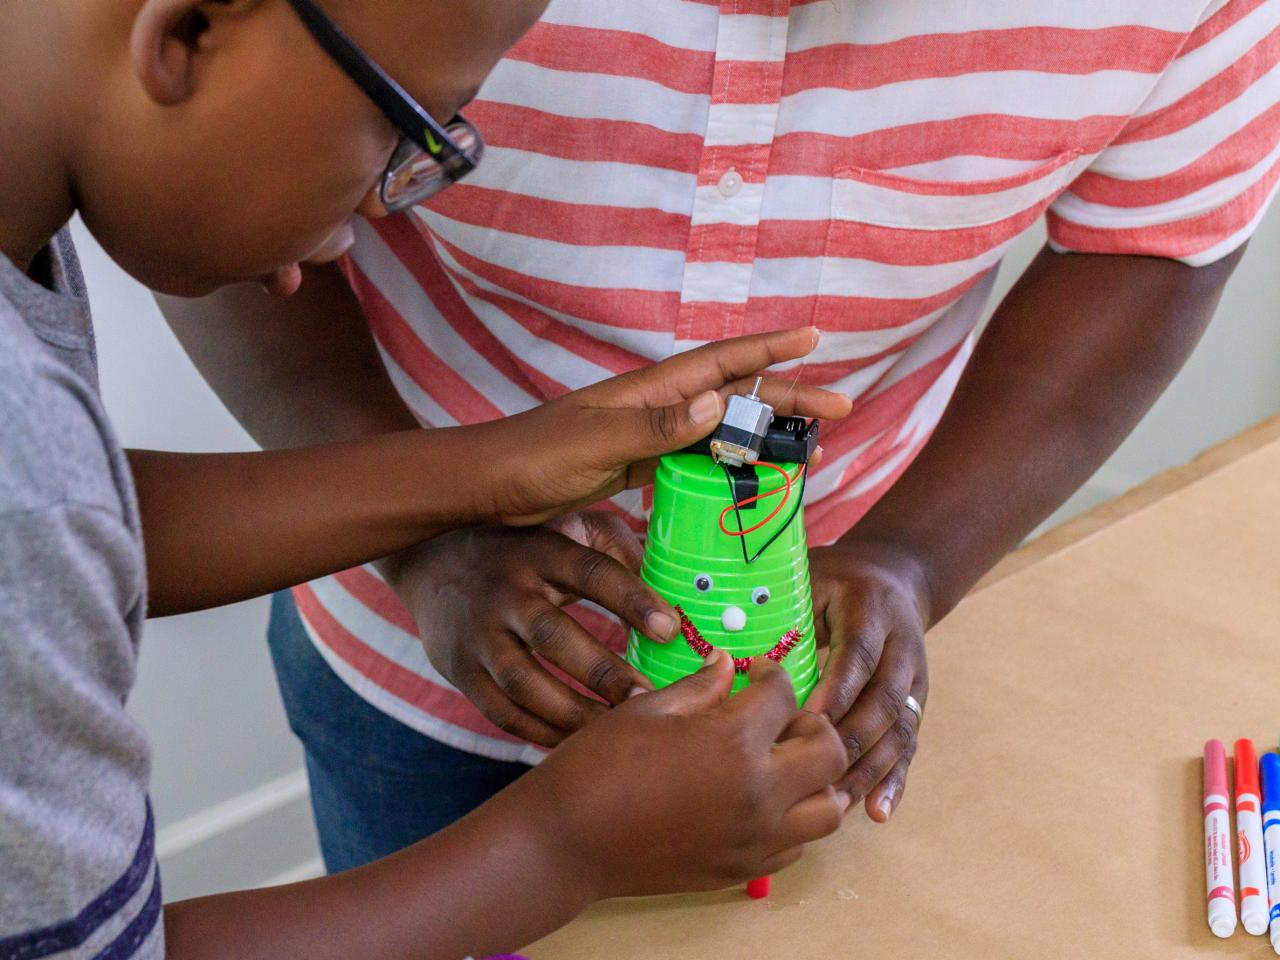
Wire and Add the Motor
To make the robot ‘wiggle’ it uses a battery-operated motor, so the next step is to add the DC motor to the cup. Wrap the wire leads from the battery pack to the connections on the motor (heads up, these connections are very small) and pinch them closed. Use another strip of electrical tape to attach the motor to the side of the battery pack.

Tomas Espinoza Photography

Tomas Espinoza Photography
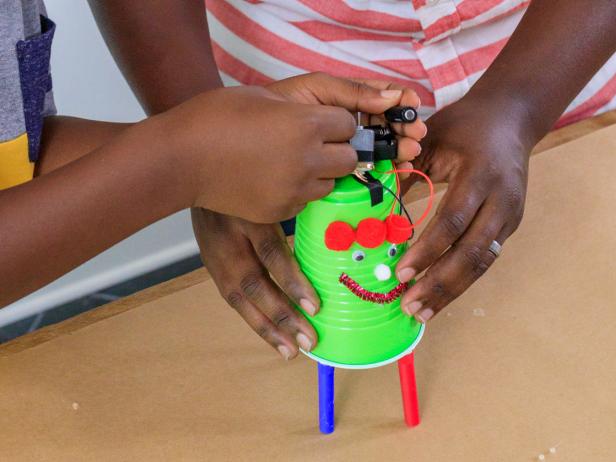
Add Decoration
Add decoration or make a face for your robot using pipe cleaners, pom-poms or googly eyes. Attach them using a heat-safe glue gun.

Tomas Espinoza Photography
Install the Batteries
Install two AAA batteries into the battery holder to turn the robot on. The battery holder does not have an on/off switch so to turn it off, simply dislodge one of the batteries.
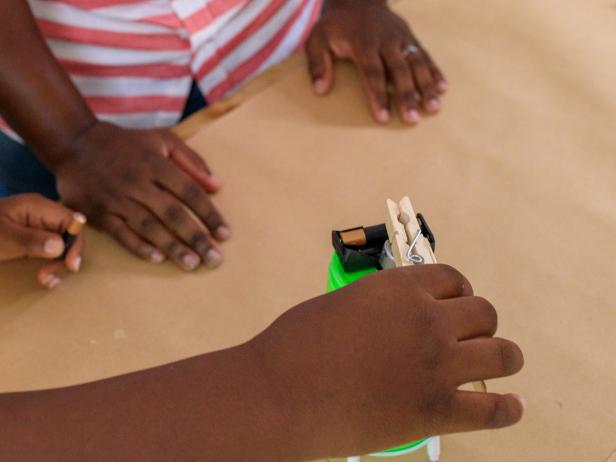
Add Some Weight
To teach kids a bit more about weight distribution, try adding a clothespin to the top of the motor. Let them experiment with how this changes the way the draw bot moves.
Tomas Espinoza Photography
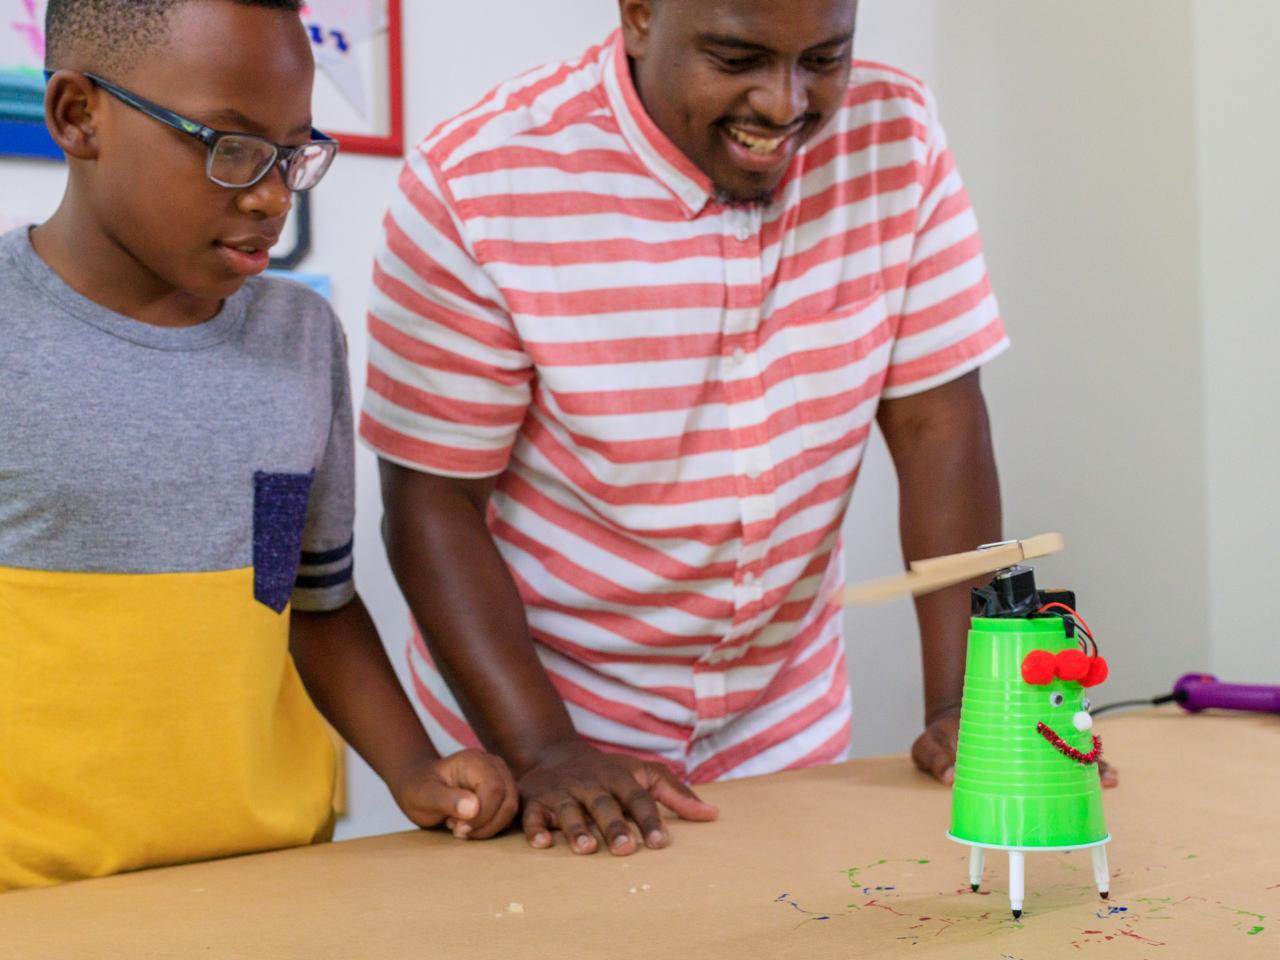
Remove the Marker Caps
Remove the marker caps from the markers and set your robot down on a surface that you can draw on (we covered our worksurface in butcher paper) and watch it go! It’s fun to see how the weight of the cup will cause the robot to spin and move in certain directions.
Tomas Espinoza Photography


