


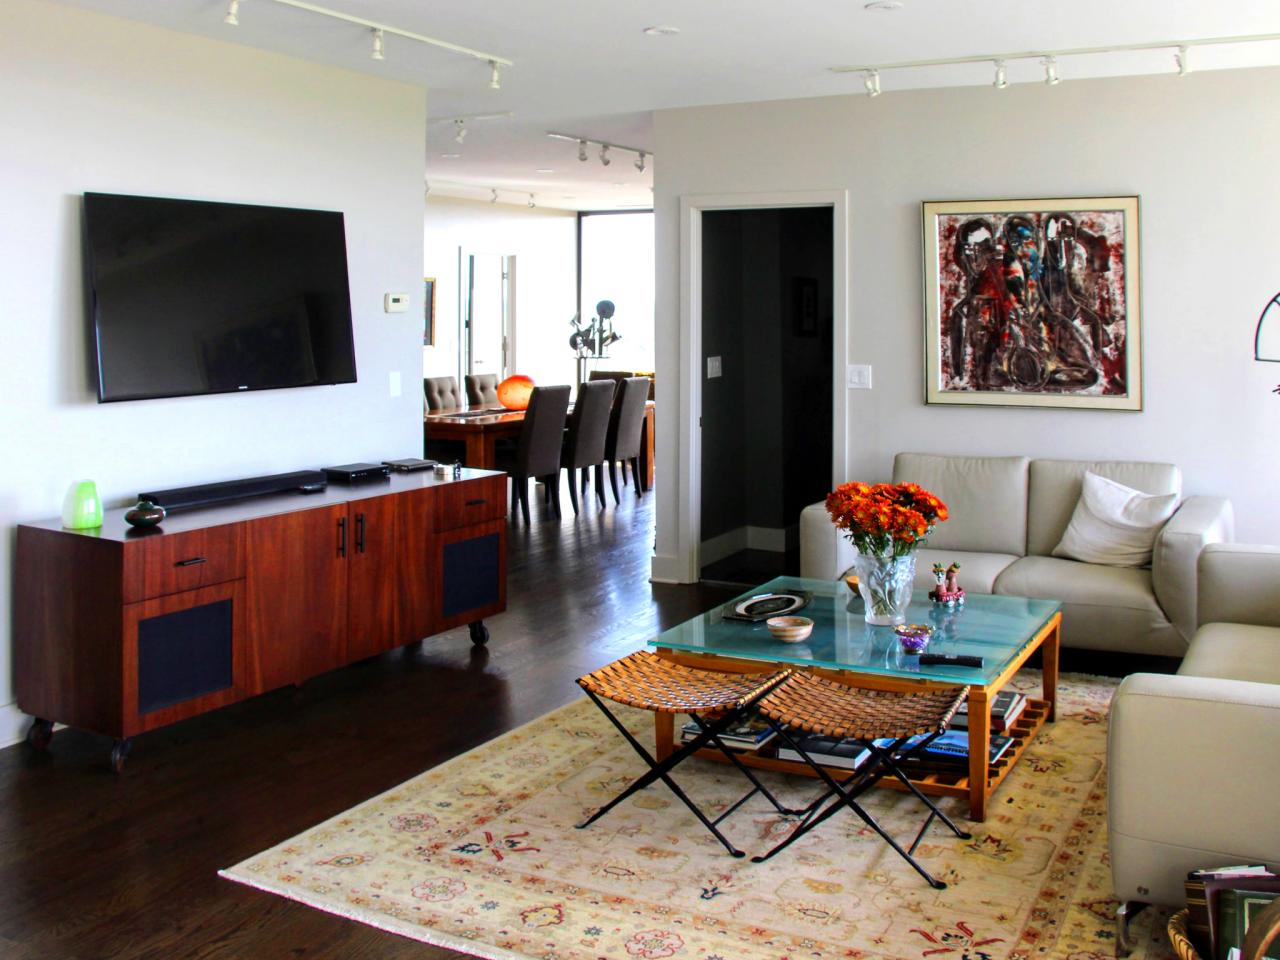
How to Paint Over Wood Wall Paneling
No need to tear down that dingy 1970s paneling. Learn how to fill in the grooves and cover with a fresh coat of paint.


Wade Works Creative
Tools and Materials
- putty knife
- drop cloth or plastic sheeting
- paintbrushes, paint roller and tray
- masking tape
- sponge
- fine sanding block (optional)
- lightweight spackle
- primer
- interior paint
- all-purpose cleaner or degreaser
Inspect Paneling
In some instances, you may be able to remove the paneling and paint the walls directly. But often paneling was installed with both nails and adhesive, and you could damage your walls if you try to remove the paneling. Also, in some cases, the paneling was placed directly on the wall studs with nothing behind it. When you're ready to start painting, make sure that your paneling is made of solid wood. Some paneling actually consists of a vinyl print that simulates the look of wood. To check, sand a small area on the wall. Vinyl coatings come off quickly, revealing the pressboard underneath. If your walls have a vinyl or thin veneer finish, you'll need to take extra care when painting them.
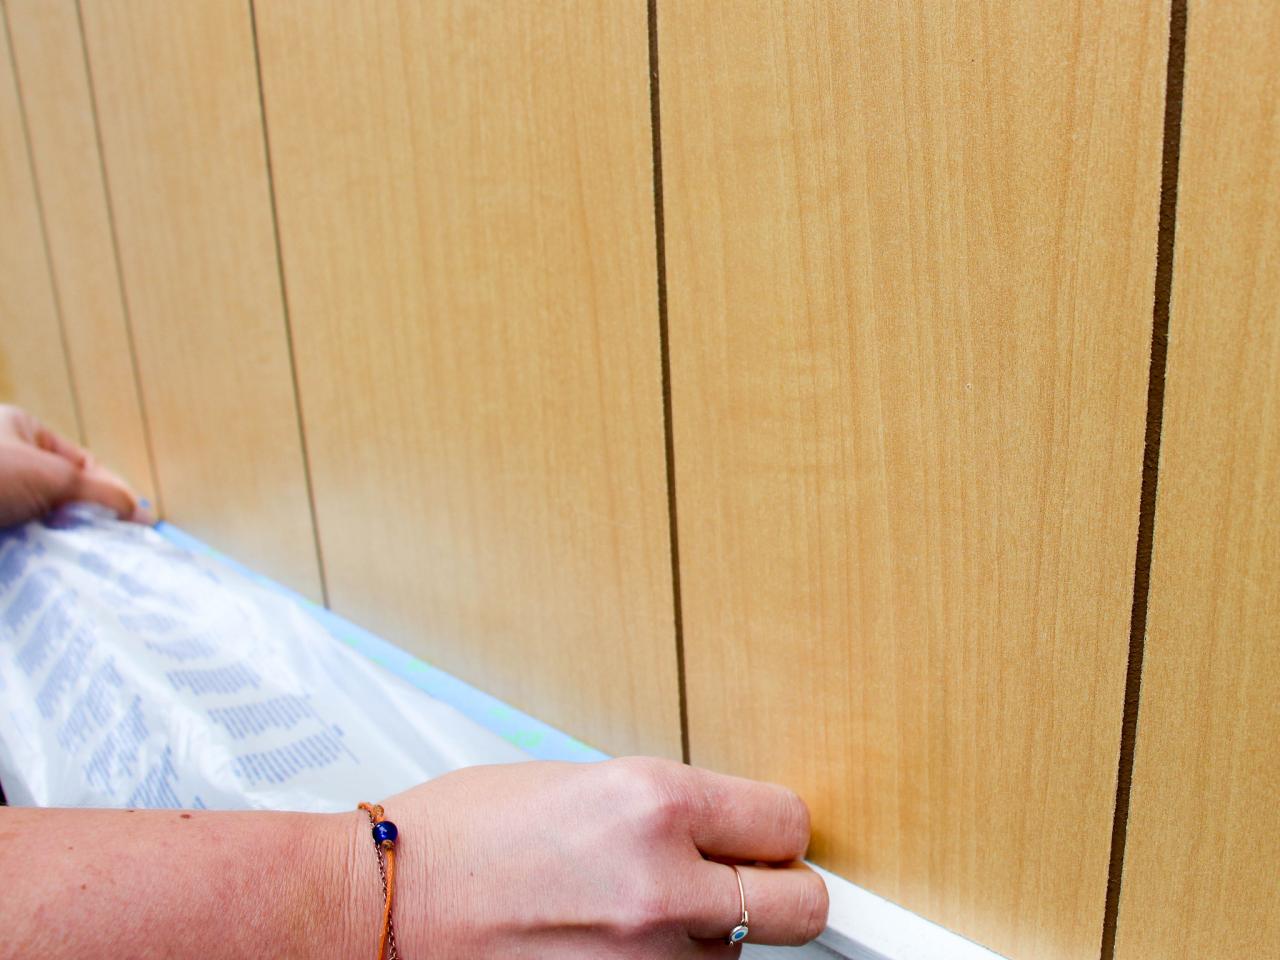
Step 1: Prep Area
Cover baseboards and crown molding with tape and a drop cloth or plastic sheeting. Remove switch plates and outlet covers.

Wade Works Creative
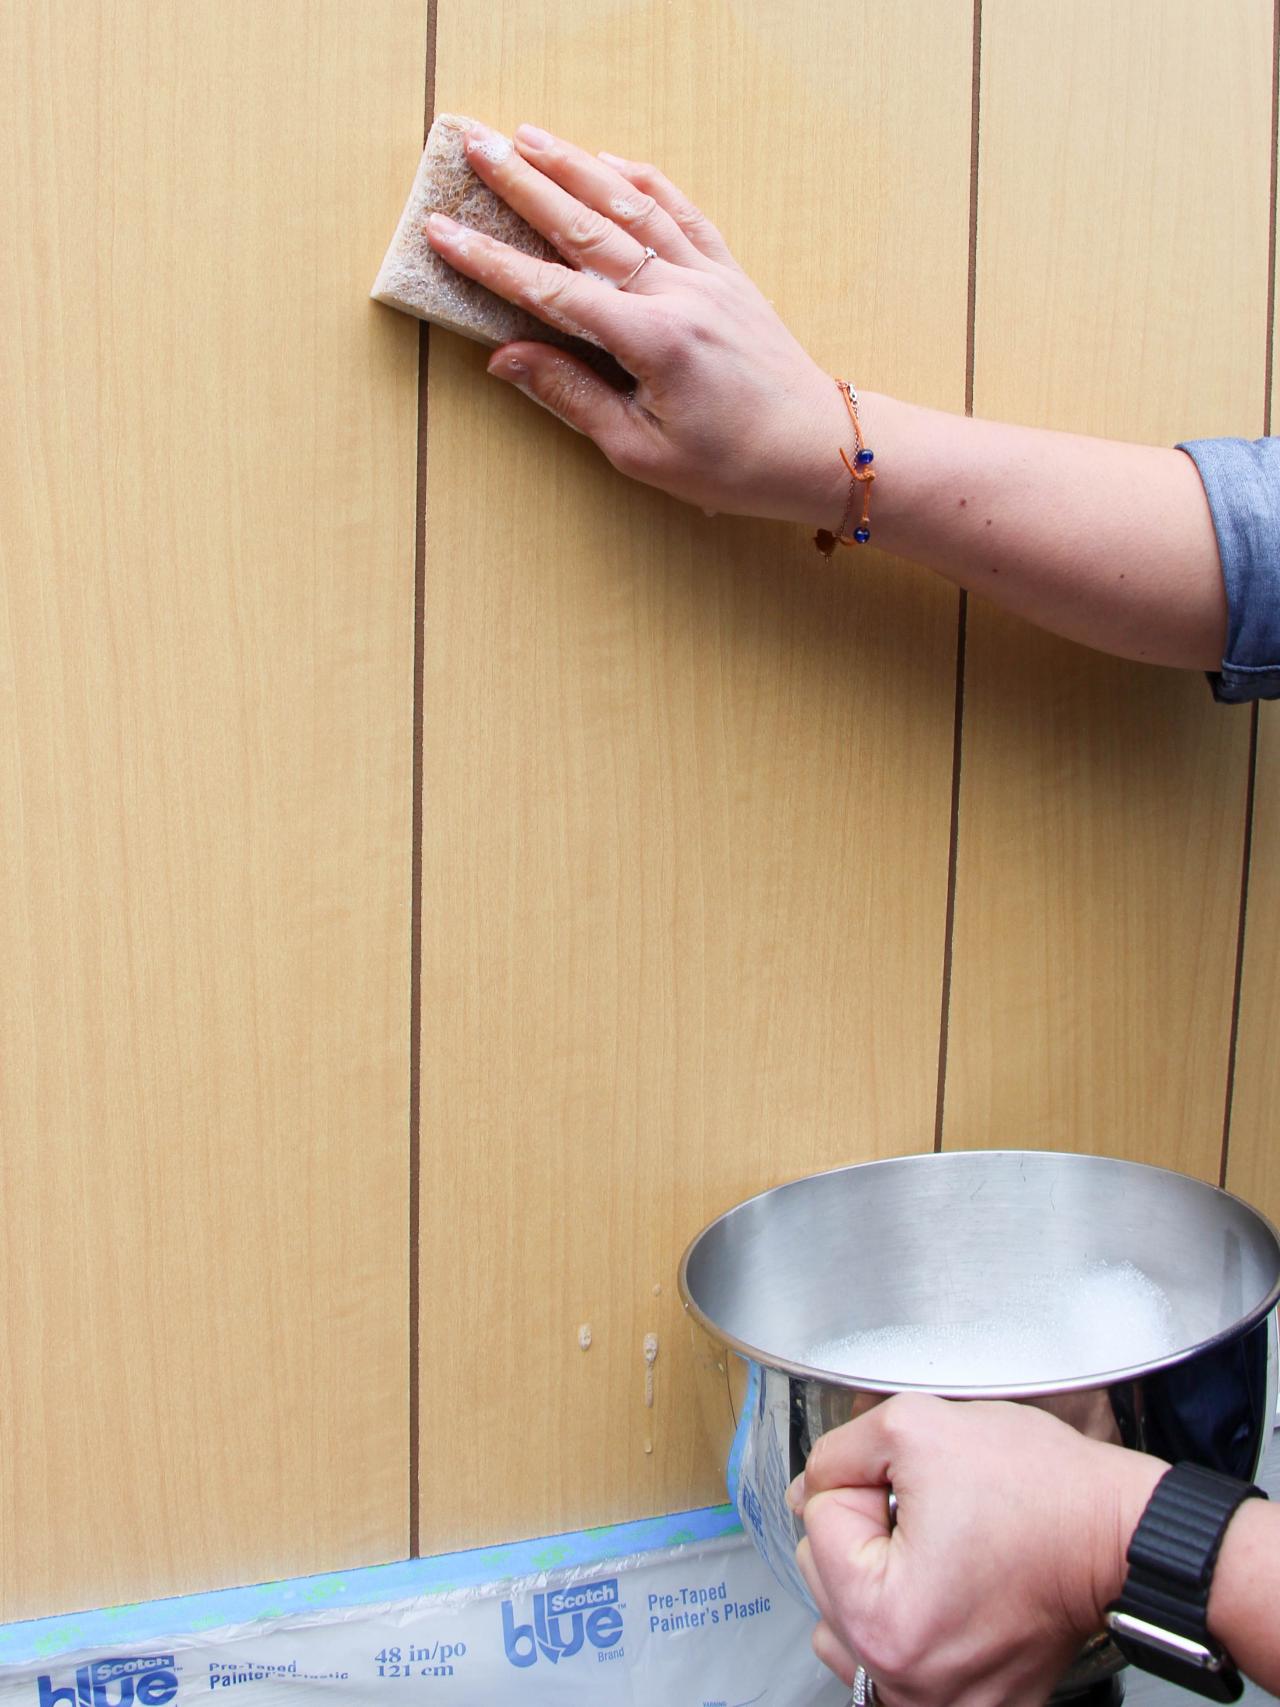
Step 2: Wash Paneling
Thoroughly clean the paneling with an all-purpose cleaner or degreaser and a sponge. Make sure to clean thoroughly; any grease or grime left on the wall may bleed through the primer and paint. Allow the paneling to fully dry.

Wade Works Creative
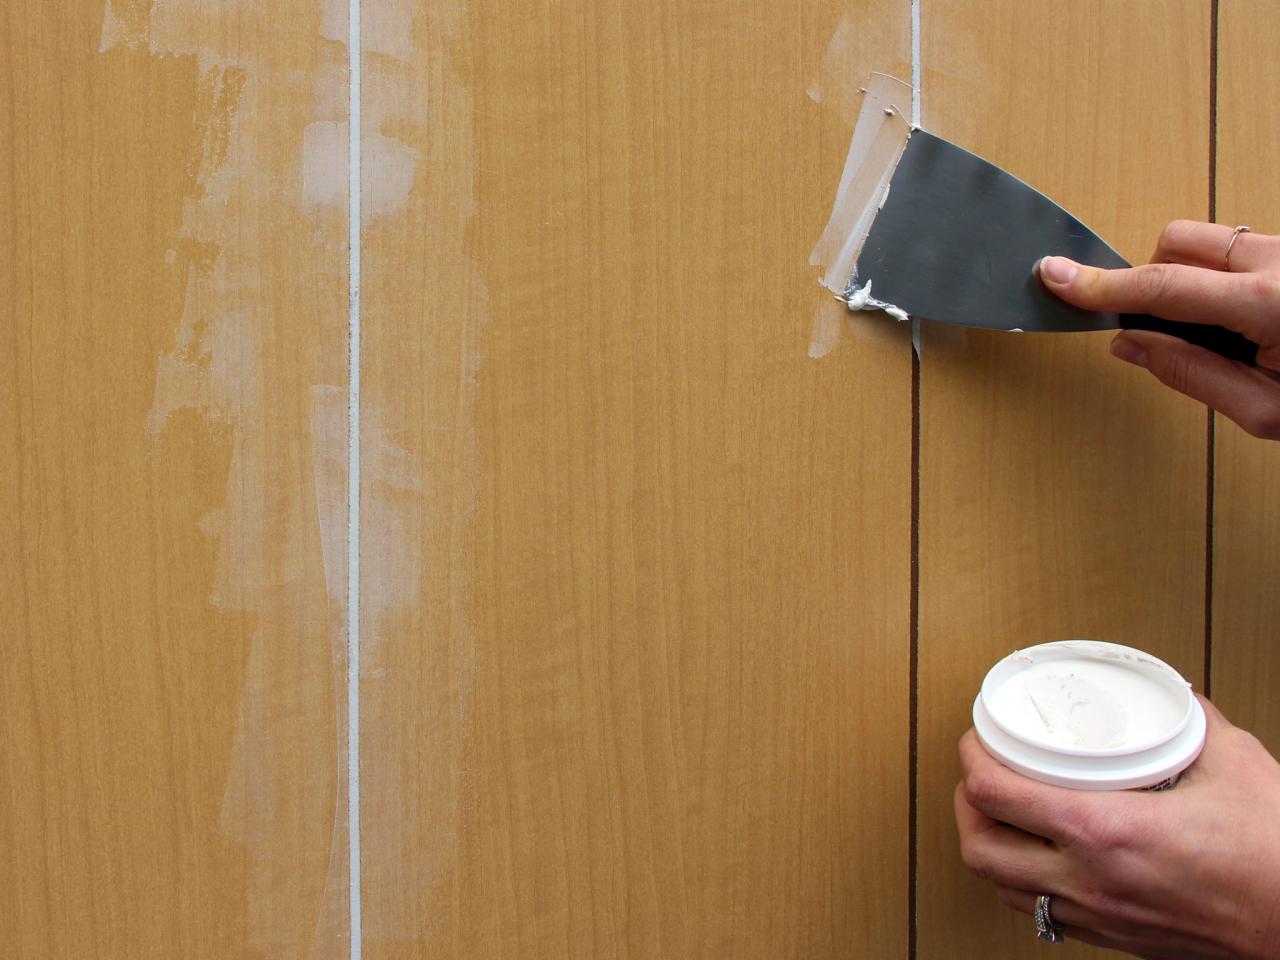
Step 3: Fill Grooves
Do this step only if you want to minimize the appearance of the grooves (1/8 inch deep or less). To fill the grooves, apply lightweight spackle with a putty knife. Once the spackle is dry, smooth it with a sanding block. This may take some time to get the grooves filled in and perfectly smooth. Allow the spackle to dry for at least 24 hours before priming and painting.

Wade Works Creative
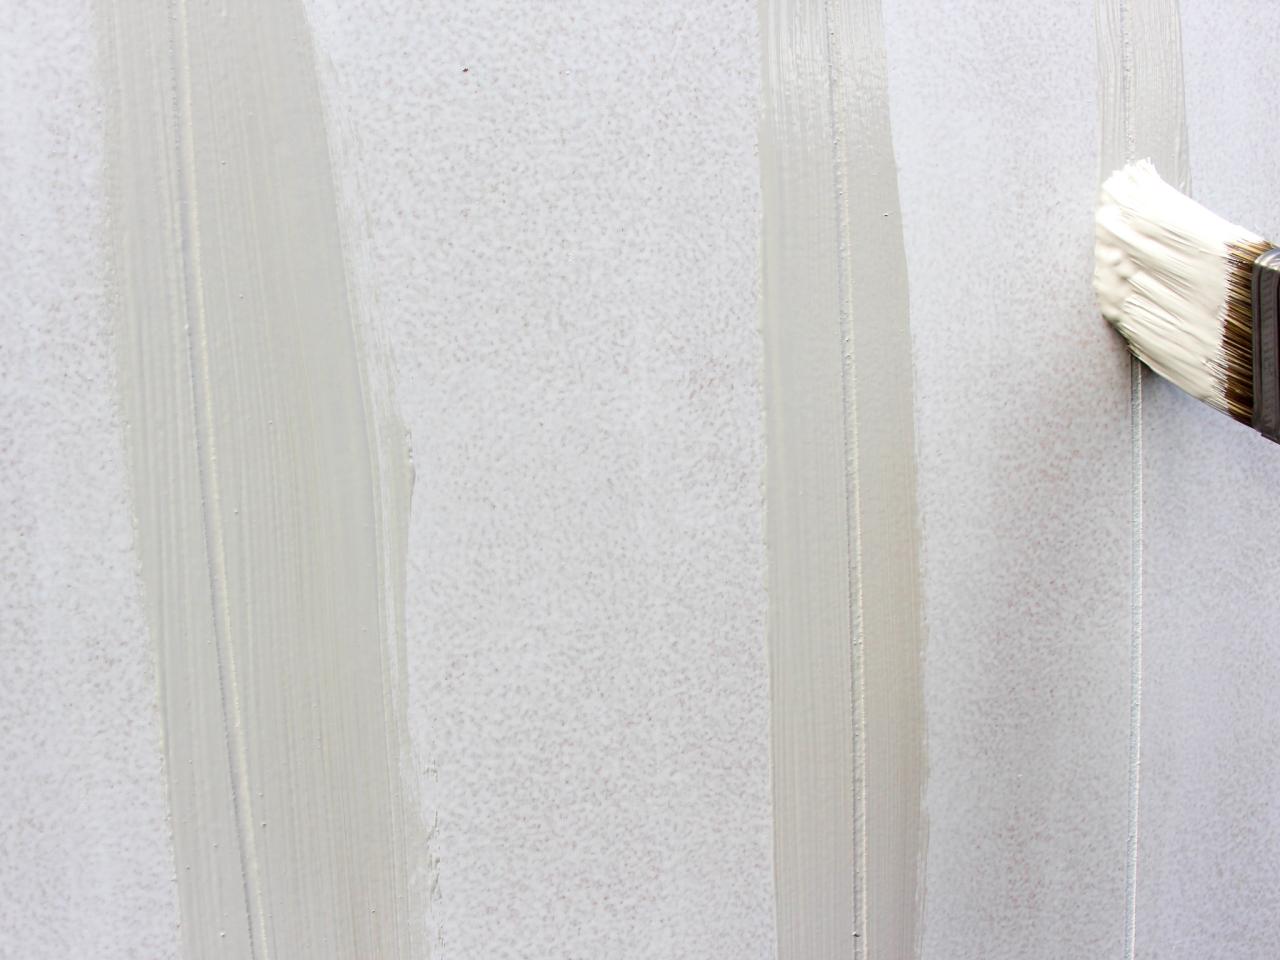
Step 4: Apply Primer
Use a brush to apply primer into the grooves of the paneling. For paneling with knots, apply a shellac-based primer to prevent the color of the knot from bleeding through.

Wade Works Creative
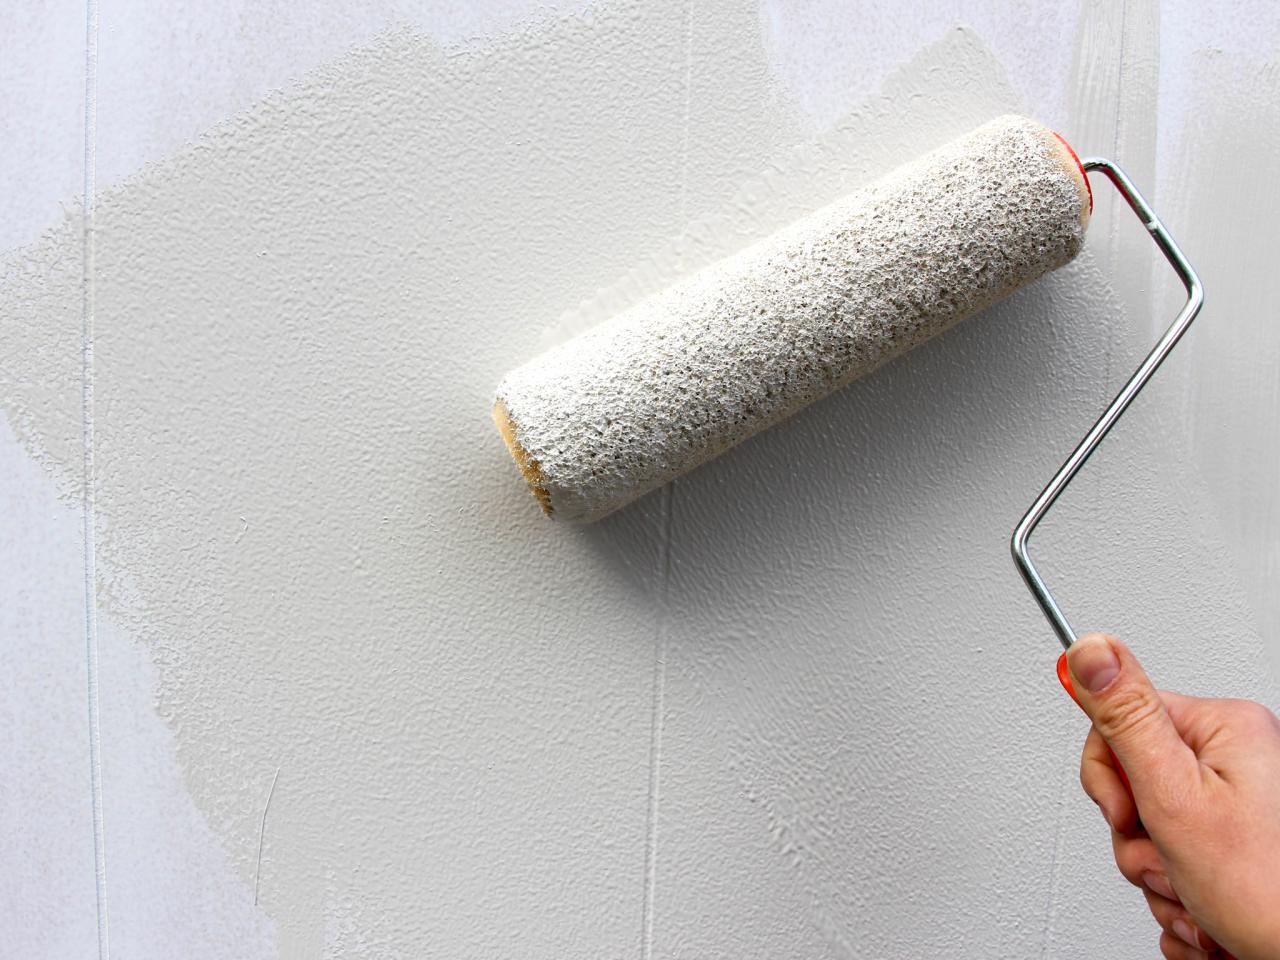
Step 5: Cover Entire Surface
Cover the flat surfaces with primer using a paint roller. If the paneling is still visible, apply a second coat of primer once the first coat completely dries. Allow the second coat to dry.

Wade Works Creative
Step 6: Paint Paneling
Apply the paint in the same way as the primer by painting the grooves first and following quickly with a roller to smooth the surface. Be careful not to let the brush strokes dry in the grooves before smoothing with the roller.

Wade Works Creative

Wade Works Creative

Wood Paneling: Before-and-After Makeovers 22 Photos
Nothing dates a home like lackluster wood paneling. We've rounded up some of our favorite transformations that take these spaces from outdated to elevated.


