


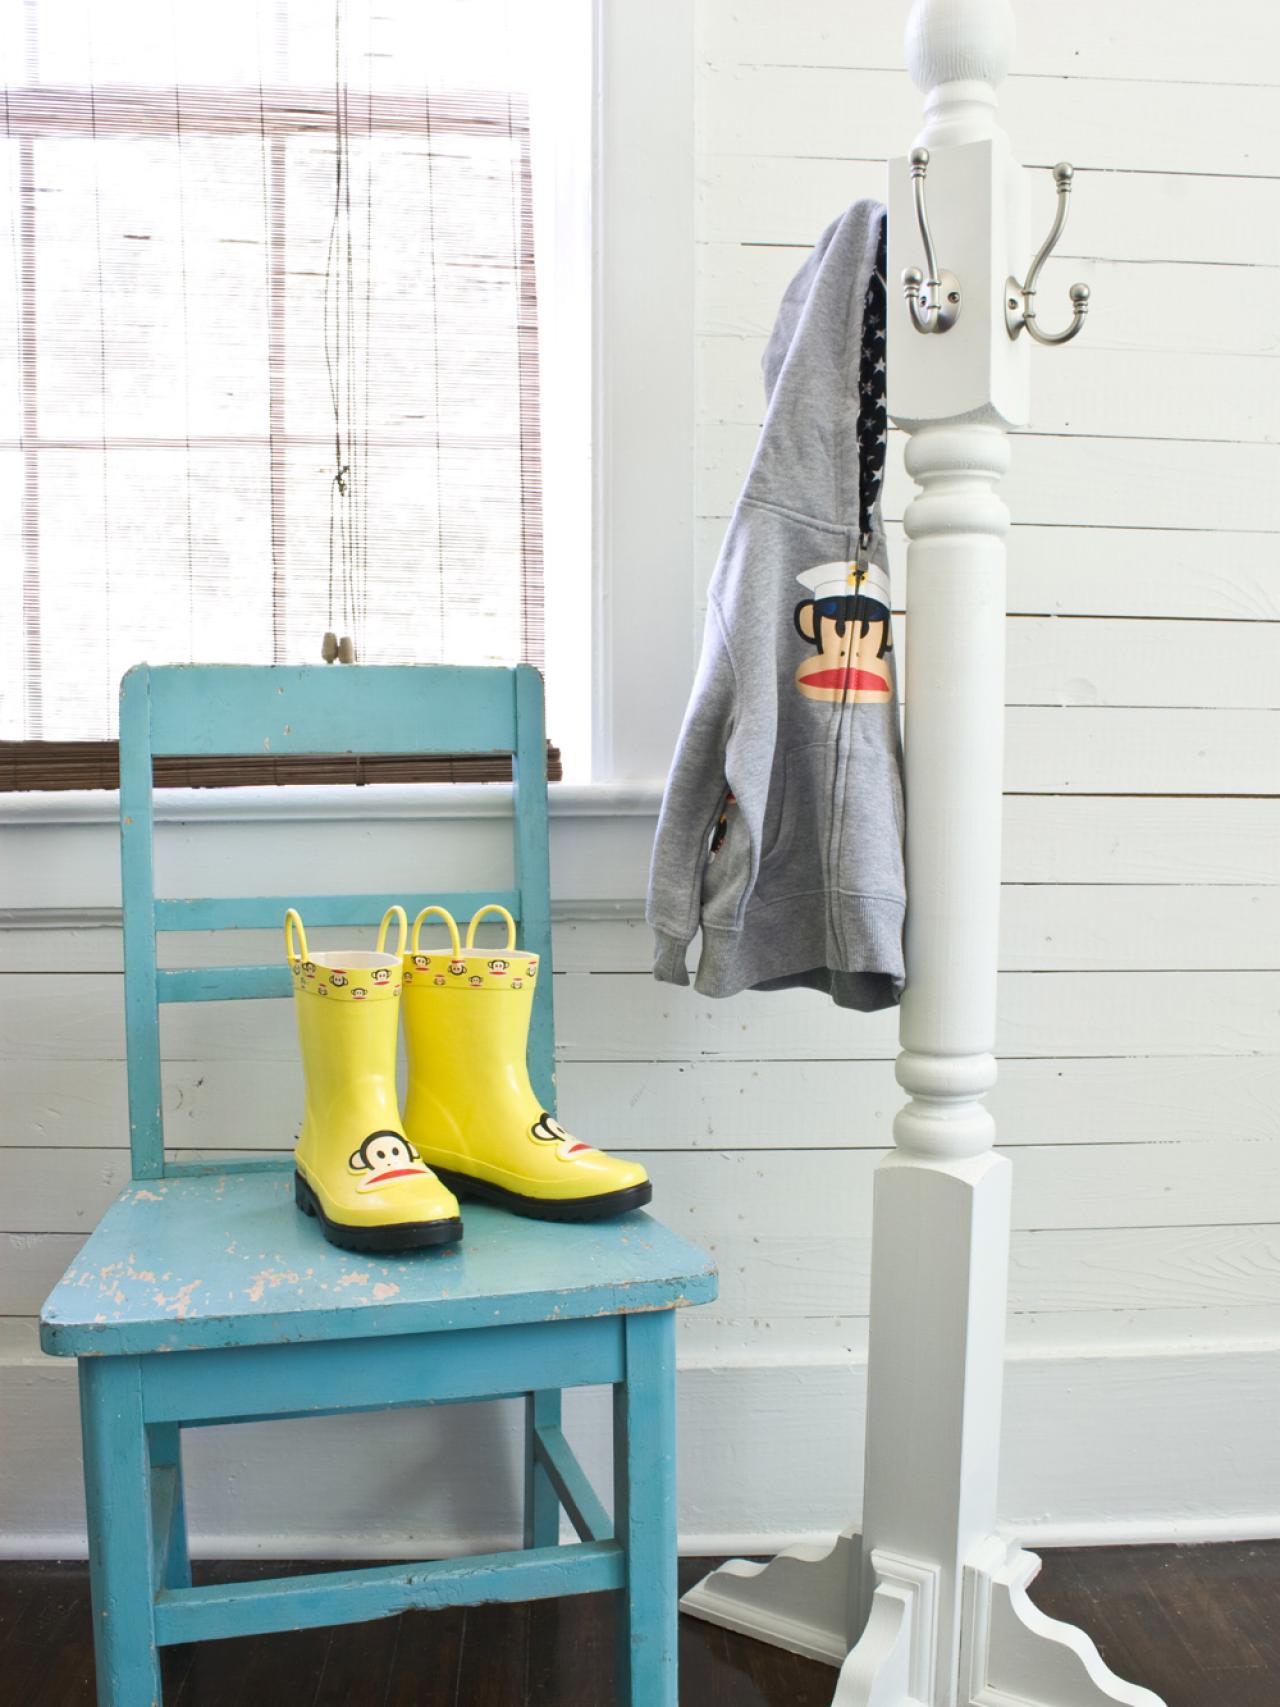
Make an Easy Kids' Coat Rack

Materials Needed:
- wood porch post
- porch post cap
- 4 wood corbels
- 4 coat hooks (and their coordinating screws)
- pencil
- construction adhesive
- paintbrush
- screwdriver
- water-based primer
- water-based latex paint
Cut Porch Post
Cut down a porch post from the home improvement store so it measures four feet tall. Tip: If you don't have a saw at home, have the post cut to size at the store.

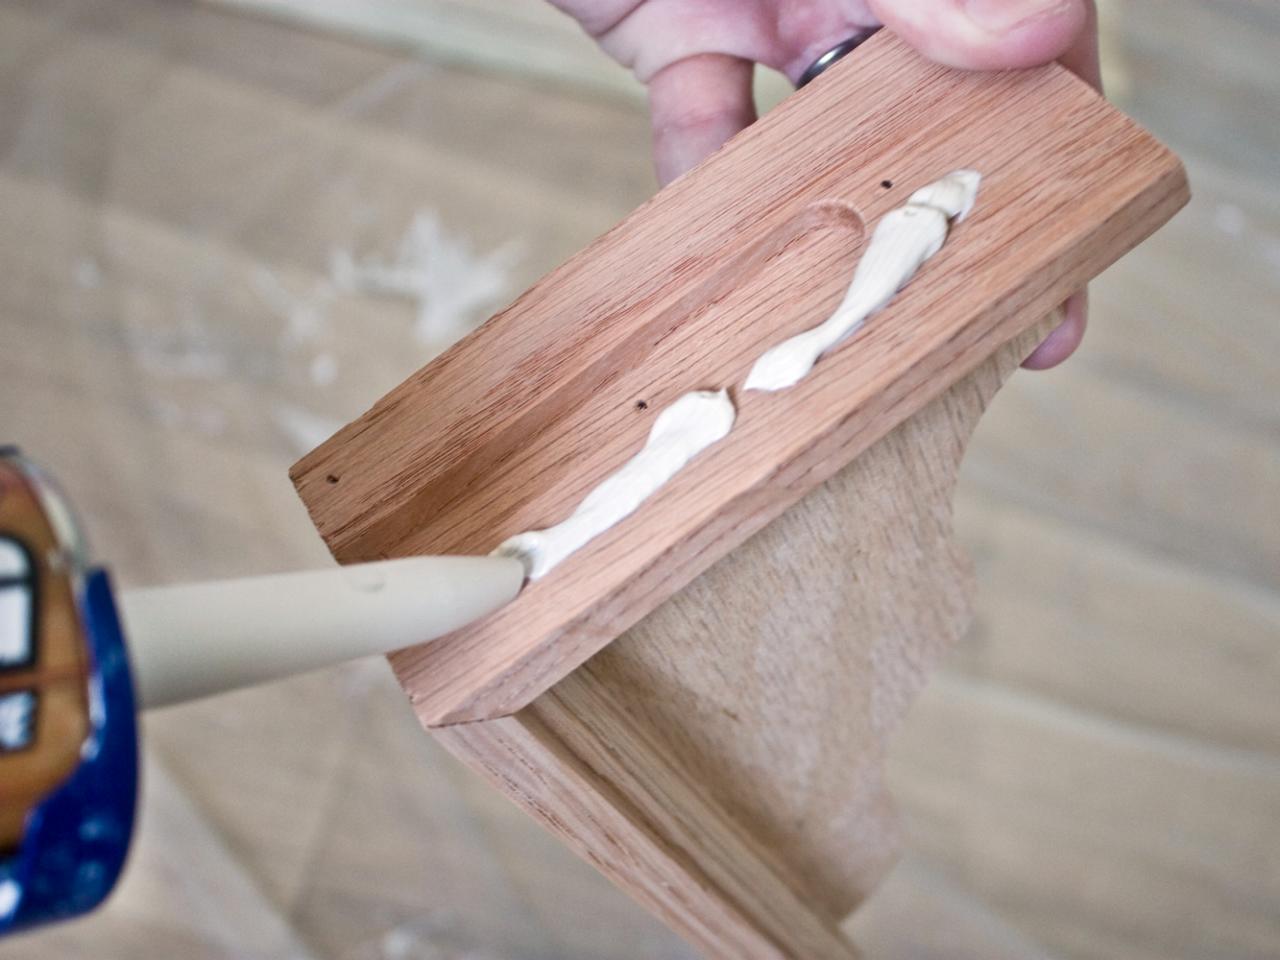
Add Adhesive
Squeeze some construction adhesive onto the back side of all four wood corbels.

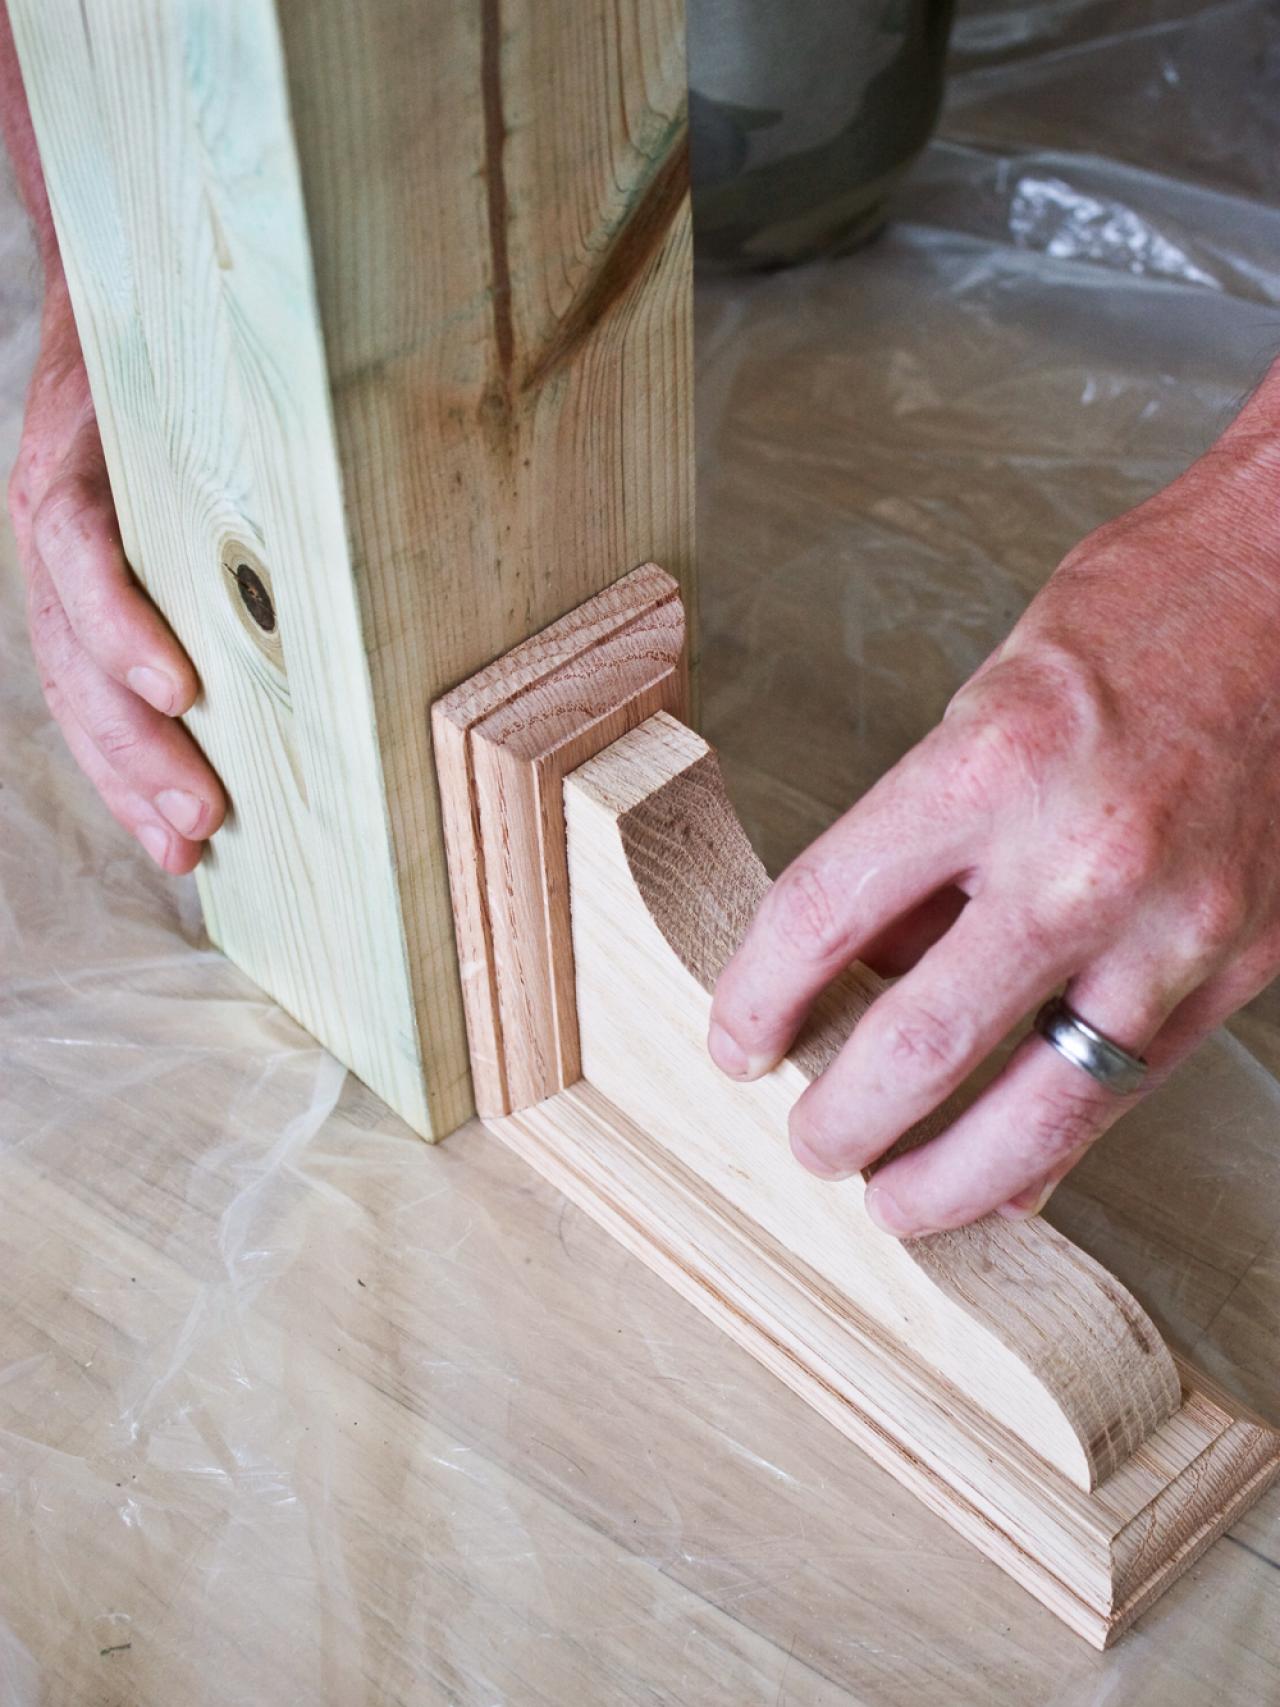
Attach Corbels
Stand the porch post up (a helper is handy for this step), and attach a construction adhesive-coated corbel in the center of each side of the base.

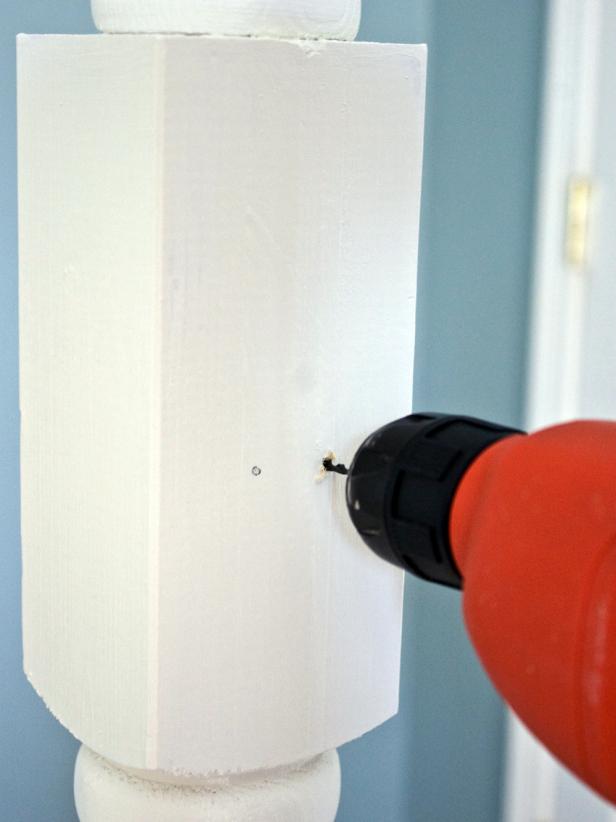
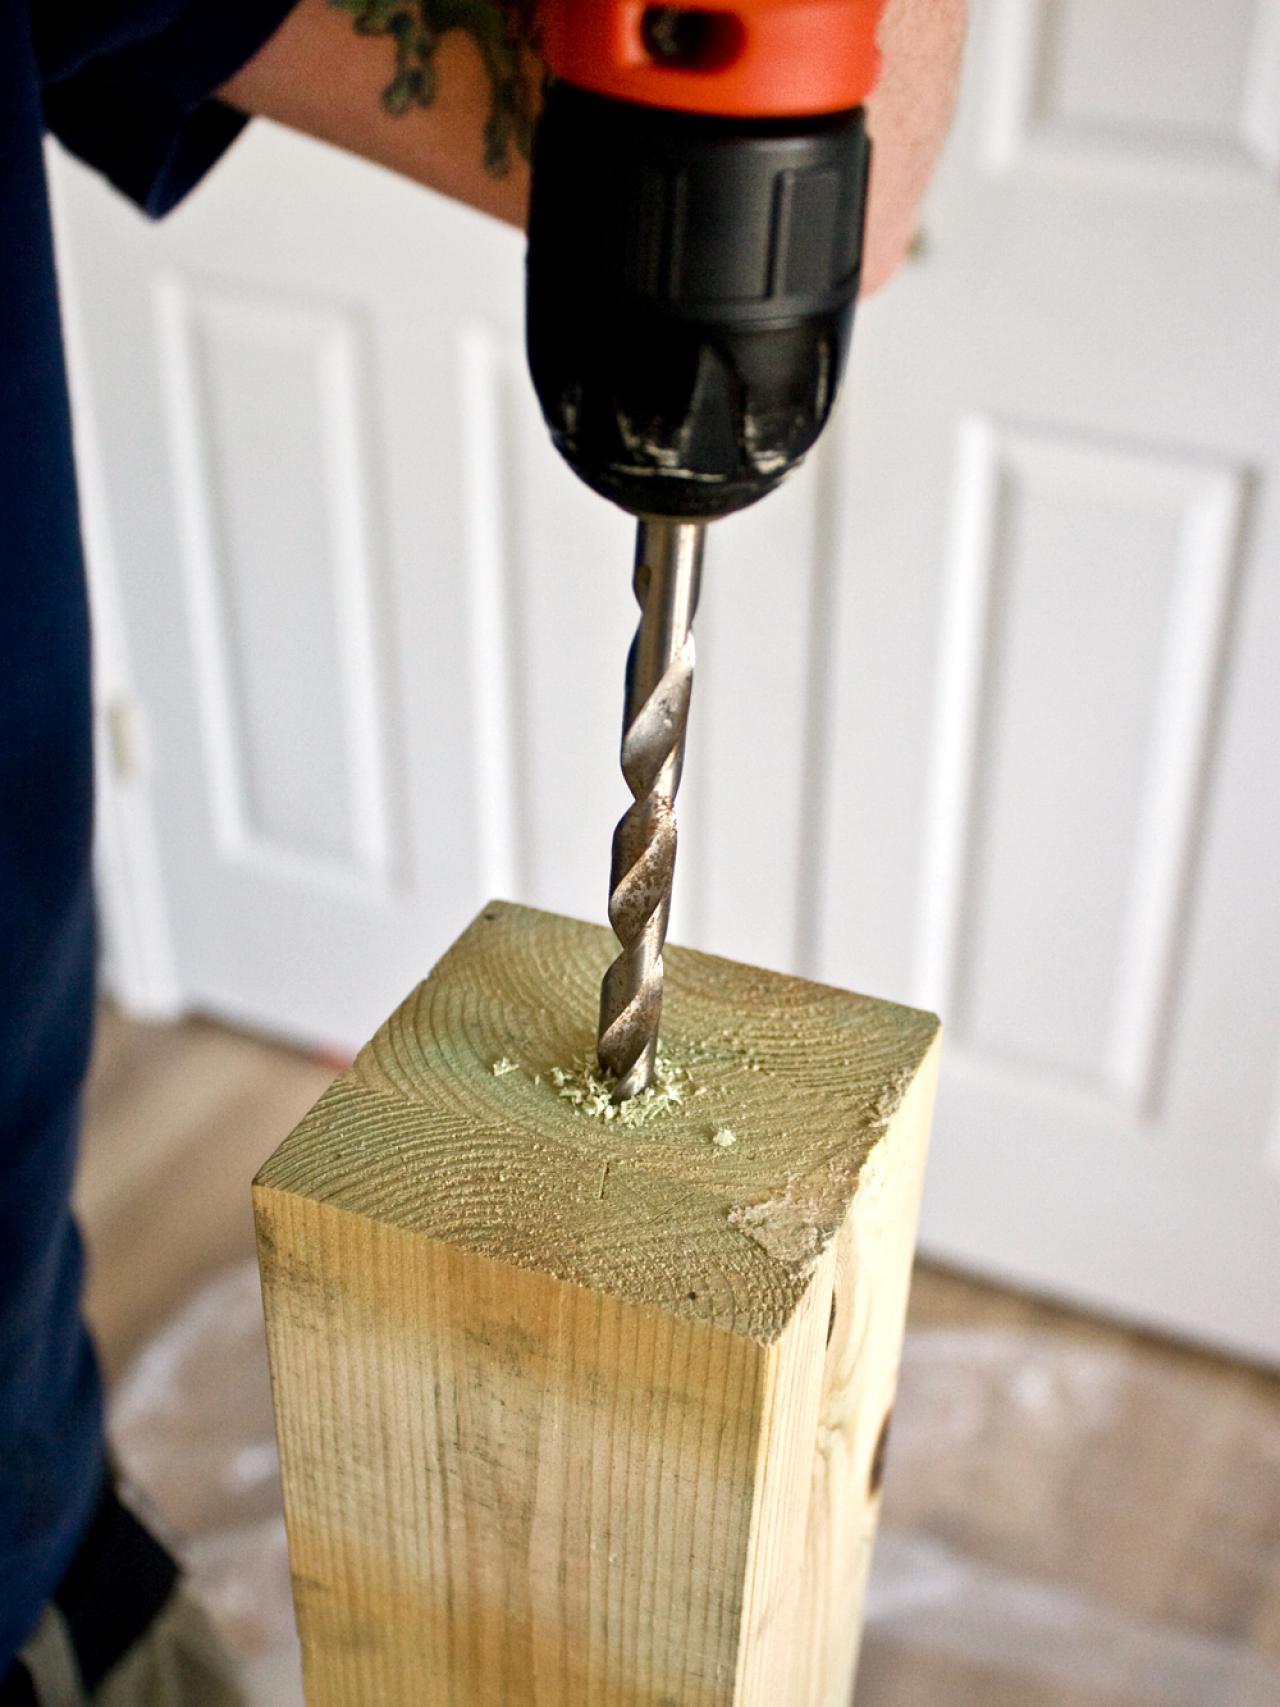
Drill Hole
While a helper holds the post steady, drill a large hole in the top of the porch post. Make sure the hole is a little bit larger than the screw on the porch post cap.

Add Adhesive
Squeeze construction adhesive onto the bottom side of the porch post cap. It's also a good idea to squeeze some adhesive onto the screw as well.

Attach Porch Post Cap
Slide the porch post cap screw down into the hole on the top of the porch post and allow the adhesive to fully dry, approximately 24 hours.

Prime Stand
Once adhesive has fully cured, coat the entire stand with water-based primer. Allow primer to fully dry before moving on to the next step.

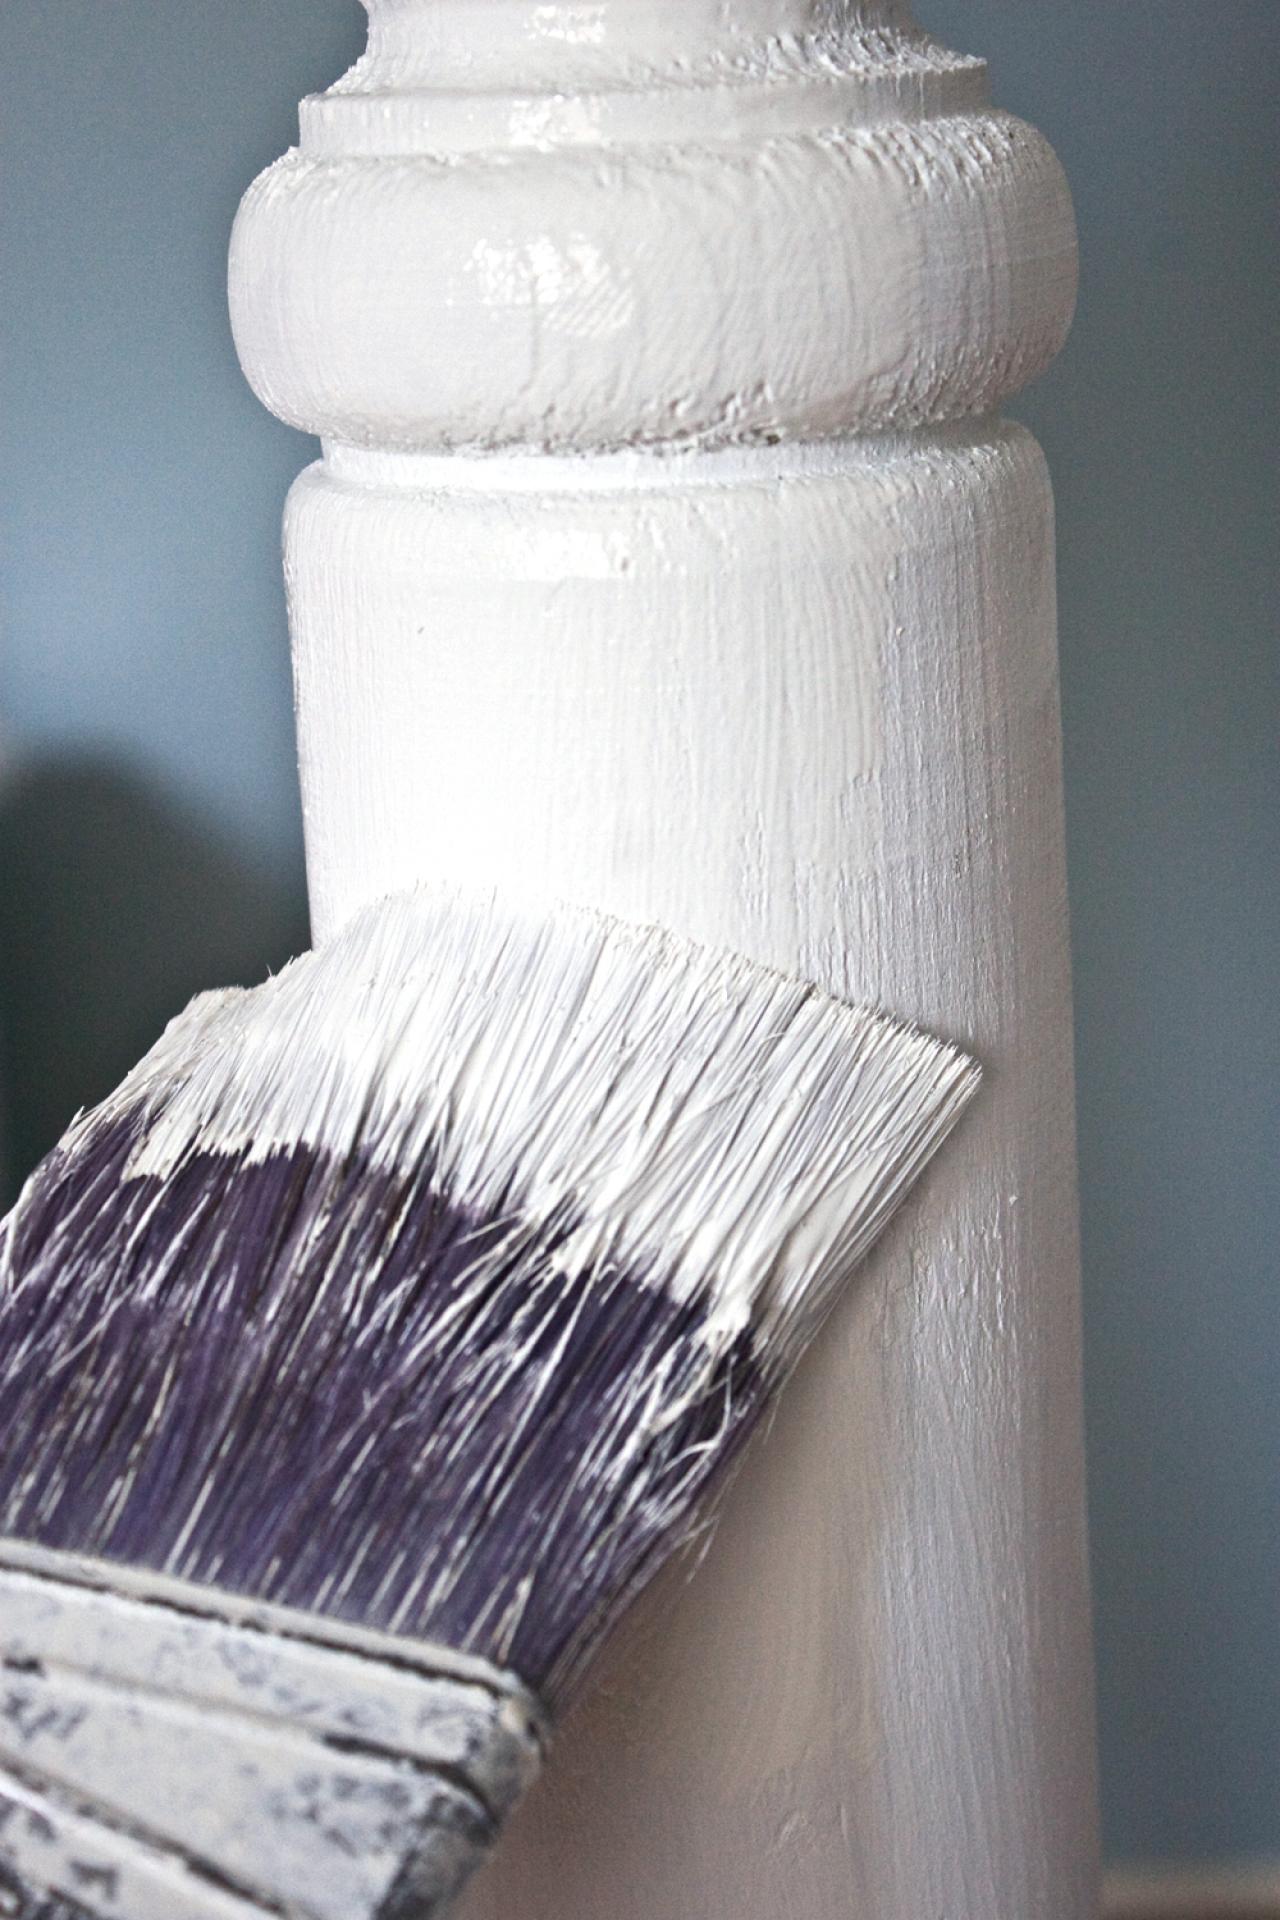
Paint Stand
Cover the entire stand with two coats of water-based latex paint. Allow the paint to fully dry before moving on to the next step.

Mark Then Drill Holes
Using a pencil, make marks on the post where each coat hook should be attached. Use a drill bit slightly smaller than the size of the screws included with the coat hooks to pre-drill holes.
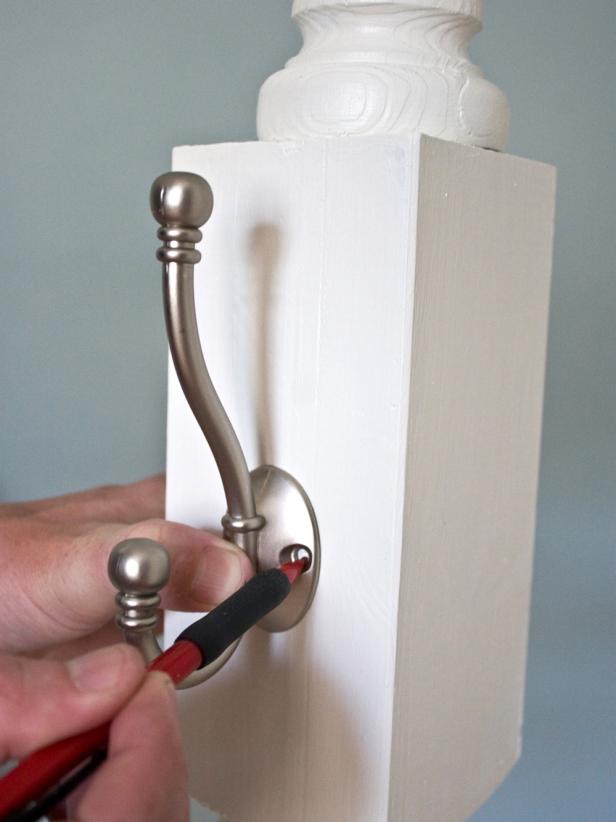
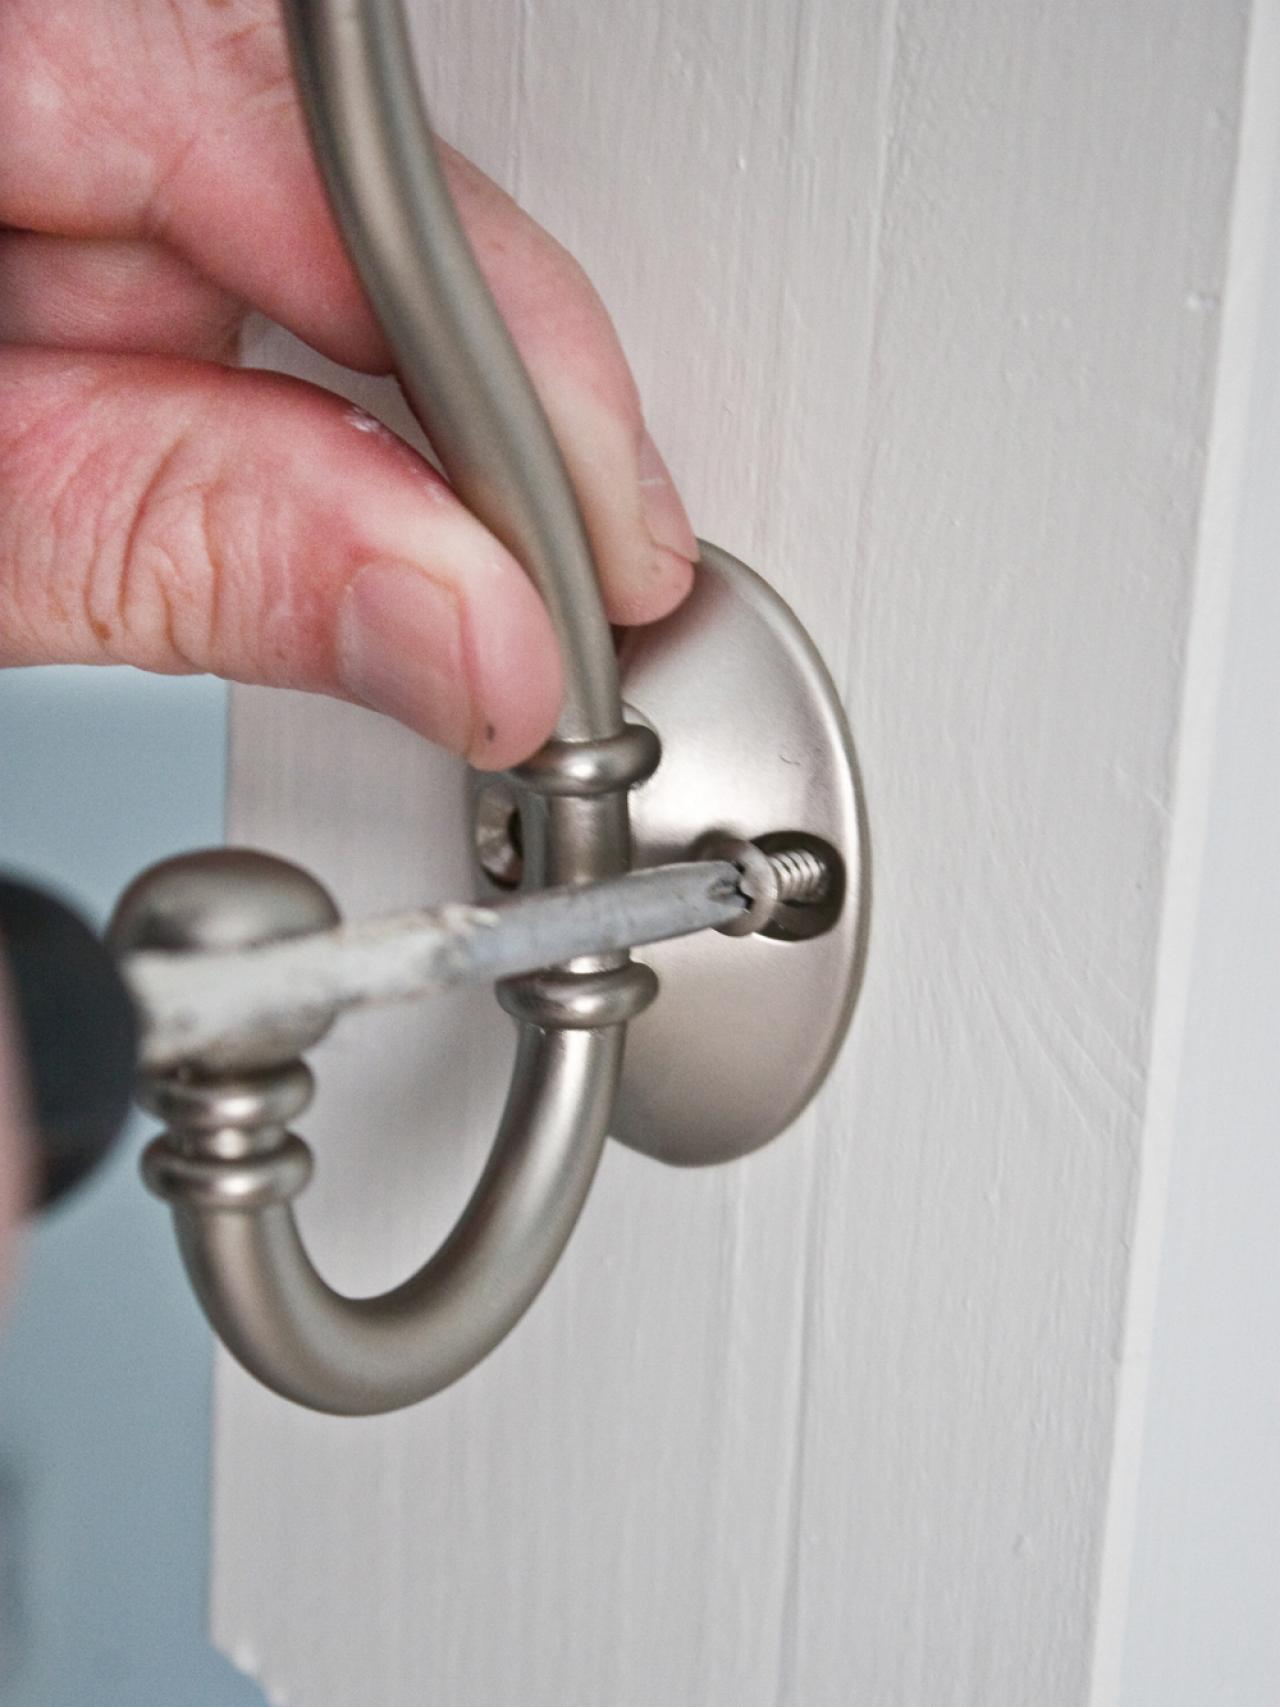
Attach Coat Hooks
Use a screwdriver to secure the coat hooks to each side of the post.


