


How to Install a DIY Drip Irrigation System
Learn how to install a highly efficient water delivery system that will help keep your landscape and gardens stay lush and quenched.

Shain Rievley
In addition to water savings, incorporating a drip irrigation system into landscaping has many other benefits, such as encouraging healthier plants. Using soaker hoses will maintain near-perfect moisture levels in the root zone of plants, enabling them to develop deep roots that are more resistant to dry spells. Eliminating overwatering also helps prevent plant disease and minimizes weed growth.

Tools and Materials
Drip irrigation is the highly efficient delivery of water to plants near their base through flexible polyethylene (poly) tubing fitted with water-dripping devices (emitters) and low-volume micro-sprays. By slowly delivering water exactly where water is needed, drip irrigation minimizes overspray, nearly eliminates evaporation and reduces runoff. All this adds up to dramatically reduced landscape water use.
Drip systems are also flexible and scalable. They’re controlled by hand or by an automatic timer and can effectively irrigate all types of landscape: shrubs, trees, flower beds, ground covers, vegetable gardens and lawns. A drip system can be used to irrigate new landscaping as well as to retrofit an existing traditional sprinkler system. And once a drip system is installed, poly tubing, emitters and micro-sprays can easily be added or removed to accommodate a change in the landscaping layout.
Most drip systems can be installed without special knowledge or tools and require no trenching. The poly tubing is simply laid out on the ground and covered with mulch or gravel. For drip systems used for lawn irrigation, however, 4- to 6-inch trenches are required for placement of emitter lines. Trenches can be dug by hand, with a mechanical trencher or by other means. If practical, the poly tubing for the lawn can be laid before the final four inches of soil is spread in the lawn area.
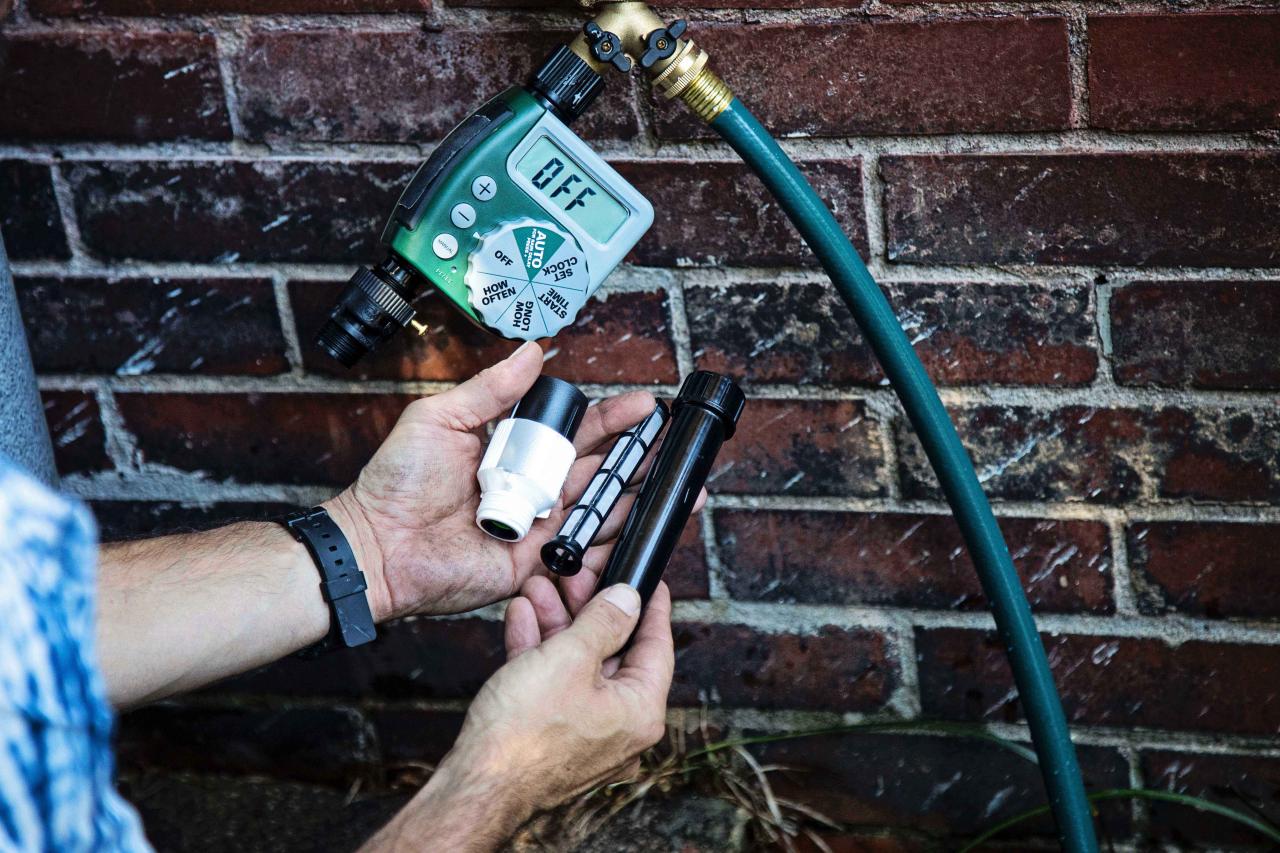
Step 1: Set Up Watering
Using an automatic watering timer will ensure your drip irrigation happens at desired times with ease. There are a few attachments that can give the watering process a boost. Adding a vacuum breaker to the timer will prevent backflow. Next, attach a filter and pressure regulator for clean water with maximum efficiency. A hose adapter will now connect these things to your 1/2” rubber tubing.

Shain Rievley

Shain Rievley

Shain Rievley

Shain Rievley

Shain Rievley
Tip: Dipping the tubing in warm water before attaching will soften the tube allowing it to easily fit the adapter.
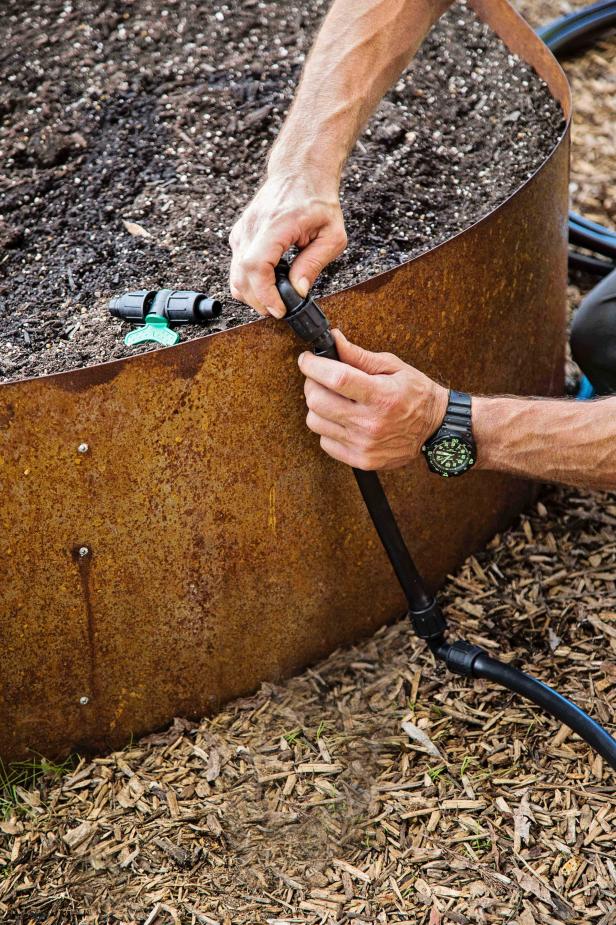
Step 2: Lay Out Tubing
Every garden is different. For a raised bed, run tubing from the spigot to the garden. Cut the tube and attach it to the elbow to make the 90-degree curve at top of the bed. Then continue with a new short piece of tubing that will connect to the shut-off valve. Once secured in place, cut the final piece of tubing that will run the length of the bed. Secure the entire tube in place with landscape pins and cap off the end.

Shain Rievley

Shain Rievley

Shain Rievley

Shain Rievley
Shain Rievley
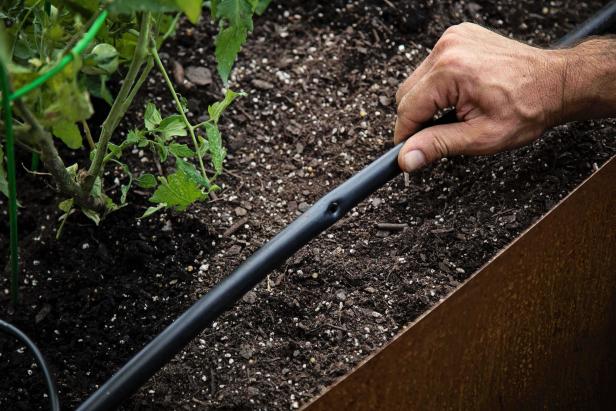
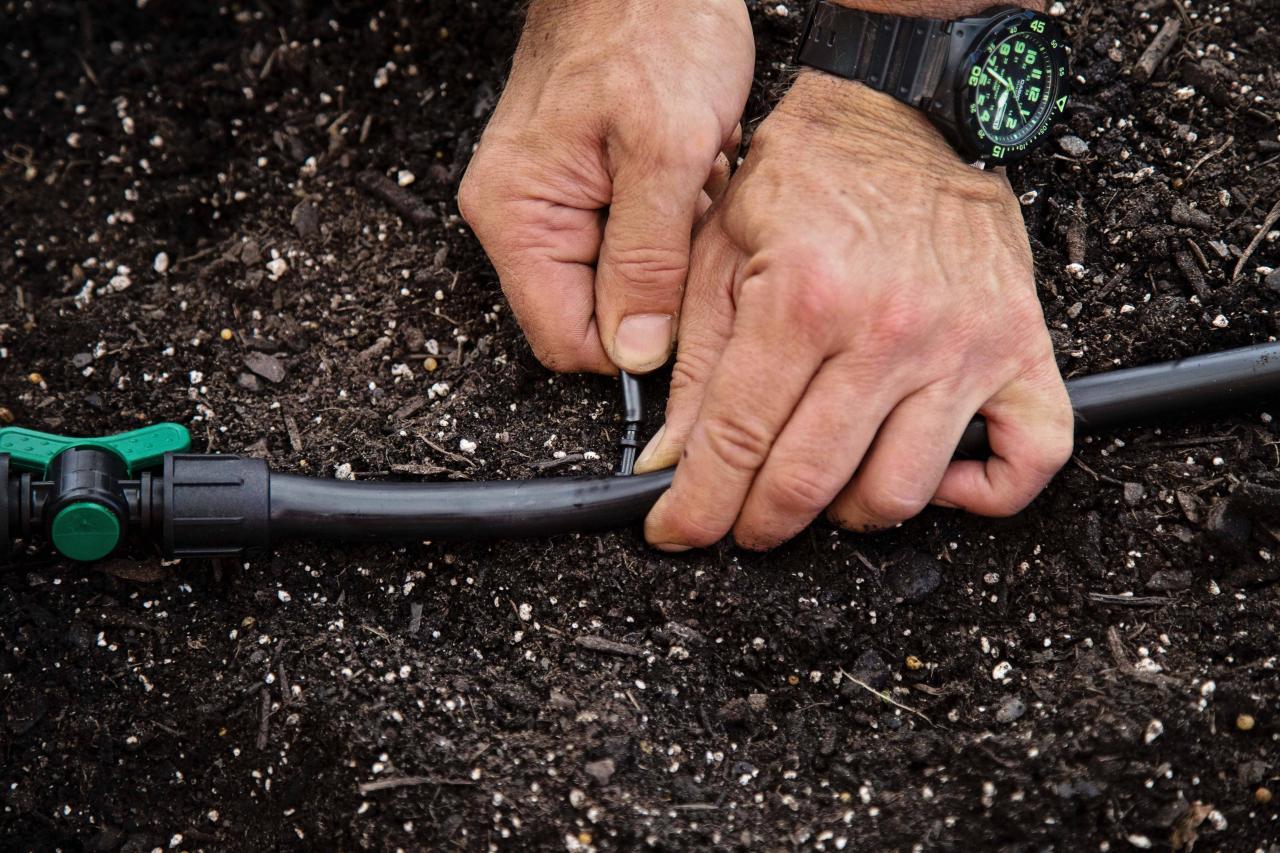
Step 3: Create Drips
Use a hole punch to mark areas on 1/2” tubing to run drip line off of. Use a barb coupling to attach the 1/4” drip line to the tubing. Snake the drip line throughout the bed where you will put plants. Tubing stakes will keep it secure and elevated above the soil level. Use the hole punch again to create targeted drips. Cap off the end of drip lines with goof plugs. Water will drip only where you have designated it to when water is turned on

Shain Rievley

Shain Rievley
Shain Rievley

Shain Rievley

Shain Rievley
Installation and Planting Tips
- Don't skimp on the number of emitters. The goal when using emitters is to water the plant's entire root system. Large trees can require 12 to 36 emitters or more, while small shrubs may need only two or three emitters. Use a minimum of two emitters per plant in case one emitter clogs.
- Space emitters evenly around plants, staying at least six inches from the base of the plant to prevent fungal infections on the main stem. For plants located on a hillside, place the majority of the emitters on the upper side of the plant, allowing water to drip to the lower side.
- Use zoning. During the landscape design, plan to group similar plants together — i.e., separate dry-climate plants from humid-climate plants, separate trees from shrubs, etc. This will enable you to set up watering zones with watering frequencies best-suited for each type of plant. Large landscapes that contain various soil types can be separated by zones too.
- To prevent the small orifices of the drippers and micro-sprinklers from clogging, install a filter at the beginning of the system. Typically, a screen mesh of 150 is recommended, although the water quality and the type of emitters used could dictate that a different mesh be used.
- Install a pressure regulator. A regulator will maintain constant pressure throughout the system, ideally between 10 and 30 pounds per square inch. Systems with too high, too low or inconsistent pressure won't operate correctly and can leak.
- To develop correct watering schedules, pay attention to your plants and adjust the watering to meet their needs. For example, run the system a little longer in hot weather and shorten the run times during cooler weather.


