


How to Build a Timber Retaining and Sitting Wall
Retaining walls are a great way to bring definition to your property and turn unusable space into useful space in the landscape. Find out how to build a retaining wall with this step-by-step.

A timber retaining wall is great for reshaping a sloped yard and adding a real identity and presence to your garden area. Some materials can be used to create curves, but a retaining wall made of timber will be straight.
Tools and Materials:
- measuring tape
- wheelbarrow
- 2-lb. sledgehammer
- carpenter's level
- hand tamper
- utility knife
- shovel
- stakes
- 30' perforated plastic drainage pipe with a 4" diameter
- landscape fabric
- 6x6 pressure-treated posts
- compactable gravel
- landscape pins
- drainage gravel
Plan Your Wall
Start by measuring the area for the exact length of your wall, including all sides if there will be more than one- this will determine the materials needed to complete the project.
Calculate the timber you'll need to buy. For this project, we need twelve 8-foot 6x6s to build a 2-foot tall wall. Pressure-treated lumber, specially made for this type of wall, is readily available in home improvement centers.
Before beginning, have a plan for all the soil you'll be removing. It can be used to construct raised flower beds, to fill in low spots in your yard or to grade around your foundation.
Always consult your local utility company before digging. They will mark the location of any underground services in your project area.
Walls more than 4 feet tall may require professional installation.
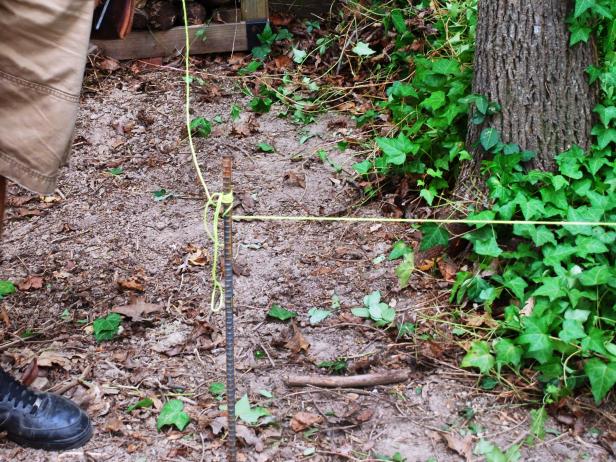
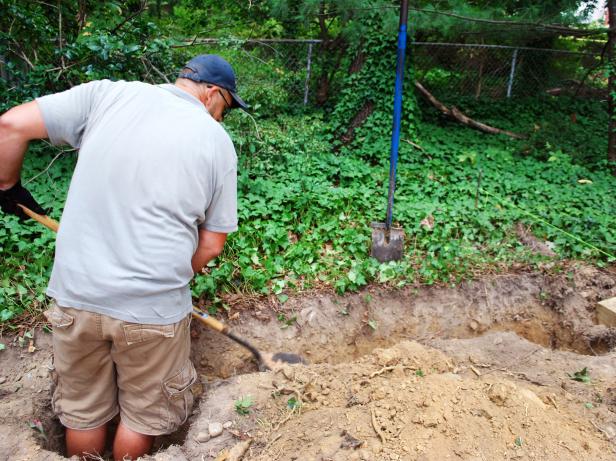
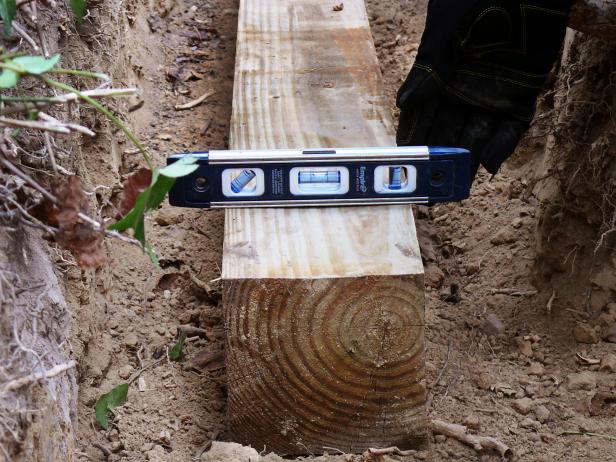
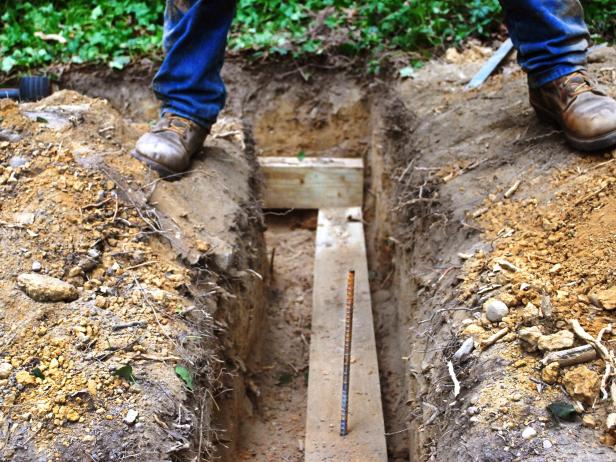
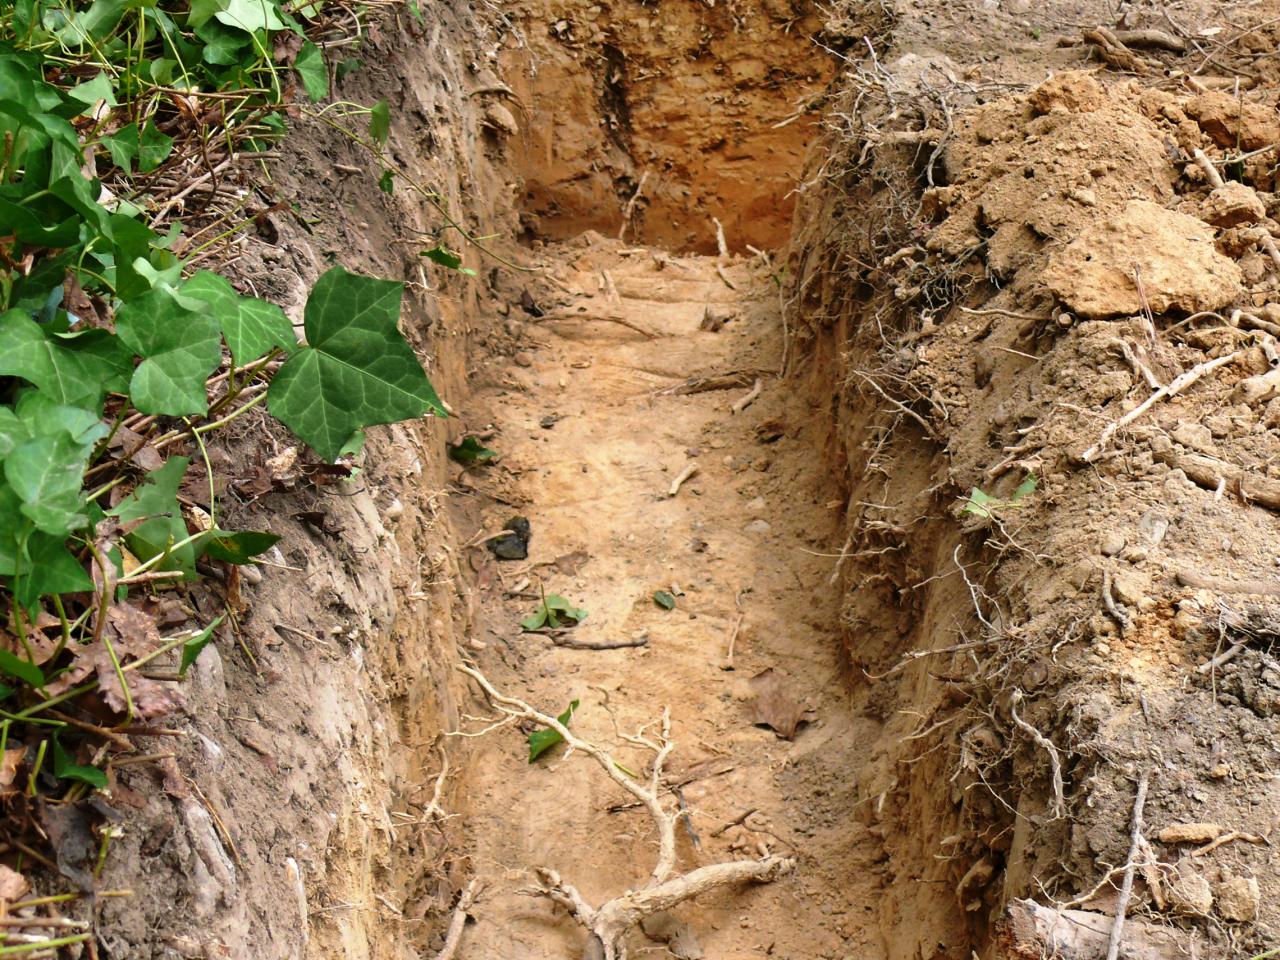
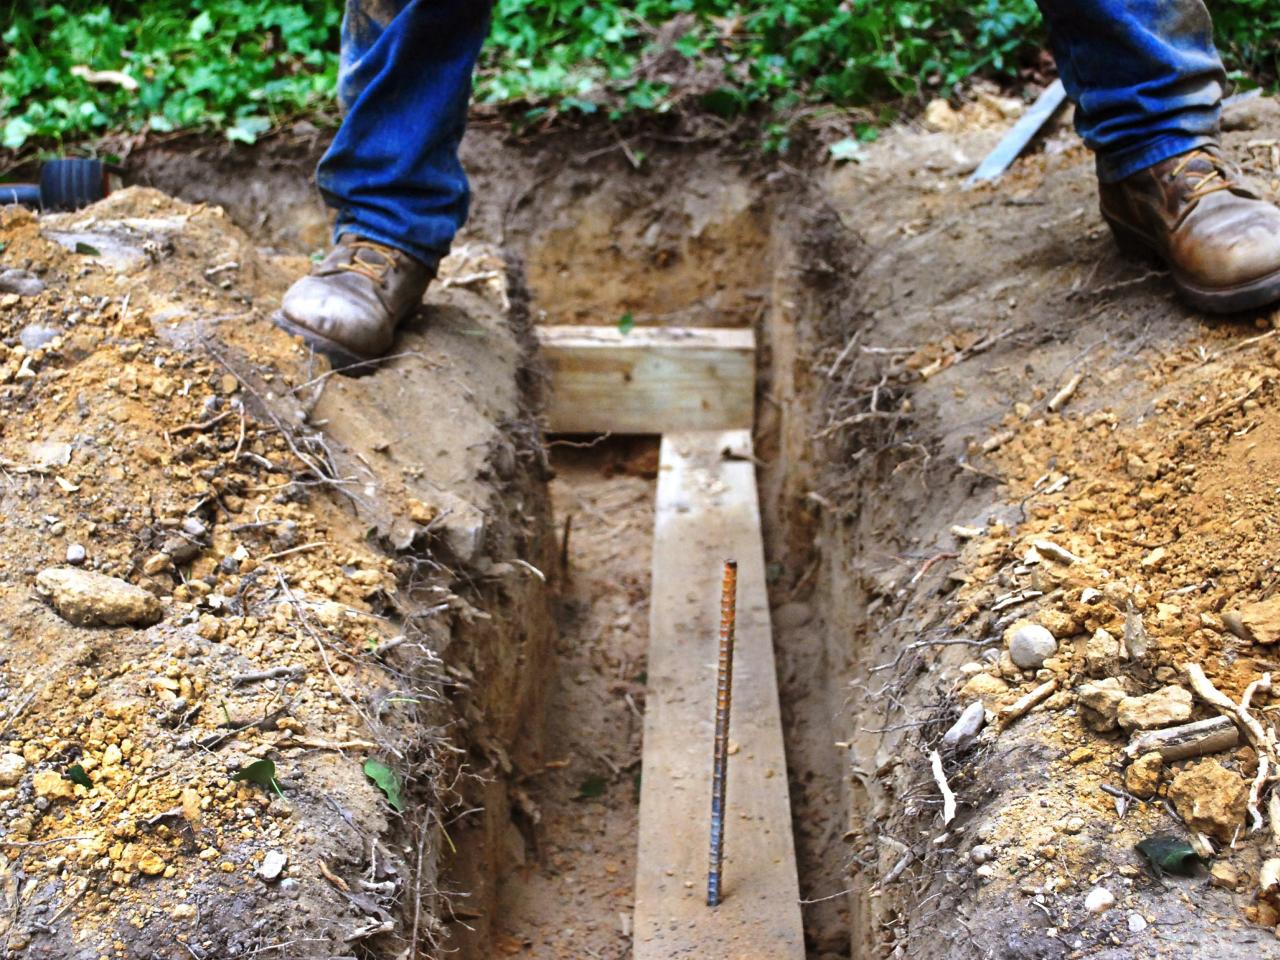
Excavate the Trench
Before you begin digging, add a guide string. This string follows the path you want your wall to follow. Place stakes at either end of the front edge of the wall. Connect the stakes with a string and adjust until it is level (Image 1). Excavate the bottom of the slope to create a level base for the wall. Dig a foundation trench for the first row of timber (Image 2). Make the trench about 8 inches deep. The base of the retaining wall should be half the wall's height. So, in our case, that's 1 foot wide for a 2-foot high wall (Image 3). Tamp to a level base. One of the keys to a successful wall is a level foundation. Use a level placed on top of a timber to periodically check your work.

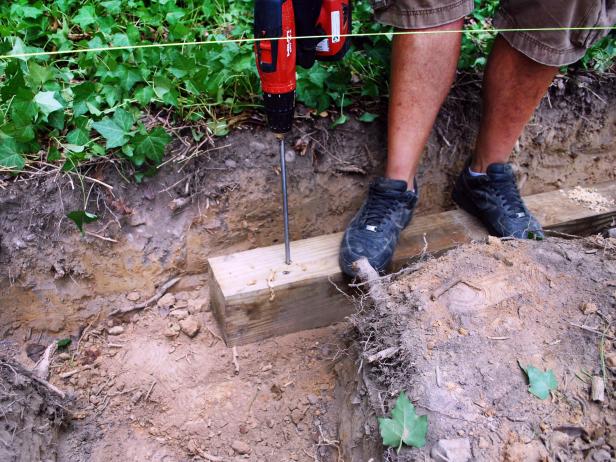
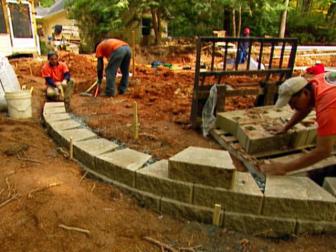
Build the Foundation Row
With the trench dug and leveled, you're ready to install the foundation row of timbers. Starting at one end of the trench, place a 6x6 on the ground. Make adjustments to keep the timbers level and straight (Image 1). Use a small sledgehammer to shift things into place and check plumb with a level. When the bottom row of timbers are in place, use a power drill and a spade bit to drill two pilot holes down through the top of the timber – about 4 feet apart (Image 2). The bit should be the size of the rebar. To pin the timber in place, use an 18-inch piece of rebar driven into the soil with a 2-pound sledgehammer (Image 3). Continue with the next piece. Install a straight, continuous row of foundation timbers in this manner. Make sure the row is level across the entire length of the wall.
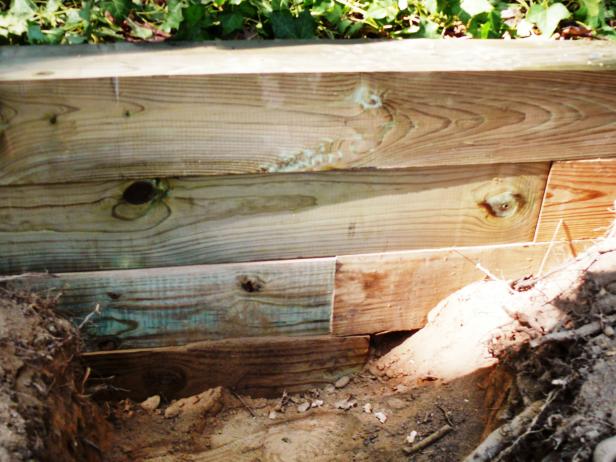
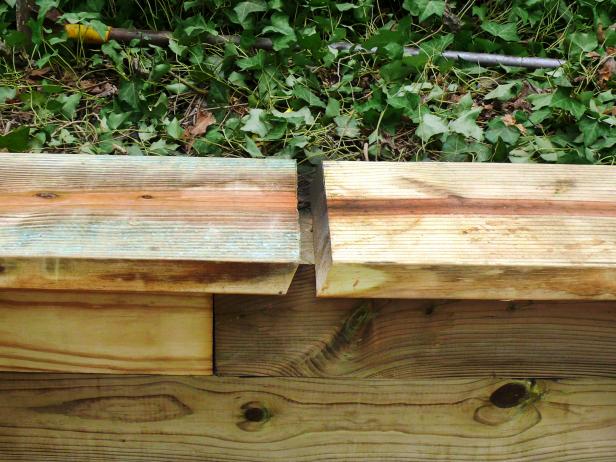
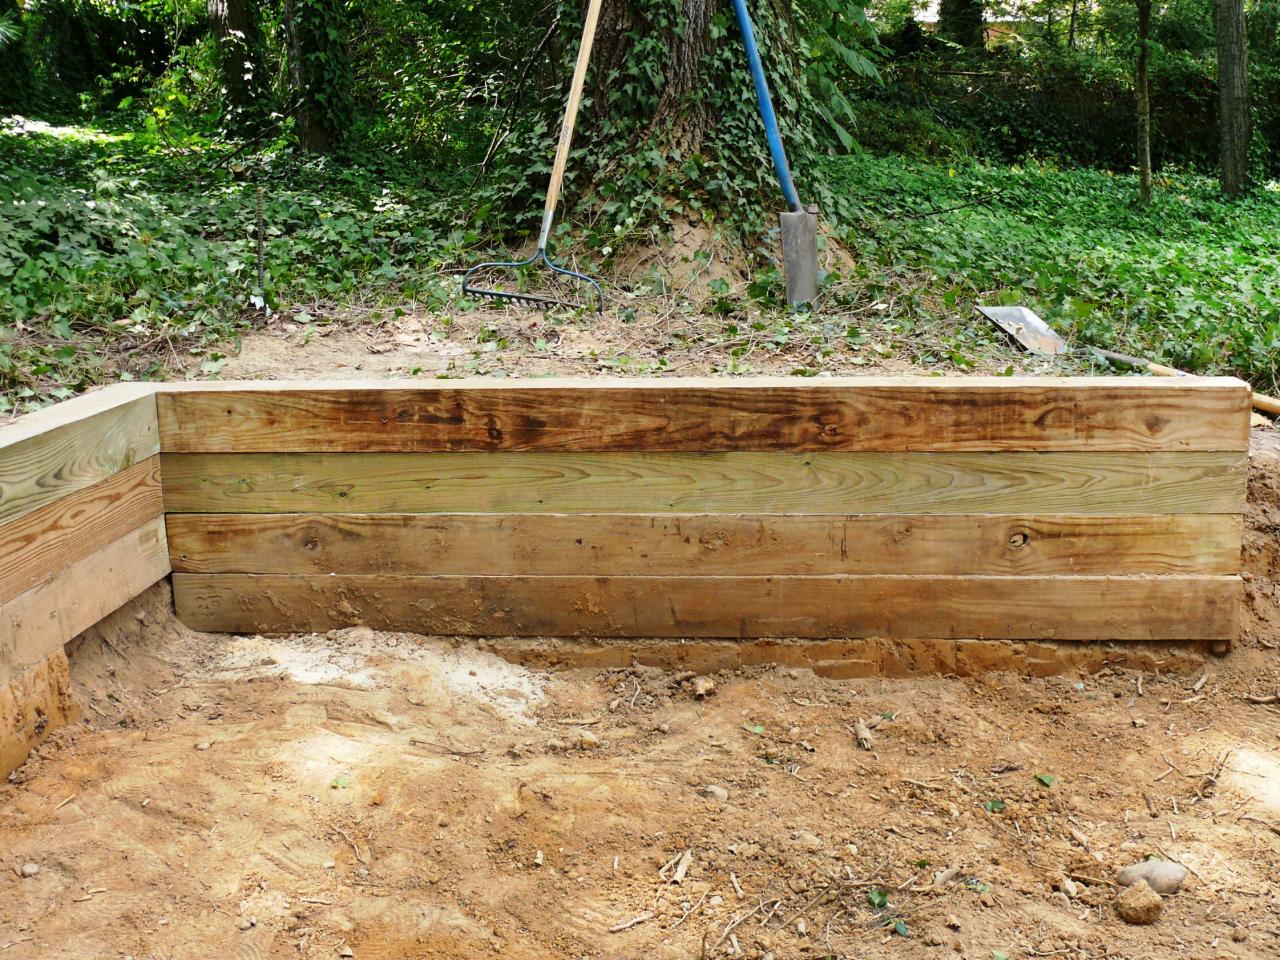
Install Remaining Rows
Offset the joints as you install the second row. Pre-drill holes for the spikes about every 8 inches. Secure this second row to the foundation row with 60d spikes, using the pre-drilled holes. Build the next row, remembering to stagger the timbers. Again, attach each row to the row below it using 60d spikes (Image 1). Use a hand saw to cut off any excess in order to make the ends of the wall even (Image 2). Repeat the process, building subsequent rows and offsetting the timbers so that the ends of every row are in alignment (Image 3). Most retaining walls require drainage and are built with a perforated pipe set behind the wall in a gravel base. Because the grade of this yard has a slight slope that will promote water runoff, we can skip this step on this project, but we will add gravel for drainage and back fill with dirt. Once you have all the timbers in place (and backfilled), add a top cap. We're using 2x12 planks cut at 45-degree angles and fitted together in a point. Center the 2x12 cap on the top timber, allowing a 3-inch overhang on both sides. If you need more than one plank to cover the length of the wall, cut them on a 22-degree angle to fit them together. Attach the top plank using 3-inch wood screws driven every 12 inches. Then, remove the ends of the boards, leaving a 3-inch overhang. To finish the project, we round the corners with a simple 45-degree cut (Image 4).


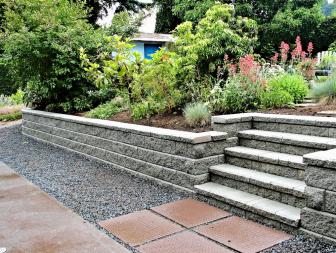
With your retaining wall now complete, you can paint or stain it to your taste. Now you can take advantage of the newly leveled area of your yard.
How to Build a Concrete Block Retaining Wall
Whether you’re wanting to build a retaining wall to prevent erosion, break up a large slope or just enhance your landscape, learn how to plan for and build a concrete wall with cinderblocks or landscape blocks.

26 Retaining Wall Ideas 36 Photos
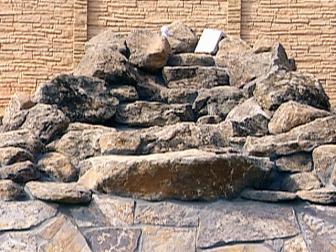
Find inspiration for your retaining wall design from these images of stone, concrete, timber and other types of retaining walls that make a dramatic impact in the landscape.


