


How to Transplant Perennials
Moving perennials is something many gardeners needlessly avoid. Your plants are much tougher than you think, says Peggy Huff, an expert on flowers and ornamental plants from Johnny’s Selected Seeds.

Johnny's Selected Seeds
Materials Needed
- spade
- topsoil
- watering hose
- compost
- organic mulch
Step 1: Prep for Success
- Stick mainly to fall and spring for transplanting. Milder temperatures and more rainfall make it easier for a plant to get acclimated to its new spot. Wait for an overcast day if you can.
Research your plant’s peculiarities. Generally, plants that bloom in fall prefer being moved in spring, and vice versa. And some plants, such as baptisia, have a long central taproot that you’ll have to dig deep to avoid cutting. Know your plant’s needs before you break ground.
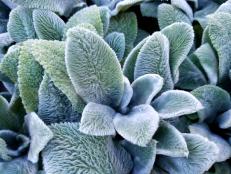
See if it needs dividing. If the perennial has a dead area in the center but healthy growth around the edges, it may be time to divide rather than simply move. For many plants, it’s as easy as cutting the crown into pieces and discarding the dead center — but look up your perennial’s needs to be sure.
Try not to move a plant that’s blooming. A plant in bloom needs lots of water and nutrition because it’s expending energy, so it’s not an ideal time to cut its roots.
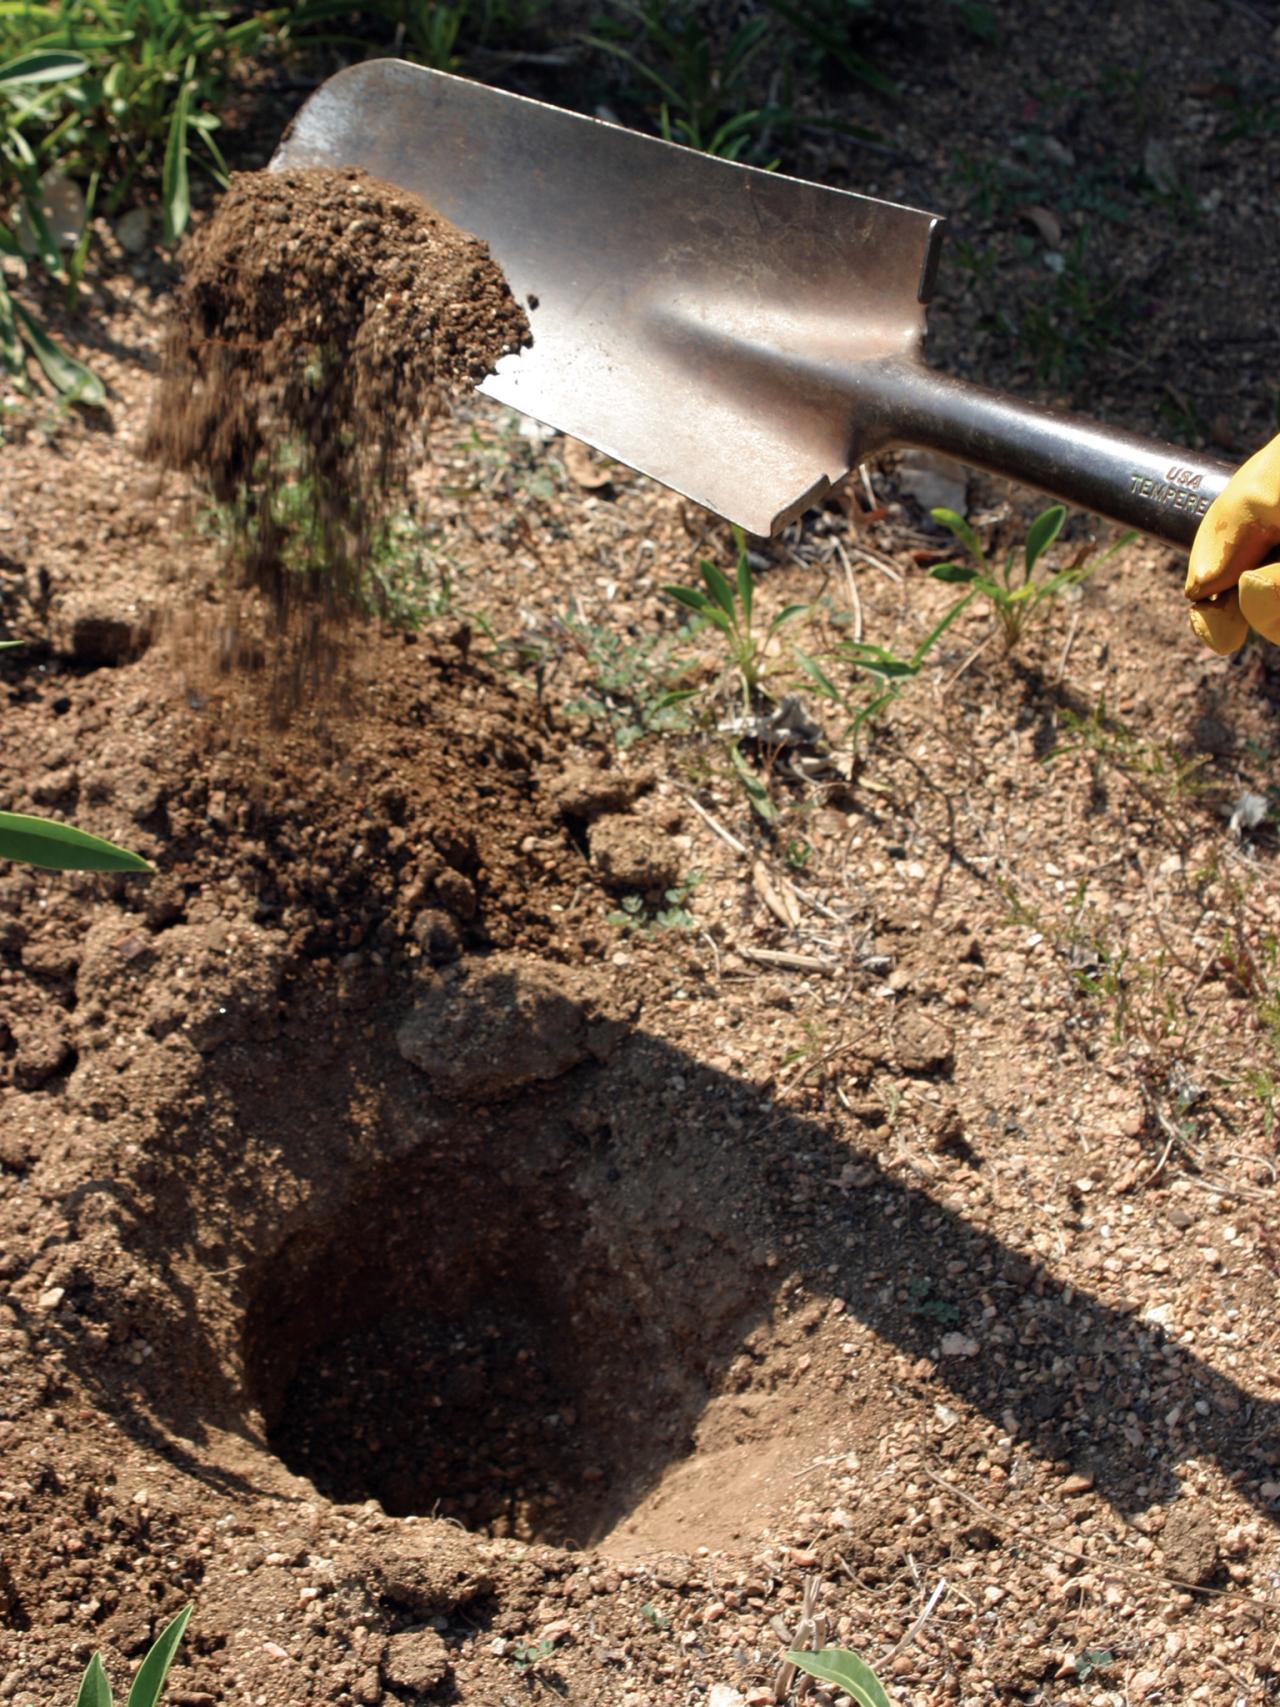
Step 2: Prepare the Plant's New Home First

Image courtesy of Johnny’s Selected Seeds.
Dig a hole twice as wide as the root ball, but no deeper. Fluff up the soil with a garden fork and mix in some compost or other soil amendments, but avoid chemical fertilizers, which can burn the plant’s roots. Huff, who gardens in a well-drained loamy soil in Maine, likes to water the empty hole first to get it nice and moist. But if you’re gardening in heavy clay, avoid this step; you never want to put your plant in standing water.
Step 3: Soak the Soil
If the soil is very dry, water the plant first before digging it up. This is especially true for dried-out clay, which can make it tough to remove the plant without damaging it.
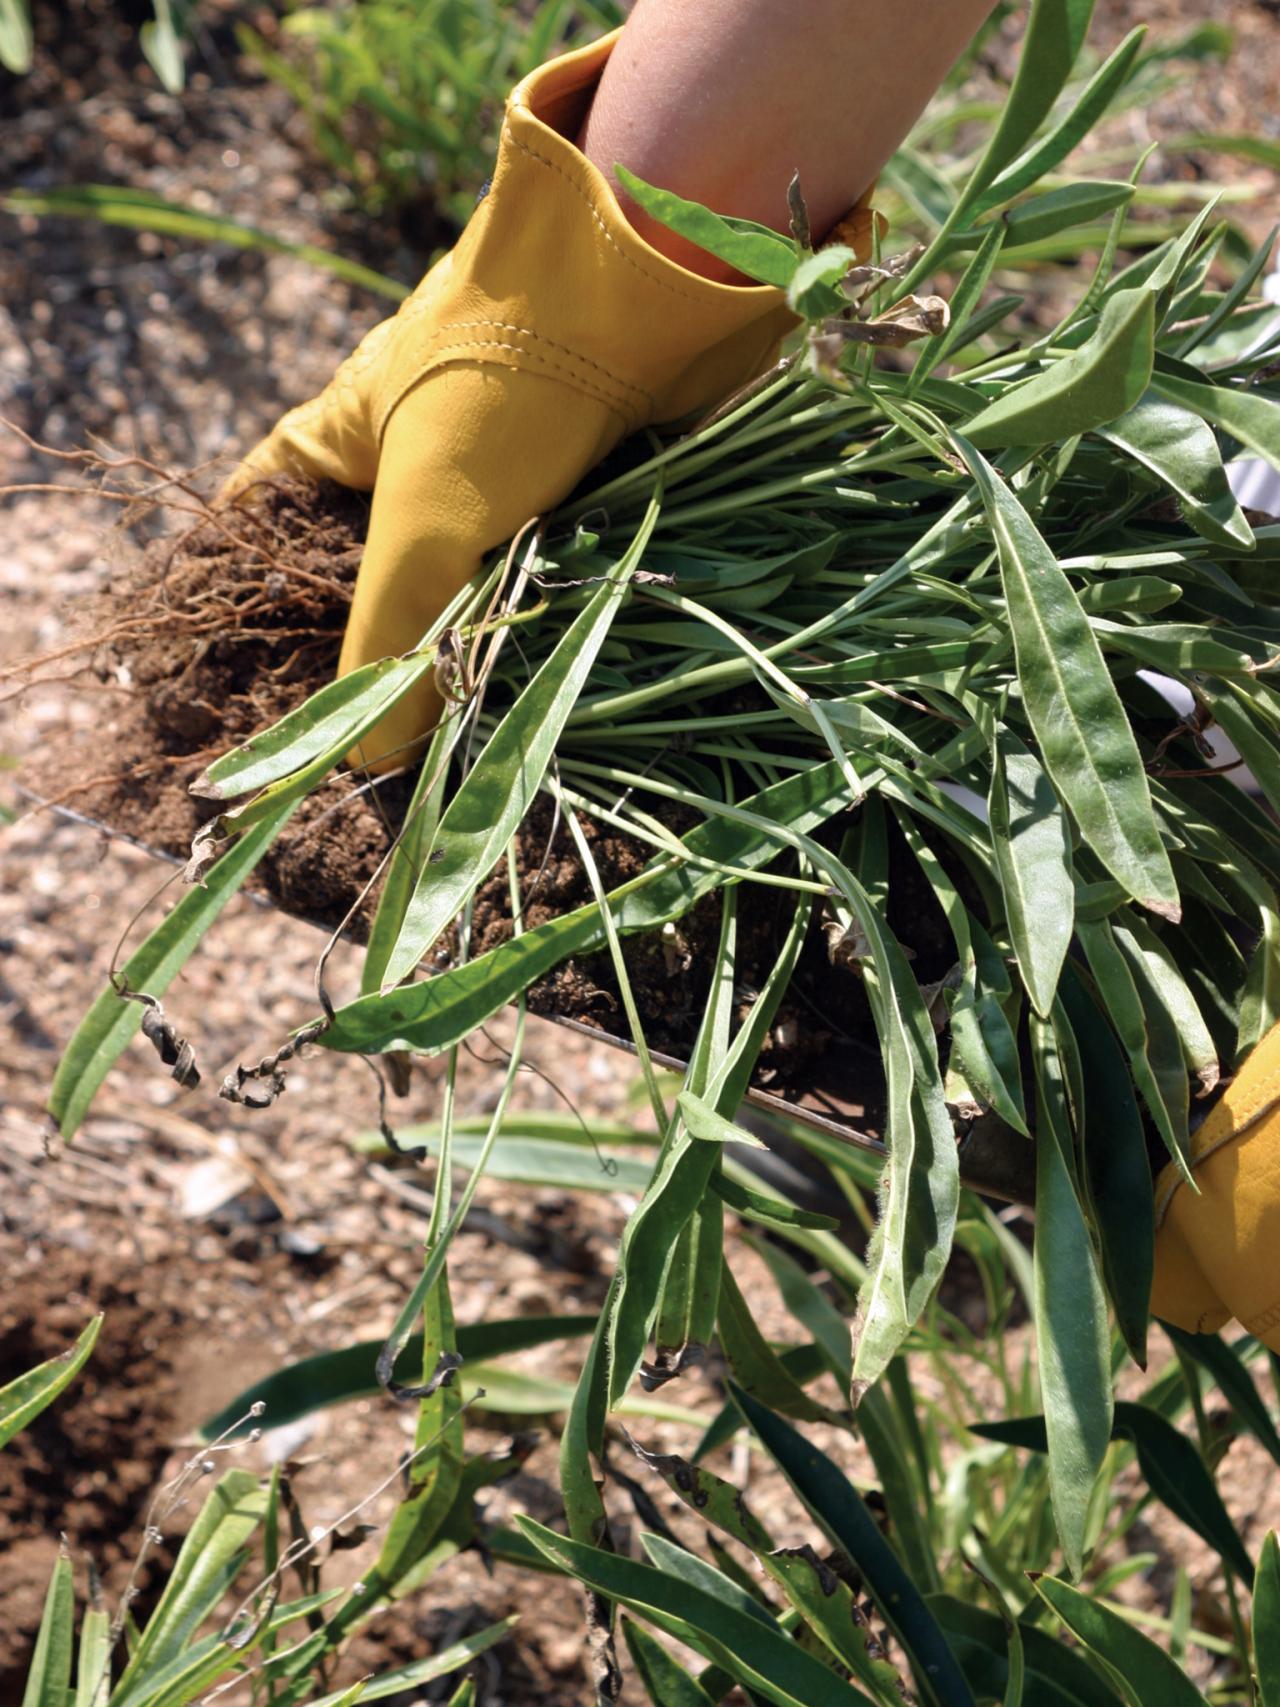
Step 4: Dig It Up

Image courtesy of Johnny’s Selected Seeds.
Dig out as much of the root ball as you can. Go outside the plant’s drip line by a few inches and plunge your shovel in. “If you hit roots, then move out farther,” Huff says. Then dig as deep as necessary to undercut the roots and pop the plant out of the hole. The more roots you keep intact, the less recovery time the plant will need.
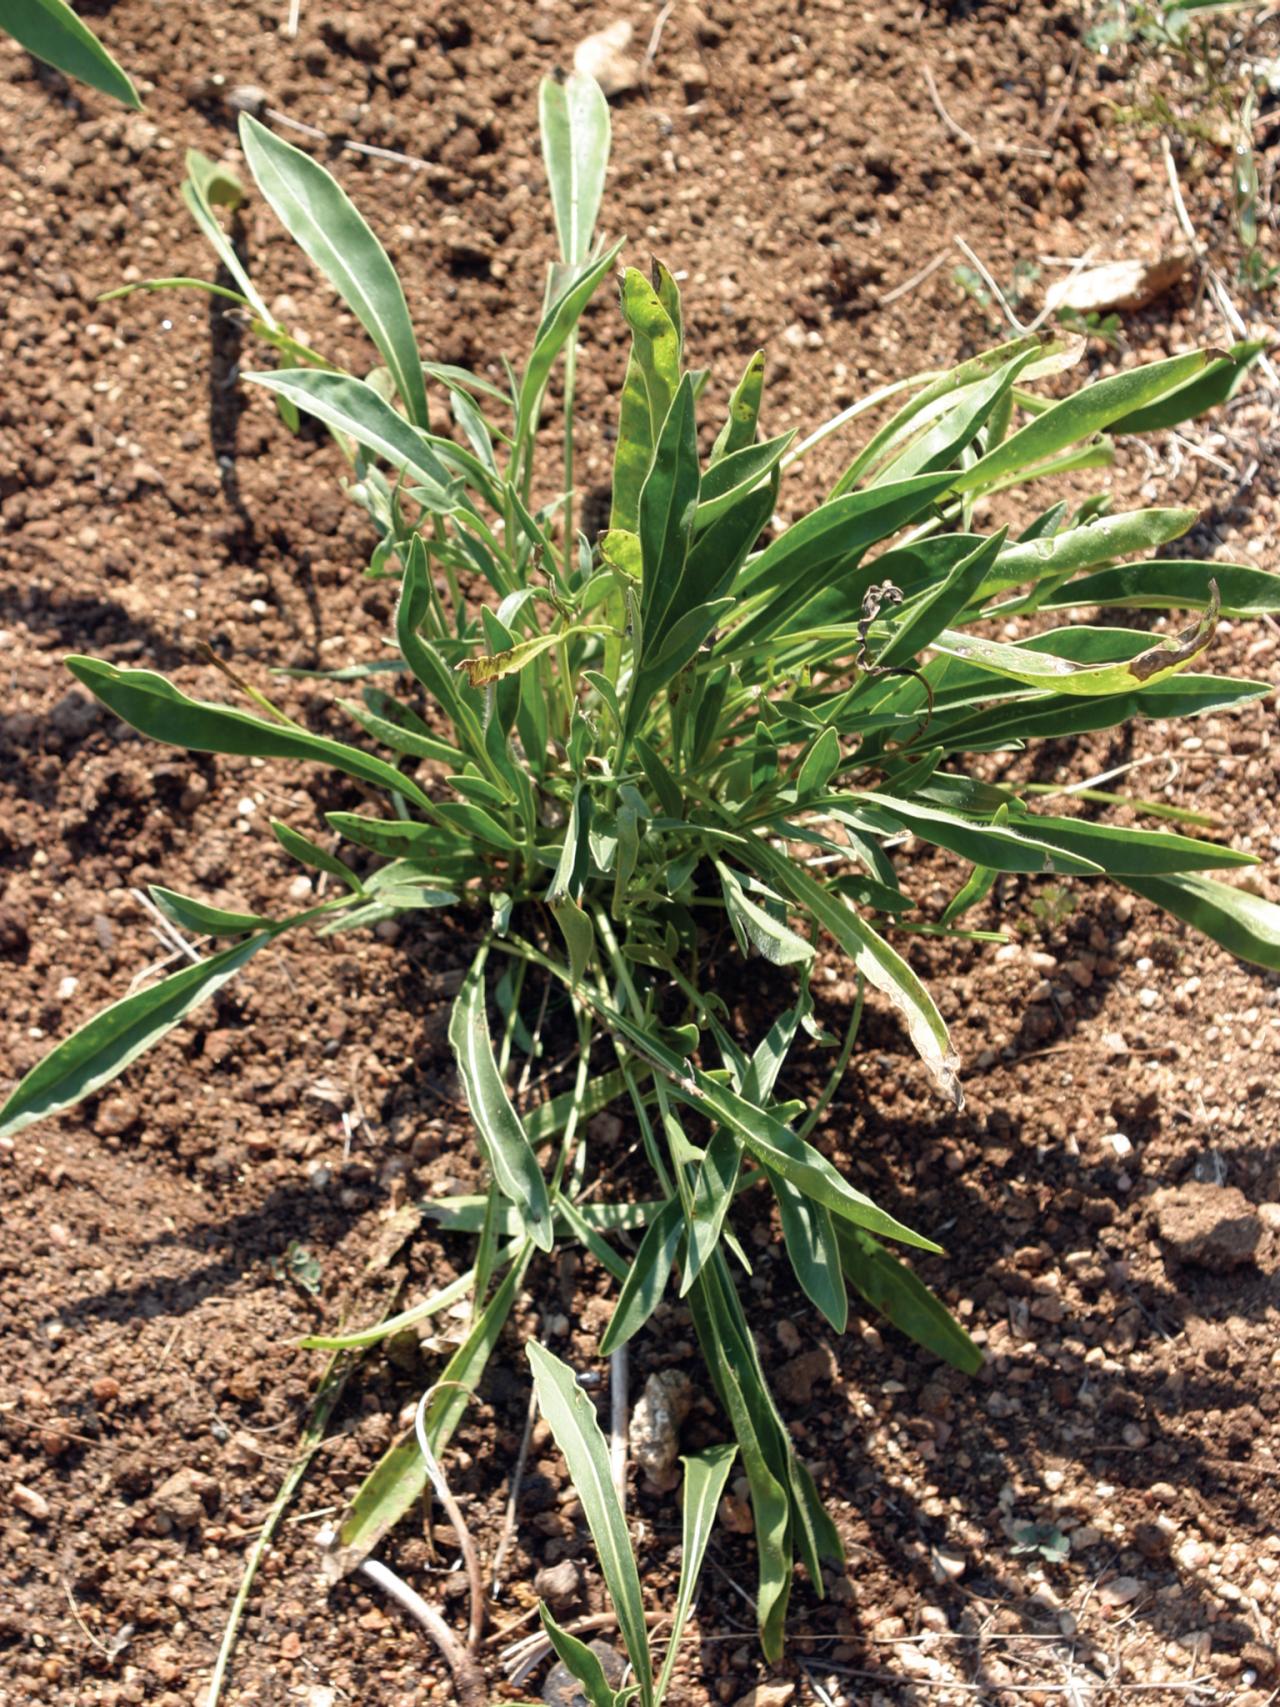
Step 5: Place in Hole and Add Organic Mulch

Image courtesy of Johnny’s Selected Seeds.
Place the plant in the new hole no deeper than it was originally. It’s crucial not to bury the plant’s crown. Pile soil around the roots and tamp in lightly to ensure good contact. A quality mulch, such as pine bark, keeps the soil in place as you water and conserves moisture while the plant adjusts to its new environment.
Step 6: Water Slowly and Deeply

Image courtesy of Johnny's Selected Seeds.
Make sure the entire root mass is thoroughly soaked but that no water is standing in the hole. Some plants will pout when they’re moved (Geranium ‘Rozanne’ springs to mind) and may droop for several days, but if the soil is already moist, don’t keep watering. Instead, give the plant some shade for a few days to perk it up. You don’t have to get fancy — an overturned cardboard box will do the trick, with one side removed for air circulation.


 Growing in a garden")


