


3 Ways to Store and Preserve Fresh-Picked Carrots
Enjoy the flavor of garden-fresh carrots all year long by learning how to freeze, pressure cook and store them properly.

Shutterstock/wasanajai
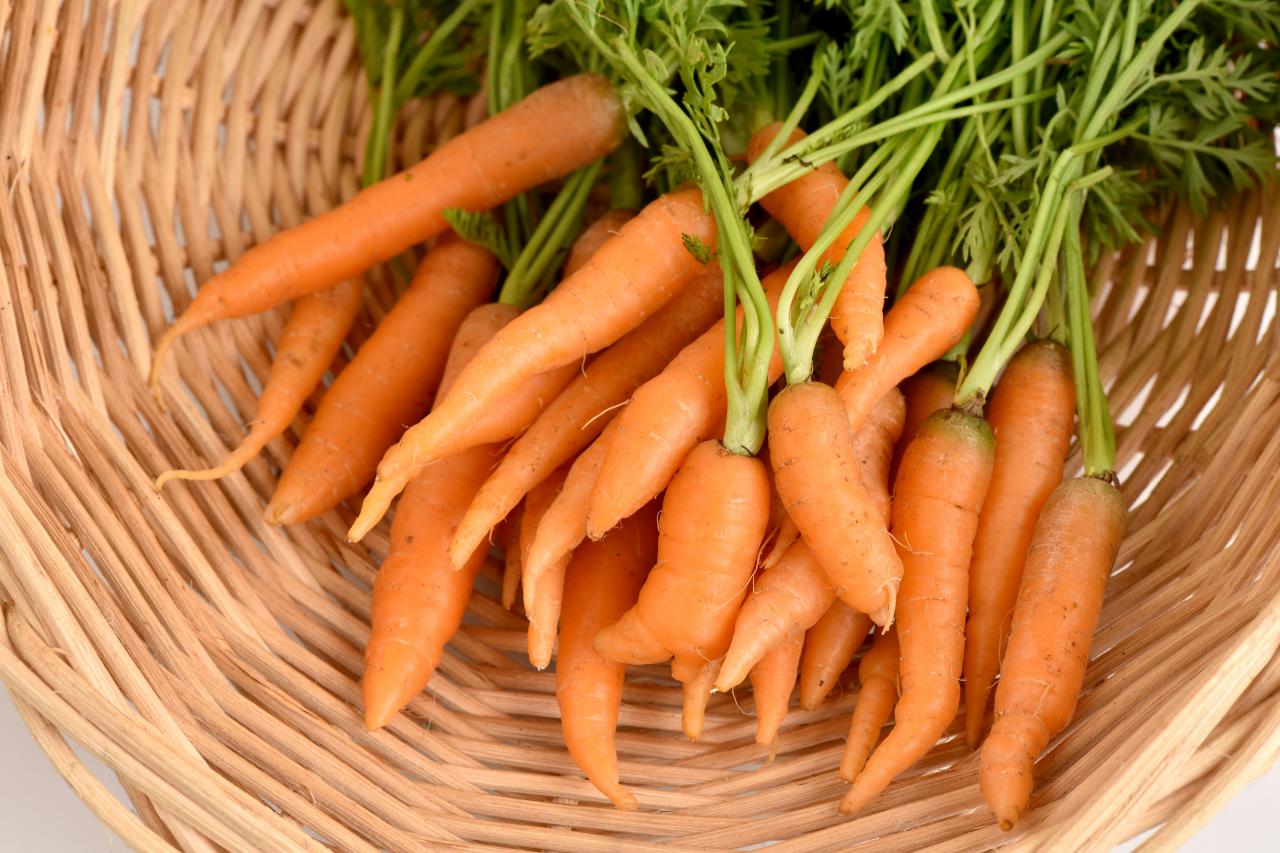
Fresh carrots can last for quite a long time when stored properly. If you have harvested bunches of carrots from your garden or bought a bountiful at the farmers' markets, here are some ways to store them so you can enjoy their fresh flavor for months to come.
How to Store Fresh Carrots
Refrigerator:
Remove the carrot tops but don' throw them away. Use them in salads, saute them as you would other greens or try making carrot-top pesto. Carrot tops will keep about a week in the fridge.
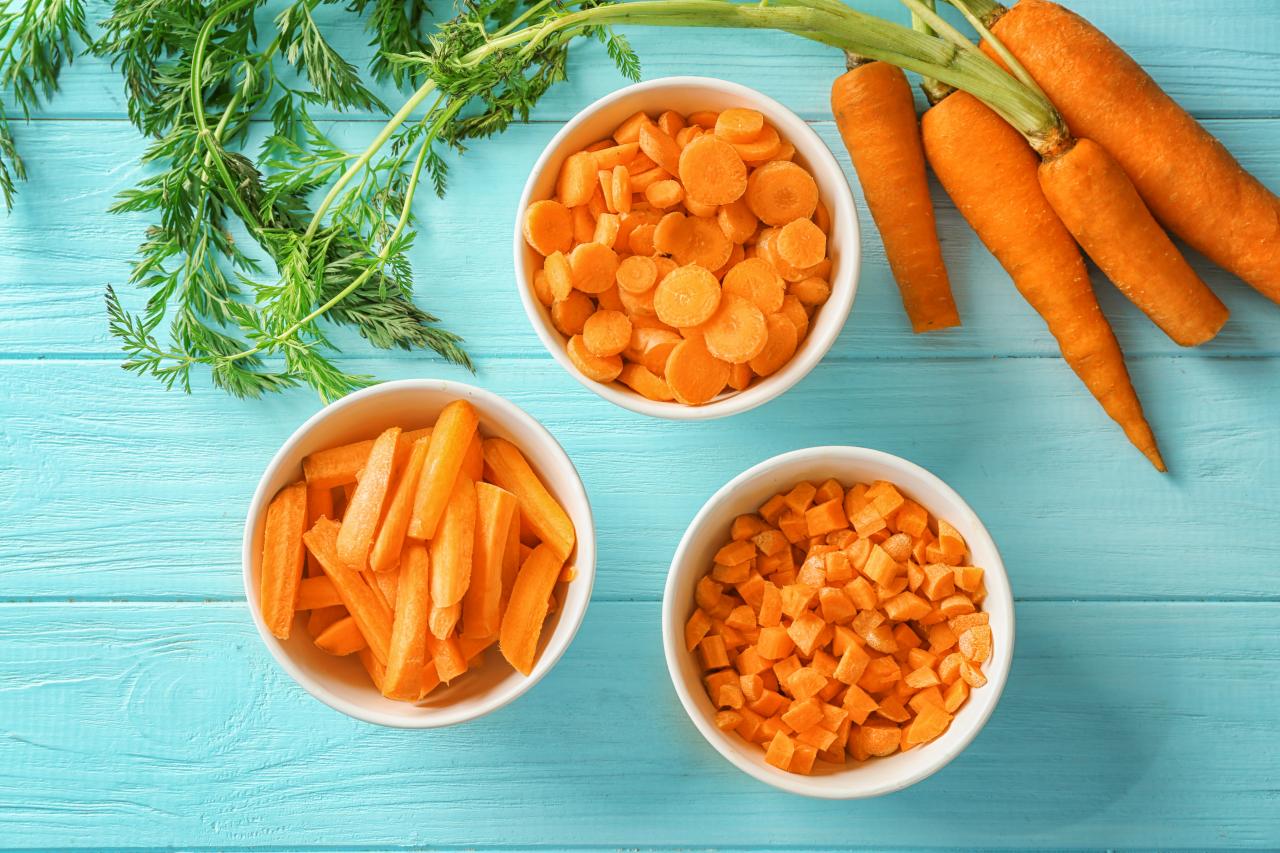
To store the carrots, wrap them in damp paper towels and place them in the coolest place in your refrigerator. They can last for a month stored this way. You can cut the carrots so they'll be prepped when it time to use them, however, you'll be shortening their life expectancy down to a week or two. So only cut what you plan to use in that time frame.
Basement Storage or Root Cellar
If you have an unheated basement or root cellar, you can store carrots for several months. You'll need a large container and sand or sawdust for this storage option. Remove the tops but do not peel or cut the carrots. Place them in the large container and layer them with either sand or sawdust so that none of the carrots are visible. The sand or sawdust needs to be kept moist throughout the months in order to keep the carrots fresh.
How to Freeze Carrots
The best method for freezing carrots is to blanch them first. Blanching is a quick-cooking method that helps the carrots retain their color and flavor. With this process, it is best to use fresh or raw carrots.
What is needed:
- vegetable scrubber
- peeler
- cutting board and knife
- large saucepan
- large bowl
- resealable freezer bags (or vacuum-sealed bags)
- paper towel or tea towels
- baking sheets
Step 1: Prep
The carrots can be peeled or unpeeled and cut however you like. While preparing the carrots, boil a large pot of water and set up a cold-water bath near the boiling water. The water bath is a bowl of cold water with ice cubes added to make sure it is as cold as possible. It is important to have a water bath set up near the pot of boiling water so that the carrots can be transferred quickly and easily.
Step 2: Blanch
Place the carrots in boiling water. Blanching is a quick process and in this case, should only be done for two to three minutes. After that time, use a slotted spoon to transfer the carrots from the boiling water into the cold-water bath to stop the cooking process.
Step 3: Cool
When the carrots have cooled, place them on a dry towel to air dry. You can do the blanching process in batches if you have a large amount, however, you may want to change the blanching liquids after a few uses so they retain the proper temperatures. Remember, you are not fully cooking the carrots to your preferred doneness, this is just to preserve them.

Shuttetstock/LongJon
Step 4: Package
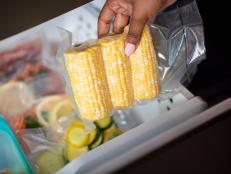
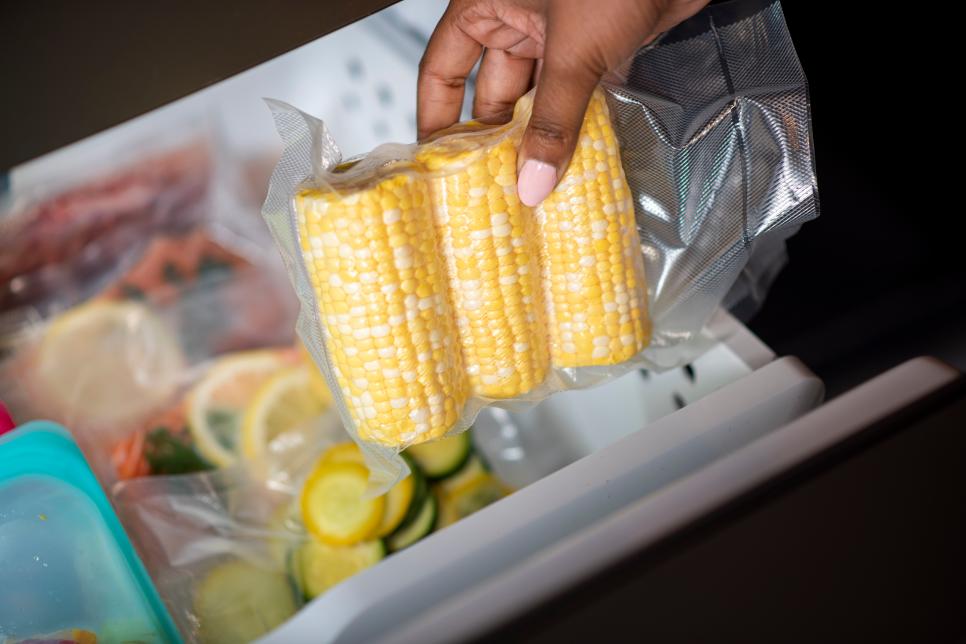
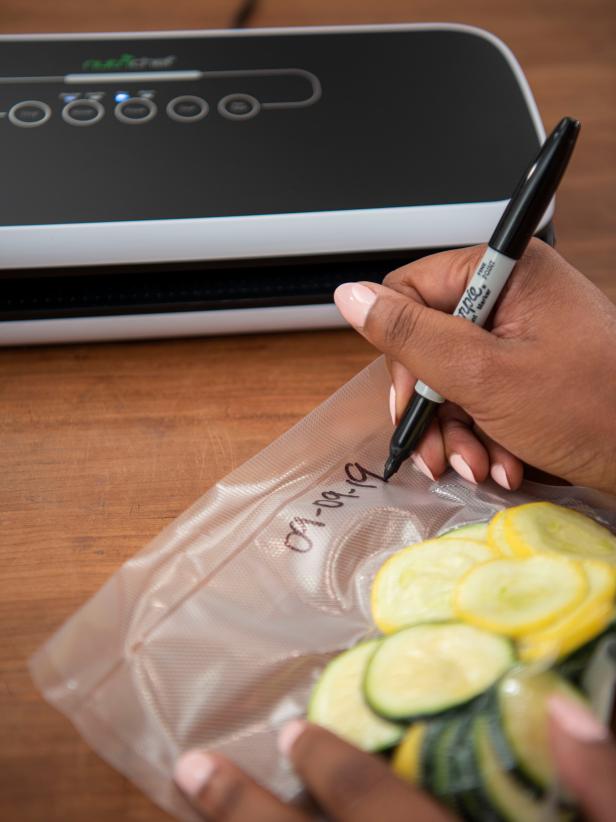
When the carrots are dry — which can take upwards to an hour — place them in either zip-lock bags or vacuum-sealed bags. Using vacuum-sealed bags provides the longest freezing and preservation, but it is optional. If using zip-lock bags, it is very important to remove as much air as possible. Leave about 1/2" to 1" of headspace in the bag to allow for expanding as the carrots will do when they freeze due to the water. Label the bags with the date and the amount (1 cup, 2 cups, etc.) If possible, lay the bags flat in the freezer.
Our Favorite Vaccum Sealer
See All Photos

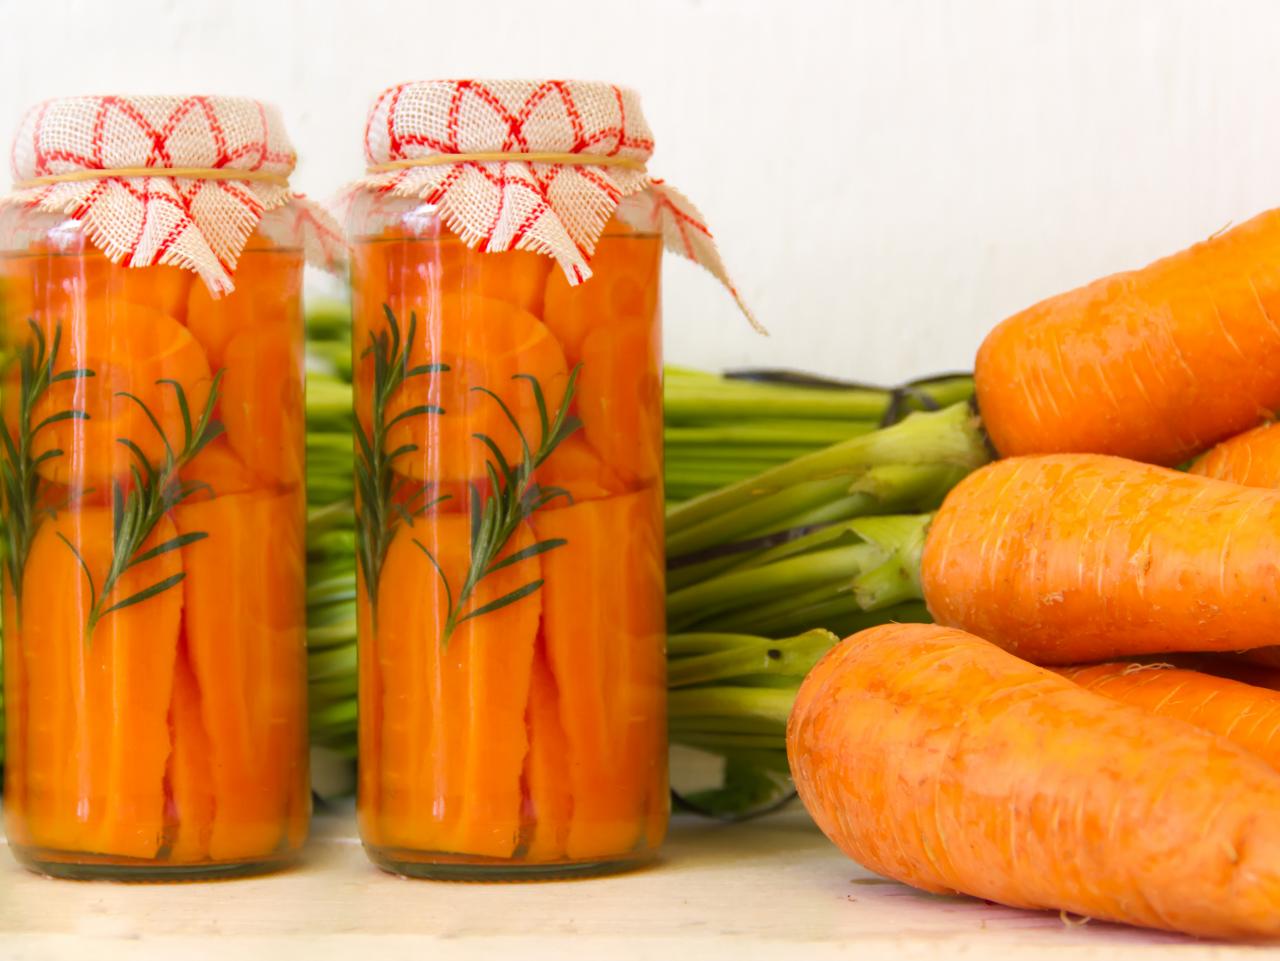
How to Can Carrots

Canning is possible with carrots, but they do need to be pressure canned. This type of canning is done for those foods that are low-acid and require higher temperatures than boiling water for sterilization. Pressure canners can be quite expensive, but it is important to rid all bacteria from the process and water bath canning will not work. Canned carrots work great in soups, casseroles, cakes and baby food.
What is needed:
- pressure canner
- canning jars with lids and rings
- jar lifter
- towels and potholders
- utensils
- food processor (optional)
- plain salt (optional)
Step 1: Prep Carrots
Scrub the carrots, but it is not necessary to peel them, carrots skins are full of nutrients. Process the carrots — chop, dice, puree, slice or julienne — doing this before canning makes them more convenient to use, and you'll likely be able to fit more in each jar.

Shutterstock/Africa Studio
Step 2: Prep Jars
Wash the jars, lids and rings in hot, soapy water. If you are using old jars, lids or rings, it is important to check for any imperfections. If a jar is nicked on the rim it will not seal properly. Check to see that the rings are sealing correctly. It is fine to use old items as long as they are still sealing properly.
Step 3: Fill Jars
Fill the jars with the carrots leaving one inch of space from the top of the jar for any expansion that may occur. At this time, add salt if you'd like; one teaspoon for a quart and 1/2 teaspoon for a pint. Pour hot water into the jars filling them to one inch below the lip of the jar.
Step 4: Pressure Cook
Make sure to read the directions that come with your pressure canner as altitude can affect the time in which pressurize. Quart containers typically take about 30 minutes to seal and around 25 minutes for pint containers.
Step 5: Remove Jars From Cooker
Remove the jars with your jar lifter and place them on a towel to cool. While the jars are cooling they will make popping noises, which means they are sealing. It is important to make sure the jars have sealed because if they did not bacteria will form and they will not be edible. Test the seal by pushing down in the center of the lid once they've cool. If the lid doesn’t pop back up, the sealing process has worked. If it does pop back, then the jar didn’t seal properly and will not store. Within the first 24 hours, you can try to reseal it by using a different jar, lid and seal. Or if it is past that time period, then freezing or using right away would be the best option.
Step 6: Store
Place carrots in a dark, dry cool area. Now your carrots from your garden will be ready to add to your favorite roast, casserole, cake or baby food recipe.

Shutterstock/Gabriela Bertolini


