


3 Egg-Cellent Decor Ideas With Plastic Easter Eggs
Give plastic Easter eggs a bigger role this year with three adorable decorations you can use year after year.

Spring is just around the corner, and you know what that means. Easter is on its way! To help usher in the holiday and the warm weather and beautiful blooms that come with it, we’ve come up with three ways to decorate your home using inexpensive plastic eggs. So, grab the kids and your crafting supplies, because everyone can participate in these egg-ceptional DIYs!
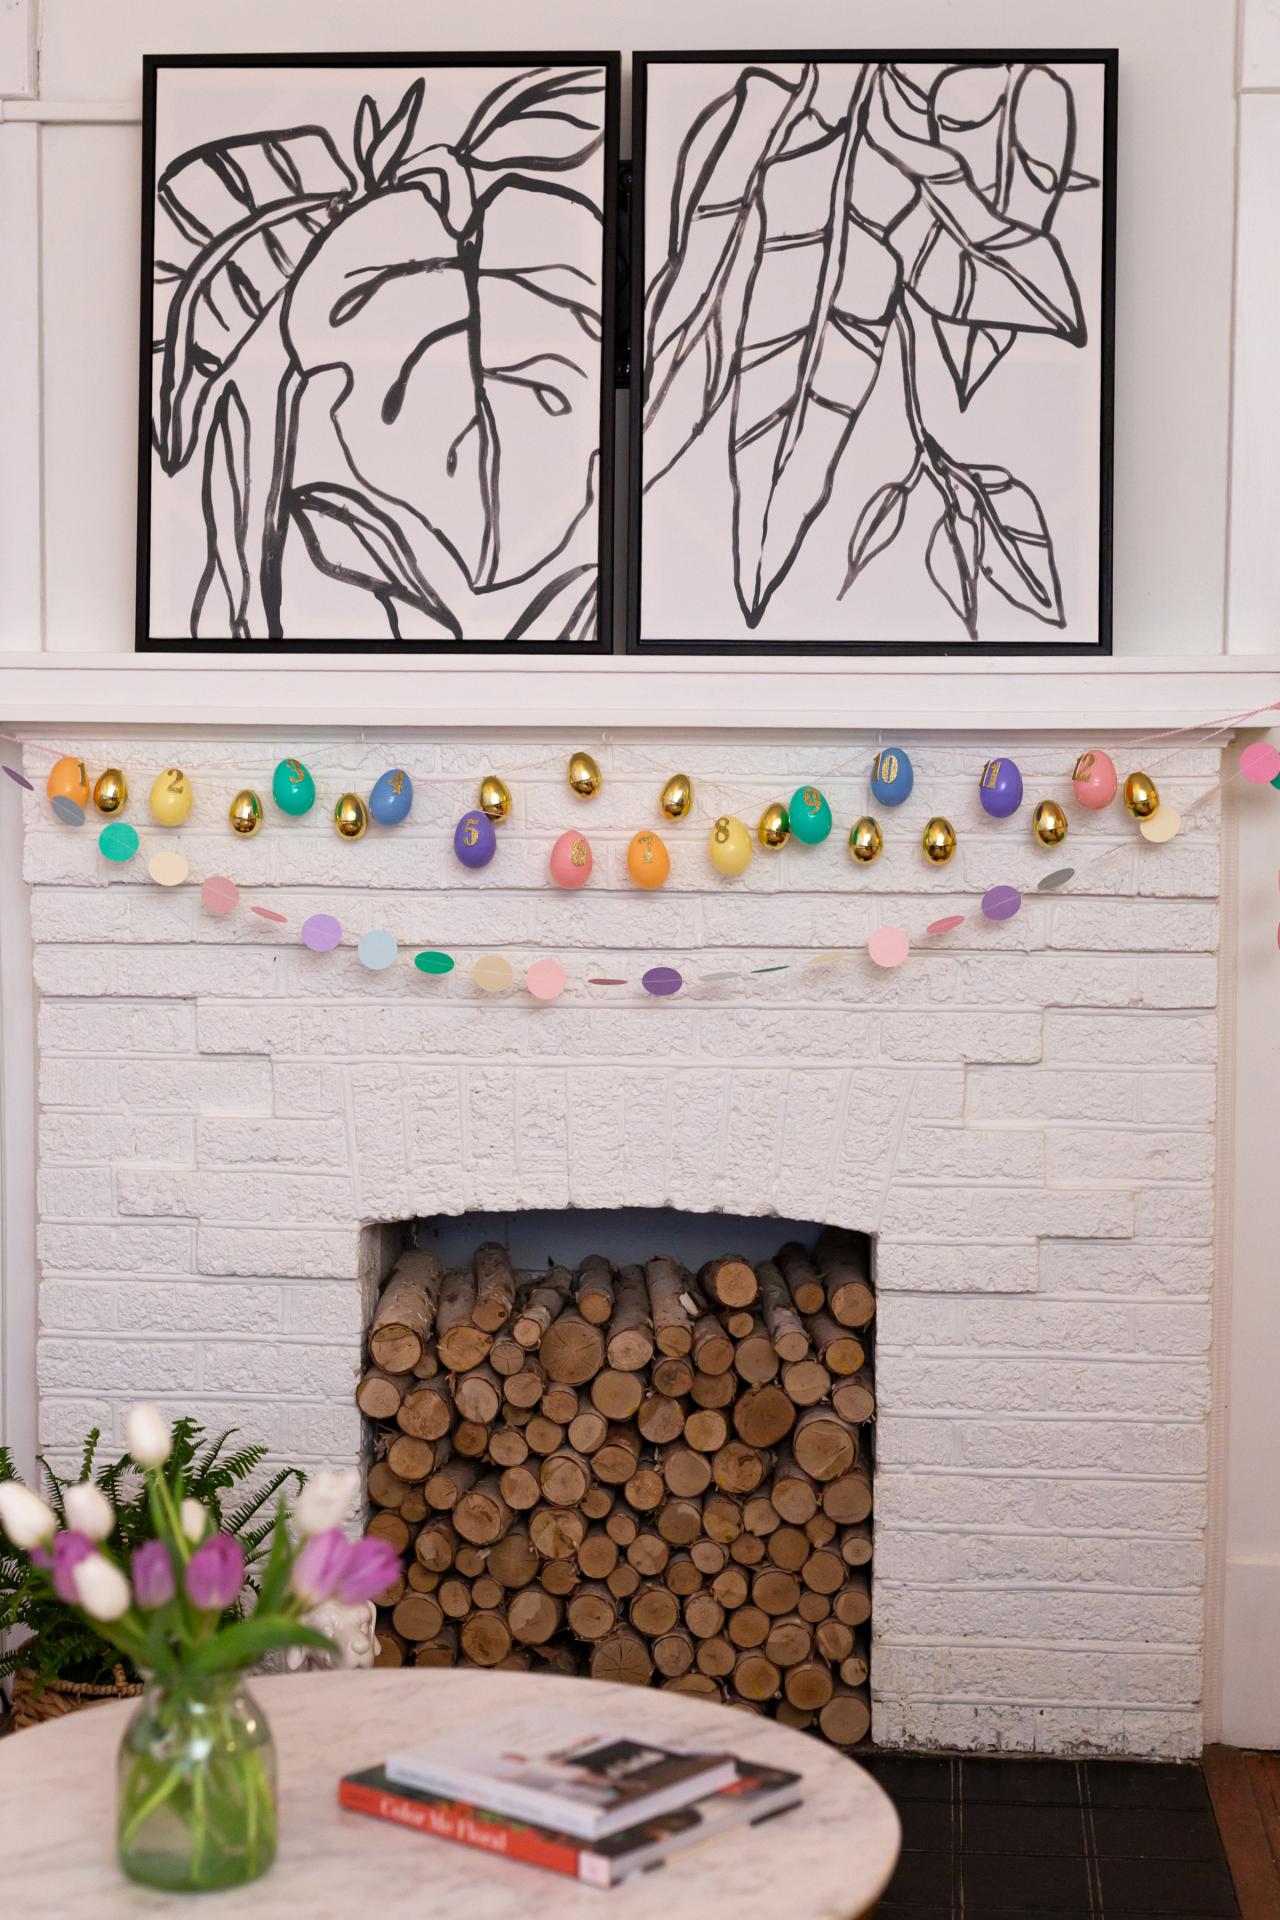
Easter Countdown Garland

Cassidy Garcia
Materials Needed
- (12) large plastic eggs with holes
- baker's twine
- tape
- 1-12 gold number stickers
- (12) treats
- scissors
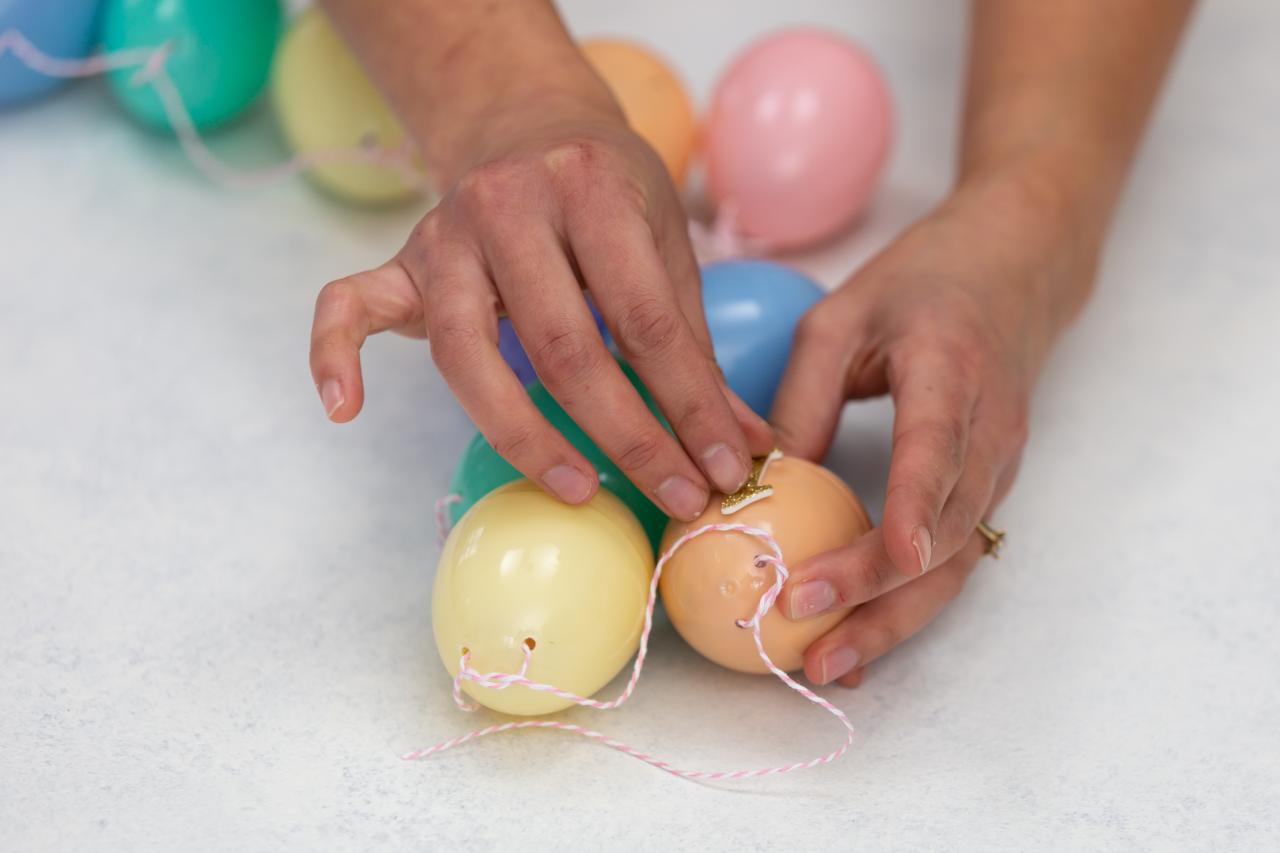
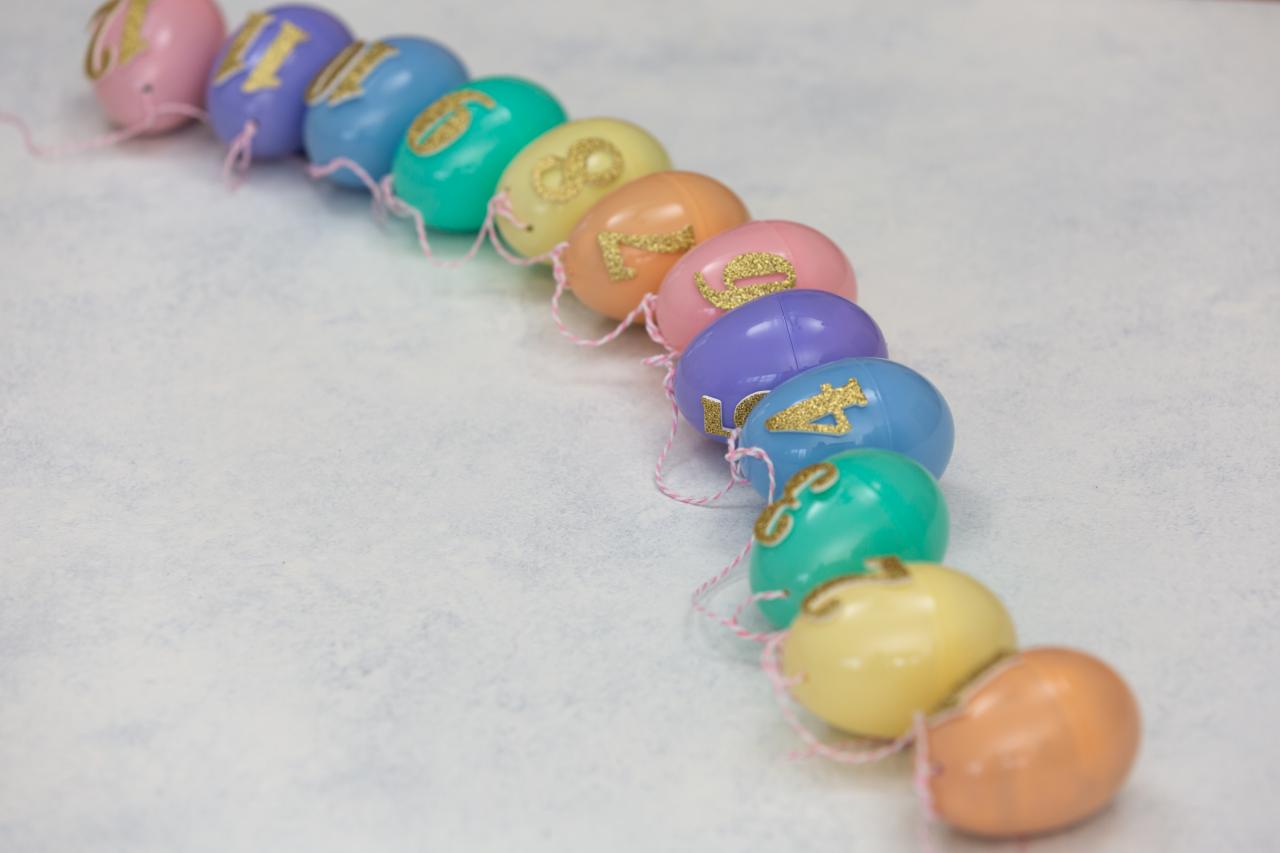
To craft an Easter countdown garland that the whole family can enjoy, you only need a few simple supplies. Start by removing the smaller half from 12 large plastic eggs (Image 1). Many plastic eggs already come with small holes in them, and these are best for this project as you will utilize the holes for the string. For our string, we chose to use colorful baker’s twine to add a decorative touch. The simplest way to string the baker’s twine through is by taping the end to add a bit of rigidity and keep the twine from fraying (Image 2). Thread the baker’s twine through one hole and out the other, tying in a knot to keep the egg from moving down the twine once hung (Images 3 & 4). Repeat with the remaining 11 eggs and be sure to leave enough excess for hanging before cutting the twine.

Cassidy Garcia

Cassidy Garcia

Cassidy Garcia

Cassidy Garcia
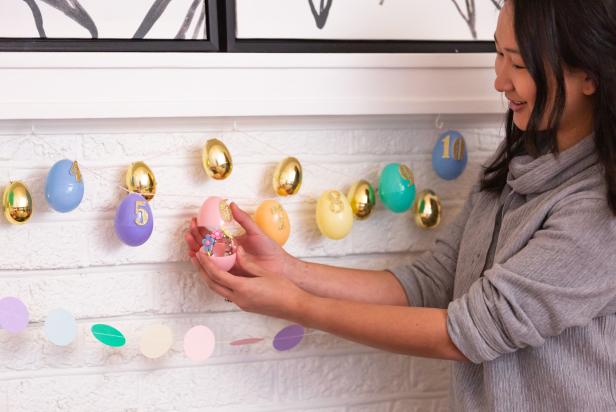
Once finished, place your treats of choice in the eggs and replace the bottom halves (Images 1 & 2). Finish off each egg with 1-12 gold number stickers, then hang from a mantel or door frame for 12 days of treat-filled fun (Images 3-5).

Cassidy Garcia

Cassidy Garcia

Cassidy Garcia

Cassidy Garcia
Cassidy Garcia
Plantastic Place Cards
Cassidy Garcia
Materials Needed
- plastic eggs
- hot glue gun + glue sticks
- small potted flowers
- potting soil
- labels
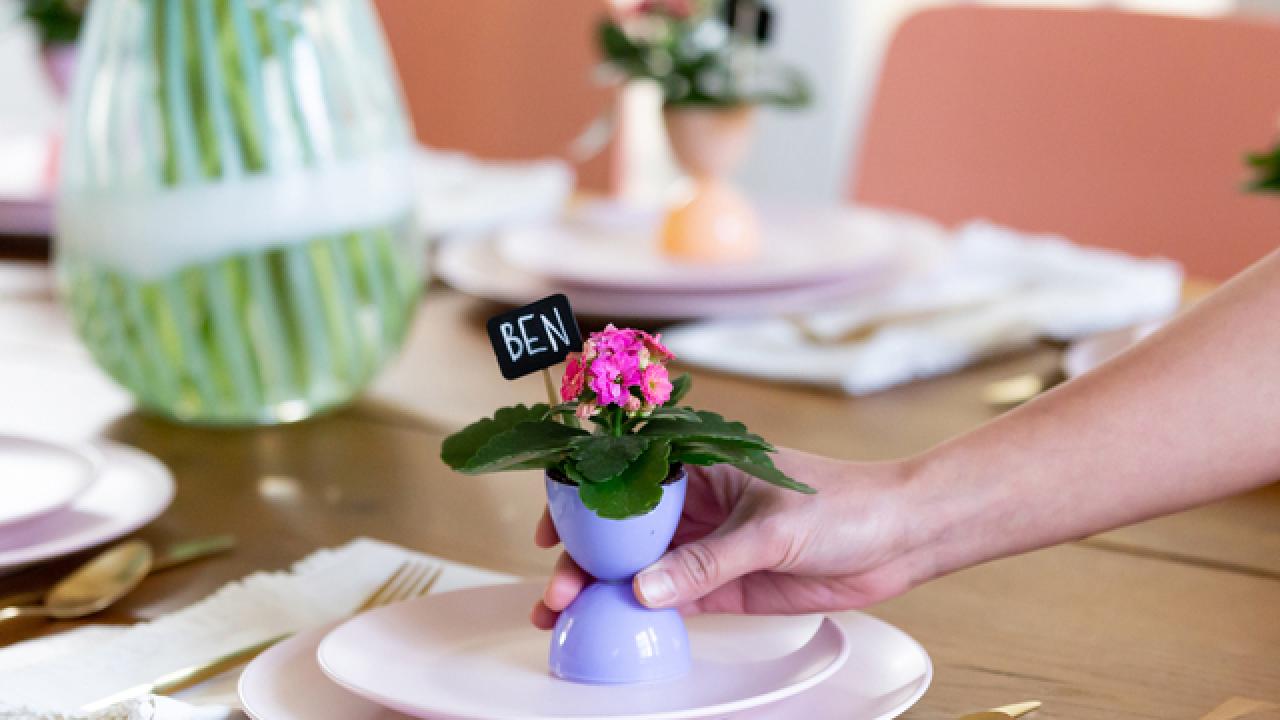
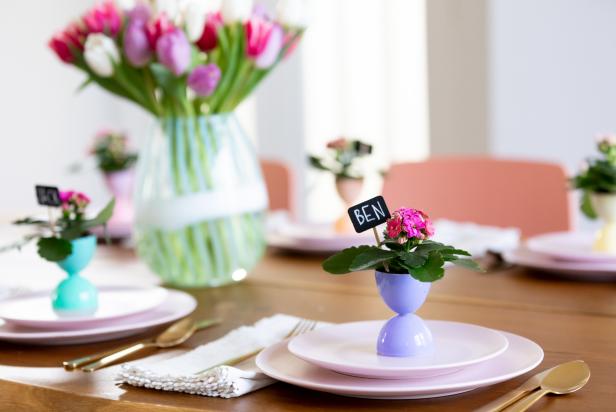
To jazz up your Easter brunch table decor, try adding a little life to your place cards. Start by separating the tops and bottoms of plastic eggs and hot gluing the pieces together at their ends (Images 1 & 2). The end result should look like a plastic egg jigger. Once the glue cools and fully sets, plant small flowers in the larger half with potting soil (Image 3). To transform these adorable plants into place cards, stick your name label of choice in the soil and place each plastic egg planter on top of a plate at the table. These adorable planters double as party favors, so make sure each guest takes one home!

Cassidy Garcia

Cassidy Garcia

Cassidy Garcia
Modern Easter Egg Wreath

Cassidy Garcia
Materials Needed
- plastic eggs
- metallic gold spray paint
- hot glue gun + glue sticks
- flat wooden wreath form
- grosgrain ribbon
- scissors
- green wood fiber moss
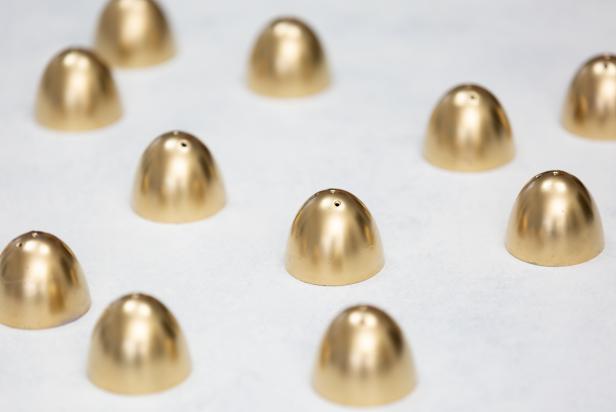
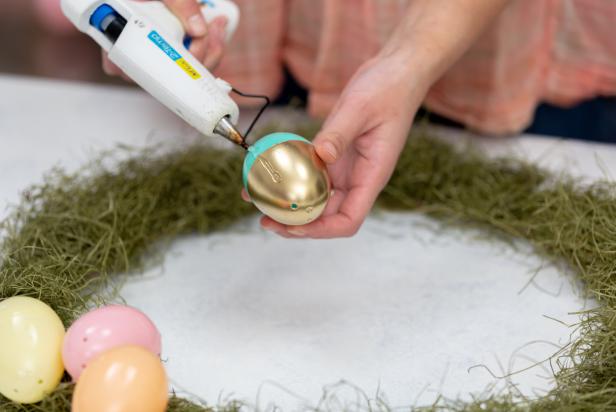
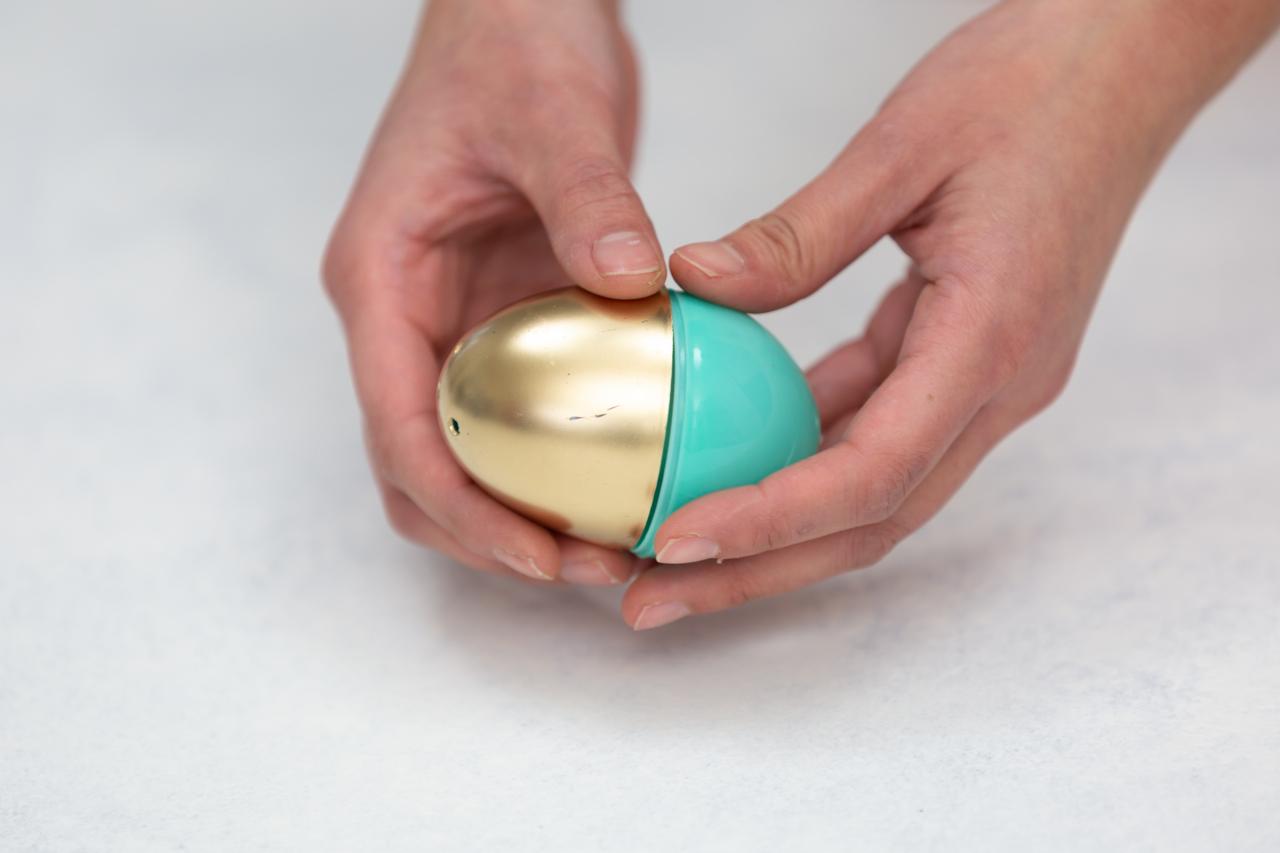
If you can’t seem to find the perfect Easter wreath, we’ve got you covered with a DIY alternative you’re sure to love. Plus, it’s super inexpensive to make thanks to plastic eggs. Start by separating some plastic egg halves and setting the bottom halves to the side. Spray paint the top halves using shiny gold spray paint and let dry before replacing the bottom halves (Images 1-3).

Cassidy Garcia
Cassidy Garcia

Cassidy Garcia
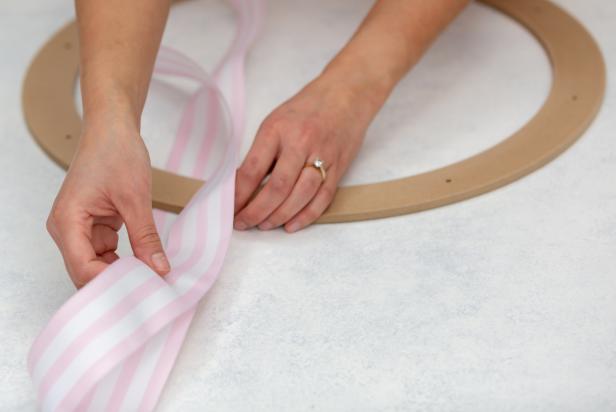
Next, cut a section of grosgrain ribbon and loop it around a flat wooden wreath form (Images 1 & 2). Attach the cut ribbon ends together using hot glue. Hot glue green wood fiber moss to the wreath form until it is fully covered, then hot glue the plastic eggs on top of the moss (Images 3 & 4). Mix the gold-painted eggs with unpainted eggs for a perfectly balanced look (Image 5). Once all the glue has cooled and fully set, it’s time to display your beautiful creation on your front door!

Cassidy Garcia
Cassidy Garcia

Cassidy Garcia
Cassidy Garcia

Cassidy Garcia


