Witch's Broom Halloween Place Card Holders

These diminutive brooms add an enchanting touch of whimsy to any Halloween get-together, plus they make great party favors for guests.
Halloween Witch's Broom Place Card Holder Beauty Shot

Witch's Broom Place Card Holder

These diminutive brooms add an enchanting touch of whimsy to any Halloween get-together, plus they make great party favors for guests.

Materials Needed:

  • twigs, approximately 6" long
  • 1 package natural raffia
  • hot glue gun and glue sticks
  • scissors
  • brown paper bag
  • brown fine-point permanent marker

Gather Twigs

Take a stroll outside to gather clean, dry twigs. Cut or snap them to a six-inch length.
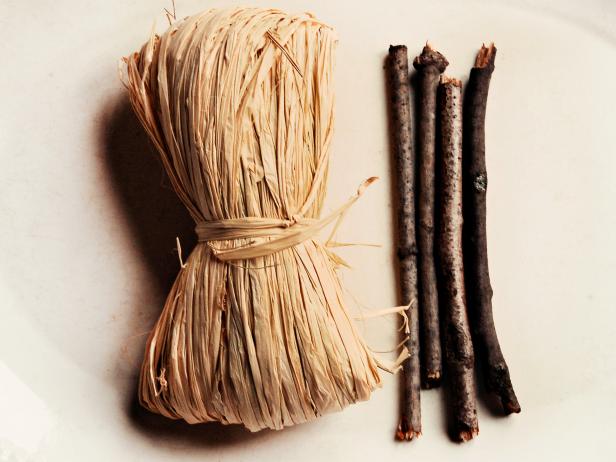
Witch's Broomstick Place Card Materials Step 1

Witch's Broom Place Card Holders Step 1

Take a stroll outside to gather clean, dry twigs and get a bundle of natural raffia. Cut or snap them to a six-inch length.

Cut Raffia

Cut a handful of raffia into a two-inch bunch.
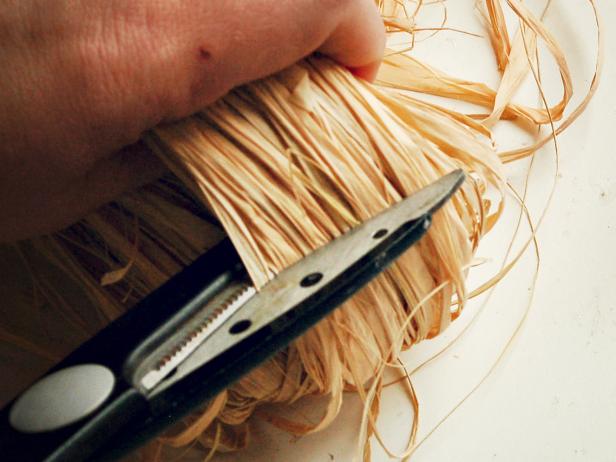
Witch's Broomstick Place Card Bristles Step 2

Witch's Broom Place Card Holders Step 2

Cut a handful of raffia into a two-inch bunch.

Affix Raffia to Twig

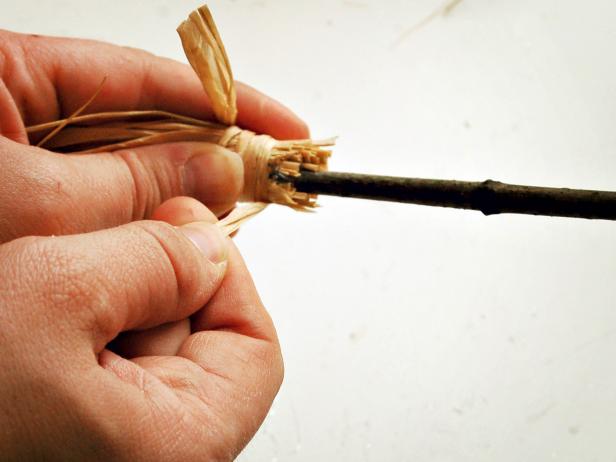
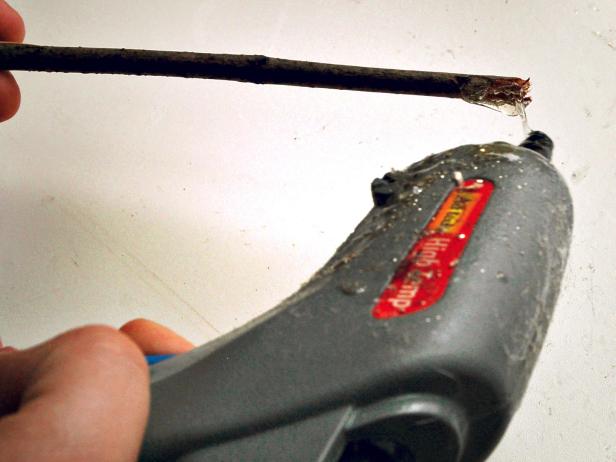
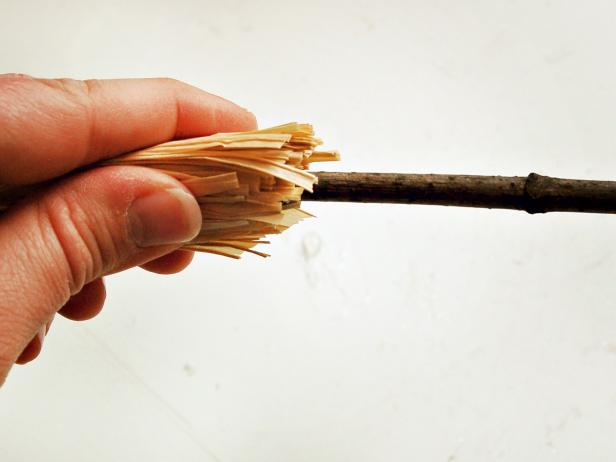
Apply a bead of hot glue around bottom of stick (Image 1) and insert stick into center of raffia bunch, ensuring raffia is evenly distributed around twig. Hold until glue has set (Image 2). Wrap a long piece of raffia around top of bunch, tying in a knot to fully secure (Image 3).
Trim Broom

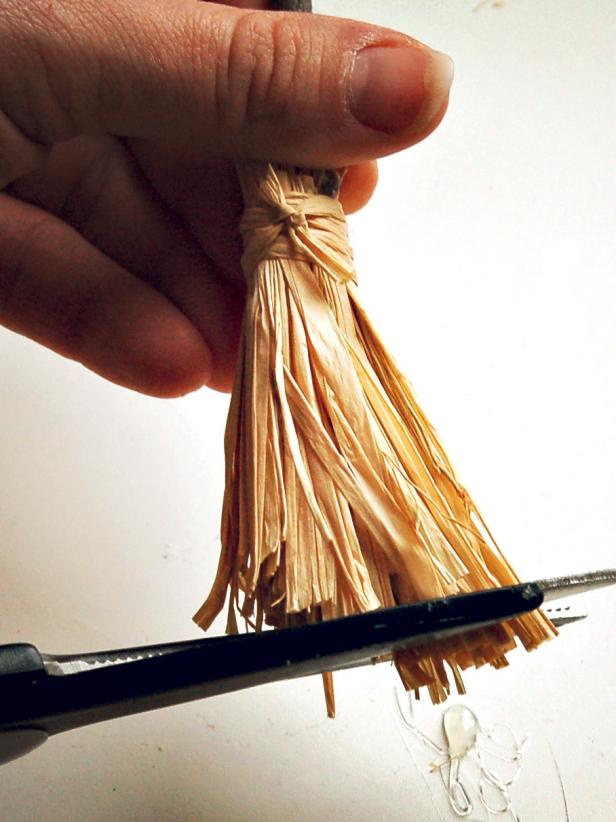
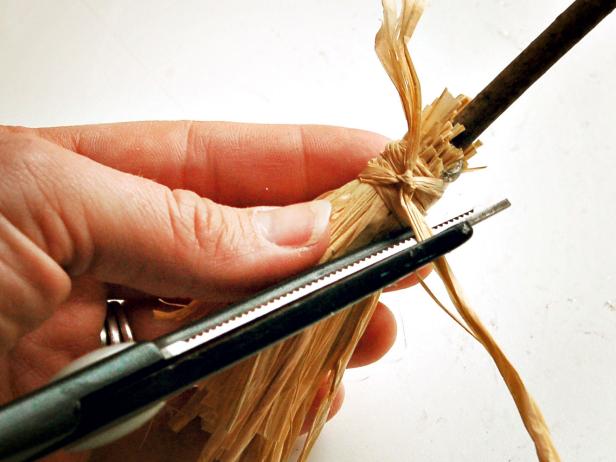
Cut excess raffia used to secure bunch to twig (Image 1). Trim bottom of broom (Image 2).
Make Paper Name Card

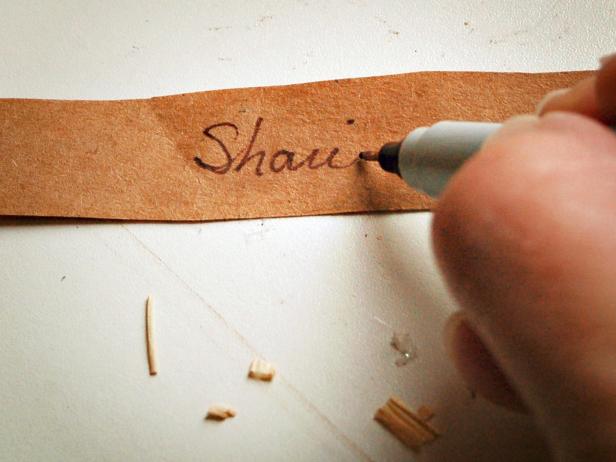
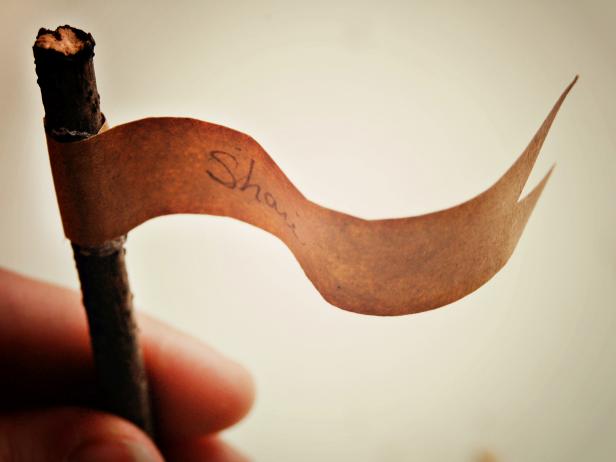
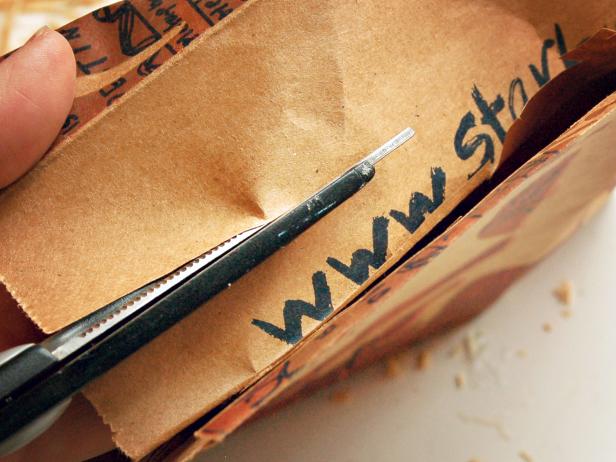
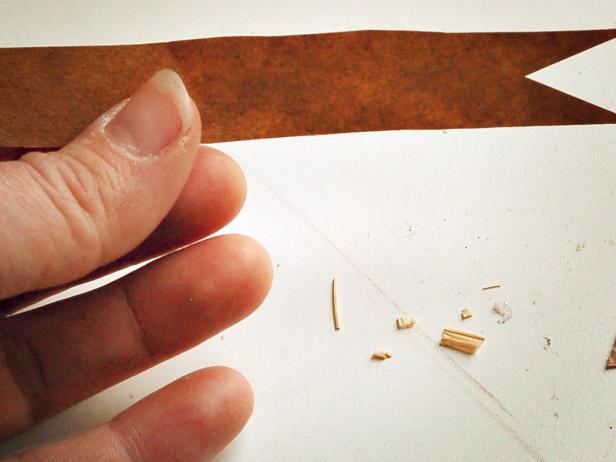
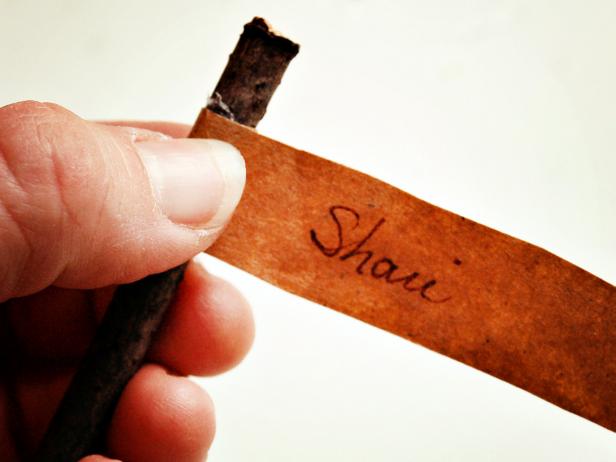
Measure and cut a 3" x 3/4" pennant-shaped piece out of a brown paper bag (Image 1) and cut a small triangle out of right end (Image 2). Write guest's name on card using a fine-tipped permanent marker (Image 3).
Affix Place Card

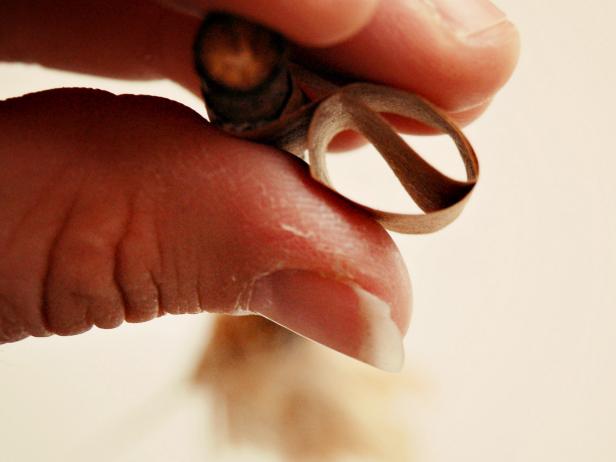
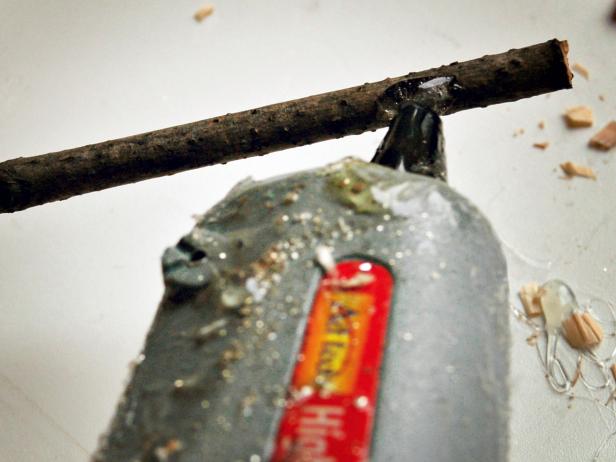
Apply bead of hot glue to top of twig (Image 1). Wrap left end of place card around twig, holding it in place until glue sets (Image 2). Tip: If desired, form paper banner into "S" shape by squeezing it gently with fingers (Image 3). This will give the flag the appearance of movement (Image 4).
Next Up

Make This Handheld Halloween Photo Booth

All you need is a cardboard box, some inexpensive supplies and a few Halloween decorations. Bonus: You can make this photo booth for any holiday.

Up Your Halloween Game With This Upcycled Floral Skull Wreath

Round up some shipping Styrofoam, basic crafting supplies and DIY this larger-than-life skull for your front door.

Our Best Pumpkin-Carving Tips and Tools

Browse our tips for selecting the right tools, carving, preserving and illuminating a Halloween pumpkin.

5 Farmhouse Halloween Decorating DIYs

Turn your tired Halloween decor into the farmhouse display of your dreams. We transformed dollar store decor into Halloween-chic accessories with a few creative coats of paint.

Free, Printable Halloween Scavenger Hunts

Spirit away boredom this Halloween with our interactive, indoor and outdoor Halloween scavenger hunts you can download and print at home for free.

Make a Rubber Snake Wreath

Raid your kids’ toy chest for rubber snakes to make this creepy snake wreath. It’s a subtle decoration that’s perfect for Halloween.

Goodbye Laundry, Hello DIY Costumes

Score points for the home team with these unique laundry basket costumes.

Halloween Party Recipes: Witches' Teeth and Custard Cups

Full of fall flavors, these treats are scary good!

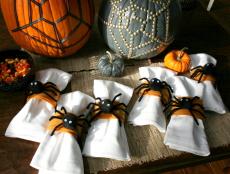
How to Make Spider Napkin Rings

Spook up your Halloween get-together with these easy-to-make (and cute!) felt and pom-pom napkin rings — a perfect project for kids to help create.

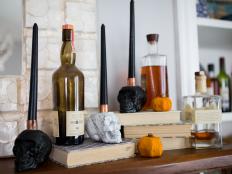
Celebrate Halloween in Style With DIY Skull Candle Holders

Turn boring, plastic skulls into sleek and spooky decor with these DIY concrete and copper candle holders.

More from:

Halloween Ideas

Go Shopping

Get product recommendations from HGTV editors, plus can’t-miss sales and deals.

On TV

Follow Us Everywhere

Join the party! Don't miss HGTV in your favorite social media feeds.