How to Make a Burlap Halloween Table Runner
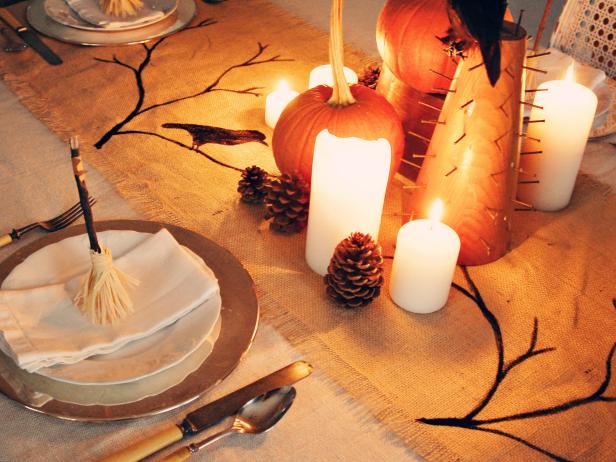

Materials Needed:
- burlap fabric: length of table plus 20"
- coordinating cotton thread
- scissors
- sewing machine
- blank plastic stencil
- computer
- printer
- printer paper
- permanent marker
- craft knife
- cutting board or mat
- 2" foam brush
- black acrylic paint
- no. 2 liner brush
- tin foil
- Download: Crow Template
Cut and Sew Burlap Runner
Measure and cut burlap to table length plus 20 inches, which will leave a 10-inch overhang on each end of the table. Measure and cut runner to 20 inches wide (Image 1). Using coordinating thread, machine stitch all four sides of runner, one inch in from edge to prevent burlap from fraying beyond one inch (Image 2).


Create Stencil
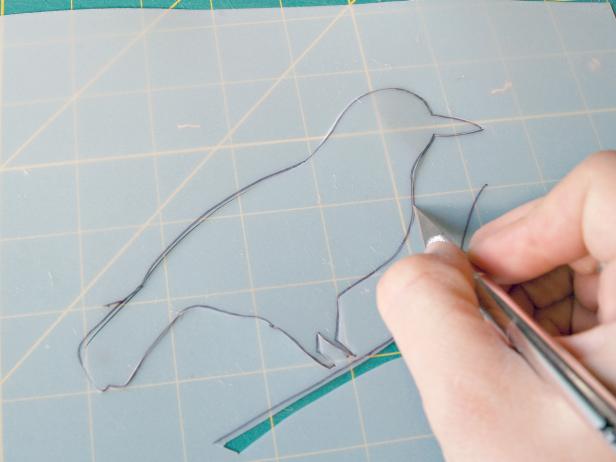
Print crow template in 5" x 7" photo format or 8" x 10" if larger bird is desired. Place blank plastic stencil over printed template and trace with permanent marker. Place stencil on cutting board or mat. Use craft knife to cut out bird's outline. Tip: Leave a small part of bird's legs uncut in order to keep stencil connected.
Paint Branches
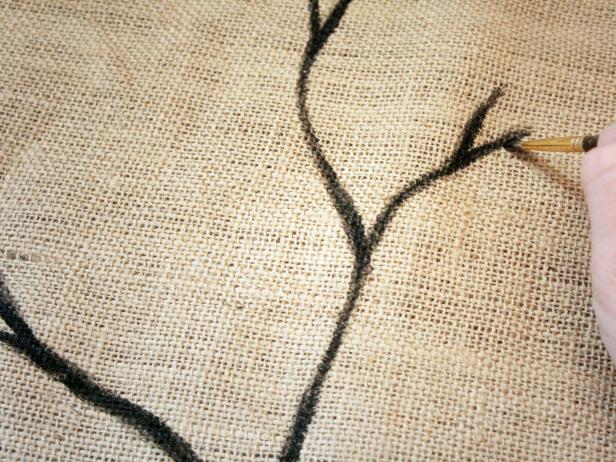
Use a pencil to lightly sketch bare branches on runner. Paint over sketched branches with artist's brush and black acrylic paint. Tip: Take a silhouette photo of a tree to use as inspiration when sketching branches.
Stencil Crow
Place runner on a flat surface with a piece of tin foil under work area to prevent paint from bleeding through. Position stencil so crow is perched on branch. Load acrylic paint onto two-inch foam brush and blot gently over stencil (Image 1). Use artist's brush to paint crow's legs and feet (Image 2). Repeat stencil on additional branches as desired and allow paint to dry. Tip: Using a paper towel to remove excess paint from brush will reduce bleeding.


Create Fringe
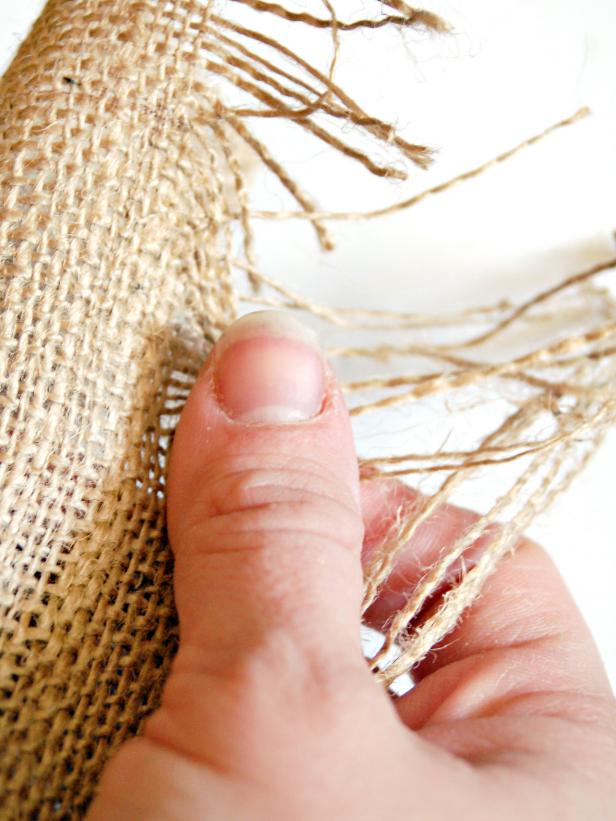
Loosen edges of burlap gently with fingers. Pull threads to create fringed border on all four sides. Note: Some burlap is not machine washable, so quickly clean up any spills by blotting them with water and prevent stains by not placing food directly on runner.
