


DIY Horseshoe Court

Mark Wolfe

Pitching horseshoes in the backyard is a way to get more enjoyment out of your living space and build a little friendly competition among family and friends. A DIY horseshoe court can take just a few minutes or a couple of hours to construct, and it will give you plenty of entertainment.
For a Basic Horseshoe Court
- The bare minimum requirements for a horseshoe court are two metal stakes and forty linear feet of fairly level ground.
- The stakes should be 1 inch diameter and 36 inches long, spaced forty feet apart.
- Hammer them into the ground until 15 inches are still above ground. Each stake should lean slightly toward the center of the court.
- Loosen the soil a few inches deep in a 36 inch by 72 inch area around each stake (the stake being at the center) to keep the horseshoes in place once they land.
- Mark foul lines at 27 feet and 37 feet across the court from each stake. These mark the pitching locations for children, women and elders (27 feet); and men ages 18-70 (37 feet).
Horseshoe Court How-To
See All Photos


For a Permanent Horseshoe Court
If you use the court regularly, you may need to make a few improvements in order to keep the games more consistent and to avoid creating holes in the yard around the stakes. These upgrades only take a little time to implement and they make the game more accessible by ensuring the court is in good shape all the time which makes it that much more fun. The first improvements will help to keep the soil in place in the pits.
- First you can frame each 36”x72” pit with pressure treated lumber. This should keep the pit surface just a tad above the surrounding grade to allow rain to drain away.
- Next, you could build a wood backboard to hold loose soil that gets kicked up, making it easier to rake the pits smooth between games.
- After playing several games, you will notice that the stakes need to be reset occasionally because of the constant pounding they take. An anchoring system for the stakes will hold them at the proper angle and eliminate the wiggle. Fix the stake into a piece of wood or small bucket of concrete and bury it to the proper depth.
- Loose soil may become too sticky when wet or dusty when dry. Cover the area around the stakes with play sand and moisten it before games. This will help to hold the horseshoes where they land and won’t turn mucky after rain.
- You may want to pave the foul line areas to keep them permanently marked and to make a firm, level pitching platform. Use decking material, concrete pavers, etc. These areas should be level with the surrounding area, making them easy to mow around or over.
My DIY Economic Horseshoe Court
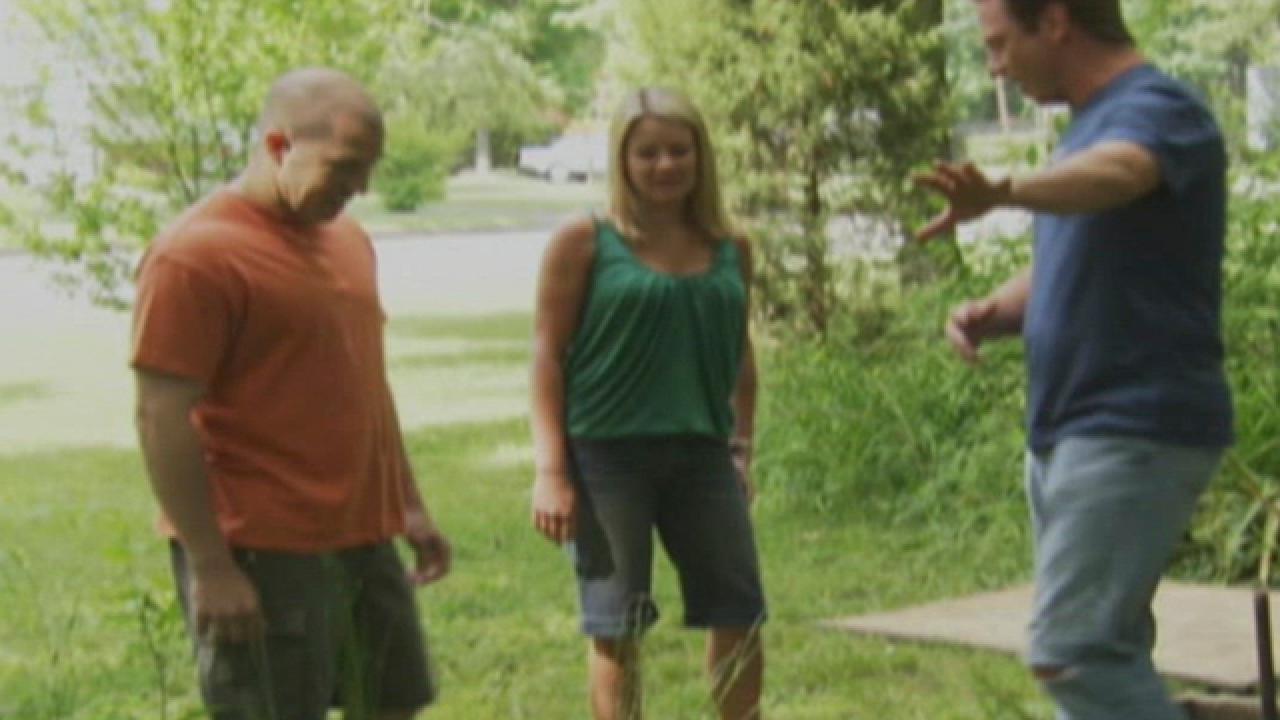
When we finally decided to build our backyard horseshoe court, we had to determine a location that would be accessible but not an inconvenience for mowing. We also wanted it to be in a shady spot on hot summer afternoons. After trimming a few limbs that overhung the middle of the court and moving our canoe storage location from behind one of the future pits, we were ready to begin.
- First, we laid out the stakes.We recommend using a fifty foot string, rope, etc. to identify the centerline of the court. We did not do this, but in hindsight it would have made the work much quicker. By marking the centerline, you can ensure the framed pits are perfectly square with each other (if both pits are square to the centerline, they are square to each other). On the fifty foot line, the stakes will be placed five feet in from each end.
- Next on the centerline, use a flag or marker paint to mark the front and back of each pit, and remove the centerline string. These points will be three feet in front and three feet behind the center point of each stake. Remove the soil cover and loosen the dirt between the front and back marks and eighteen inches on either side of the centerline. This will give you a six-foot by three-foot rectangle of loose dirt around each stake.
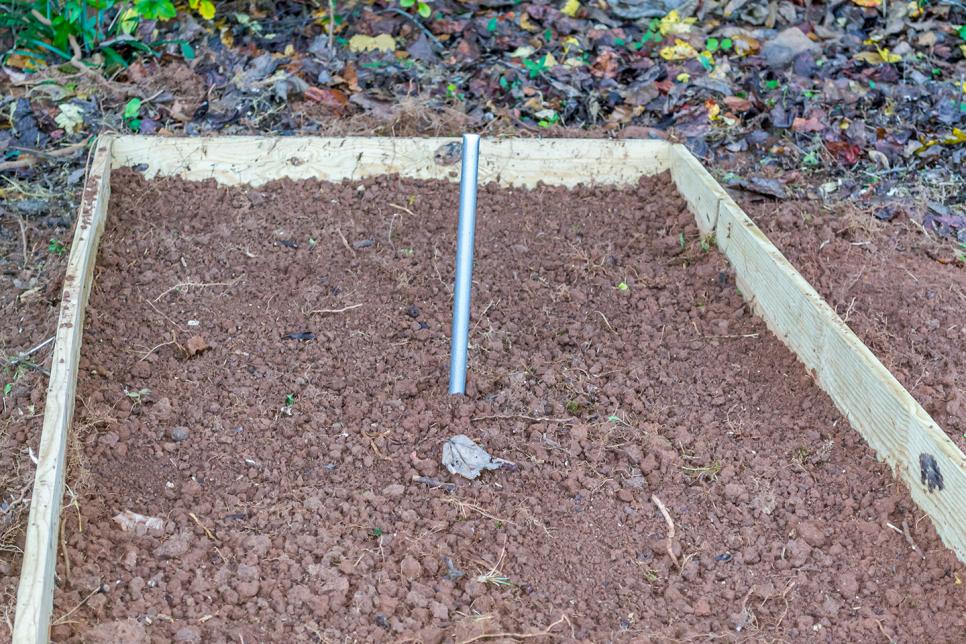
- Use a spade or shovel to define the edge of the loosened dirt area and create a seat for the framing boards. We used pressure treated 1x6 boards, but 2x6 would last longer. We attached the two six-foot boards on the sides to two three-foot boards on the front and back using two 1 ⅝” inch deck screws on each corner. Then we double checked to make sure the frame was still square before leveling it.
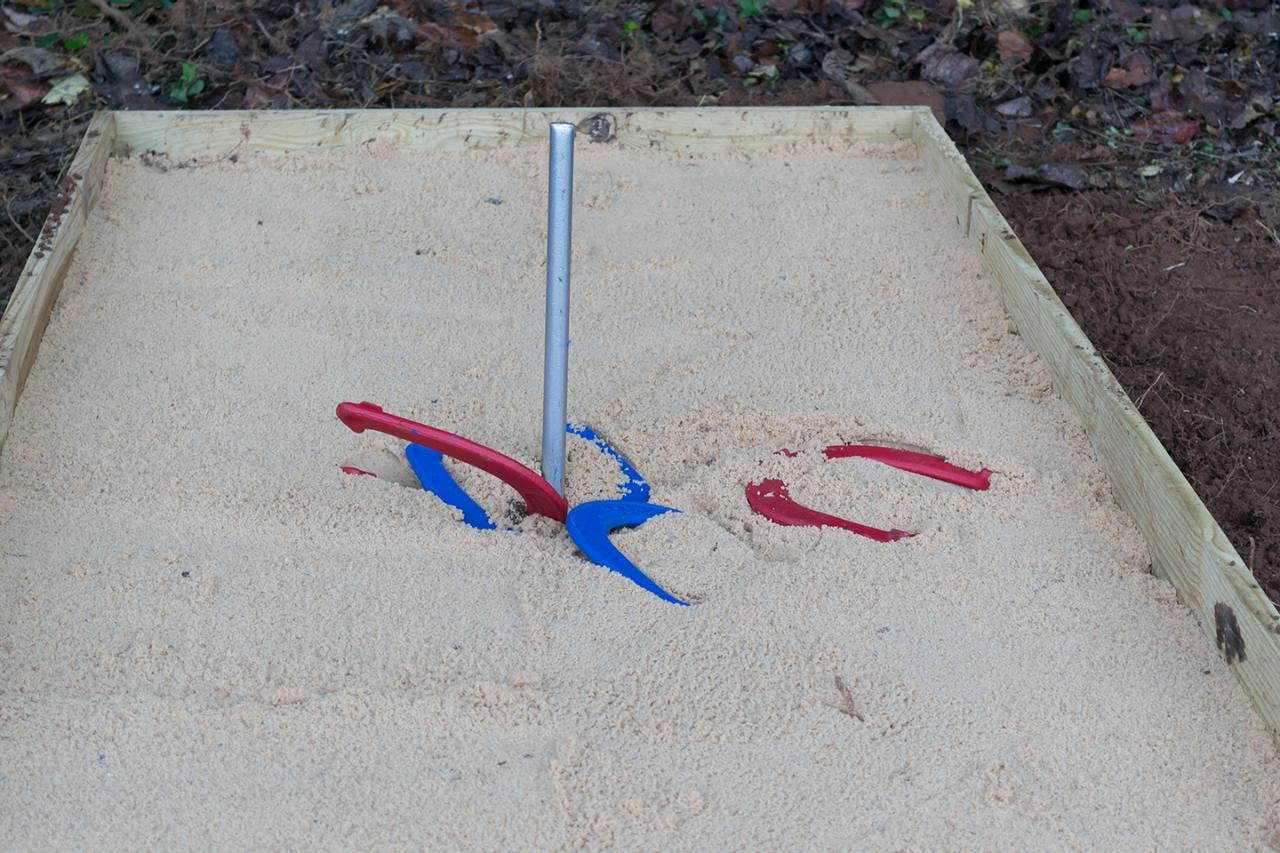
- When the frame was square and level, we raked the soil smooth inside it. The soil should be the same depth throughout the pit (gauge it by eye, looking at the exposed depth of the frame boards). We then added three bags of play sand and raked it smooth and level. Lastly, we double checked the depth of the stake to make sure we didn’t pile too much soil up around it. Ready to play!


