


Two Easy Ways to Fix a Running Toilet
There are likely a couple of reasons the water in your toilet won't stop running. It could be a leaky flapper or a bad fill valve. The good news is you don't have to call a plumber, these are all easy fixes you can do yourself for little money.
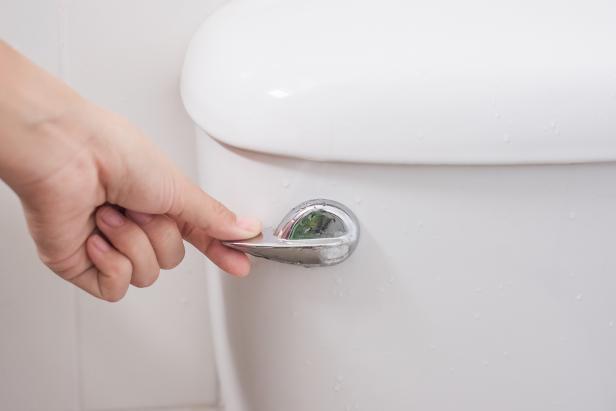
Shutterstock/Jo Panuwat D.

We've all been annoyed by the sound of a "running" toilet. Not to worry, the fix is probably very easy. A running toilet is usually caused by a problem with your flapper or fill valve. Here's how to diagnose the problem and then stop a running toilet yourself.
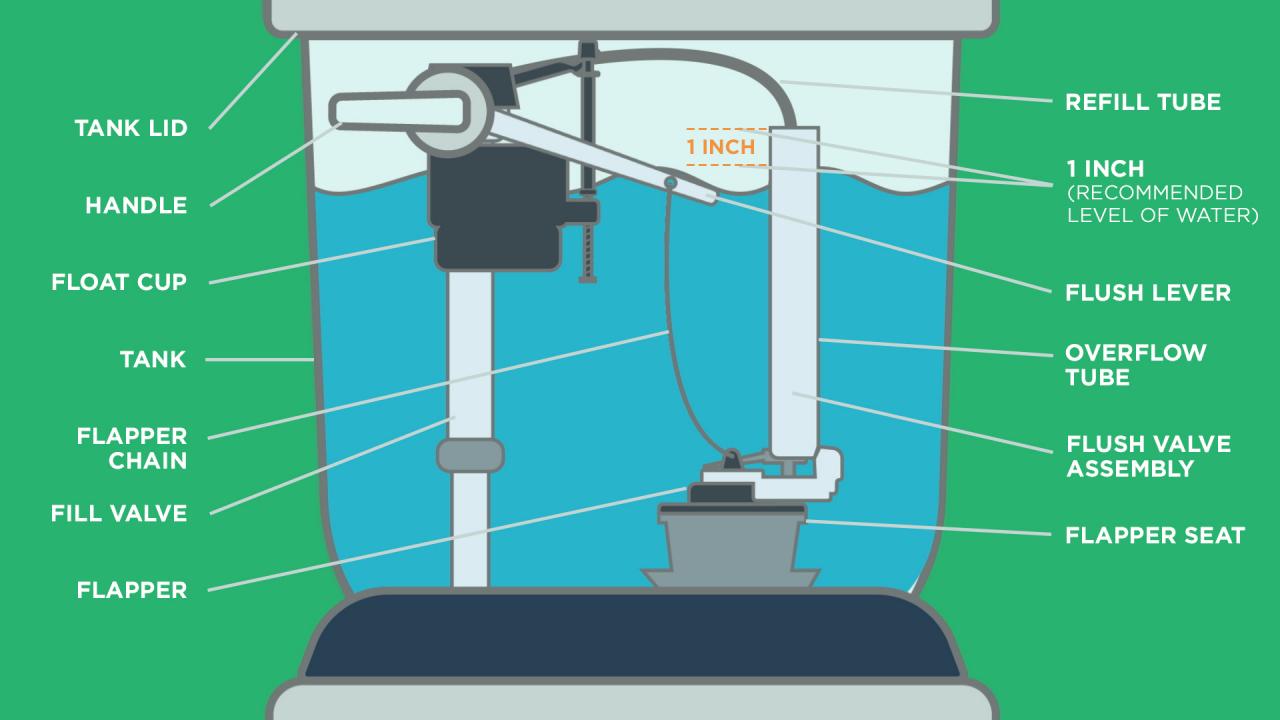
Remove your tank lid and check the water level. The water level should rise to about an inch from the top of the overflow tube.
If the water level does not rise above the overflow tube, then your toilet flapper may not be sealing correctly, letting water seep out of the tank and into the bowl. Check whether the flapper chain is kinked or hung up on the lever, preventing the flapper to seal fully. If the chain hangs correctly, without much slack, then your toilet may have a faulty flapper. The flapper needs to seal the flush valve completely, so it should not have any rips or bumps.
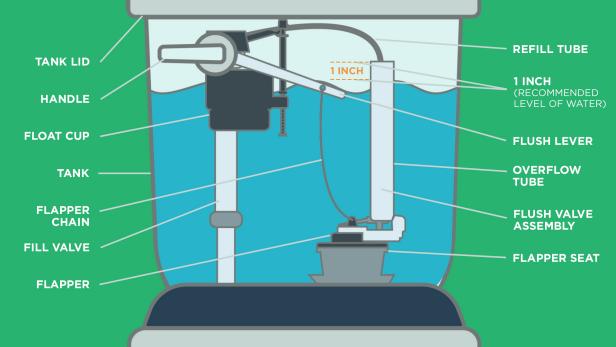
Components in a toilet tank.
If the water rises above the overflow tube, causing the toilet to run unnecessarily, then check whether the float cup is sticking or needs adjusting. There should be a knob above the float cup that adjusts the rise of the float cup up and down, controlling how much water is allowed to enter the tank. If the float cup doesn't seem to be the problem, you'll probably need to replace the fill valve assembly.
1. Test the Toilet Flapper
Turn Off Water to Toilet
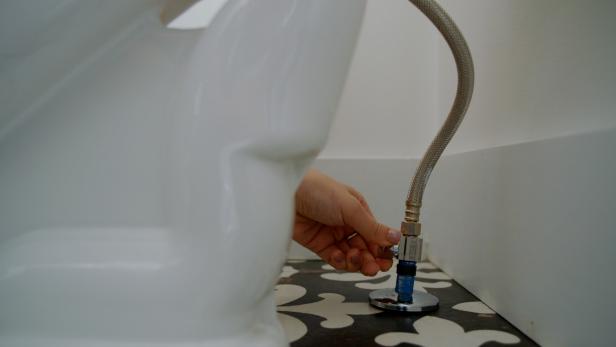
Turn off the water supply to the toilet. You should find a knob either coming from the wall, or on the floor next to the wall, and below your toilet tank. Turn the knob clockwise (remember: righty-tighty and lefty-loosey.)
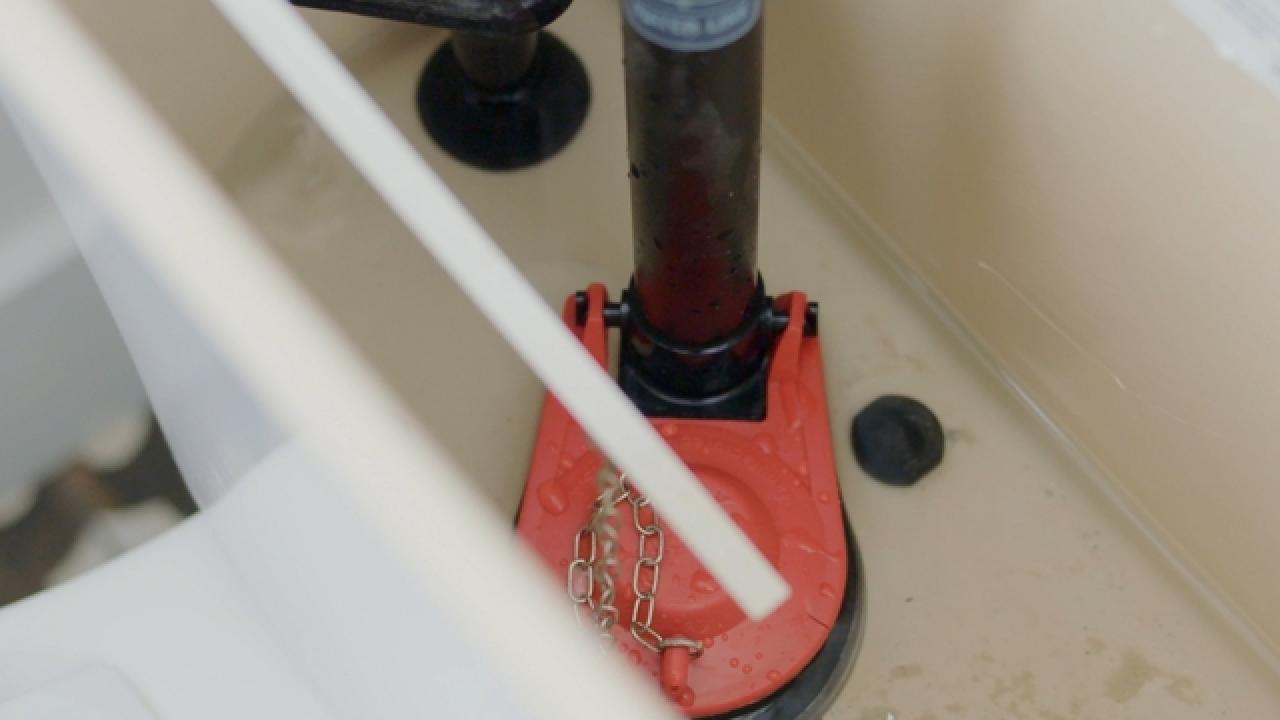
Remove the Flapper
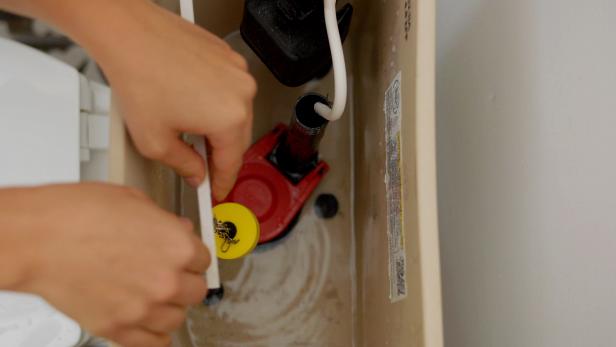
Remove the toilet tank lid then flush the toilet to drain the water from the tank. The flapper (Image 1) is easy to remove — disconnect the lift chain from the flush lever and then pull the flapper from the pegs on the overflow tube (Image 2). The flapper should come off the pegs with a gentle tug. Tip: Take the flapper to the hardware store to be sure to get the correct replacement (just a few dollars).

Replace the Flapper
Before replacing the flapper, give the flapper seat (which the flapper rests against) a little wipe down to ensure the new flapper will seal correctly. Attach the new flapper to the pegs on the overflow tube.
Remove Slack in Flapper Chain
Make sure there's not too much slack in the chain from the flush lever to the flapper when the flapper is closed. Test that the flapper opens fully by working the flush handle up and down. Adjust where the chain attaches to the flush lever as necessary.
Turn Water Back On
Turn on the water supply to your toilet by turning the water supply knob counter-clockwise. That should do it.
2. Replace a Fill Valve Assembly
The cause of your running toilet could be a failing fill valve assembly. You can adjust water level in your tank by turning the adjustment screw on the fill valve assembly. The water level in your toilet tank should be about an inch below the overflow tube.
Tools + Materials
- fill valve assembly
- adjustable wrench or channel locks
- small plastic bowl or bucket (to catch water)
- sponge or towel
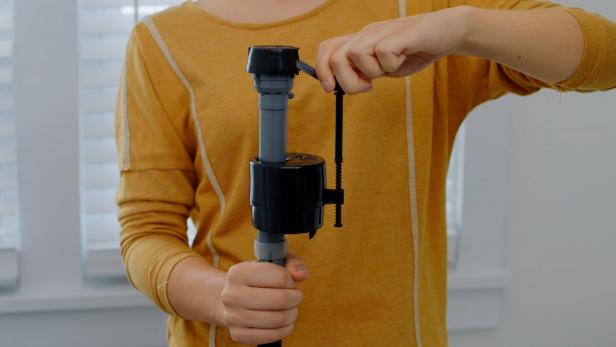
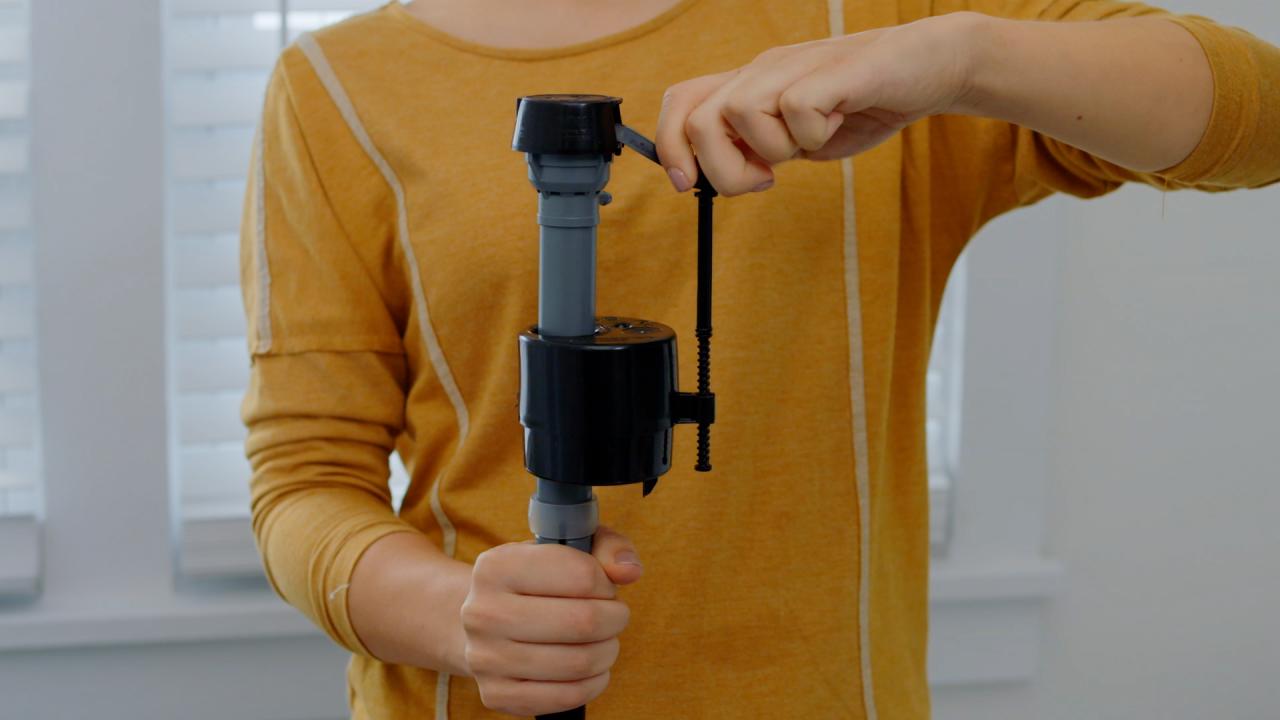
A float cup on the fill valve rises with the level of the water and tells the fill valve when to shut off the flow of water. If this mechanism doesn't work properly, the water keeps rising until it spills through the overflow tube and into the bowl. Here's how to replace the fill valve assembly, shown in the photo above. Tip: When replacing a fill valve assembly, purchase a replacement that matches the existing fill valve assembly as toilet tank sizes vary.
Turn Off Water & Remove Supply Line
As with the instructions above to replace a flapper, turn off the water supply to your toilet. You should find a knob either coming from the wall, or on the floor next to the wall, and below your toilet tank. Turn the knob clockwise. Then flush the toilet to drain the water from the tank. Use a sponge or towel to dry the inside of the tank.
Position a plastic bowl or bucket below the tank and then unscrew the water supply line from the base of the tank.
Remove Fill Valve Assembly
After the water supply line has been detached, use an adjustable wrench or channel locks to then unscrew the lock nut on the underside of the tank that holds the fill valve assembly in place. Remove the existing fill valve assembly by pulling it up and out of the tank.
Install New Fill Valve Assembly
Adjust the new fill valve to match the height of the existing fill valve. Do this by firmly holding the top of the fill valve assembly, then twisting the bottom of the assembly to the left. Insert the replacement fill valve assembly into the opening in the base of the tank, then tighten the lock nut on the underside of the tank to hold the new fill valve in place. Insert the fill tube on the new fill valve assembly into the overflow tube.
Reconnect Water Supply
Reconnect the water supply line to the fill valve assembly on the underside of the tank, then turn the water supply back on. Check the level of the water in the tank. As shown in the diagram above, the water should fill to about an inch below the overflow tube.
You can change the water level in your tank by adjusting the float on your fill valve (see photo above).
Be sure to check for any water leaks from the supply line connection to the fill valve assembly on the underside of the toilet tank.

Tips on Solving Common Toilet Problems
Learn how to easily fix common toilet problems such as a toilet that runs intermittently, a toilet that flushes slowly and a clogged toilet.


