Everything You Need to Know About Cleaning Walls and Wallpaper
Keep painted and wallpapered surfaces clean of fingerprints, smudges and dust with these expert tips.

Painted, papered or paneled, the walls in our home get dirty thanks to dust, smudges, and those pesky preschool marker/jelly/clay-covered fingerprints. Make your home look a little less lived-in by adopting a cleaning strategy for all wall surfaces.

Tana Nesbitt
Best Practices for Dusting Walls
Dust settles on all surfaces, even vertical walls. Textured walls accumulate more dust than painted drywall, and a diligent dusting routine is all most walls need in order to look well-maintained. Dusting walls prior to a heavy-duty cleaning is also ideal; you’ll want to remove as much dry dust as possible before applying any water-based solutions (such as the ones listed in following steps) so that the surface doesn’t get muddy and become harder to clean.
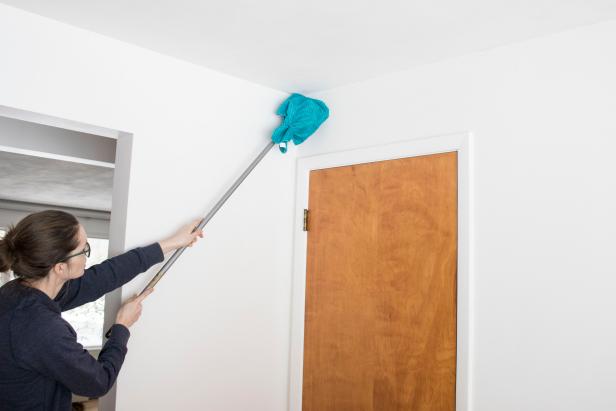
A few handy tools to use for dusting drywall include a lambswool duster with extendable reach or – in a pinch – an ordinary broom covered by a microfiber dusting cloth. Work from the top of the wall downward, giving extra focus to the top and corners where spiderwebs gather.
Emily Fazio
If you’re cleaning paneling and textured walls, opt for a vacuum with a bristle brush that gently agitates the surface and simultaneously collects dust. Like with drywall, work from the top downward, focusing on corners, but work horizontally to capture dust along the full length of the wall as you descend.
Best Practices for Cleaning Painted Walls
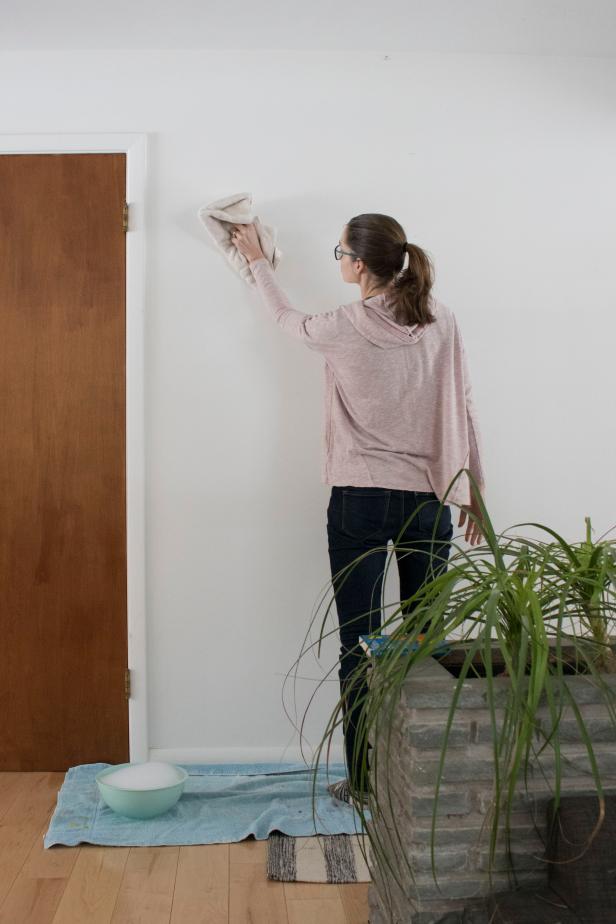
Cleaning painted walls might seem like a big chore, but it’s certainly worth the while. For best results, you’ll want to clean the entire wall surface, not just the area where smudges are most noticeable. Remove artwork from the walls (nails and hooks can stay in place, but don’t allow them to get saturated with moisture while cleaning). Move furniture away from the walls to give yourself space to move. Dust the entire wall surface, too. Put a few towels lining the bottom of the wall to collect any drips.
Emily Fazio
The water-based cleaning solution that works best for general maintenance of satin and semi-gloss paint finishes is a sudsy mixture of:
- 1 gallon warm water
- 1/4 cup liquid dishwashing detergent
Fill a second bucket with plain, warm water to be used for rinsing the sponge between uses.
Use a step ladder so that you can work to reach all the way to the corners near the ceiling, but unlike dusting, wash the wall from the bottom to the top, and from one side to the other side. Use a natural sponge and plain white cleaning cloths in order to prevent dyes in other sponges or fabrics from transferring to the wall surface.
Water drips from the sponge are inevitable, so keep a dry cloth in hand to help keep them at bay. It may seem like you should work from the top down to avoid dripping over an already clean surface, but when the water does drip down over a clean surface, it won’t be inclined to gather dirt and leave messy streaks. The clean water drips can be wiped off easily. Alternate cleaning with the soapy water, rinsing with the sponge from the clean bucket, and wiping down the same area of the wall again with the clean sponge. Use a clean, dry white towel to go over the area once more to buff out any extra moisture.
This is exhausting work, but try to complete one wall beginning-to-end to avoid “wash marks” caused by stop-and-go washing.
Treat dirtier walls or tougher marks with a stronger cleaning solution that consists of:
- 1 gallon warm water
- 1 cup clear non-sudsing ammonia
- 1 cup white vinegar
- 1 cup borax or washing soda
Spot checking the strength of your cleaning solution is wise, so you can test for damage. Do this test on an area of the wall that will be hidden, just in case the paint quality doesn’t hold up well to the cleaning agents. Consider testing the wall behind the couch or a table, or a small space behind a piece of wall art. For the test, use a white cloth to see if the color of your wall paint is removed, or if the wall dries looking like the paint has rubbed away. Do not proceed with heavier cleaning agents if it appears that it’s going to be damaging!
Best Practices for Cleaning Wallpaper
Wallpaper is an investment that needs to be delicately cleaned. Color and texture can easily be damaged if you’re not careful, especially with older, non-coated wallpapers, and in many cases, the damage is impossible to correct without fully replacing the wallpaper – and I’m sure that’s not what you signed up for today. For any wallpaper product, avoid scouring cleansers or abrasive cloths that can more easily score the finish or sand away color.
Courtney Blaymore
To clean wallpaper, always start by dusting the wall with a lambswool duster or a broom wrapped in a microfiber cloth.
Fingerprints and smudges can often be removed by spot cleaning with an artist’s gum eraser, but for older or more delicate wallpapers, opt for a “dry sponge” from a hardware store. The product will remove dirt without adding moisture to the paper. Use long strokes to remove dirt more gently with the dry sponge, rather than focusing on spot cleaning.
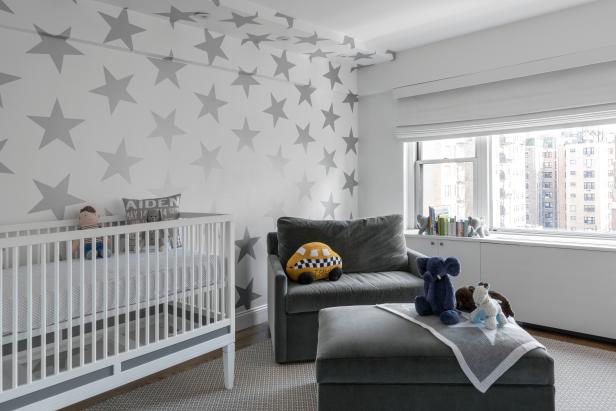
Scrubbable or washable wallpapers are more durable (we opted for vinyl on the wall behind my child’s crib where fingerprints are inevitable). Even with durable wallpaper, you still shouldn’t use an abrasive cleaner on the surface. Washable wallpapers can be easily cleaned with a natural sponge wet with soapy water, as long as it is wrung out very well. Wipe the sponge across the wall surface gently, being cautious so that the wallpaper doesn’t get too wet, and immediately follow-up with a dry white cloth to absorb extra moisture.
If you have access to manufacturer’s guidelines for cleaning the wallpaper you have in your home, be sure to reference them for additional tips and techniques.
And Don’t Forget to Wipe Down Door and Window Trim
When you’re wiping down walls, don’t forget to finish up by cleaning down wooden trim with a mild cleanser. Dyes from clothes and fingerprints often transfer to those surfaces, making them look dirty and distressed.


