How to Refinish Wood Furniture

Follow these simple steps on how to refinish wood furniture that include stripping, sanding and staining.

Price and stock could change after publish date, and we may make money off these affiliate links. Learn more.
By: Samantha Pattillo

Related To:

If you have a piece of wooden furniture you really like, or a tired thrift-store find with loads of potential, give it new life with a fresh coat of stain. Refinishing is an easy, low-cost way to bring out natural beauty in wood furniture and make fine details shine.
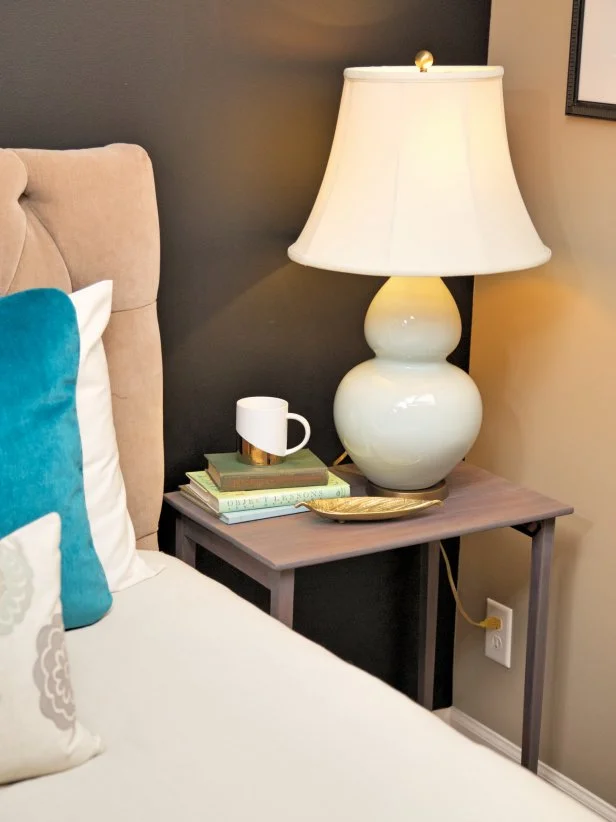
After clear coating, let your finished piece fully cure in a warm, dry, well-ventilated area for 24 hours before use. Your options for staining are limitless. No matter what color you choose, youâ  ll give new life to an old piece of furniture.

After clear coating, let your finished piece fully cure in a warm, dry, well-ventilated area for 24 hours before use. Your options for staining are limitless. No matter what color you choose, you’ll give new life to an old piece of furniture.

Materials + Tools

  • CitriStrip Paint and Varnish Stripper
  • Scott Shop Towels
  • tack cloth
  • mineral spirits
  • oil-based stain
  • staining pads
  • spray-on clear coat
  • scraper tool
  • palm sander and pads
  • sandpaper or sanding block
  • safety gear -- goggles, dust mask, etc.

Step 1: Apply Stripper

For small projects, aerosol spray paint stripper is really convenient because it’s easy to control and won’t spill. Spray the stripper evenly over the surface and let it sit for 5 to 10 minutes. You’ll see the old finish start to lift up off the wood.

Step 2: Remove Old Finish

Use a scraper tool to remove the old finish. Wipe the blade with a disposable shop cloth between scrapes. You may have to apply stripper and scrape more than once in order to remove the majority of the old finish.
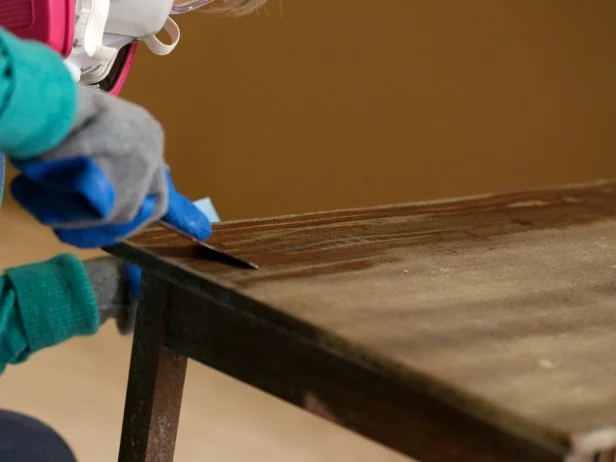
Next use your scraper tool to remove the old finish. Wipe the blade with a disposable shop cloth between scrapes. You may have to apply stripper and scrape more than once in order to remove the majority of the old finish. Once youâ  re done stripping and the surface is dry, wipe with mineral spirits using a clean cloth to remove any residual stripper. Allow the table to fully dry before moving on to sanding.

Next use your scraper tool to remove the old finish. Wipe the blade with a disposable shop cloth between scrapes. You may have to apply stripper and scrape more than once in order to remove the majority of the old finish. Once you’re done stripping and the surface is dry, wipe with mineral spirits using a clean cloth to remove any residual stripper. Allow the table to fully dry before moving on to sanding.

Step 3: Clean With Mineral Spirits

Once you’re done stripping and the surface is dry, wipe with mineral spirits using a clean cloth to remove any residual stripper. Allow the table to dry fully before moving on to sanding.
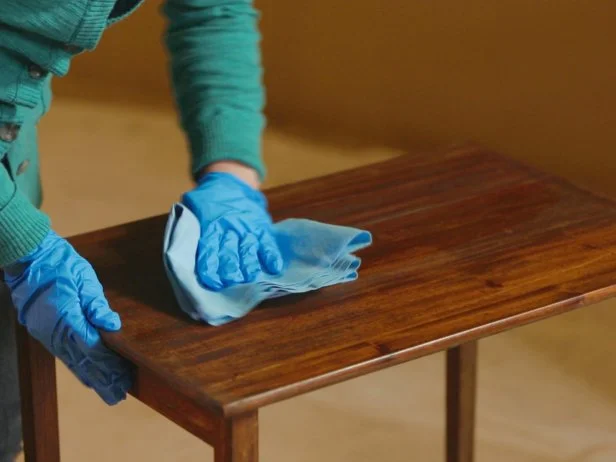
Next use your scraper tool to remove the old finish. Wipe the blade with a disposable shop cloth between scrapes. You may have to apply stripper and scrape more than once in order to remove the majority of the old finish. Once youâ  re done stripping and the surface is dry, wipe with mineral spirits using a clean cloth to remove any residual stripper. Allow the table to fully dry before moving on to sanding.

Next use your scraper tool to remove the old finish. Wipe the blade with a disposable shop cloth between scrapes. You may have to apply stripper and scrape more than once in order to remove the majority of the old finish. Once you’re done stripping and the surface is dry, wipe with mineral spirits using a clean cloth to remove any residual stripper. Allow the table to fully dry before moving on to sanding.

Step 4: Sand Smooth

To remove the last bits of finish, use a palm sander with medium-grit sandpaper (about 150-grit) until you see the bare wood. Then switch to fine sandpaper (200+ grit) until the entire piece is uniform.
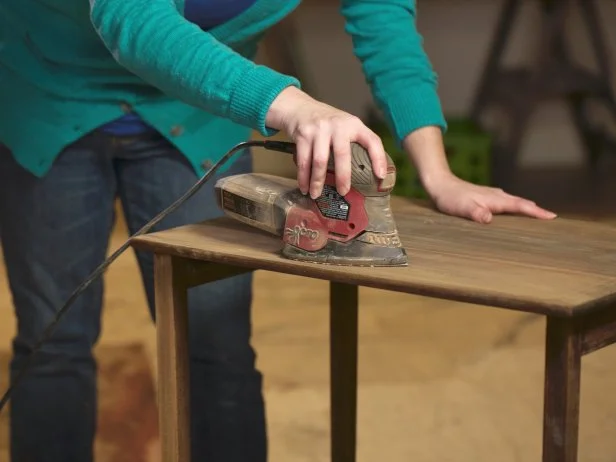
To remove those last bits of finish, palm sand with medium sandpaper (150 grit) until you see the bare wood. Then switch to fine sandpaper (200+ grit) until the entire piece is uniform. Wipe down the whole surface with a tack cloth to remove any dust from sanding.

To remove those last bits of finish, palm sand with medium sandpaper (150 grit) until you see the bare wood. Then switch to fine sandpaper (200+ grit) until the entire piece is uniform. Wipe down the whole surface with a tack cloth to remove any dust from sanding.

Step 5: Remove Sanding Residue

Wipe down the whole surface with a tack cloth to remove any dust from sanding.
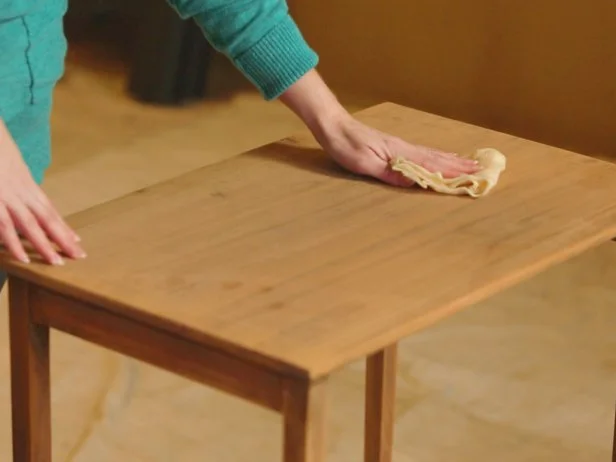
To remove those last bits of finish, palm sand with medium sandpaper (150 grit) until you see the bare wood. Then switch to fine sandpaper (200+ grit) until the entire piece is uniform. Wipe down the whole surface with a tack cloth to remove any dust from sanding.

To remove those last bits of finish, palm sand with medium sandpaper (150 grit) until you see the bare wood. Then switch to fine sandpaper (200+ grit) until the entire piece is uniform. Wipe down the whole surface with a tack cloth to remove any dust from sanding.

Step 6: Apply Stain

Staining is easiest to do with a staining pad. Dip the pad in the stain and wipe it on using long, even strokes.

Step 7: Remove Excess Stain

Then use a clean wiping cloth to remove excess stain. Wipe lightly with the grain to avoid streaking. You’ll need to apply multiple coats until you like the color. Keep following the same process but be sure to let the stain dry between coats so you can gauge what it looks like before deciding whether to add another coat.
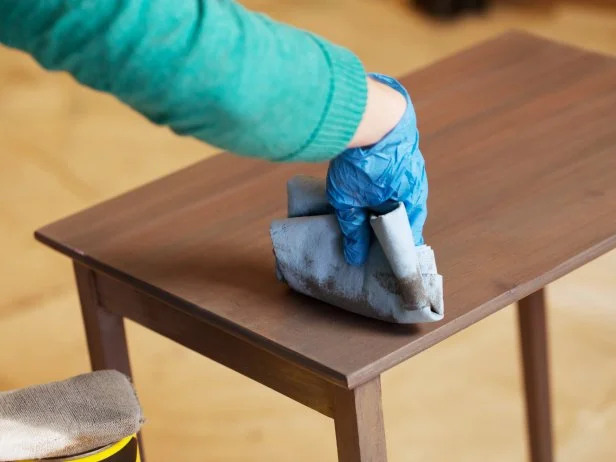
Then use a clean wiping cloth to remove excess stain. Wipe lightly with the grain to avoid streaking. Youâ  ll need to apply multiple coats until you like the color. Keep following the same process but be sure to let the stain dry between coats so you can gauge what it looks like before deciding whether to add another coat.

Then use a clean wiping cloth to remove excess stain. Wipe lightly with the grain to avoid streaking. You’ll need to apply multiple coats until you like the color. Keep following the same process but be sure to let the stain dry between coats so you can gauge what it looks like before deciding whether to add another coat.

Step 8: Apply Clear Coat

Once your last coat of stain is totally dry, apply an oil-based clear coat for a final layer of sheen and protection. Spray-on clear coat is easy to use and provides great coverage. Spray with a nice even motion following the natural lines of the piece. Apply two coats, sanding in between with 200-grit or higher sandpaper after the first coat is dry. This technique will smooth any imperfections from your first coat and give you a pro-grade finish. Then spray on a final layer.
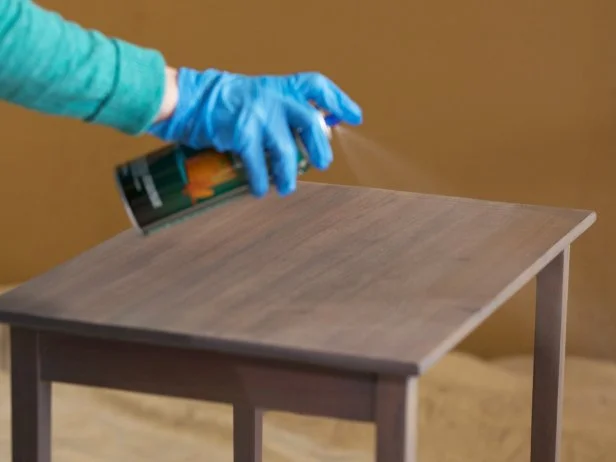
Once your last coat of stain is totally dry, apply an oil-based clear coat for a final layer of sheen and protection. Spray-on clear coat is easy to use and provides great coverage. Spray with a nice even motion following the natural lines of the piece. Apply two coats, sanding in between with 200 grit or higher sandpaper after the first coat is dry. This technique will smooth any imperfections from your first coat and give you a pro grade finish. Then spray on a final layer.

Once your last coat of stain is totally dry, apply an oil-based clear coat for a final layer of sheen and protection. Spray-on clear coat is easy to use and provides great coverage. Spray with a nice even motion following the natural lines of the piece. Apply two coats, sanding in between with 200 grit or higher sandpaper after the first coat is dry. This technique will smooth any imperfections from your first coat and give you a pro grade finish. Then spray on a final layer.

Step 9: Let Dry

After clear coating, let your finished piece cure fully in a warm, dry, well-ventilated area for 24 hours before use. Your options for staining are limitless. No matter what color you choose, you’ll give new life to an old piece of furniture.
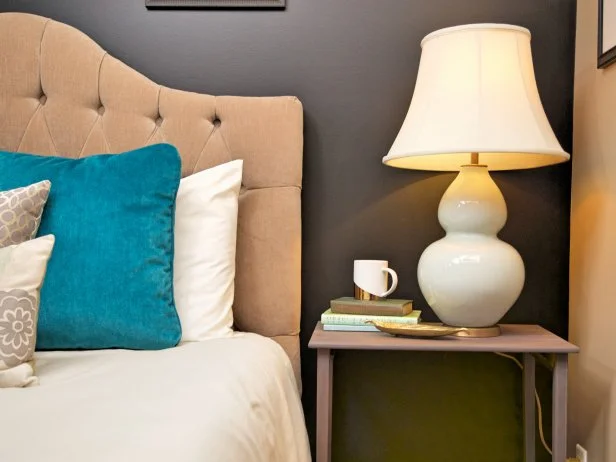
Itâ  s easy to bring out the beauty of wood furniture with a new finish. Stain highlights the grain and lets the details of your wood furniture shine through.

It's easy to bring out the beauty of wood furniture with a new finish. Stain highlights the grain and lets the details of your wood furniture shine through.

More Advice on Refinishing

How to Refinish a Dining Room Table

Easily refinish a dated or worn dining room table to give it a fresh look.
How to Refinish an Antique Bookcase

Our instructions and tips make it easy to give new life to an old bookshelf.

Next Up

How to Create a Wood Slat Wall

Installing a stylish wood slat accent wall is easier than you think. Follow this step-by-step guide from the DIY pros at HGTV.

The Best Outdoor Furniture Brands and What to Consider When Shopping, According to Designers

Explore over a dozen sources for highly-rated, extra-durable and undeniably beautiful outdoor furniture. Plus, get tips on how to choose outdoor furniture from design pros.

13 Best Small-Space Patio Furniture Ideas

Stumped on how to style your small patio? Here are the must-have patio furniture pieces to make the most out of your limited space.

How to Paint a Deck

All you need is one weekend to give your deck a whole new look and protect it for years to come.

How to Clean a Shower

Here's how you get rid of soap scum and shower grime so that your once-sparkly shower can shine again.

How to Weatherstrip a Door

Replacing the worn weatherstripping on your door is the secret to keeping your home warm in the winter and cool in the summer.

How to Install Glass Shower Doors

Here's how to replace your dingy shower curtain with a gorgeous sliding glass shower door yourself.

How to Clean a Faucet Head​

A dirty faucet head can affect your water pressure and the flavor of your water. Here's an easy way to keep it clean.

How to Install Garden Lights

Whether you're after that cozy glowing garden look or you simply need to safely traverse your garden after nightfall, here are simple steps for installing garden lighting.

How to Clean a Bathroom Fan

It doesn't take much to keep your bathroom ventilation working well, but it's a spot we all tend to ignore.

Go Shopping

Get product recommendations from HGTV editors, plus can’t-miss sales and deals.

On TV

Caribbean Life

9:30am | 8:30c

Caribbean Life

10:30am | 9:30c

Caribbean Life

11am | 10c

Caribbean Life

11:30am | 10:30c

Bahamas Life

12pm | 11c

Bahamas Life

12:30pm | 11:30c

Bahamas Life

1pm | 12c

Bahamas Life

1:30pm | 12:30c

House Hunters

6:30pm | 5:30c

House Hunters

7:30pm | 6:30c
On Tonight
On Tonight

House Hunters

8pm | 7c

House Hunters

8:30pm | 7:30c

House Hunters

9:30pm | 8:30c

House Hunters

10pm | 9c

Curb Appeal

10:30pm | 9:30c

House Hunters

11pm | 10c

House Hunters

11:31pm | 10:31c

House Hunters

12am | 11c

House Hunters

12:30am | 11:30c

House Hunters

1am | 12c

Curb Appeal

1:30am | 12:30c

House Hunters

2:31am | 1:31c

House Hunters

3:30am | 2:30c

About HGTV

HGTV’s expert editors and writers share home decorating, garden and home improvement ideas, inspiration and advice based on our brand’s 30+ years of expertise and experience. We also give you the latest updates on HGTV shows and stars, cleaning tips and shopping recommendations. Learn more about us and our editorial standards.