


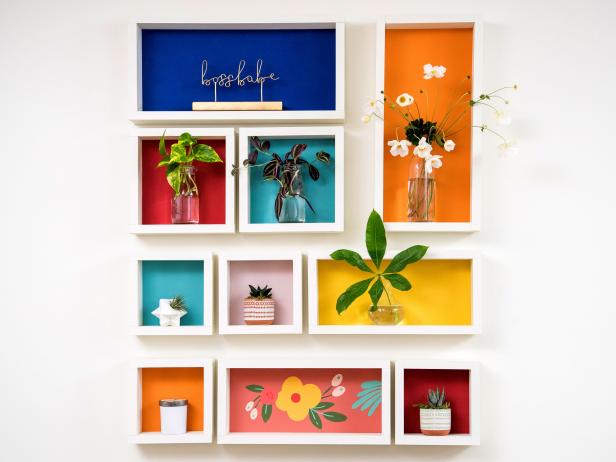
How to Make a Shadow Box Gallery Wall
Looking to create a unique three-dimensional wall display? Learn how to make these easy and inexpensive shadow boxes for a one-of-a-kind gallery wall.


Clara MacLellan
Tools + Materials
- 1/4” plywood or 1/8” luan
- 1x3 lumber
- primer
- paint and paintbrushes
- sandpaper
- level
- wood glue
- nail gun or a hammer and finish nails
- heavy-duty hanging strips
- circular saw
- tape measure
Plan Layout
Determine the measurements and shapes of your shadow boxes and then create your cut list. We opted to create 10 shadow boxes at the following sizes:
- (2) @ 8” x 18”
- (2) @ 8” x 8”
- (4) @ 6” x 6”
- (2) @ 6” x 14”
Here is our cut list for the above amount and sizes:
- (4) 1x3 x 18”
- (4) 1x3 x 8”
- (8) 1x3 x 6”
- (4) 1x3 x 14”
- (8) 1x3 x 6-1/2”
- (12) 1x3 x 4-1/2”
- (2) 8” x 18” plywood or luan
- (2) 8” x 8” plywood or luan

Clara MacLellan
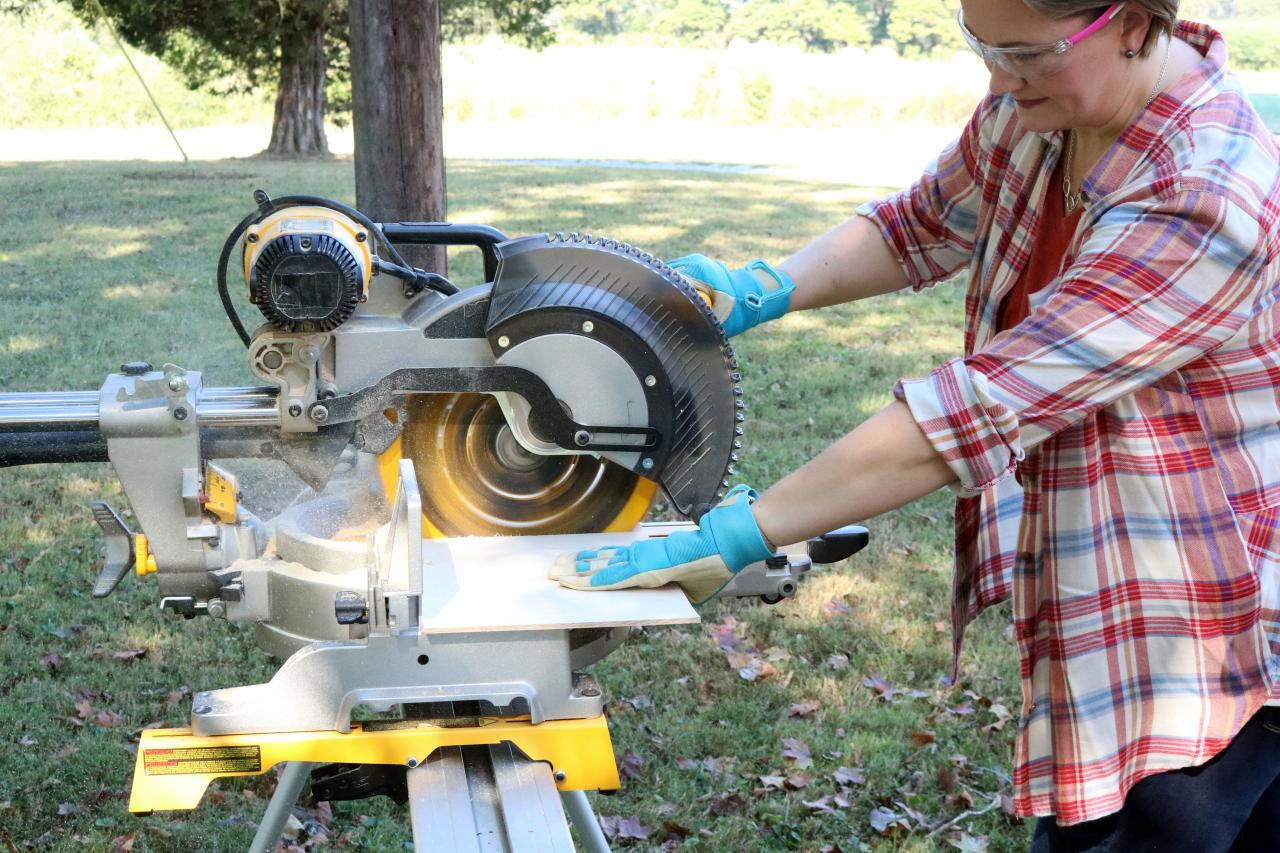
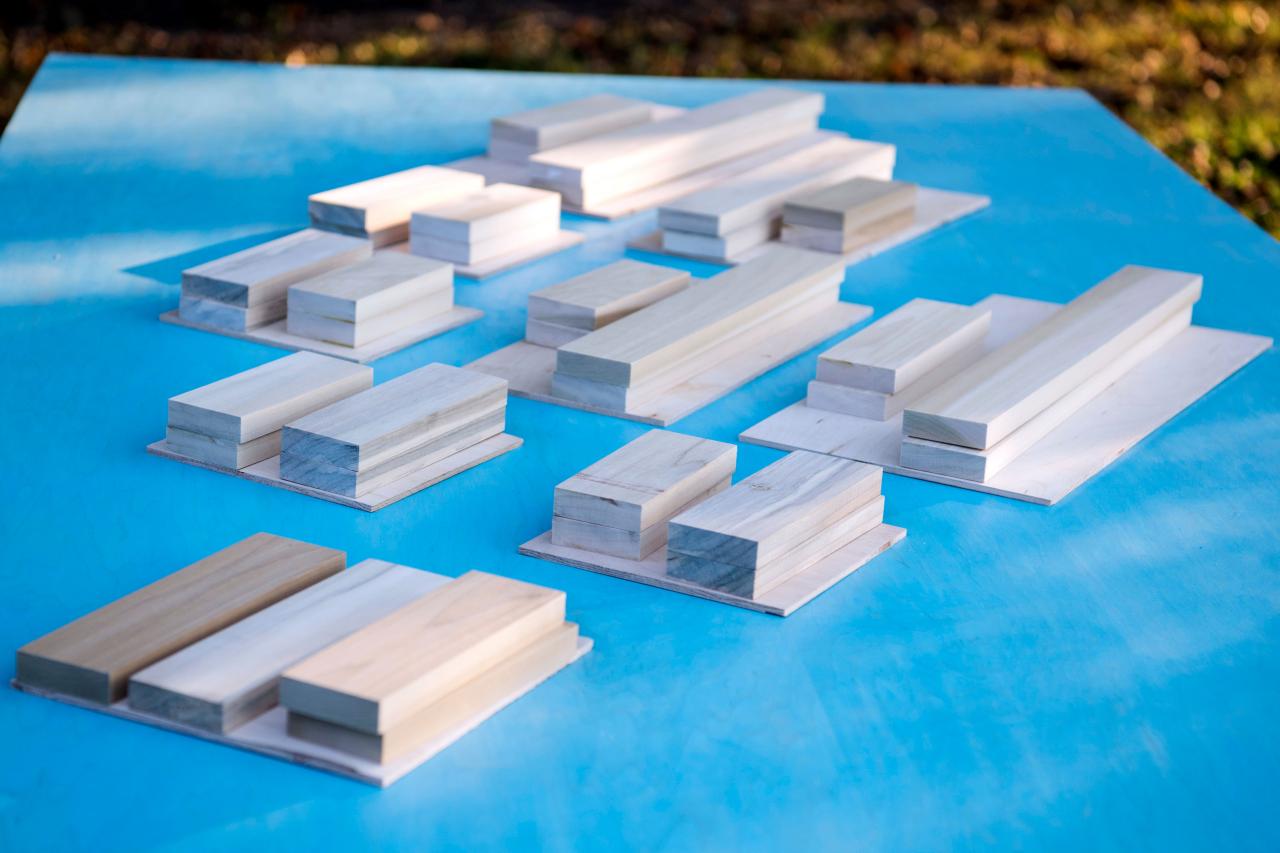
Cut Wood
Use a circular saw to cut the pieces based on your measurements. Make sure the plywood is cut so it covers the entire back of the frame.

Jacquelyn_McGilvray
Sort Wood Pieces
Be sure to keep your pieces organized. By grouping the pieces for each shadow box, there can be no confusion as to which piece goes where.

Clara MacLellan
Sand the Edges
Use sandpaper or a sanding block to smooth out the edges of each piece of wood; this will prevent sharp corners and splinters.

Clara MacLellan
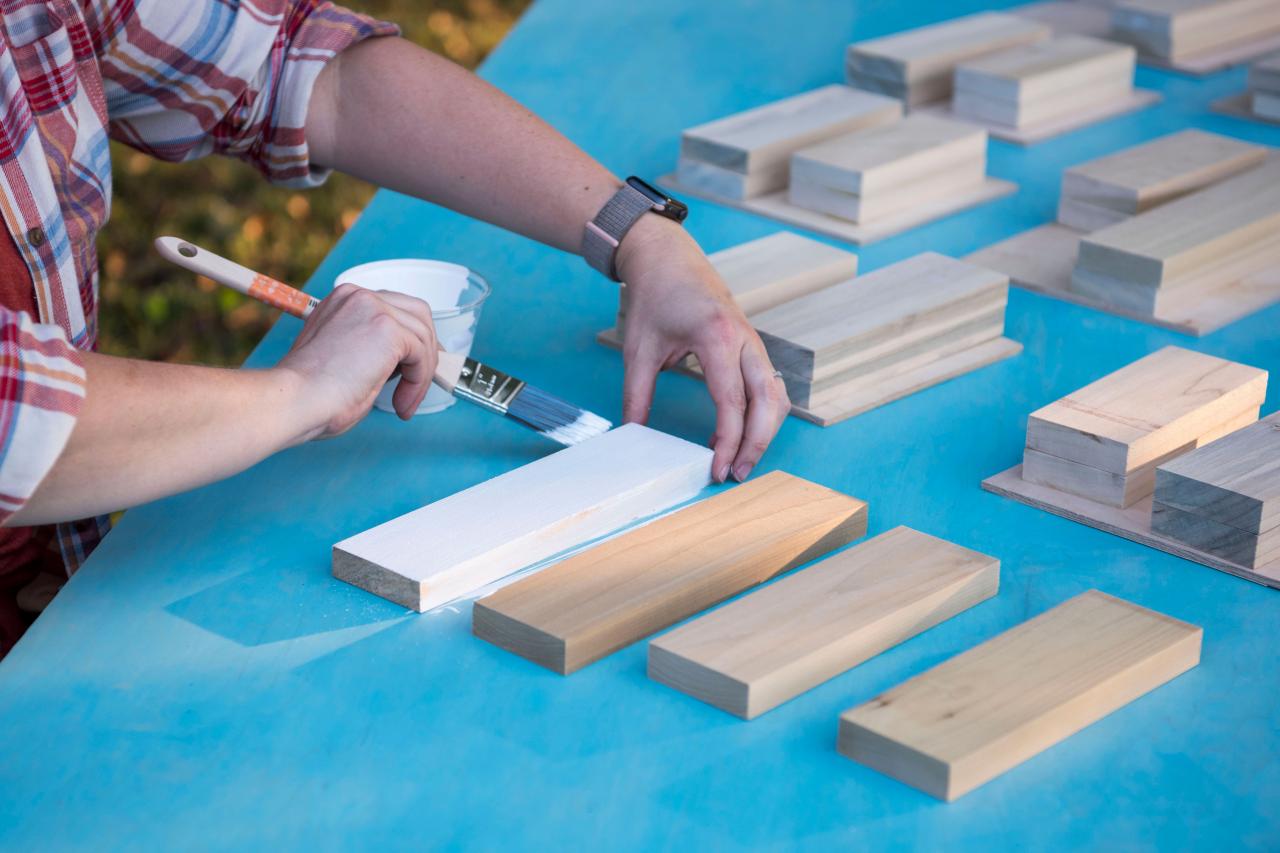
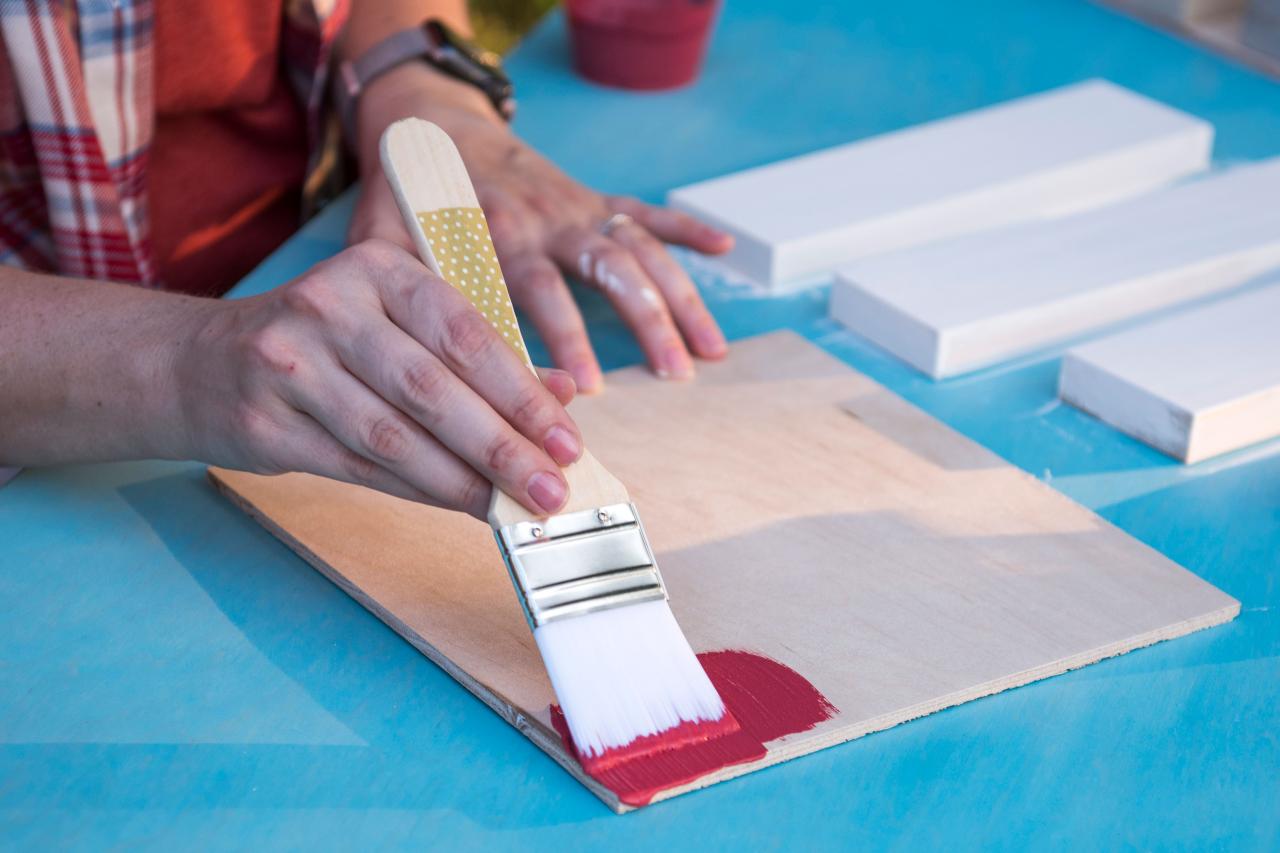
Prime
Apply a layer of primer. This will make your paint color more solid and add a layer of protection.

Clara MacLellan
Paint
When the primer has dried, move onto the real paint. We chose white for the frame of the shadow boxes and various shades of vibrant colors for the back panels. Let the paint dry before moving onto the next step.

Clara MacLellan
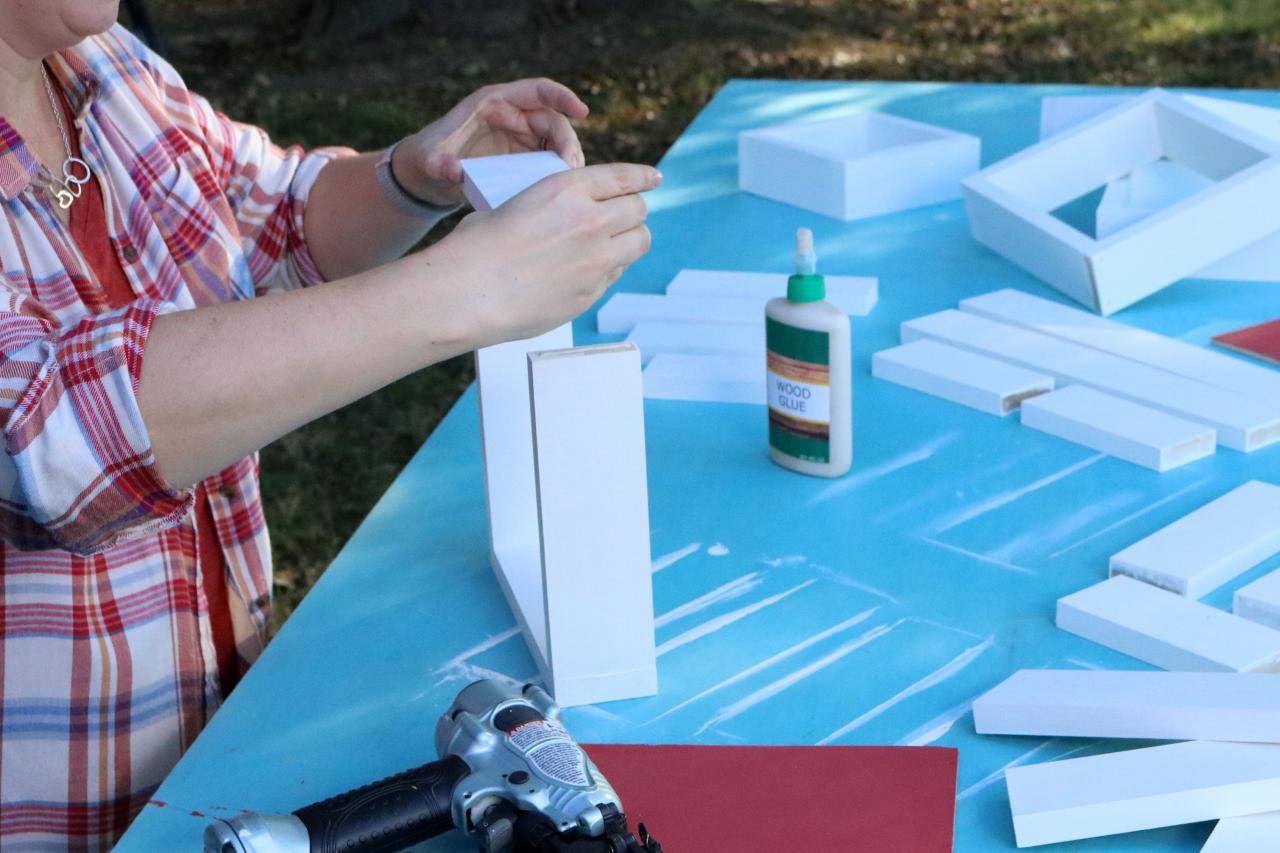
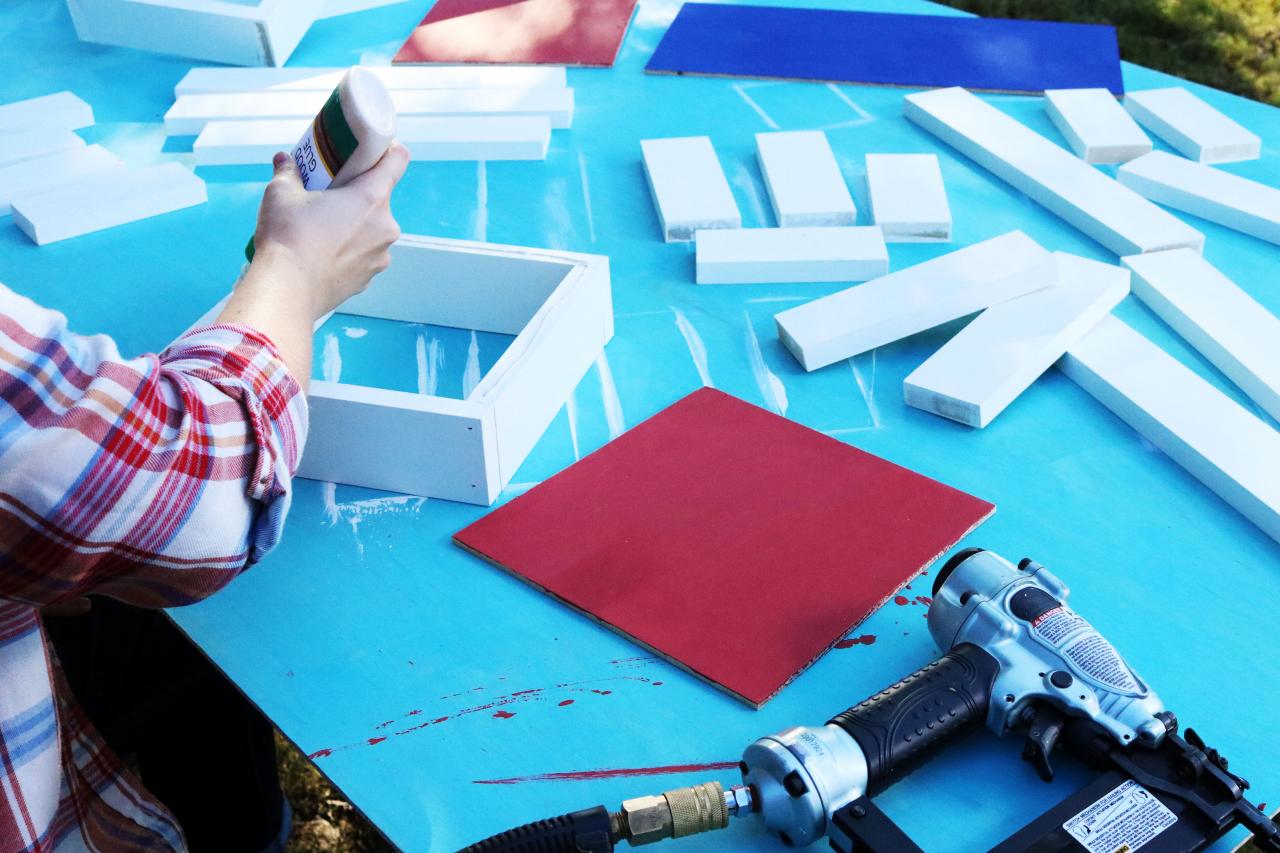
Assemble the Frames
Glue together the four pieces of the frame. The two longer pieces should be glued to either end of the smaller ones, making a rectangle/square.

Jacquelyn_McGilvray
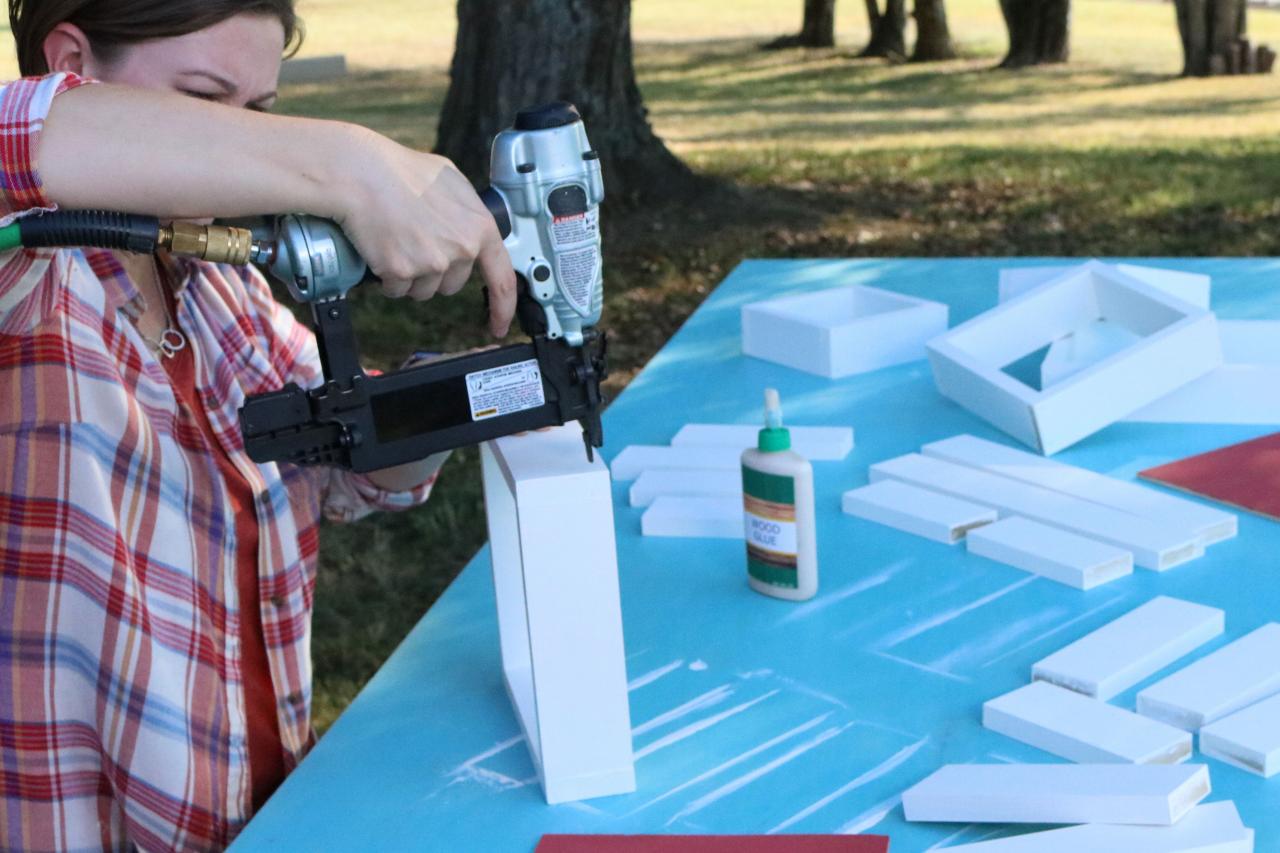
Nail the Frames
Use either a nail gun or finishing nails and a hammer to fasten the frame pieces together.

Jacquelyn_McGilvray
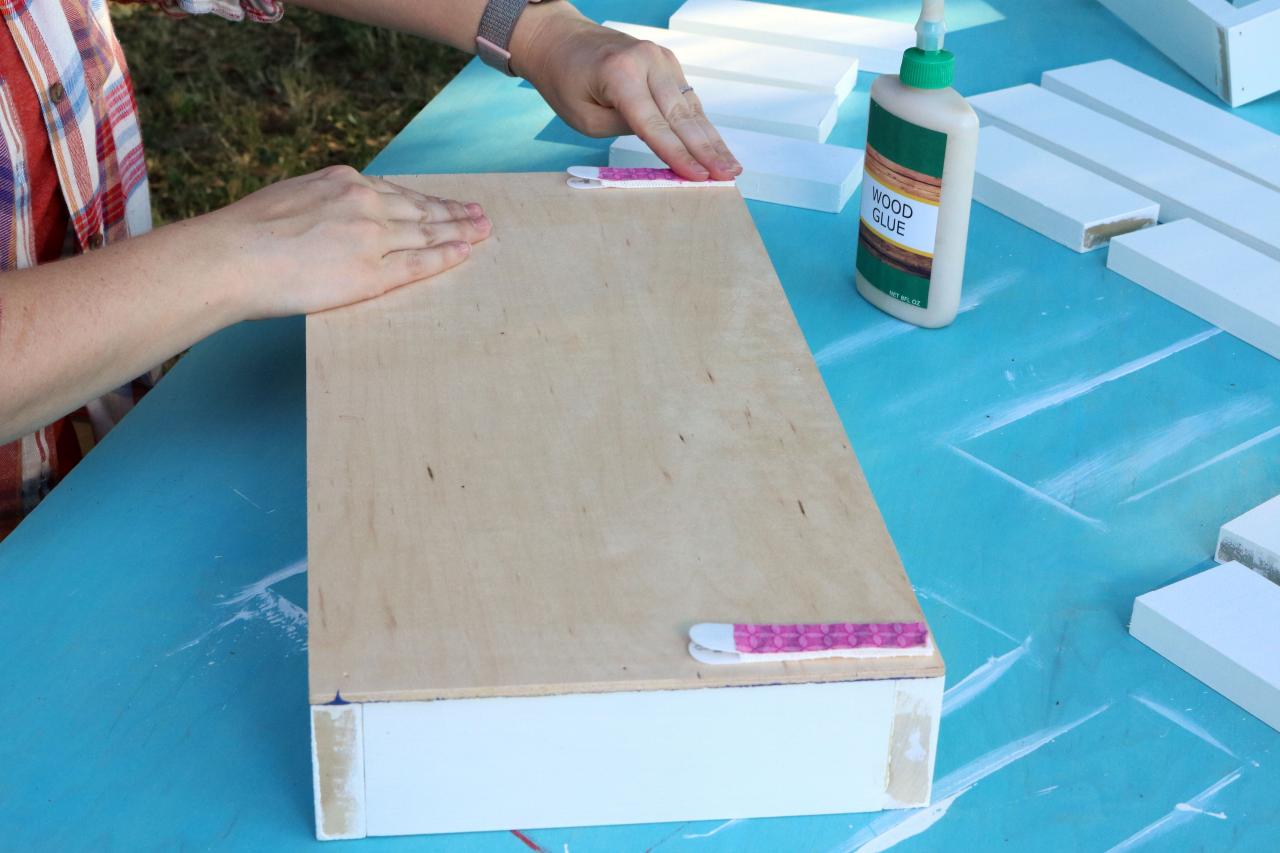
Glue on the Back Panel
Apply glue to the backside of the frame, use your finger or brush to smooth the glue evenly on the surface. Place the back panel face down (the painted side) on the frame.

Jacquelyn_McGilvray
Nail Back Panel to Frame
Nail the back panel to the frame, make sure that the non-painted side is facing away from the frame.

Jacquelyn_McGilvray
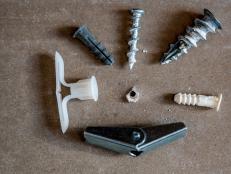
Add Wall Fasteners
Adhere the wall fasteners onto the backside of the frame, towards the top. By using stick-on fasteners the shadow boxes will be super easy to hang, and won't leave any holes in your walls. Make sure the fasteners can hold the weight of the shadow box and what you plan to put in it.

Jacquelyn_McGilvray
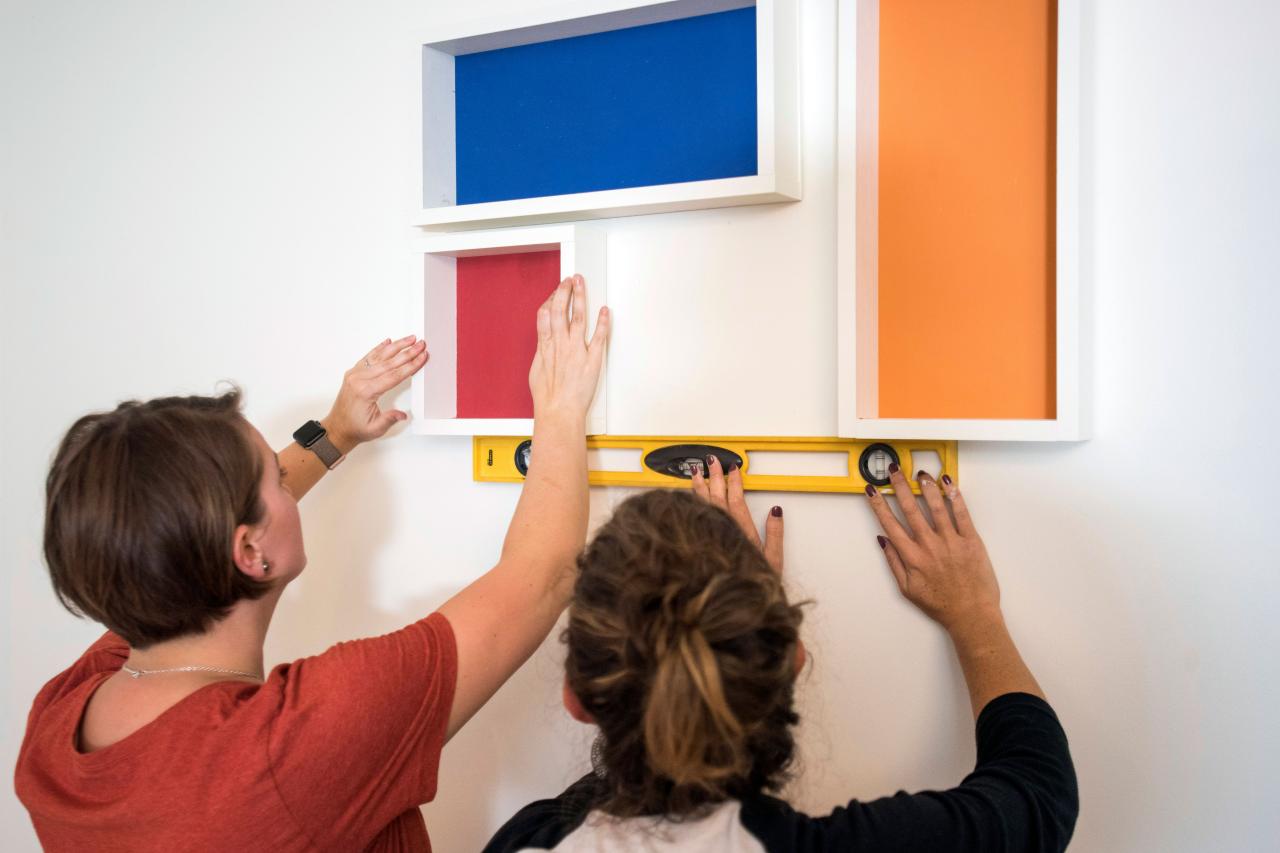
Hang the Boxes
Use a level while hanging your frames to make sure they're even. It's the extra attention to detail that makes them look professional.

Clara MacLellan
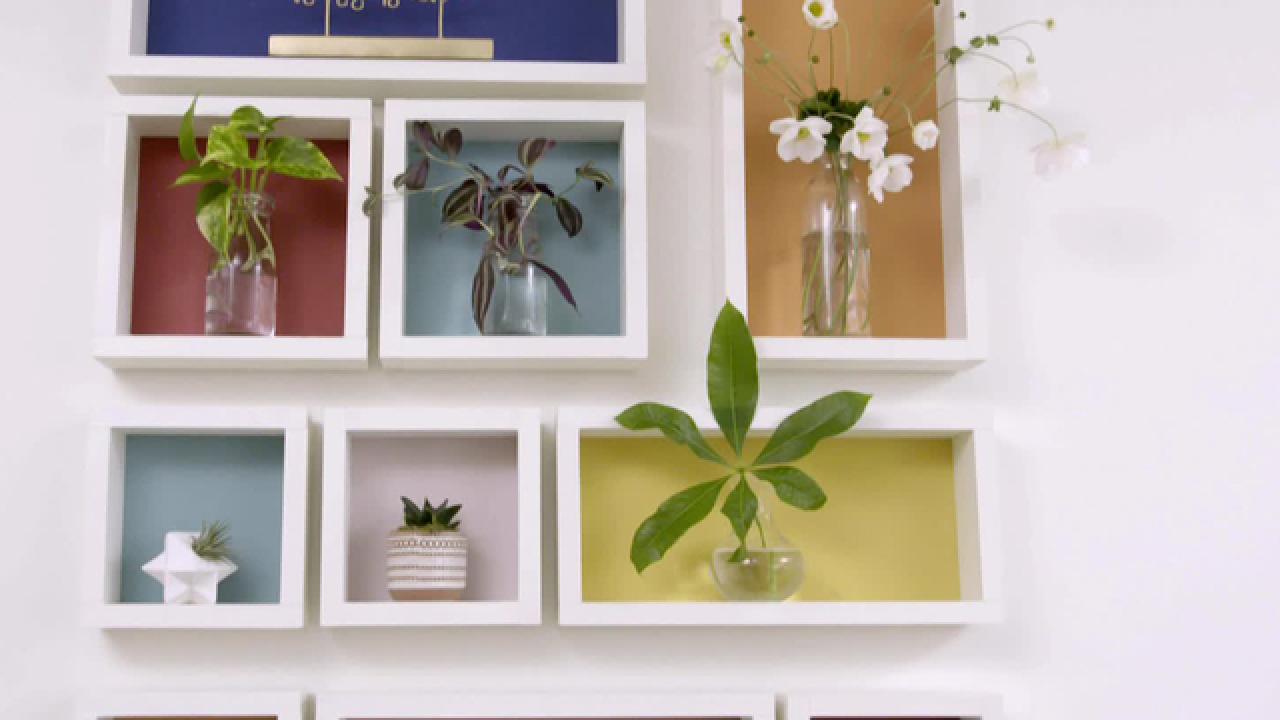
Time to Decorate
These shadowboxes have so much potential and endless possibilities. Fill them with whatever you like, small trinkets, family photos and plants will all look wonderful.

Clara MacLellan
Clara MacLellan


