How to Install a Ceiling Fan
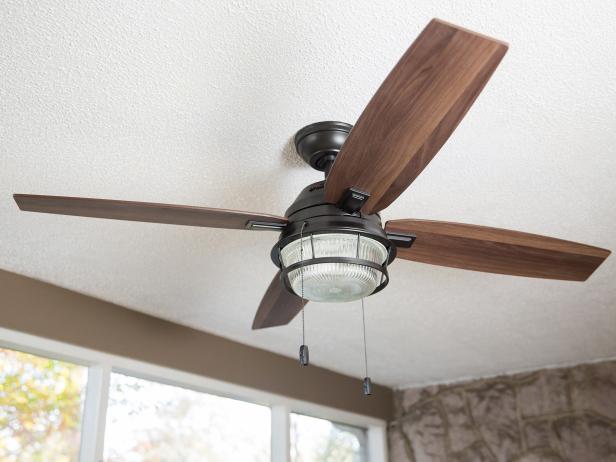
The process for installing a ceiling fan is similar to wiring a light fixture, with a few modifications to accommodate for the extra weight and wiggle of the fan. Follow these steps to replace a light fixture with a ceiling fan in your home.
Jalynn Baker
Materials Needed
- ceiling fan
- current tester
- electrician’s pliers
- screwdriver
- wire nuts
- retrofit ceiling fan box and brace
- pliers
- oscillating tool
- safety glasses
- ladder
Safety First
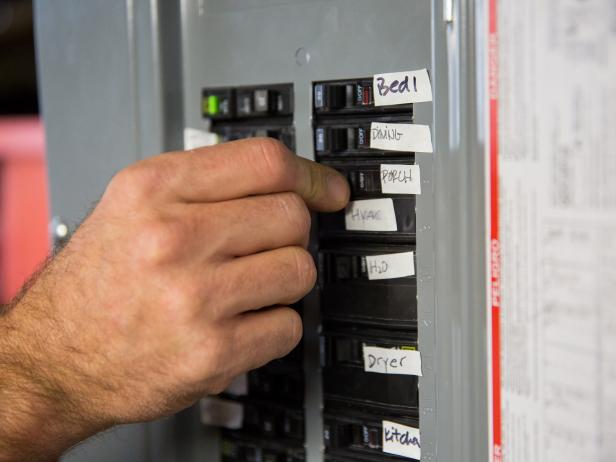
Turn off the power to your light fixture at the source. Locate the appropriate breaker and switch it to off. You’ll make sure the current is not flowing once you detach the light fixture and expose the wires.
Jalynn Baker
Detach the Light
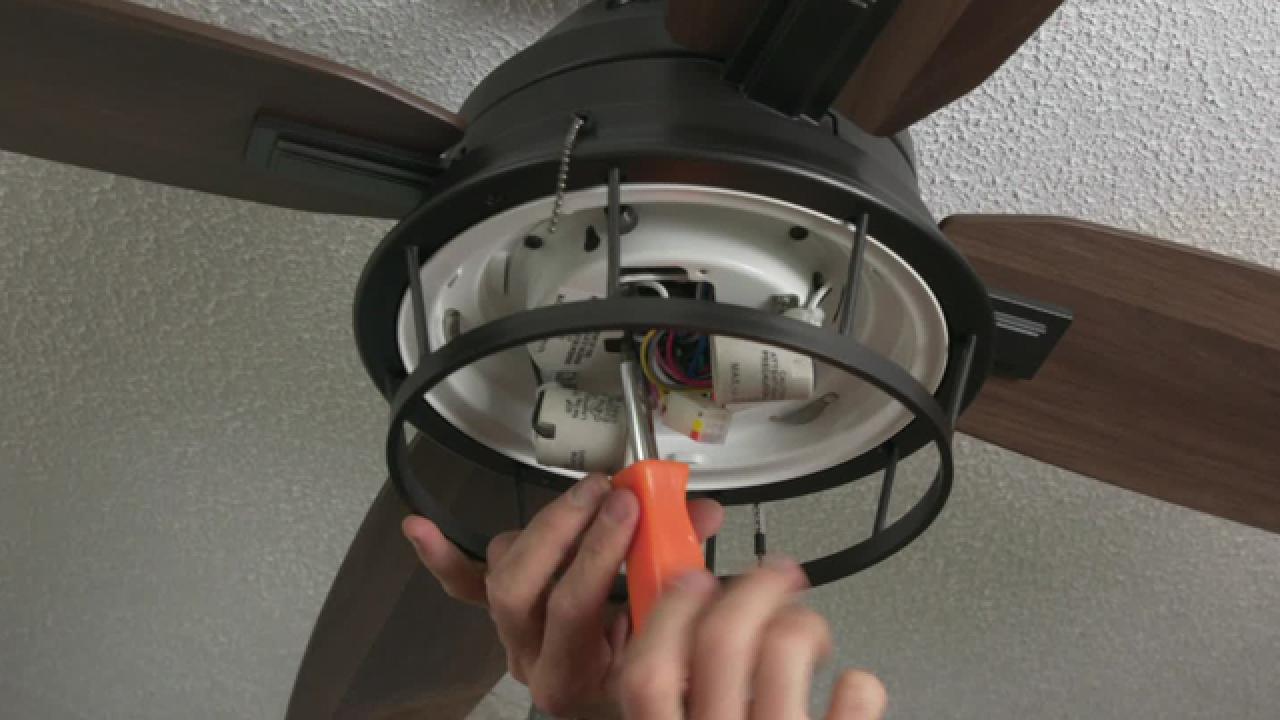
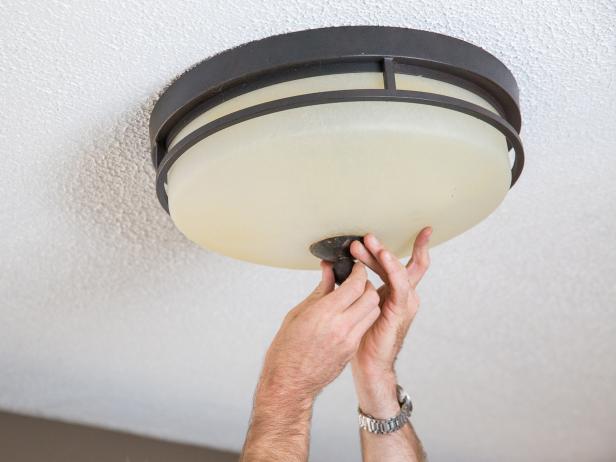
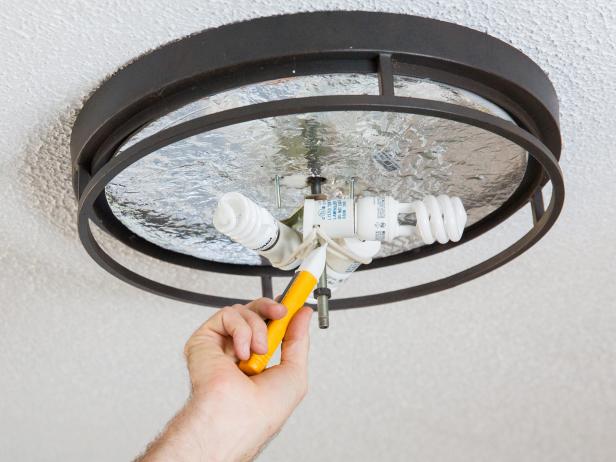
Determine how your light is attached to the electrical box. Most will be secured with decorative nuts and mounting brackets. Use pliers to unscrew and detach your light fixture from the ceiling (Image 1). Now’s a good time to make sure there’s no electricity in those wires. Use a current tester to make sure that you’ve properly shut the power off at the source (Image 2).
Jalynn Baker
Jalynn Baker
Remove the Light
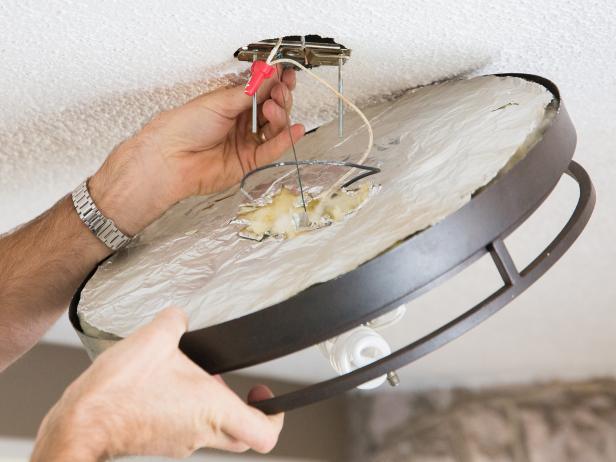
Holding your light fixture, disconnect each of the electrical connections by unscrewing the wire nuts. Make sure not to let your light fixture drop to the ground as you disconnect each of the wires. You should be left with at least a hot (black) wire and a neutral (white) wire in your electrical box. Your electrical box may have a ground (copper) wire as well. If it doesn’t, it’s safe to assume your electrical box is grounded.
Jalynn Baker
Remove the Electrical Box
The electrical box for your light fixture wasn’t designed to support the weight and movement of a fan. You’ll need to remove the old electrical box and replace it with one rated for fan installation. The light fixture electrical box is probably attached to a ceiling joist using nails or screws. The easiest way to detach the box is to cut through the nails or screws using an oscillating tool. Use safety glasses whenever cutting anything. Being careful not to damage your drywall or your electrical wires, cut through the hardware attaching your electrical box to the ceiling joist. Once the box is detached, carefully remove it from the hole in the ceiling, leaving the electrical wires behind.
Fortify the Connection
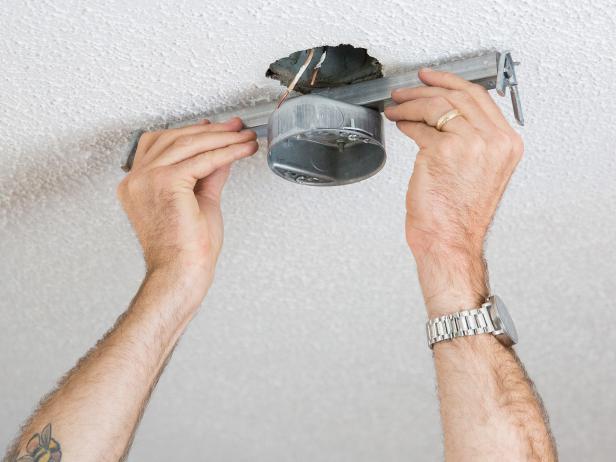
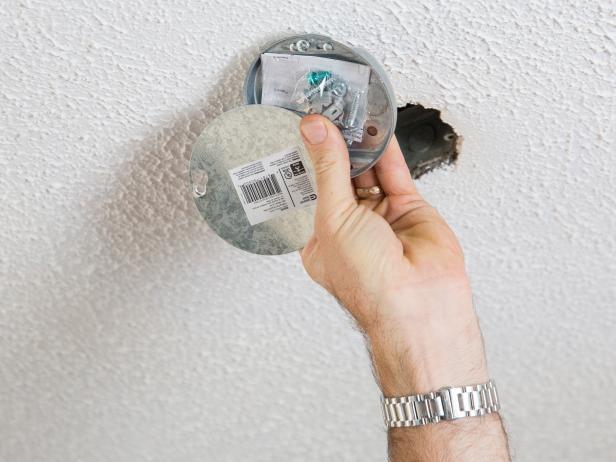
You’ll want to replace the light fixture box with something that will support your fan safely. A retrofit ceiling fan box and brace can be purchased at most hardware stores (Image 1). This box attaches to a brace that fits between two ceiling joists. Insert the brace into the hole in your ceiling and adjust it until it’s securely situated between the two ceiling joists. Using the hardware provided, attach the electrical box to the base using your screwdriver. The electrical box will have a punch-out hole for your electrical wire to pass through. If your mounting bracket doesn’t have a cable connector, used for securing your wire in the box, you may need to purchase one separately. Pass your electrical wire through the punch-out hole and secure it with the cable connector. Another option is a pancake box, which attaches directly to the ceiling joist (Image 2). In this case, we’re working with a concrete ceiling, so we’ll attach the fan directly to the existing box using the mounting bracket included with our fan.
Jalynn Baker
Jalynn Baker
Attach Your Fan
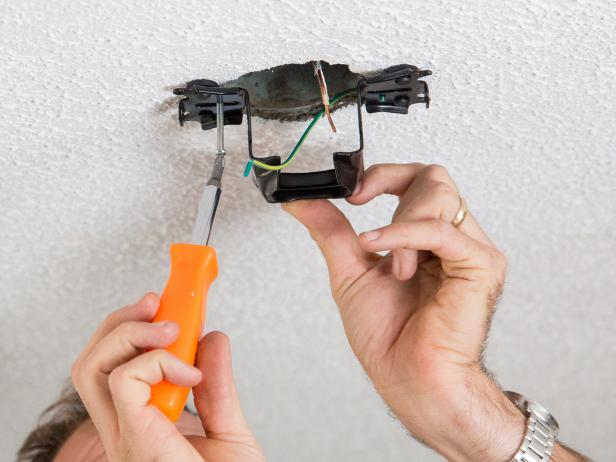
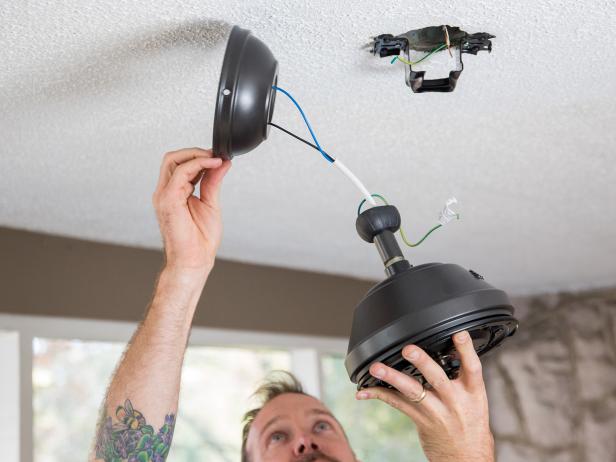
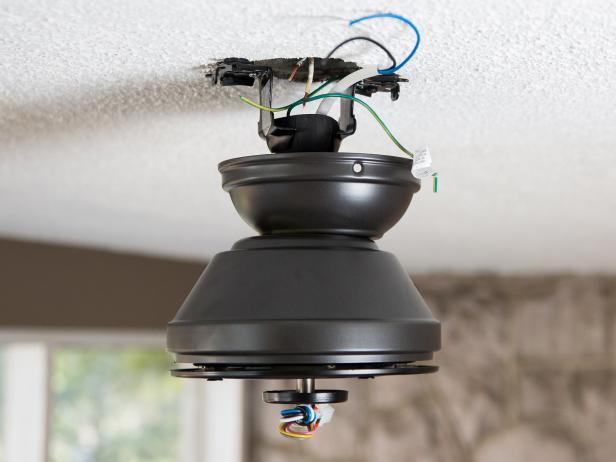
Your fan will be attached to the electrical box using a mounting bracket included with your fan purchase. The mounting bracket holds the ball and shaft of the fan in place while letting it wiggle slightly. Make sure your wires are out of the way and then use two screws to attach your mounting bracket to the electrical box (Image 1). Once your bracket is attached, you’re almost ready to slide your fan onto the bracket and wire it. First, you need to pass both the mounting rod and the wires through the fan canopy (Image 2). The canopy will sit against the ceiling and cover up your bracket and wiring. Don’t forget to pass everything through your canopy before wiring your fan, or you’ll have to take it all apart and redo it. Slide your fan’s mounting shaft and ball up and onto the bracket. This should hold your fan up in the air while you wire it (Image 3).
Jalynn Baker
Jalynn Baker
Jalynn Baker
Wire Your Fan
You’re now ready to wire your fan. Hopefully, your canopy is sitting low enough and out of the way so you can access all the wires in the box. If this isn’t the case, it’ll be a little tricky because you’ll need to hold your fan up while attaching the wires together. You may need an extra set of hands to hold your fan while you wire it, if this is your first time installing a fan. Once you’re confident that your fan will stay up in the air while you work, you’re ready to continue.
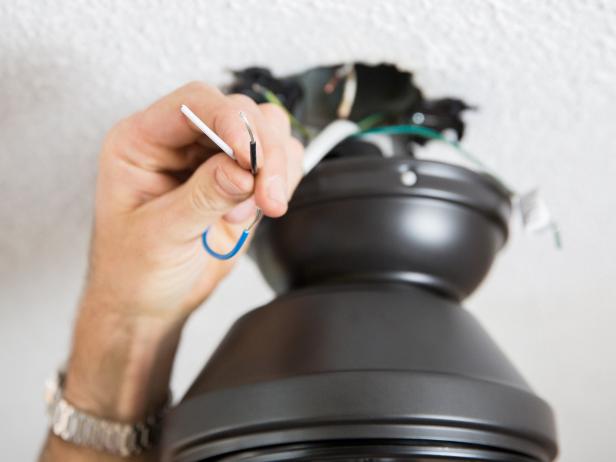
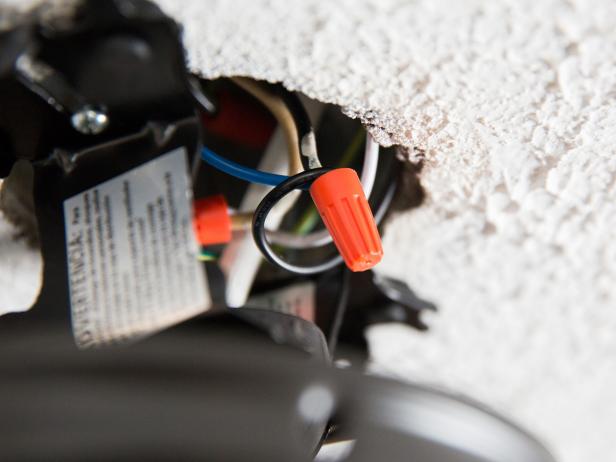
You’ll first need to make sure that each of the electrical wires, in both the fan and electrical box, is ready for a connection. Fan wires come extremely long, in case you need to install them using an extended down rod. Cut the wires to whatever length you need. Each wire should be stripped back about half an inch with a clean braided metal wire exposed (Image 1). Use your electrician’s pliers to cut and strip back any wires. Now you’ll wire your hot wires together, your neutral wires together and make sure your ground wire is properly connected. Place the two black (hot) wires side by side and twist them together using a wire nut (Image 2). Make sure your connection is tight and the wires aren’t going to come loose. Follow the same process with your white (neutral) wires, connecting them with a wire nut. Finally, connect any ground wires to the electrical box using the screw provided. Each wire should be stripped and twisted into a U shape that will fit snugly around the grounding screw. Place the U shape clockwise around the grounding screw and tighten with a screwdriver. Pro tip: Before going any further, put a light bulb into your fan and have someone turn the power on at the breaker. Make sure you’ve wired your fan correctly by turning the light on and off. Once you’re satisfied, turn the power off again and move on to the next step.
Jalynn Baker
Jalynn Baker
Add the Finishing Touches
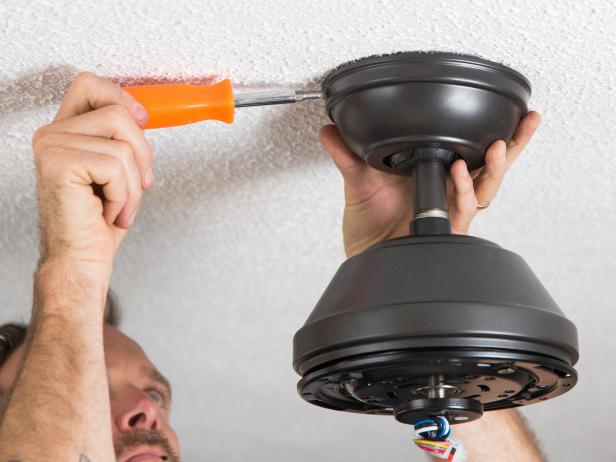
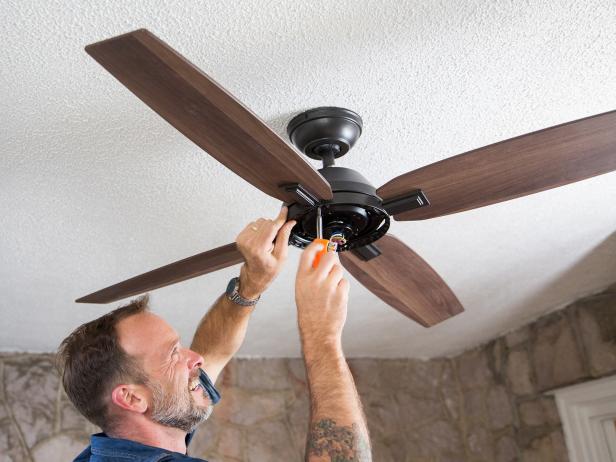
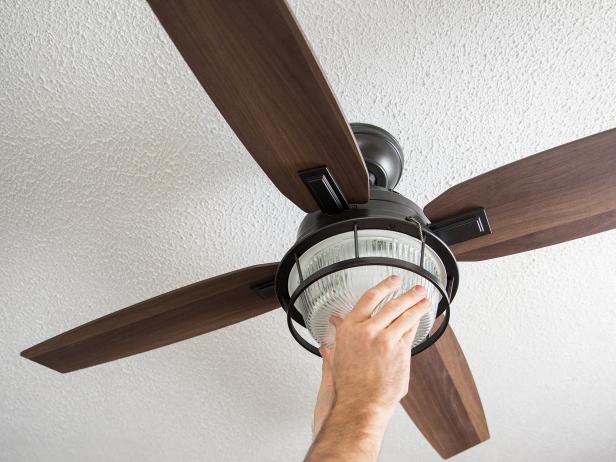
Complete your fan installation by attaching the canopy to the mounting bracket and then attaching the fan blades. The canopy attaches to the mounting bracket using a small screw or two. Attach the canopy using the hardware provided and a screwdriver (Image 1). Next, you need to attach the fan blades. This can be a little tricky if it’s your first time installing a fan. The blades need to be held in the air while you screw them into place at the fan motor (Image 2). If you need to, get help holding the blades while you attach them. Finally, screw in light bulbs and install any globe or glass that’s included with your fan (Image 3).
Jalynn Baker
Jalynn Baker
Jalynn Baker
Test the Fan
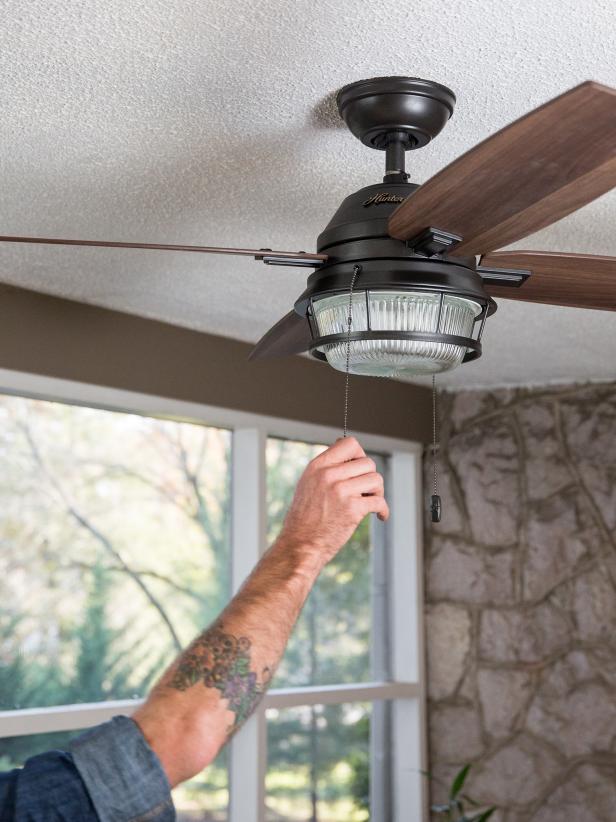
Turn your power back on at the breaker and give your fan a test drive. It should work without wobbling or making noise. If your fan wobbles too much or makes a terrible noise, you may need to tighten your fan blades. Once everything is working properly, you’re ready to stand back and admire your handiwork.
Jalynn Baker


