


How to Remove a Garbage Disposal
Removing a garbage disposal may seem intimidating, but it's a deceptively easy DIY job.

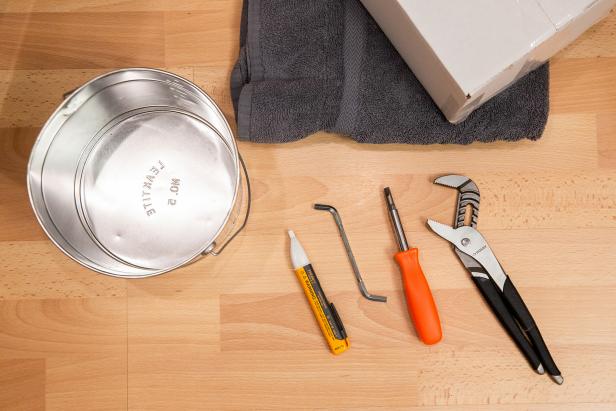
Materials and Tools:
- small bucket
- towel
- cardboard box
- hex key (Allen wrench)
- large screwdriver
- tongue-and-groove pliers
- voltage/current detector pen
Before Getting Started
Make sure your disposal is unplugged. Locate the switch in your breaker box dedicated to your disposal, and switch it to off. If you're not certain it's disconnected, place a voltage detector pen on the disposal's wire. If it lights up, the wire is still hot. Go back to the breaker box to turn off the correct switch. Do not start until you are certain the power has been disconnected.

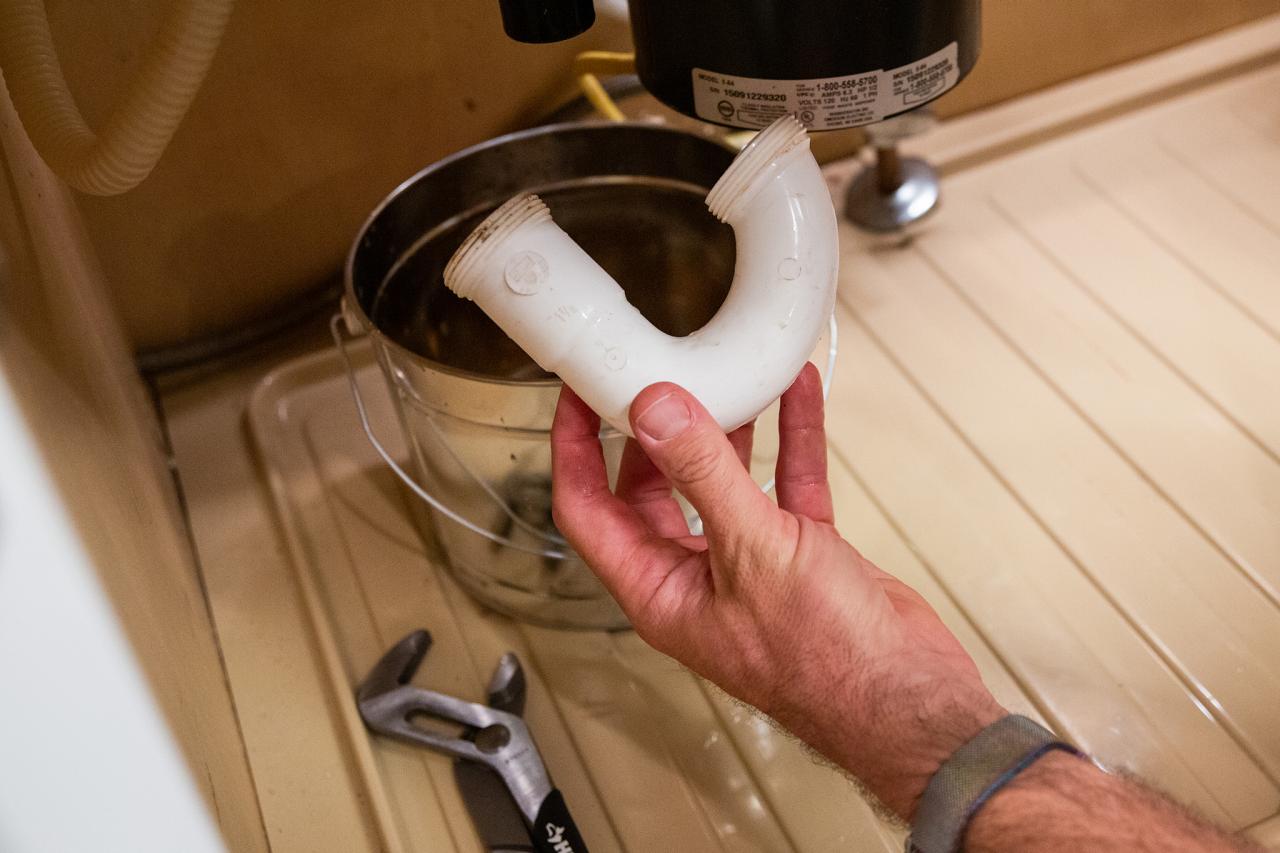
Remove the Drain Pipe
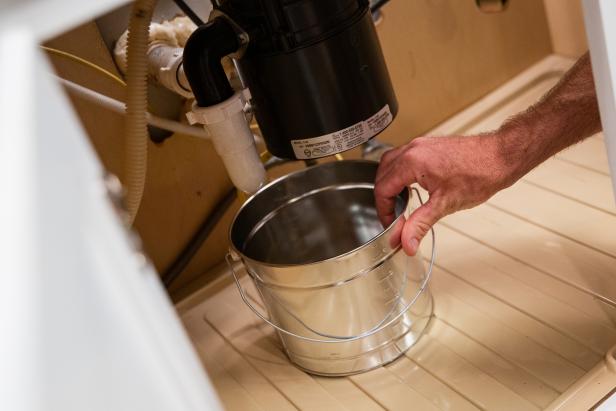
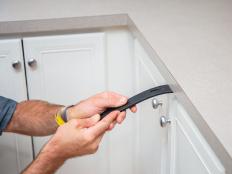
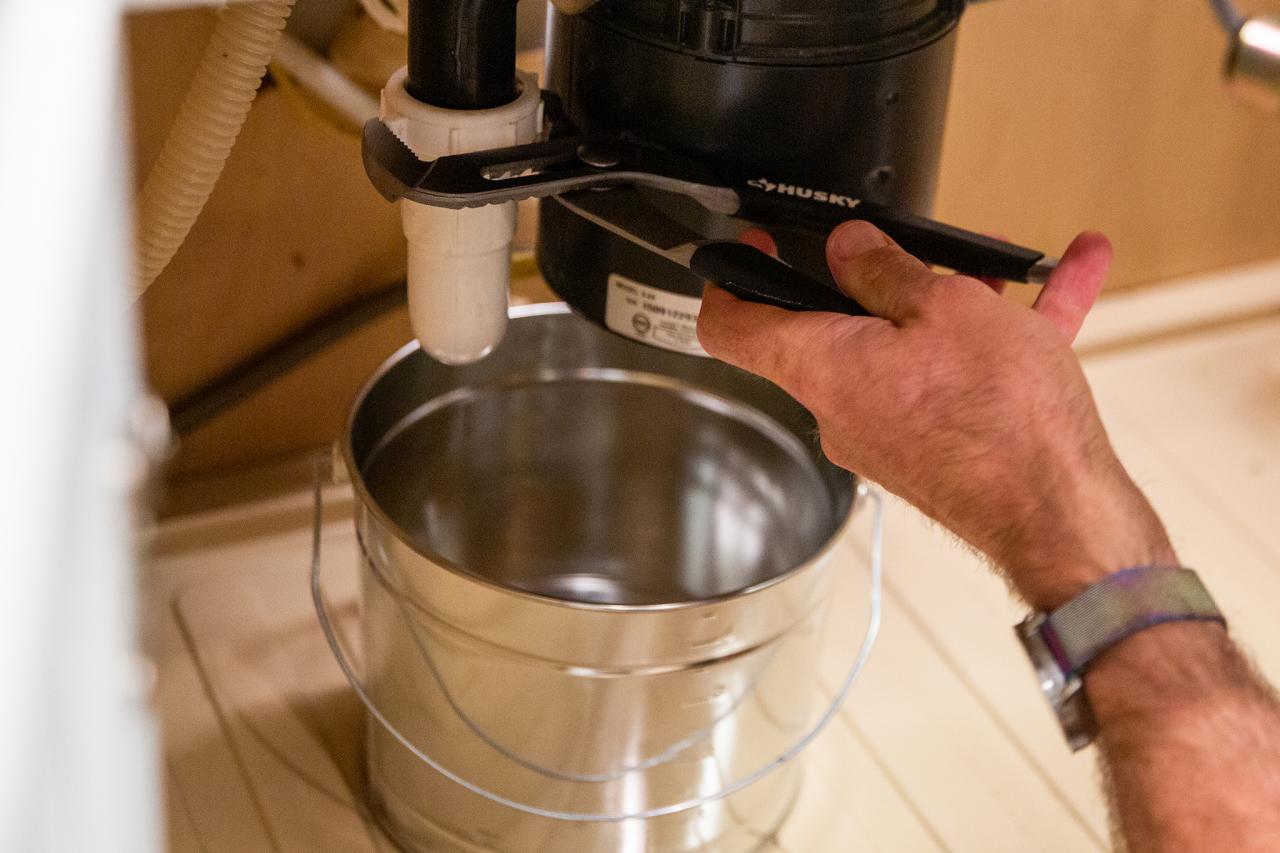
It is unlikely there is much water in the drain pipe, but place a bucket and a towel underneath the connection between the disposal and drain pipe just in case (Image 1). The drain pipe is approximately two inches in diameter. Locate the pipe, and turn the connector counterclockwise. You may need to use pliers to turn it (Images 2 and 3). Be careful not to bend or crack the plastic fitting.


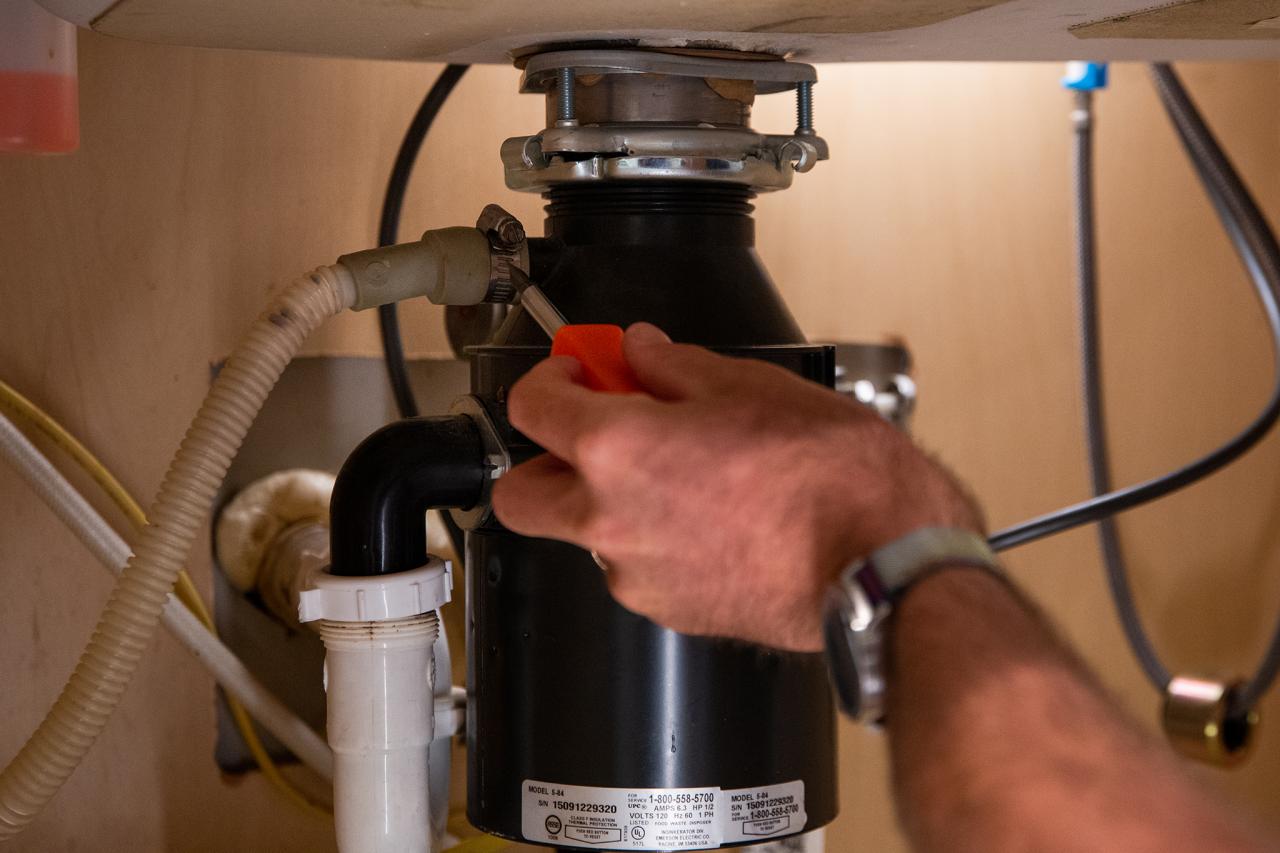
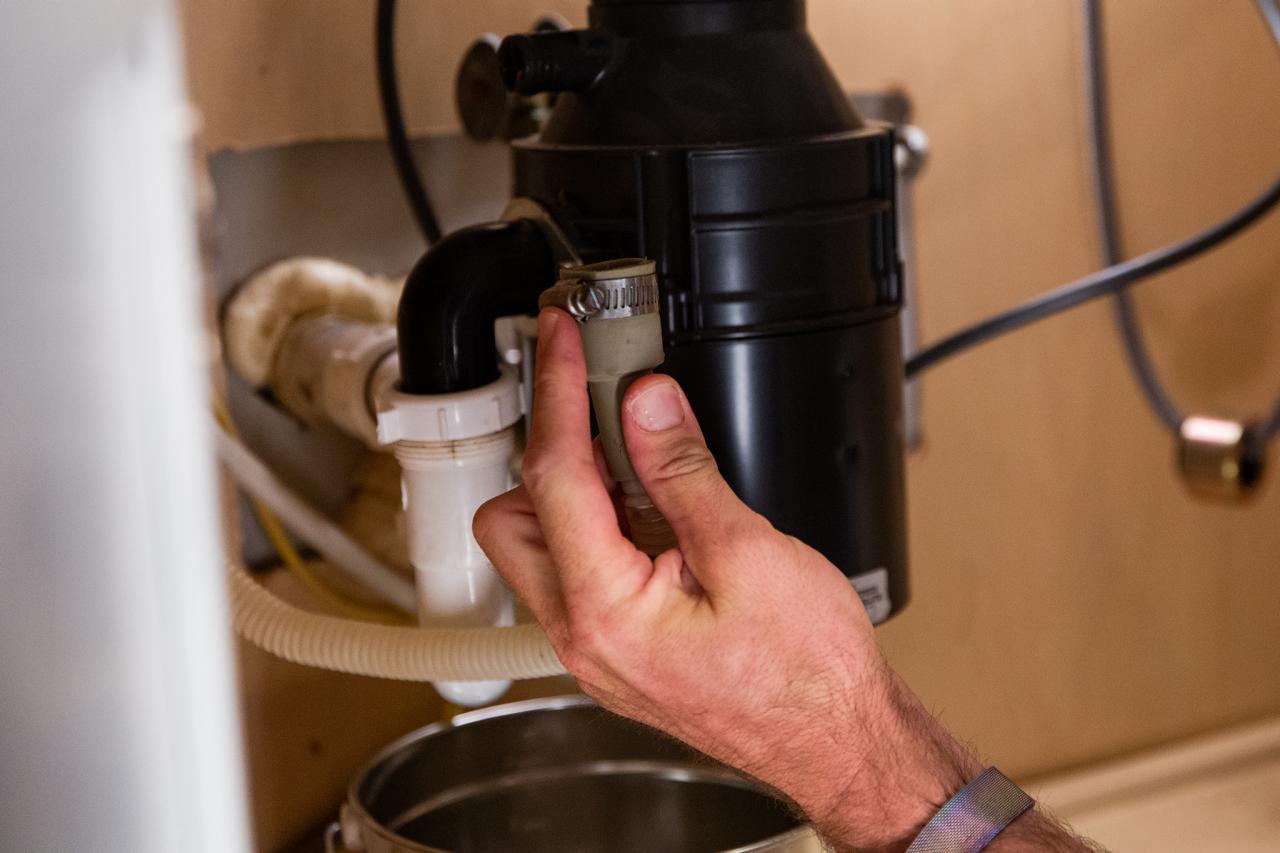
Remove the Dishwasher Hose
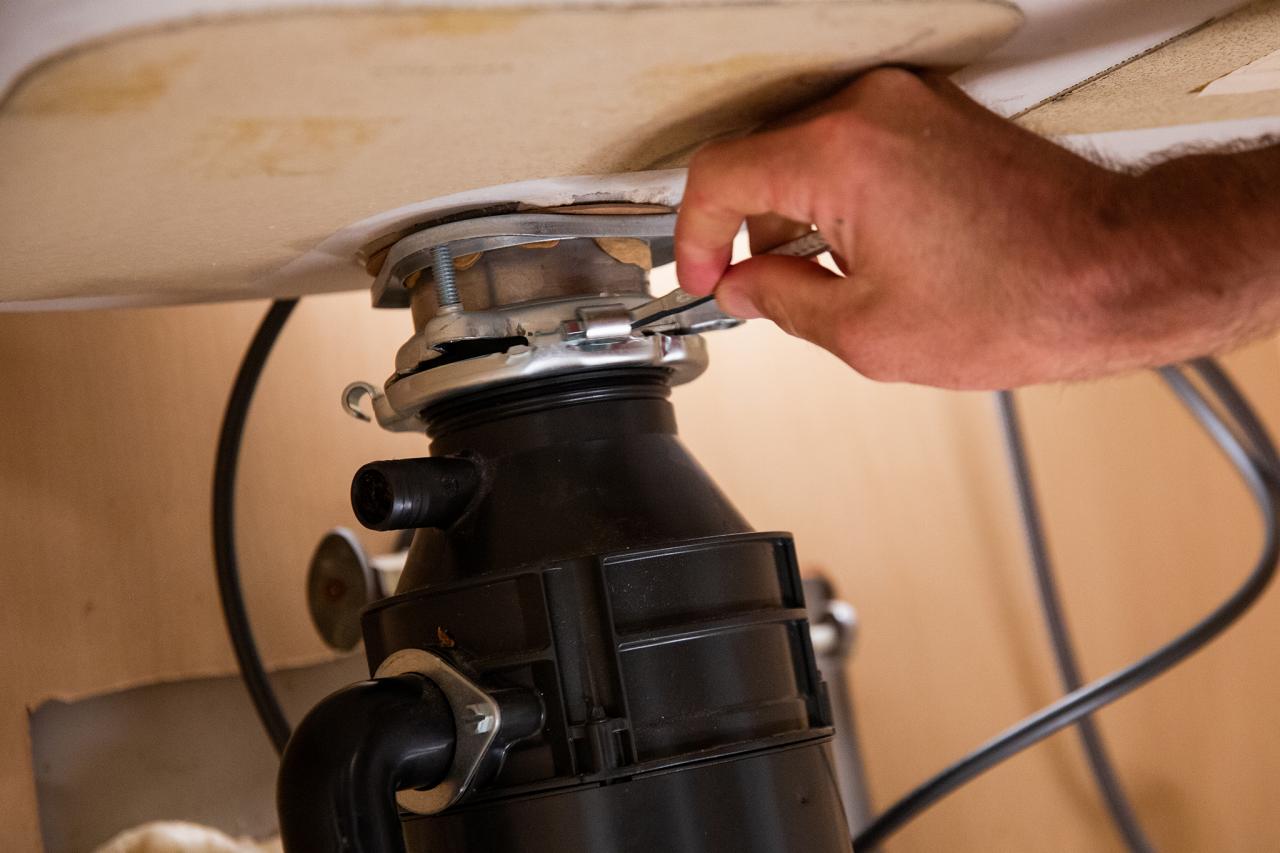
If you have a dishwasher, your disposal is connected to it with a one-inch hose. This hose is connected with a hose clamp. Using a screwdriver, loosen the hose clamp screw, and disconnect the hose from the disposal (Images 1 and 2). Place it in the bucket or towel in case of water drainage.


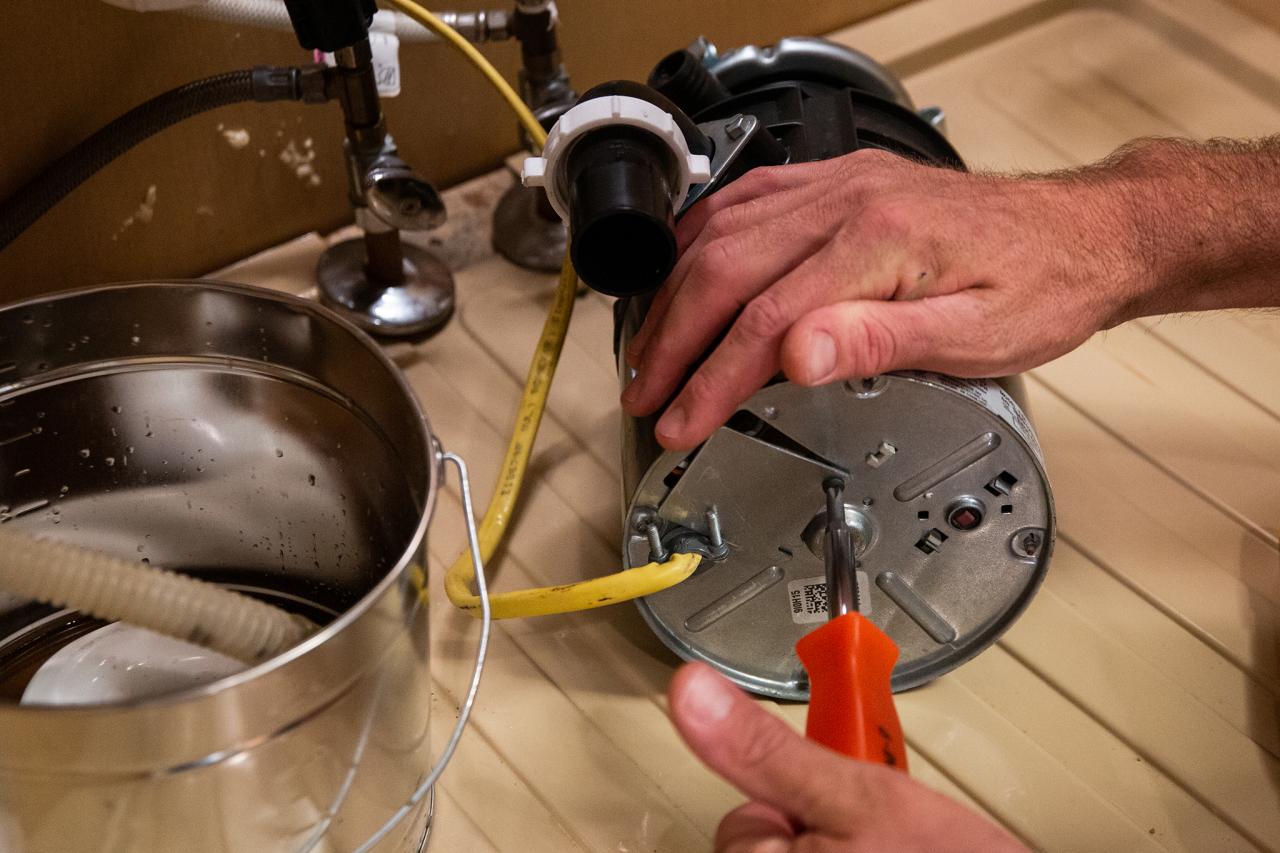
Remove the Disposal
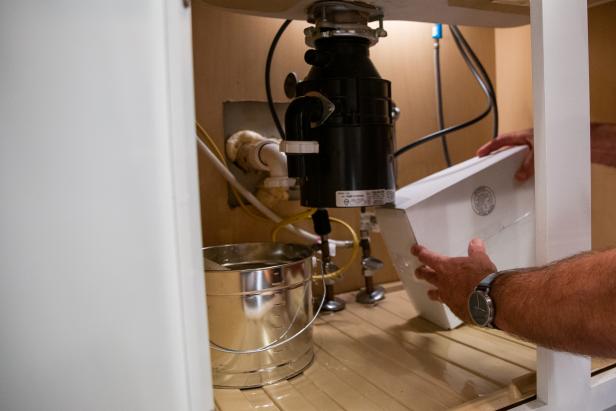
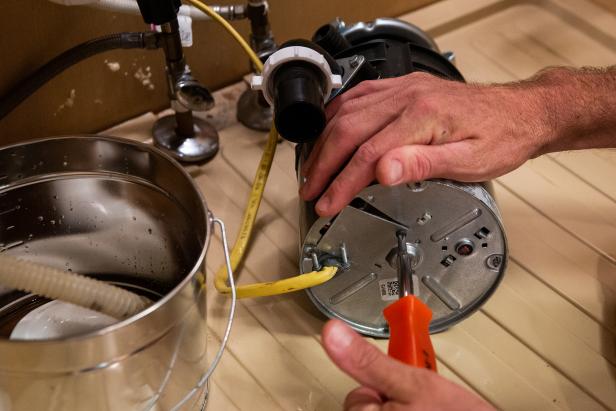
The disposal is heavy and will fall once it's disconnected. Place something like a cardboard box directly under the disposal to support it (Image 1). The disposal is connected to the sink drain with a mounting bracket. Insert a hex key or small screwdriver into one of the metal loops on the mounting bracket, and turn the attachment counterclockwise (Image 2). You may have to use some force to get it to move. The mounting bracket will begin to move down the slide ramp (Image 3). Once the mounting tabs are all the way down the ramp, the disposal will disconnect from the sink. Make sure it rests securely on the cardboard box before setting it down completely (Image 4).


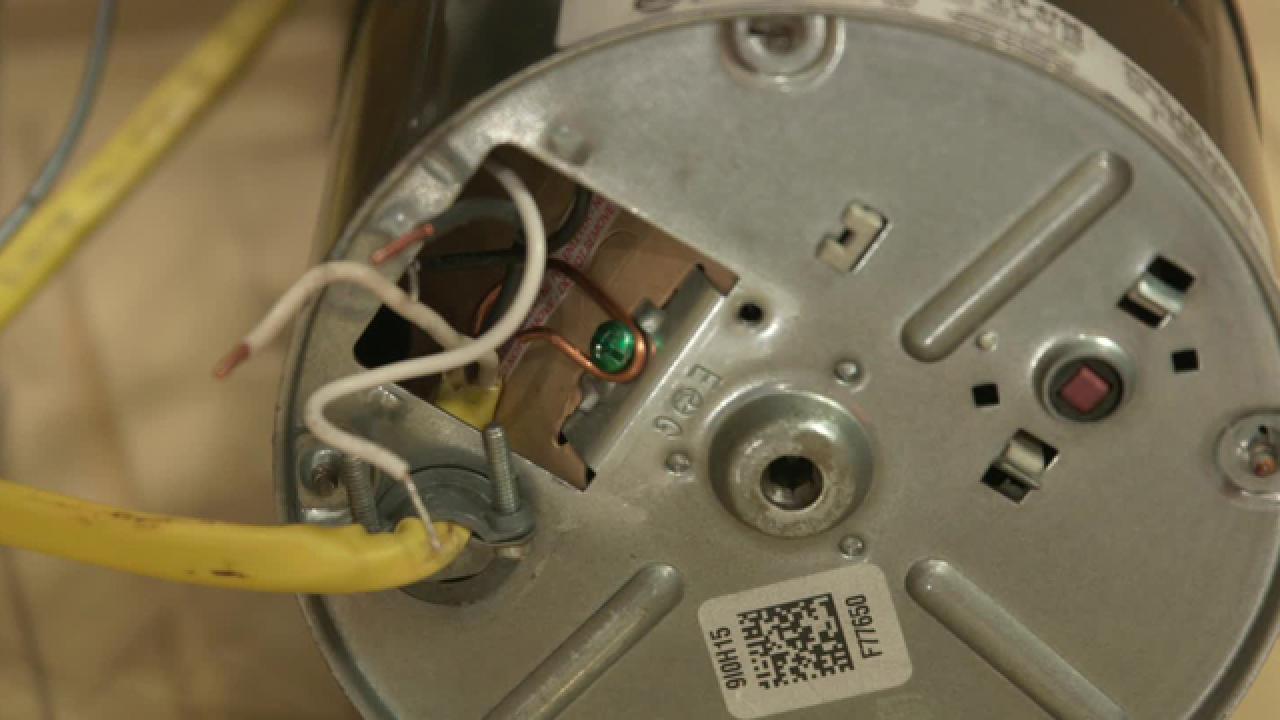
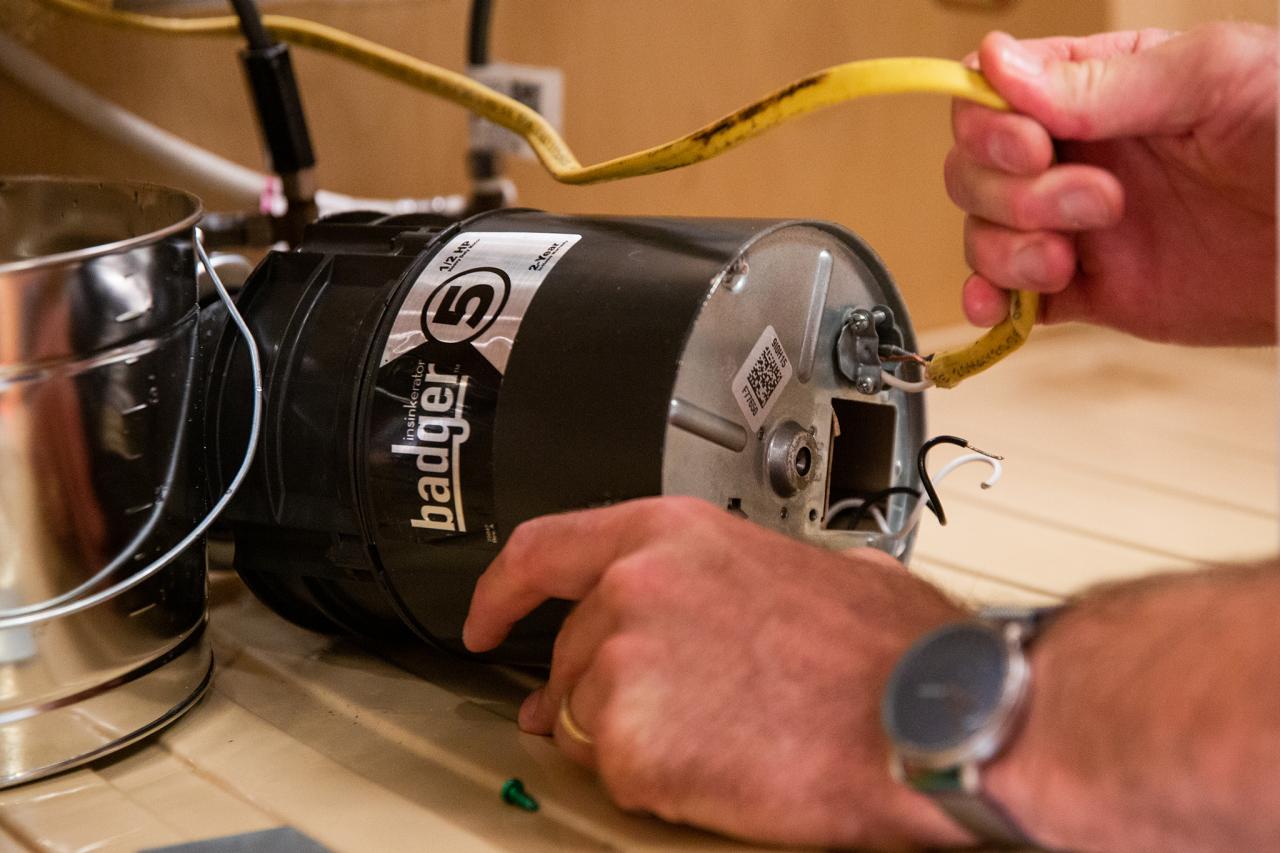
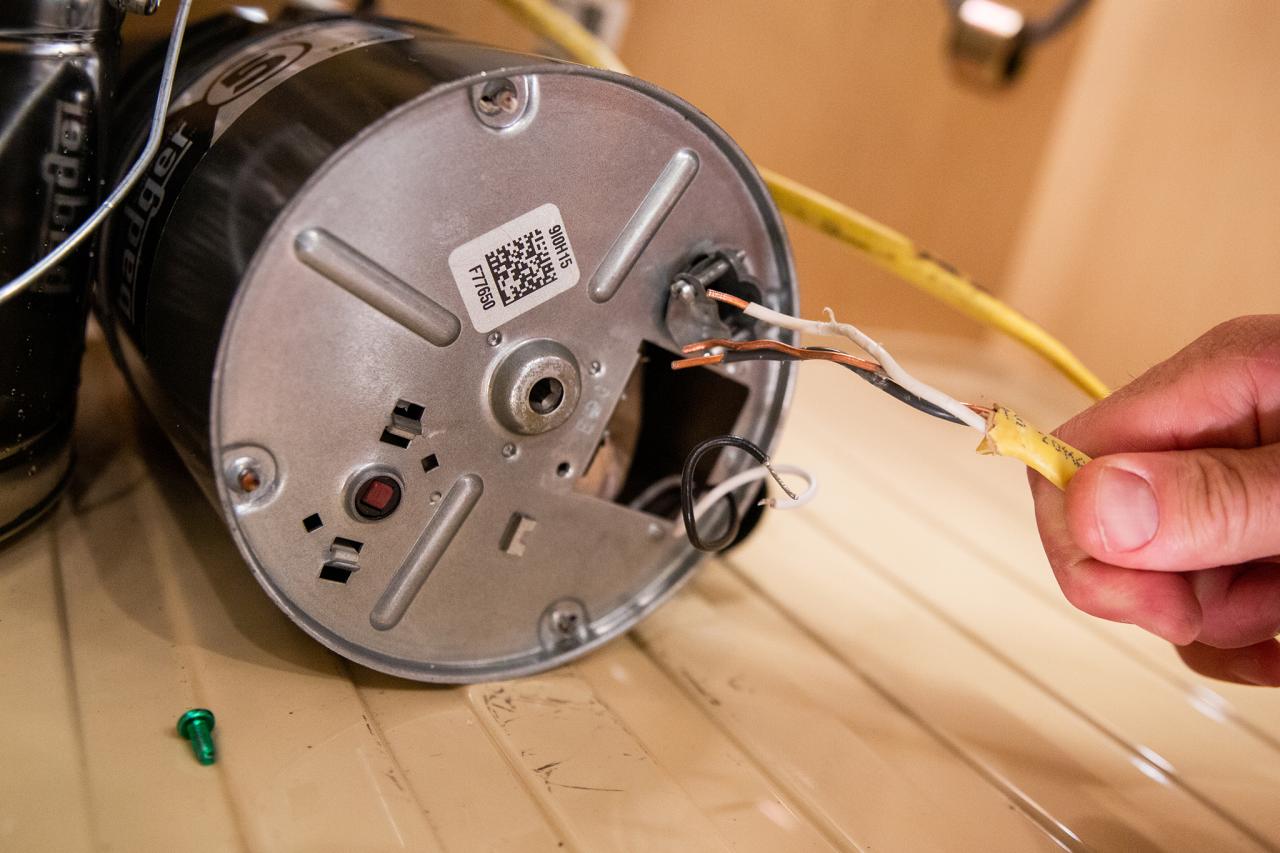
Disconnect the Power
Remove the cover plate with a screwdriver, and locate the wire nuts inside (Image 1). Unscrew each wire nut connector using your hand to disconnect power to the disposal. You may need to use a screwdriver to disconnect the copper ground wire by removing the screw attachment (Image 2). The strain relief holds all the wires inside the disposal. Remove it using a screwdriver (Image 3). Pull the wire out (Images 4 and 5). Your disposal is now disconnected.


Remove the Mounting Bracket (Optional)
If you plan to remove the disposal entirely and not replace it, you will need to remove the mounting bracket. Using your screwdriver, loosen the three screws attaching the mounting bracket to the sink drain. Once loose, remove it from underneath the sink. You will need new drain pipes to connect properly to your sink and dishwasher. Speak to a representative at your local hardware store for help picking the right one for your sink.


