


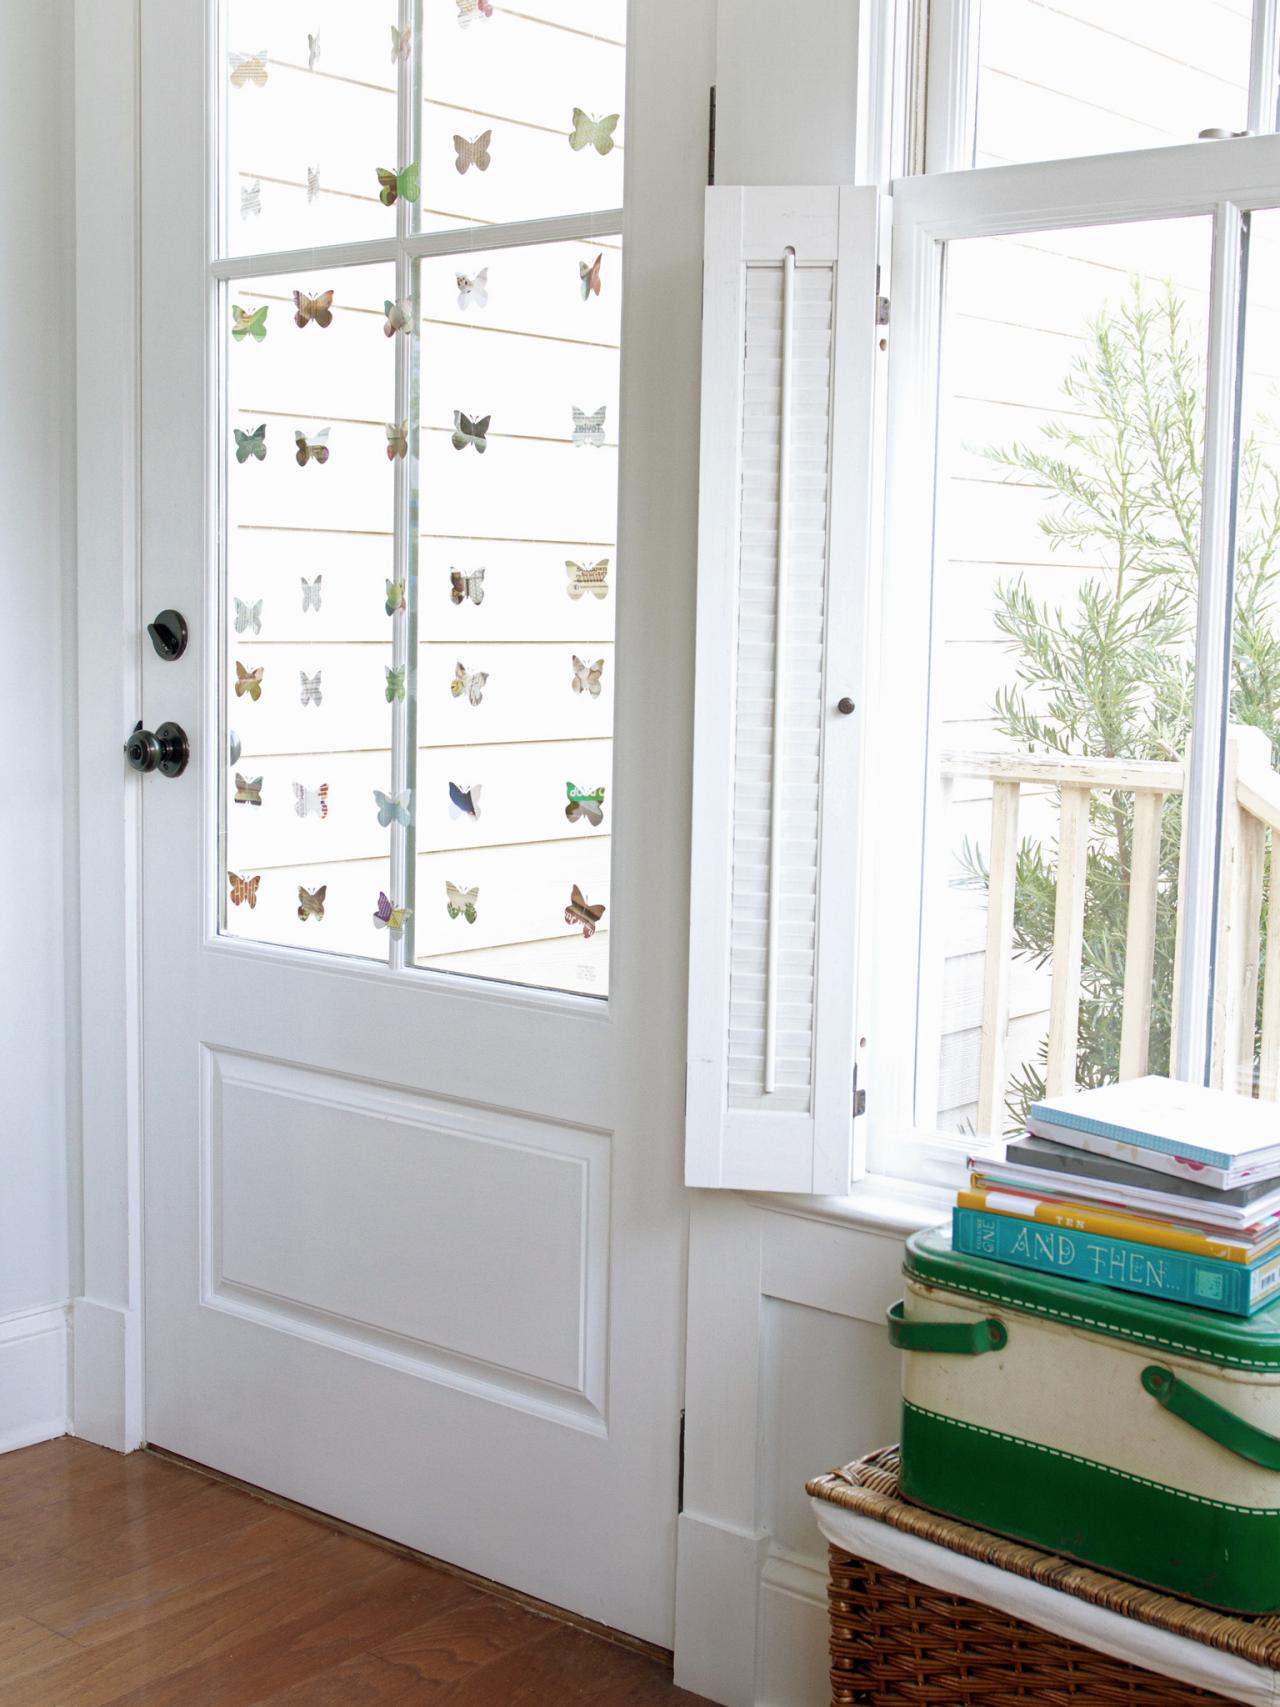
Kids' Craft: Butterfly Window Garland

Materials Needed:
- butterfly punch
- scissors
- large sheet of poster board that matches your window trim
- old magazines
- double-sided tape
- transparent tape
- fishing line
- measuring tape
- yardstick or straight edge
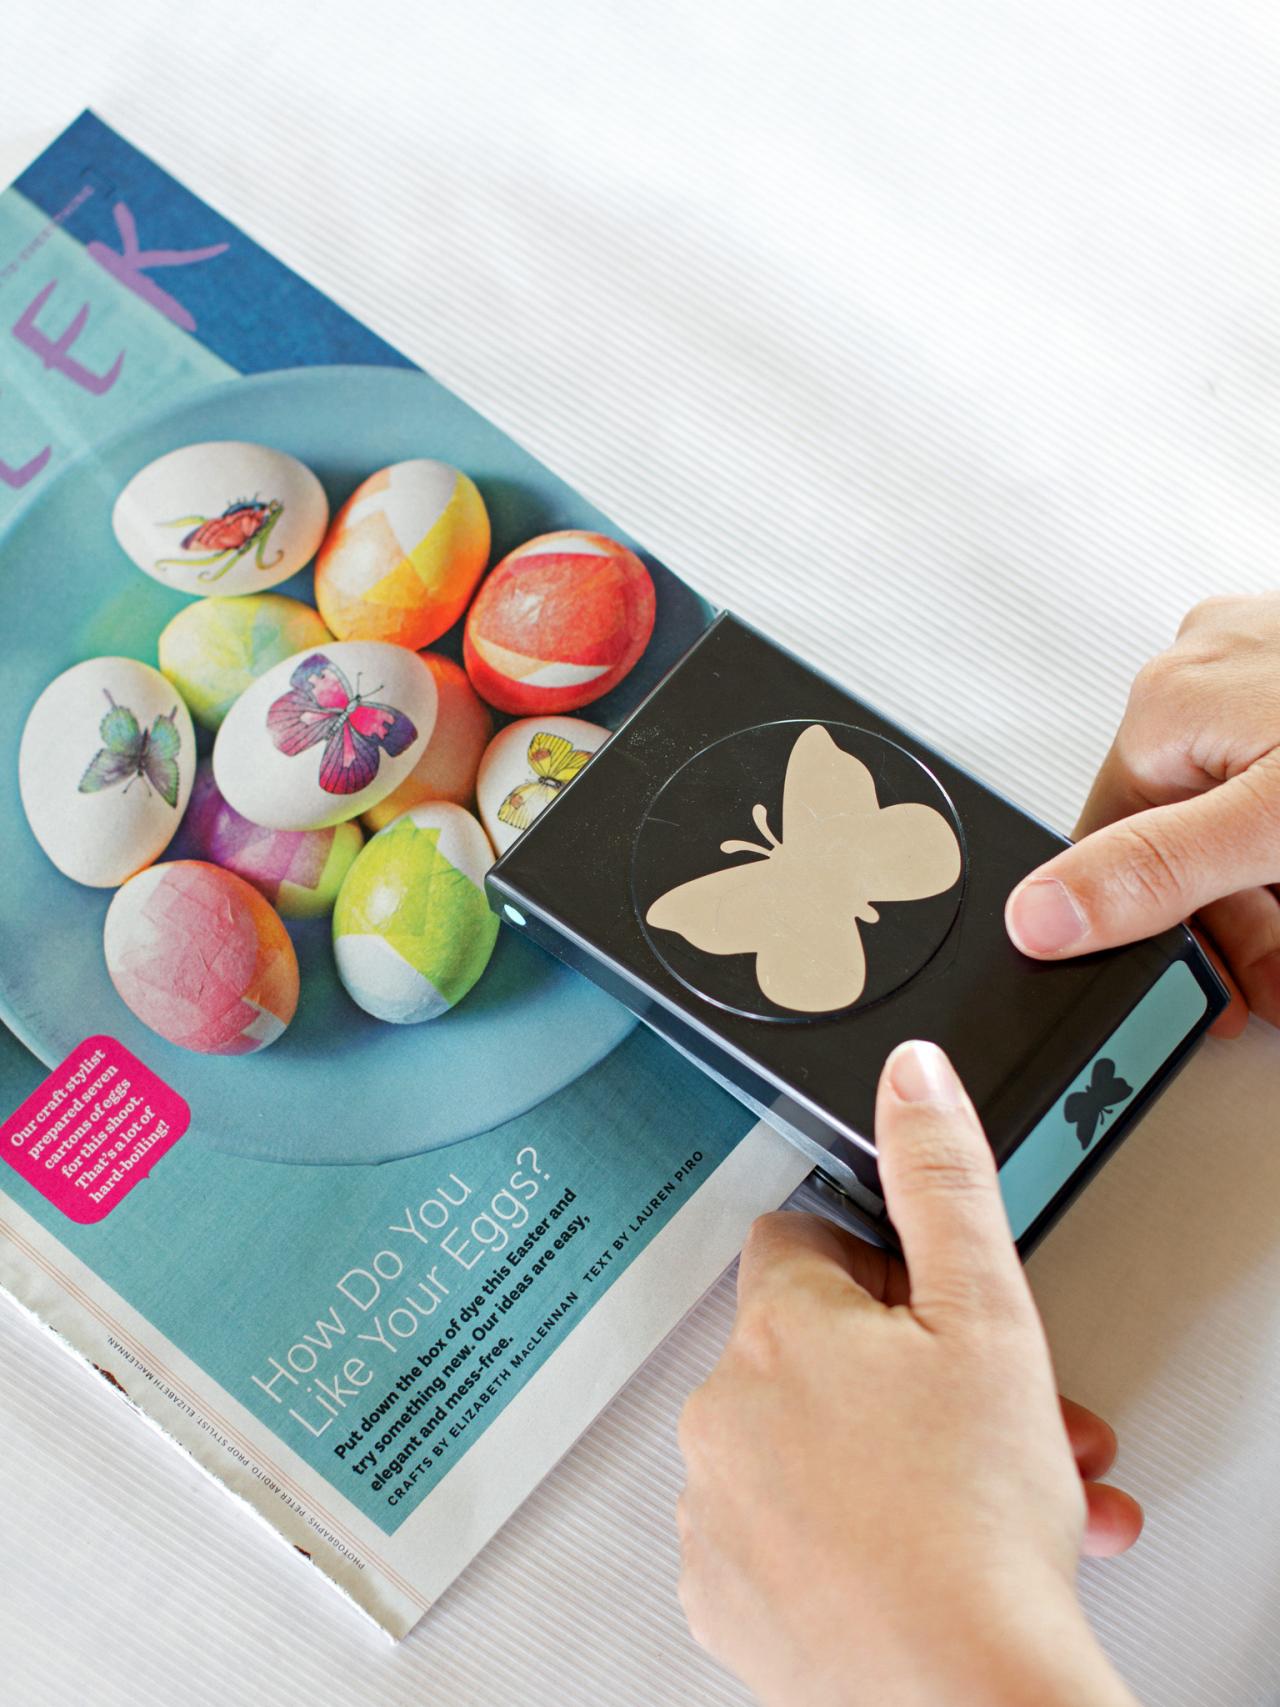
Punch Out Butterflies
Use a butterfly punch and old magazines to create several paper butterflies.

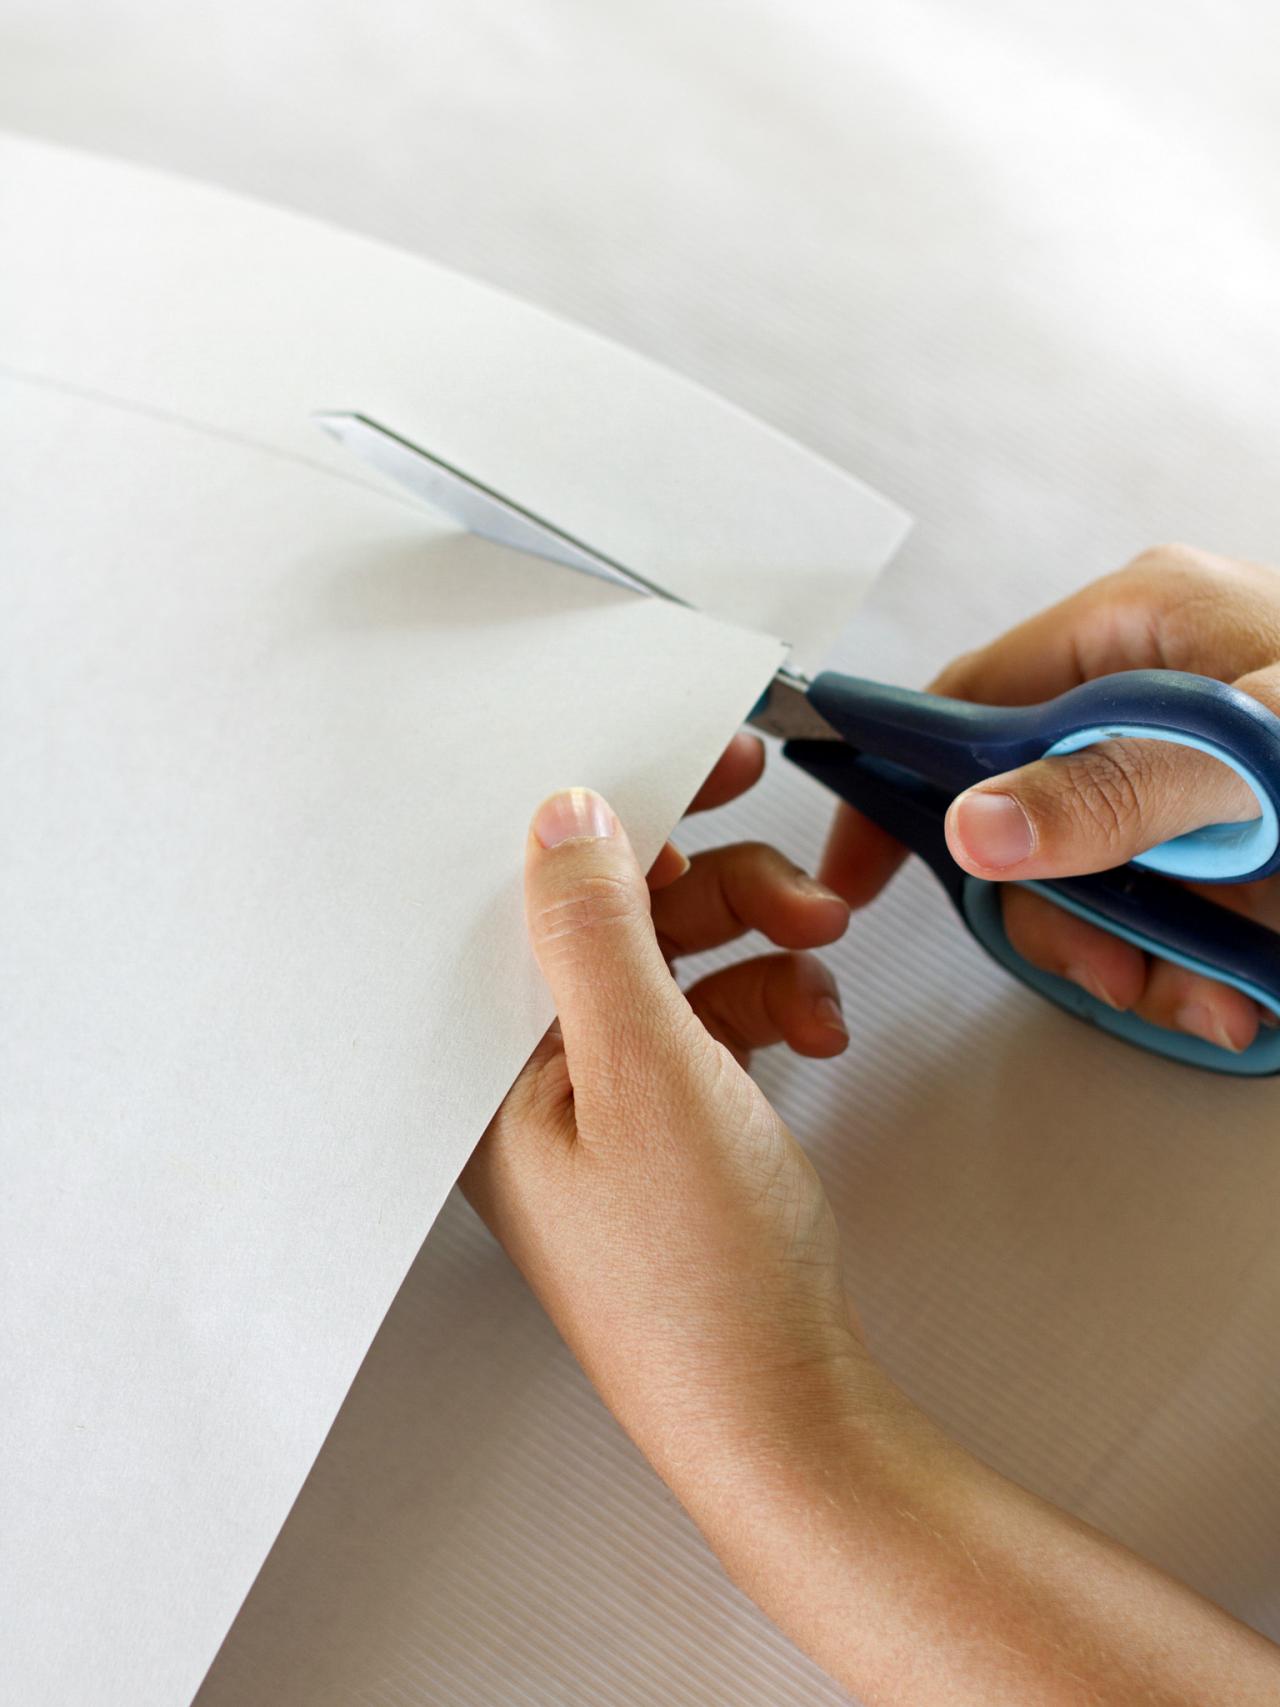
Cut Poster Board
To create a 2-inch "header" for the butterfly garland, use a straight edge to draw a line across the long side of a piece of poster board, then cut along the line all the way across the piece of poster board. (If your window measures wider than the length of a piece of poster board, you may need to use more than one paper header taped together.)

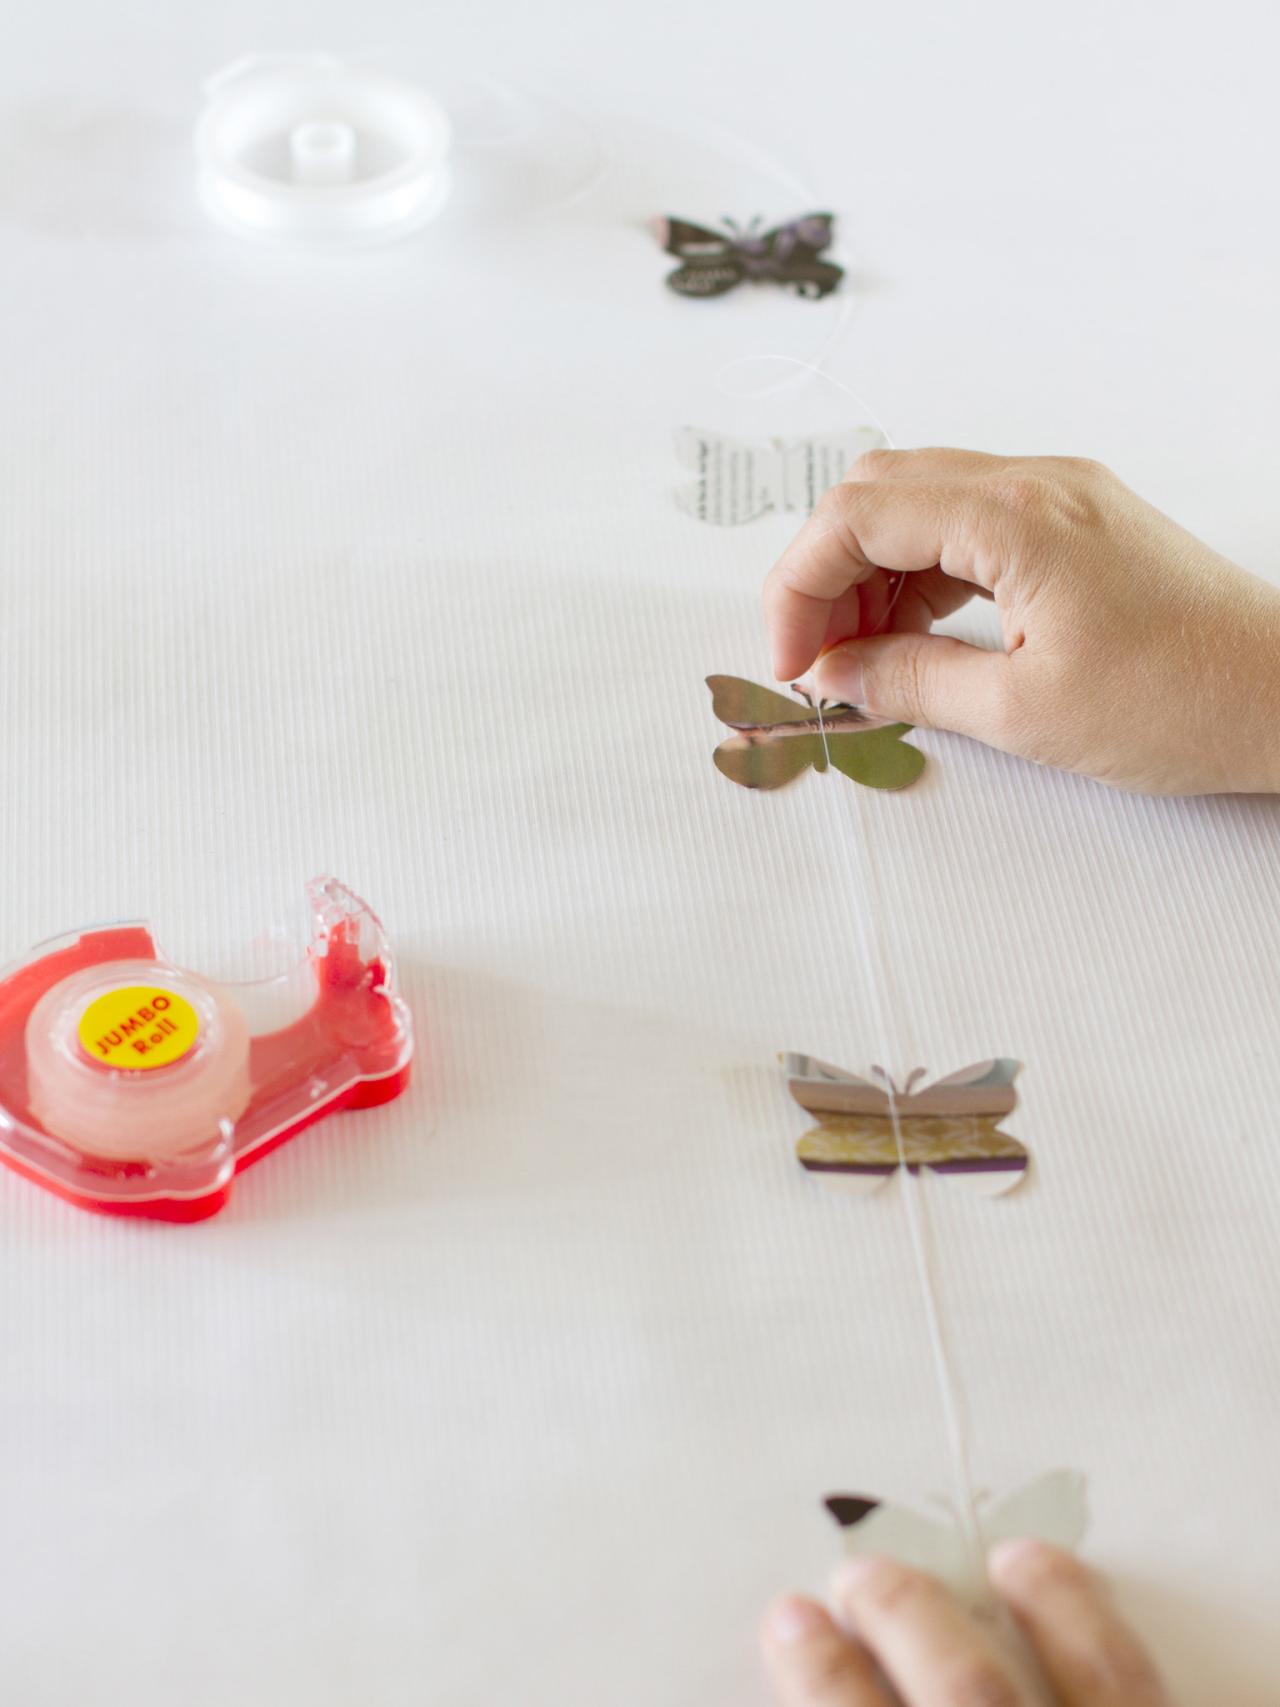
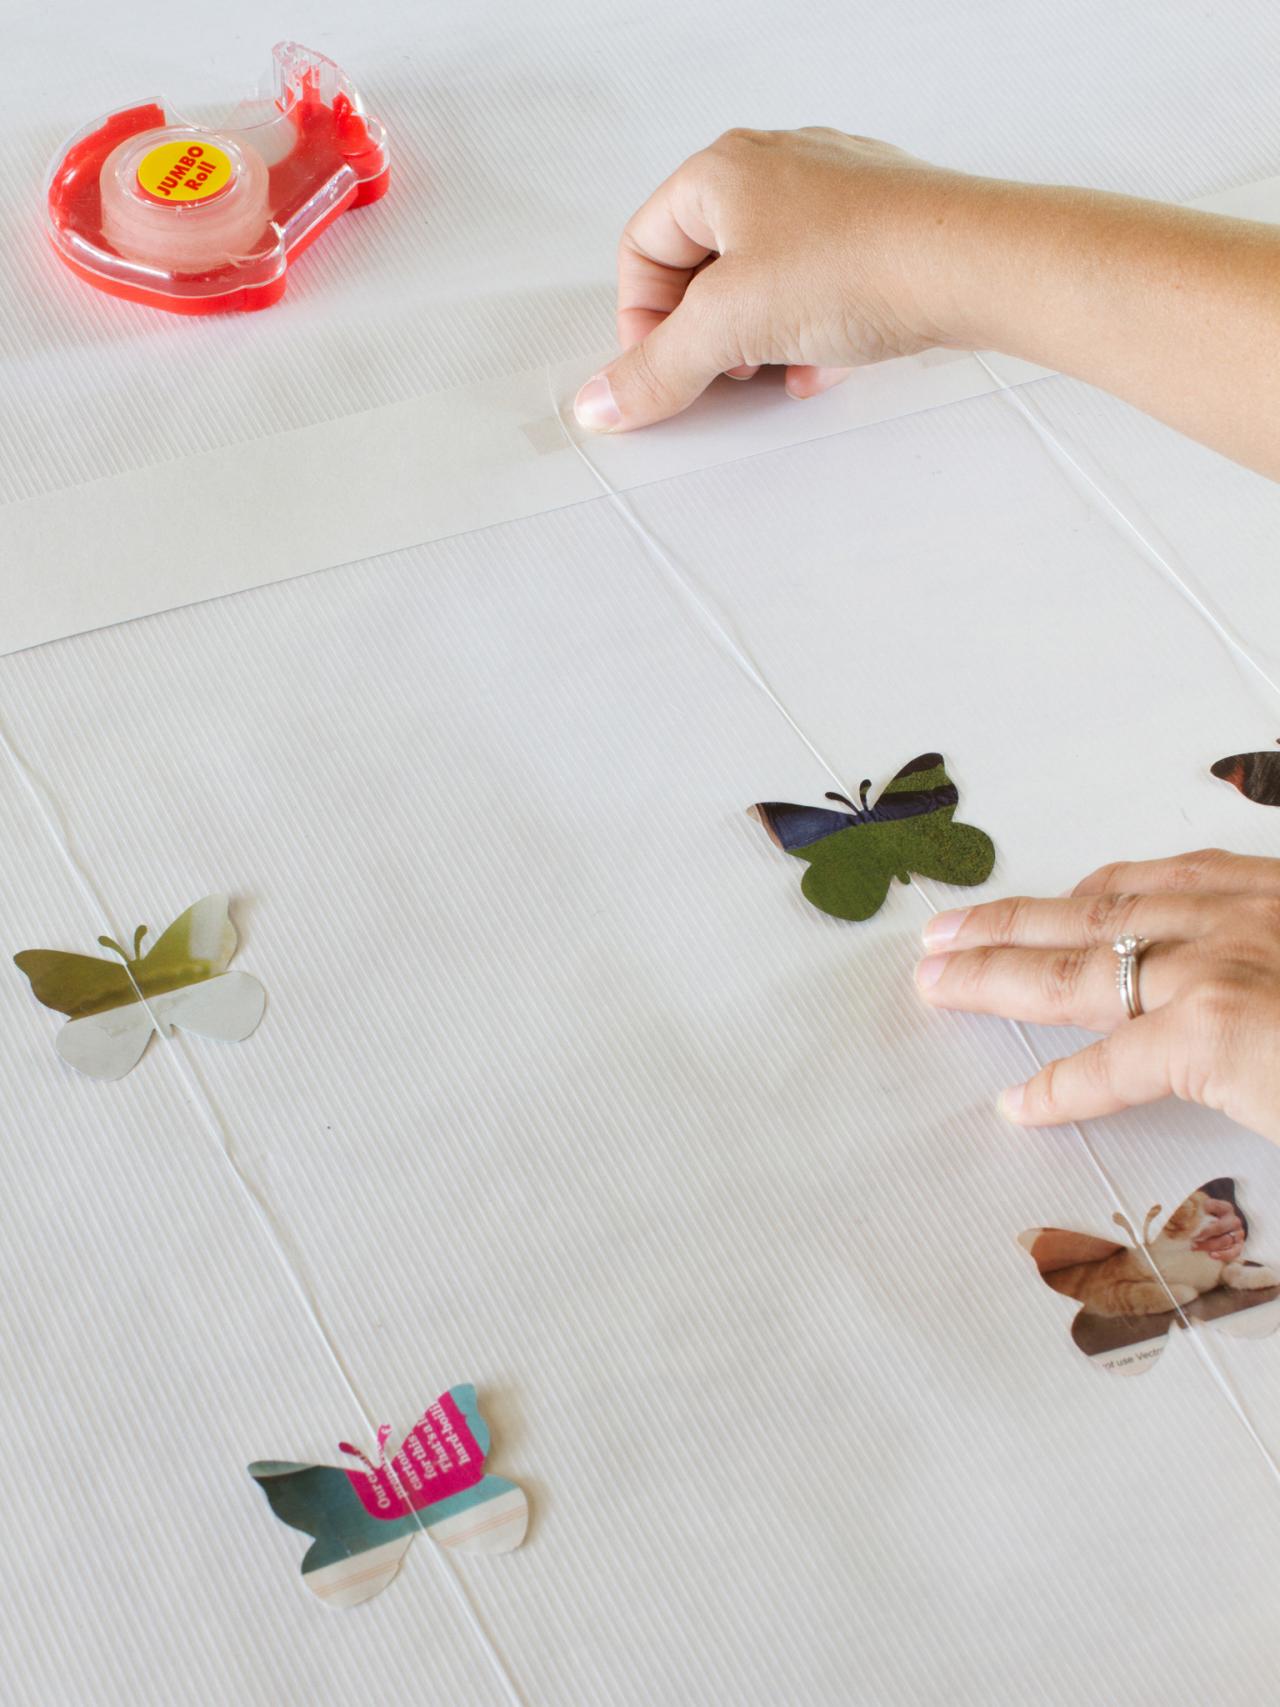
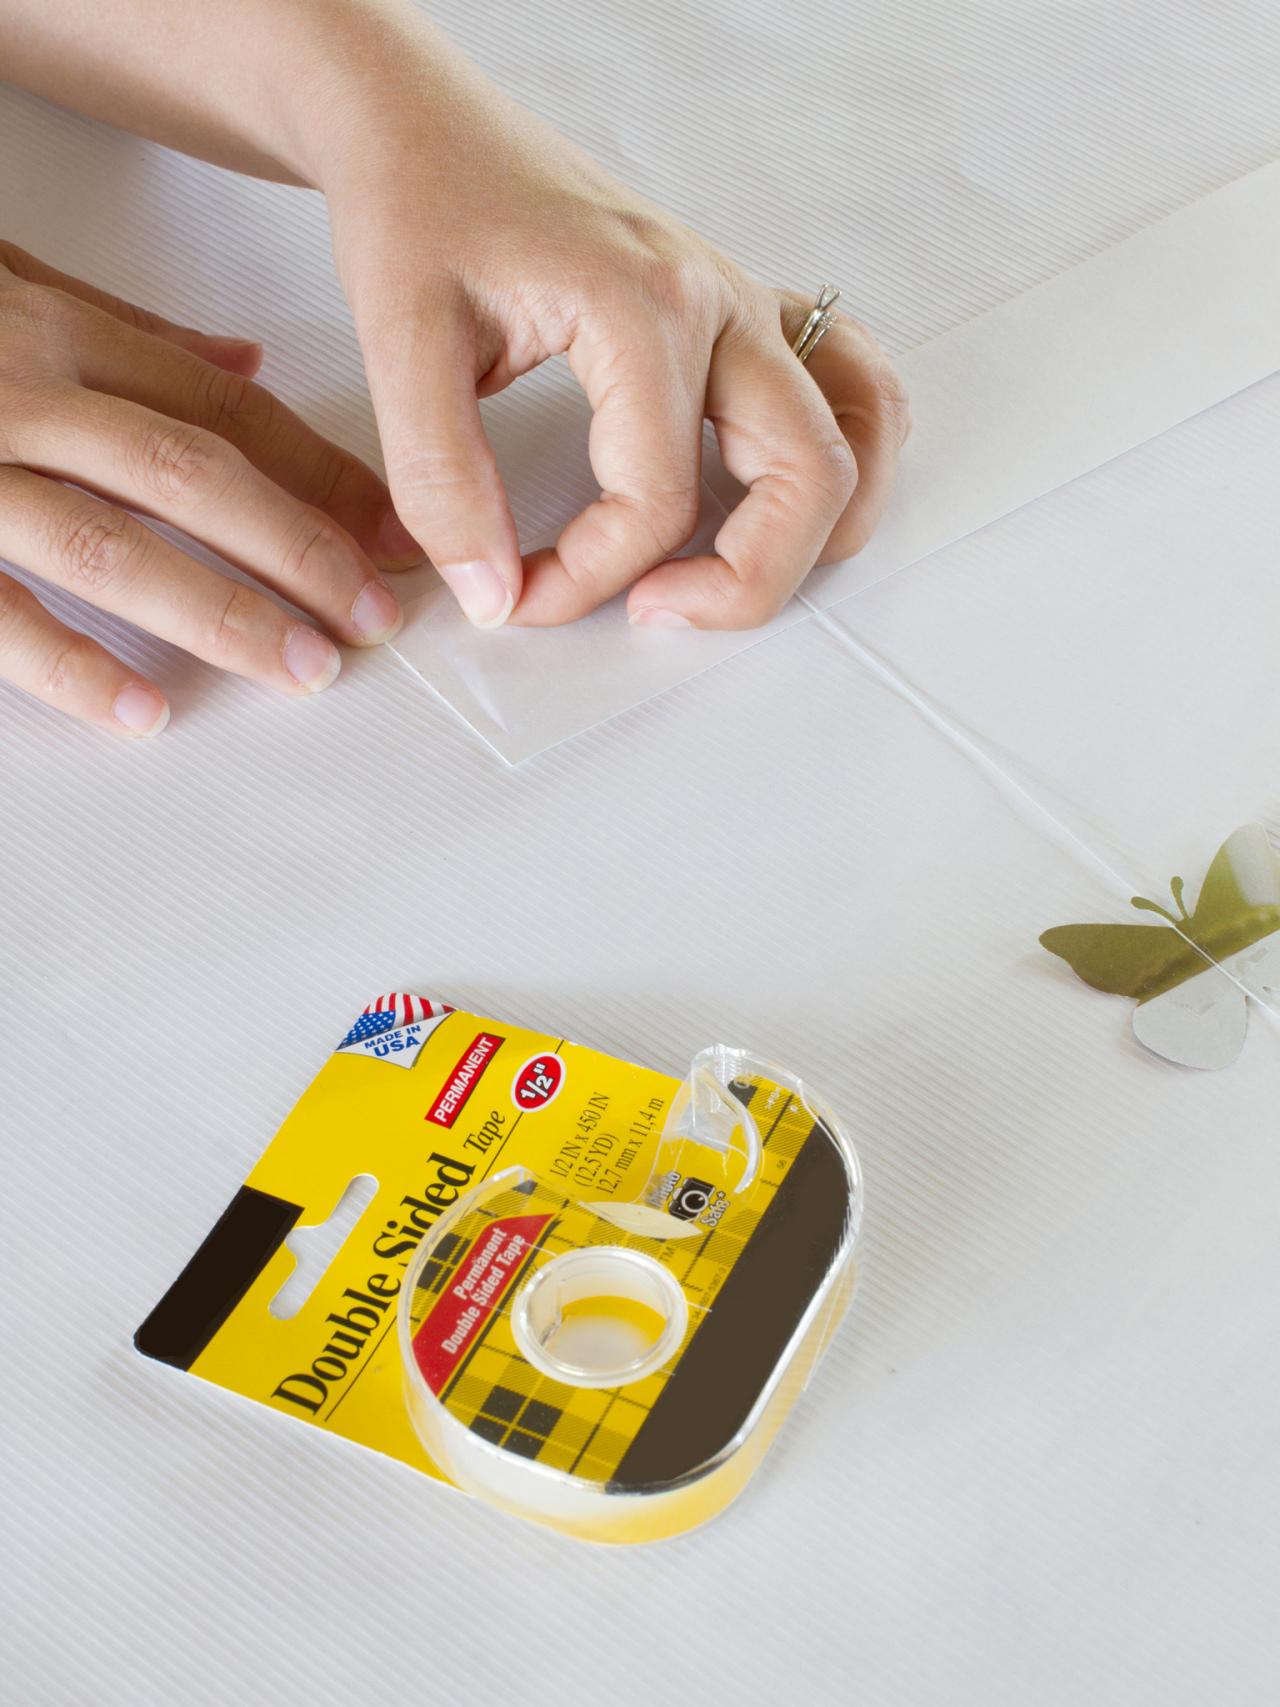
Attach Butterflies
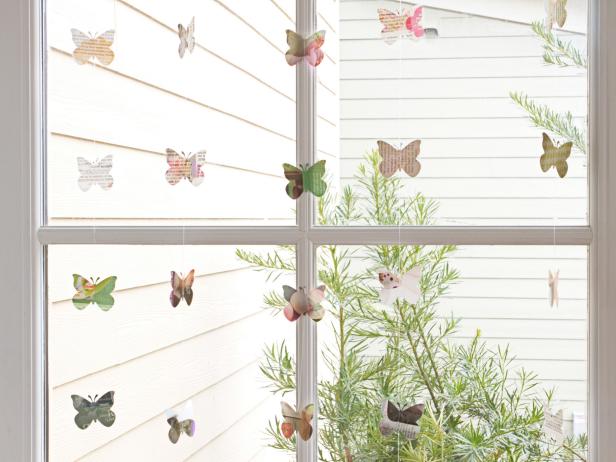
Use transparent tape to secure paper butterflies to a length of fishing line that is equal to the height of the window, from top to bottom. Space the butterflies 4 to 6 inches apart. Repeat this step to create several more strands of butterflies.

Attach Garlands
Use transparent tape to attach each strand of butterflies to the back side of the paper header cut out in step 2. Space the butterfly strands 6 to 8 inches apart on the header.

Add Double-Sided Tape
Attach several pieces of double-sided tape to the back side of the paper header.

You're Finished!
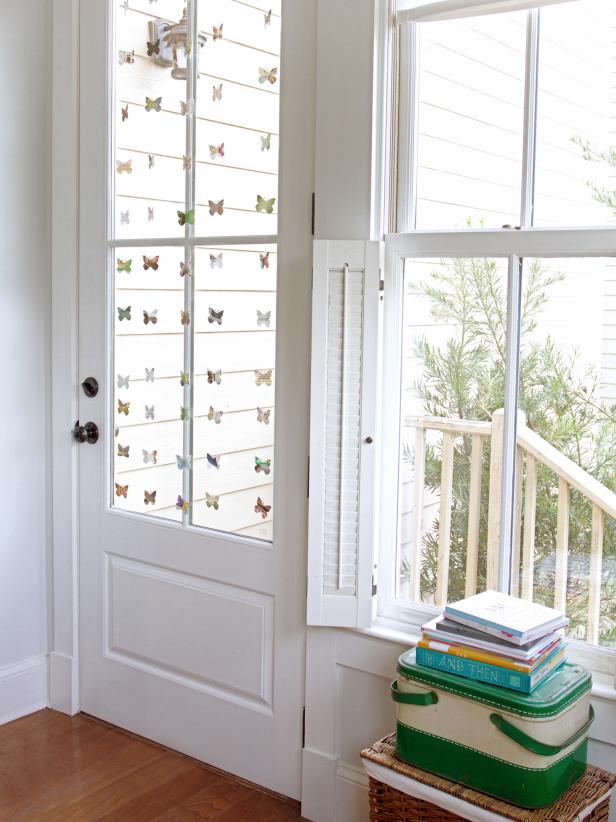
Stick your garland to the trim above the window, and enjoy your whimsical, spring-inspired garland all season long.


