


How to Make a Vintage Garland Advent Calendar

Vintage-Style Advent Calendar Garland
This holiday advent calendar is full of traditional charm and vintage style, keeping the Christmas anticipation alive for both kids and adults. Marian Parsons of Mustard Seed Interiors printed 24 different vintage images onto fused linen and freezer paper and painted a number onto the bottom corner of each. Each linen image was then assembled to form a pocket to hold candy or small gifts for the little ones. After attaching ribbon, the pockets can be draped around a Christmas tree or along a banister.

Materials Needed:
- 1 1/2 yards cream linen
- all-purpose coordinating thread
- sharp scissors
- rotary cutter and mat (optional)
- freezer paper
- iron
- ruler
- pencil
- computer and printer
- photo editing software
- sewing machine
- graphics or pictures
- 10 yards grosgrain ribbon
- no-fray glue
- acrylic paint
- 1.0 artist liner brush
Cut Linen
Using a piece of standard printer paper as a template, cut out 13 pieces of linen and 13 pieces of freezer paper. Tip: Freezer paper must be used for this project, not wax or parchment paper.

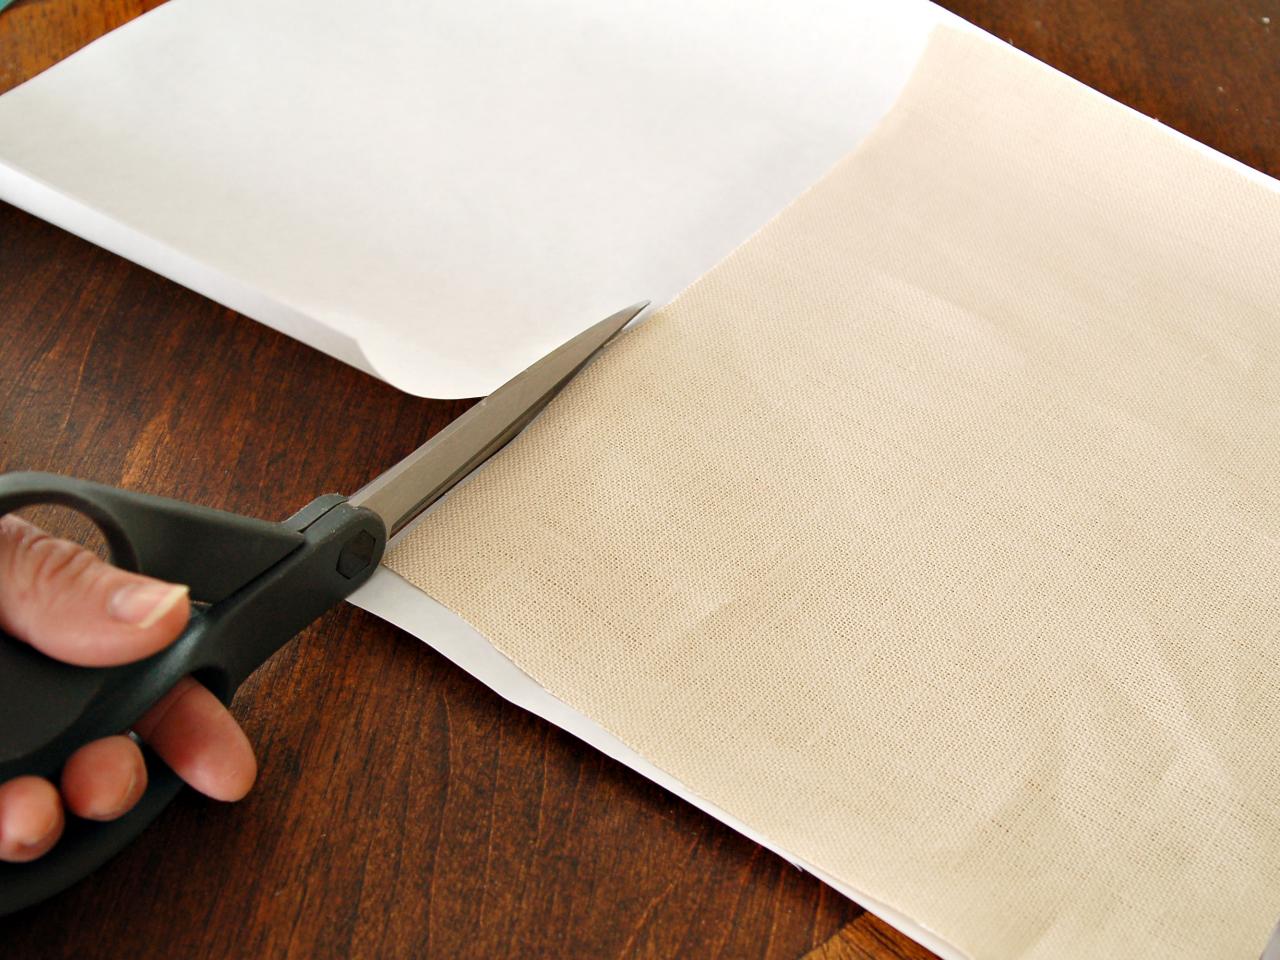
Cut Fabric for Vintage Advent Calendar Pockets
Using a piece of standard printer paper as a template, cut out 13 pieces of linen and 13 pieces of freezer paper. Tip: Freezer paper must be used for this project, not wax or parchment paper.
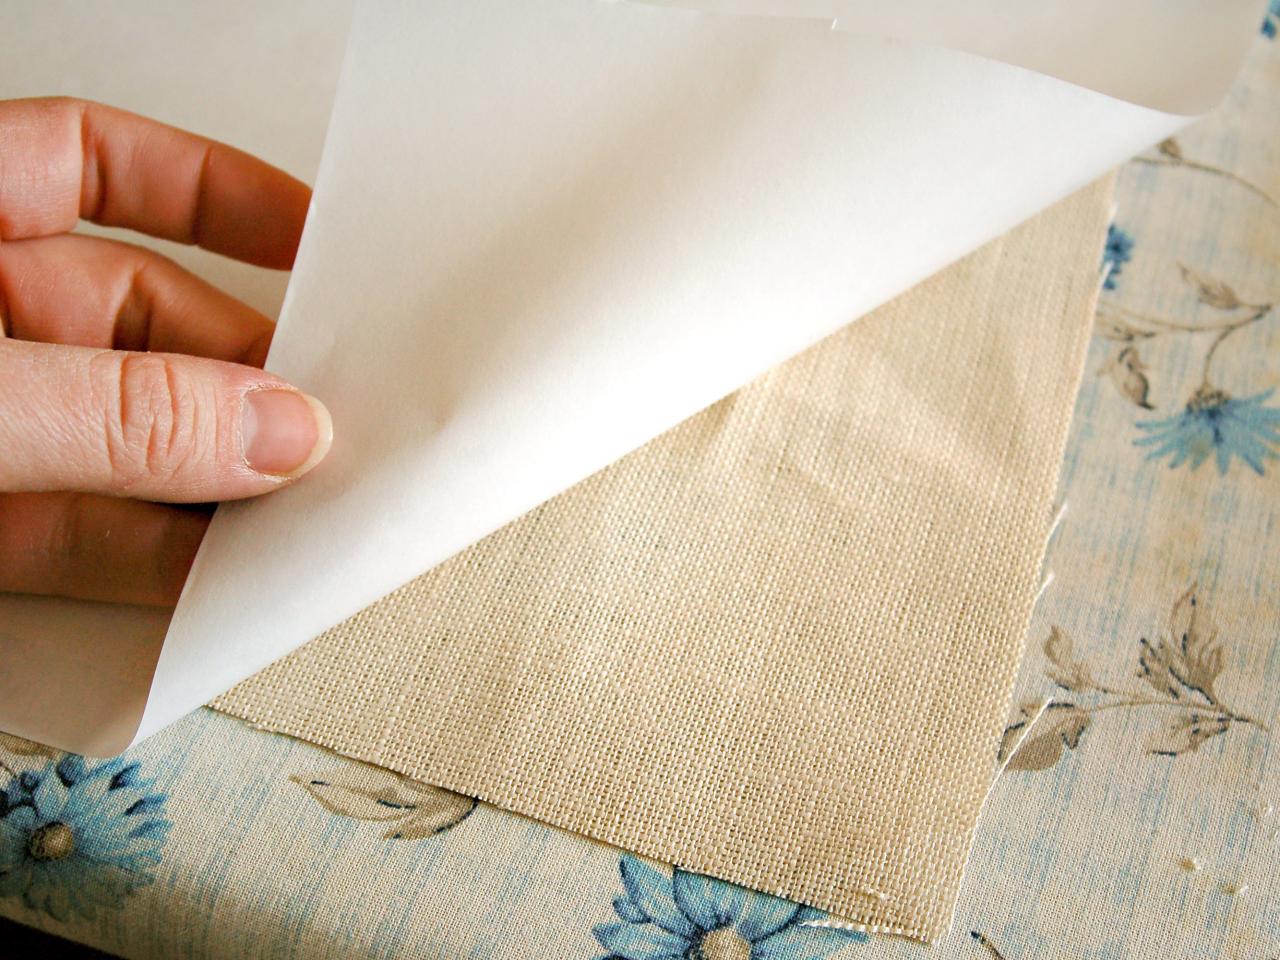
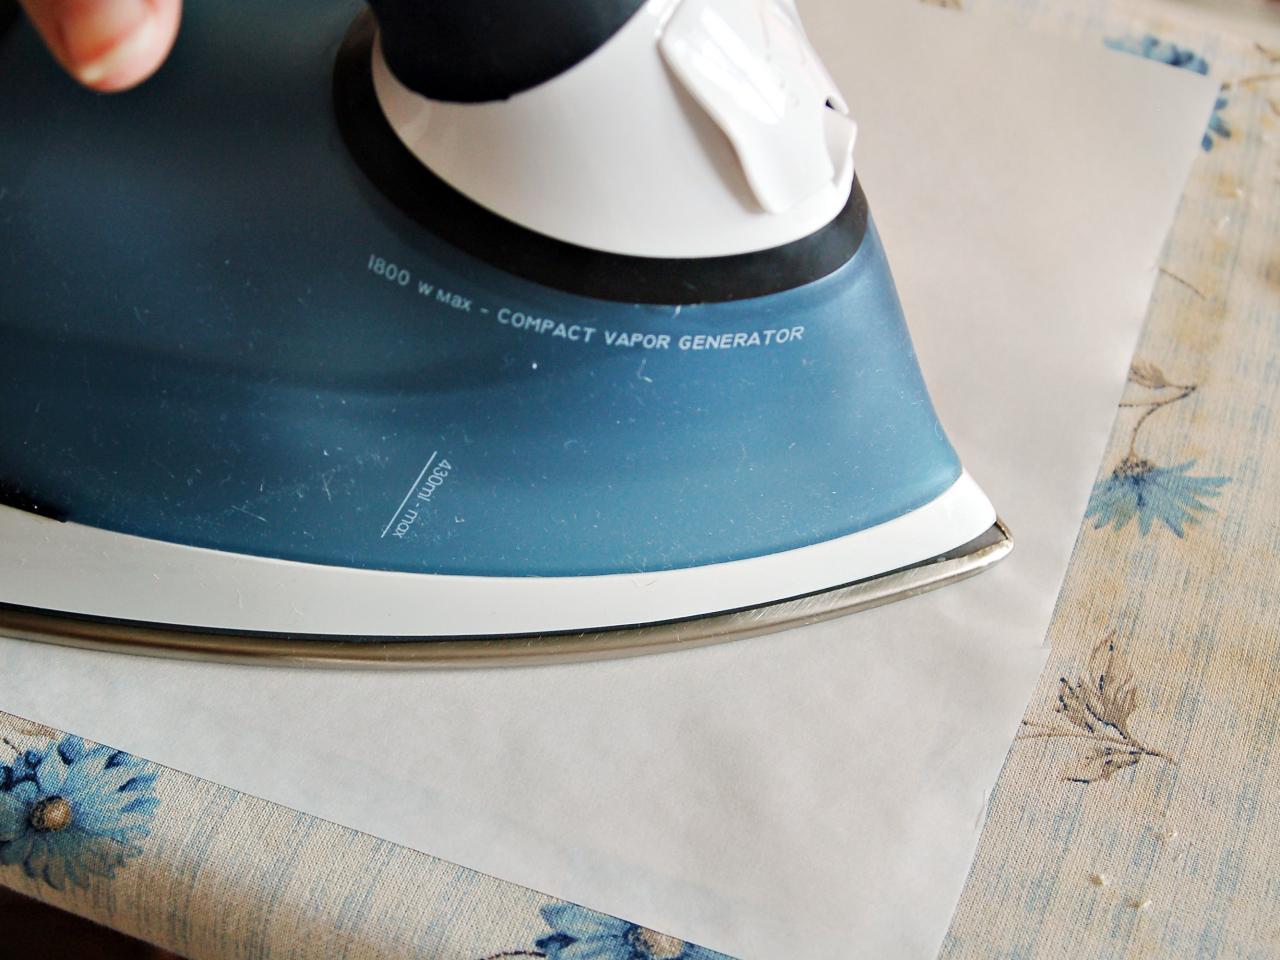
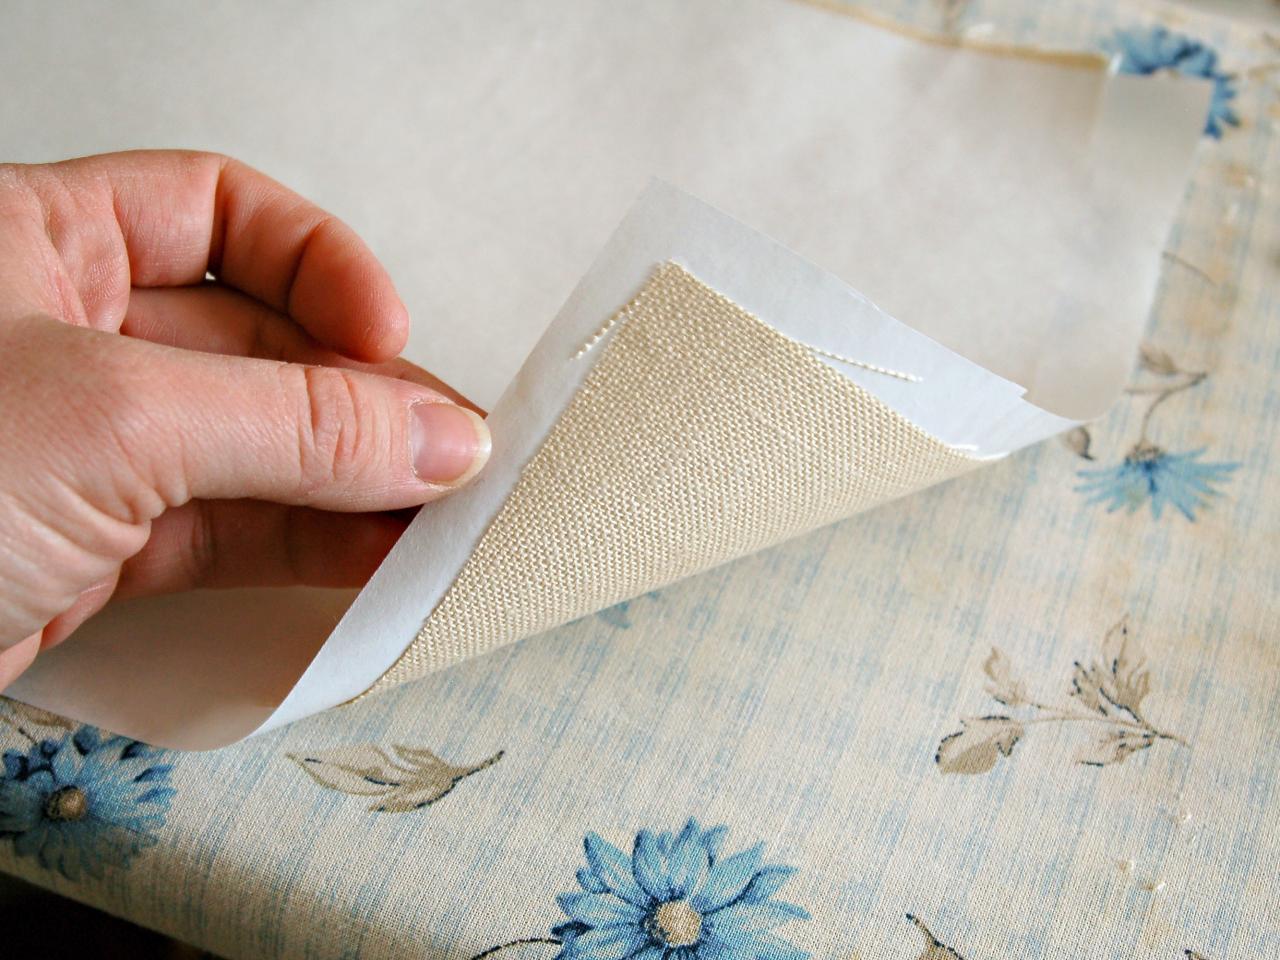
Iron Fabric and Paper
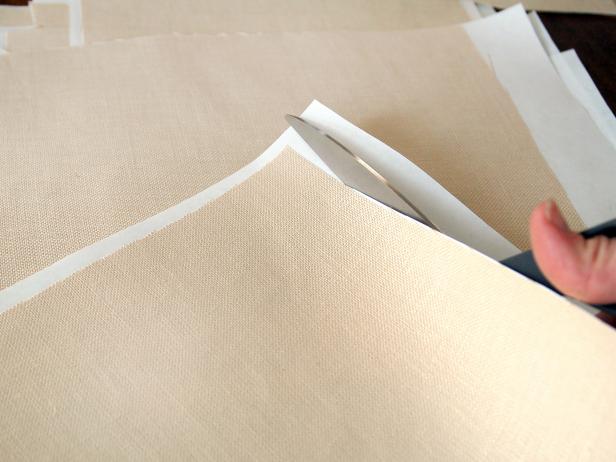
Place one piece of linen face down on ironing board. Put the plastic coating of the freezer paper face down onto linen (Image 1). Press paper onto fabric using an iron set on high until they are fused (Images 2 and 3). Trim any overhanging freezer paper or fabric, if necessary (Image 4). Repeat with 12 other pieces of linen and paper.
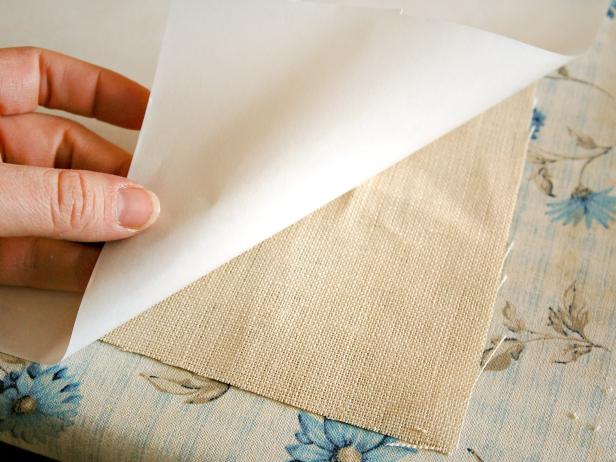


Linen With Freezer Paper Backing for Advent Calendar Project
Place one piece of linen face down on ironing board. Put the plastic coating of the freezer paper face down onto linen.
Trimming Linen and Freezer Paper for Advent Calendar Project
Trim any overhanging freezer paper or fabric, if necessary. Repeat with 12 other pieces of linen and paper.
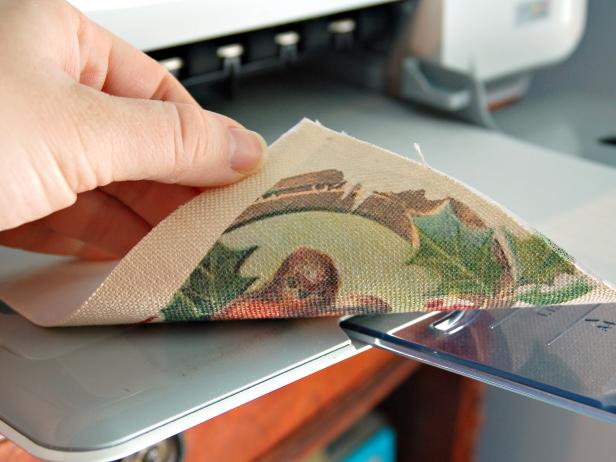
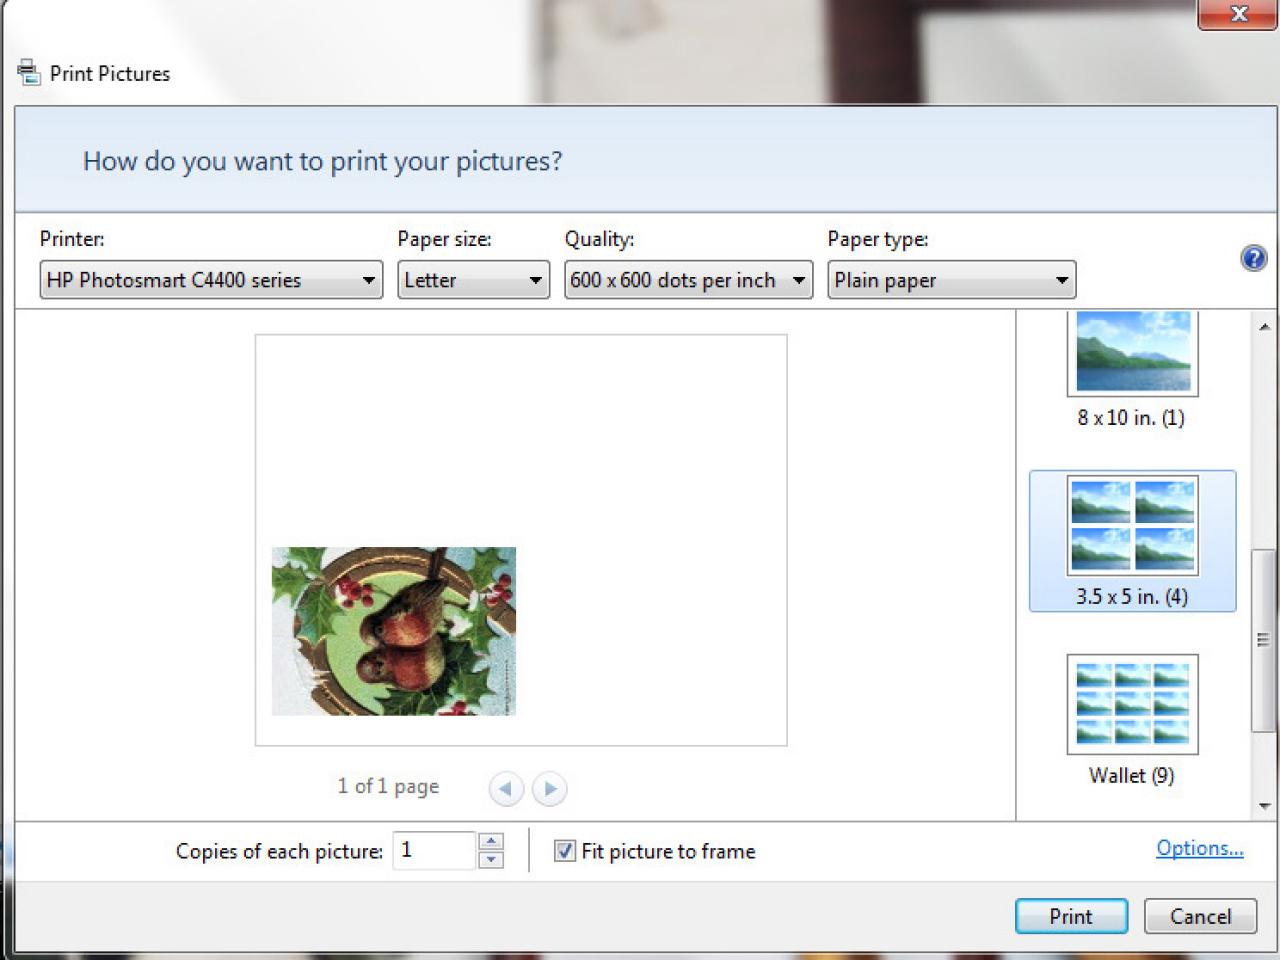
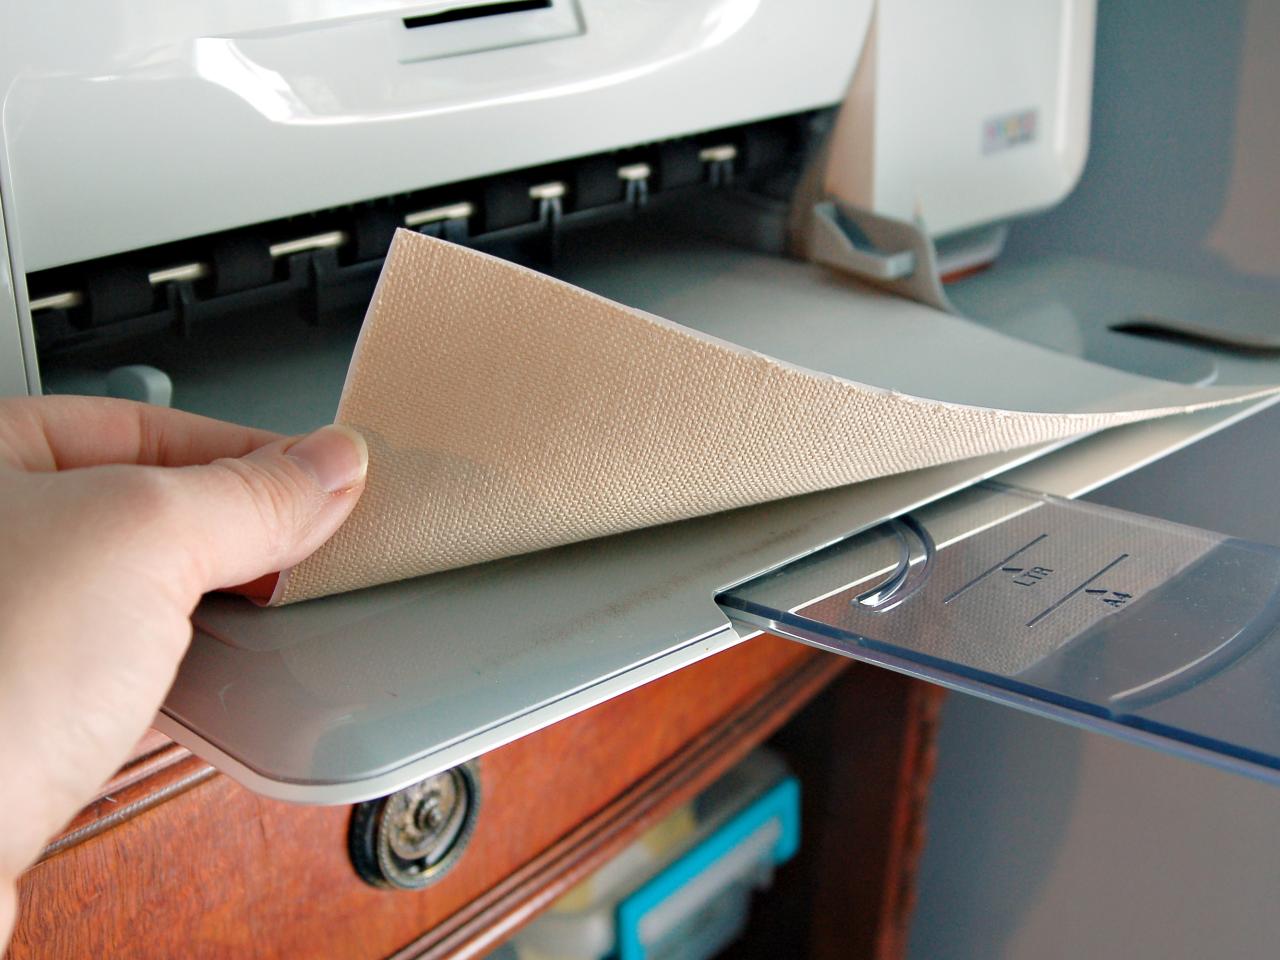
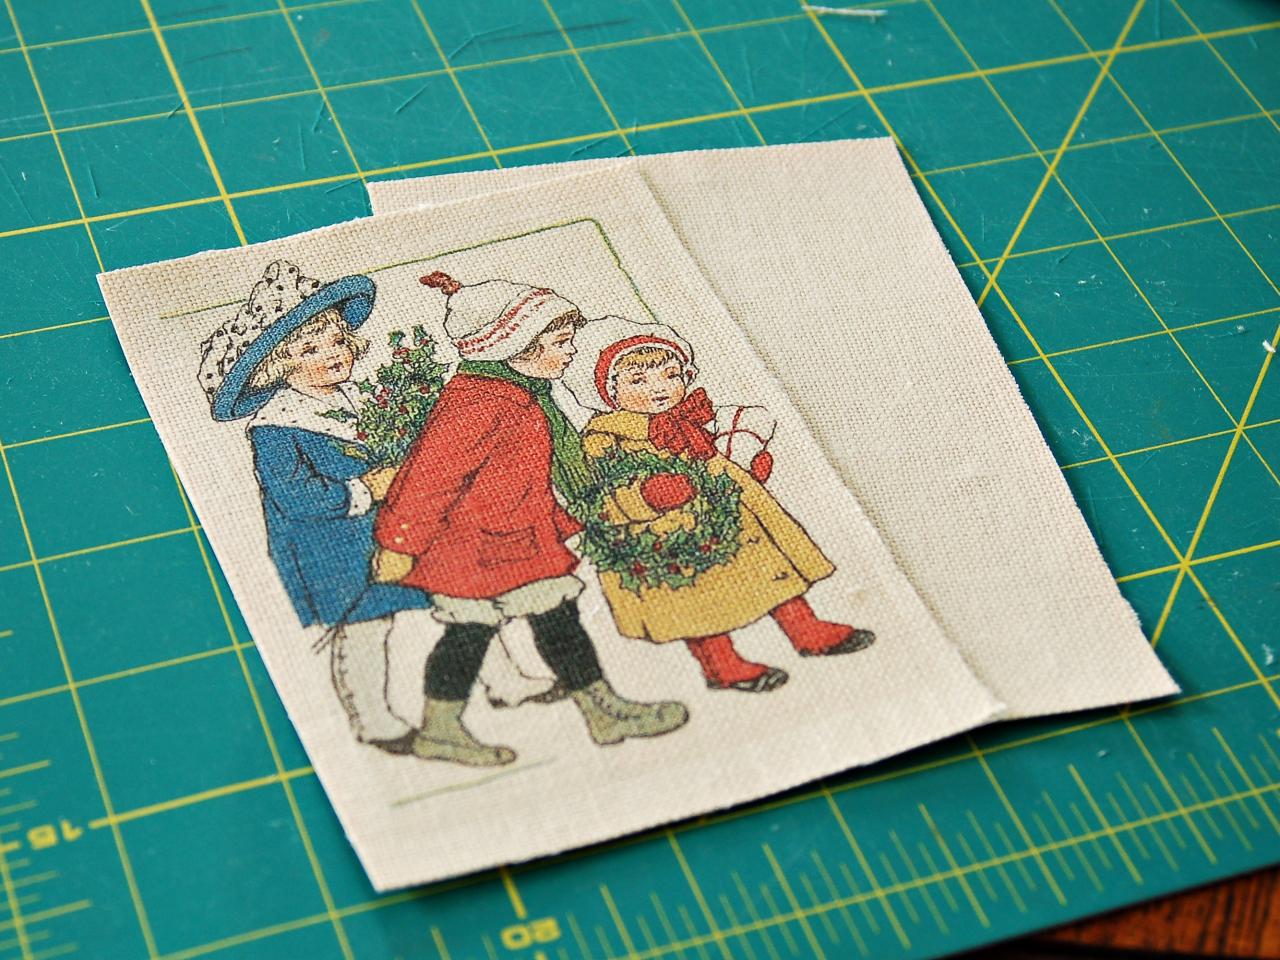
Edit and Print Graphics
Save 25 different vintage holiday graphics as jpg files. Make sure photos are either all vertical or all horizontal. Use photo editing software to crop all graphics to 3-1/2" x 5" (Image 1). Print each graphic on one page set at 3-1/2" x 5". Place fused linen and freezer paper into an ink jet printer oriented so the graphic will print on the fabric side (Image 2). The image should be printed on the top left corner (Image 3). Flip the fabric to print a second image on the bottom right corner (Image 4). Note: All graphics used in this project are available for free at www.graphicsfairy.blogspot.com.


Edit and Print Graphic for Advent Calendar Project
Save 25 different vintage holiday graphics as jpg files. Make sure photos are either all vertical or all horizontal. Use photo editing software to crop all graphics to 3-1/2" x 5".
Print Graphics on Linen for Advent Calendar
Print each graphic on one page set at 3-1/2" x 5". Place fused linen and freezer paper into an ink jet printer oriented so the graphic will print on the fabric side.
Print Graphics on Linen for Advent Calendar Project
Flip the fabric to print a second image on the bottom right corner. Note: All graphics used in this project are available for free at www.graphicsfairy.blogspot.com.
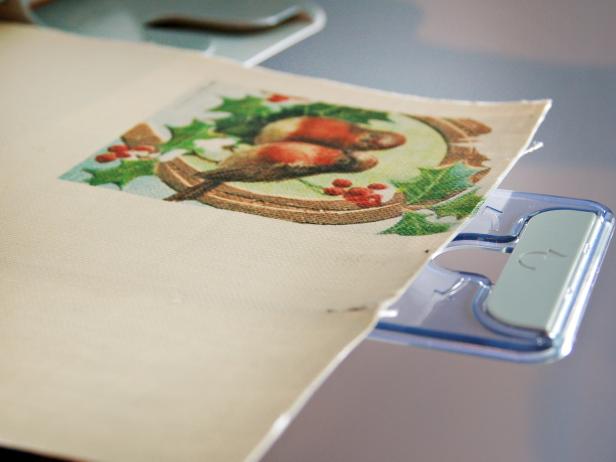
Cut Pockets
Using scissors or a rotary cutter, cut each piece of linen into four equal parts (4-1/4" x 5-1/2") (Image 1). Trim pieces to center graphics, leaving at least a 1/4-inch border (Image 2). Pair the printed pieces of linen with blank pieces of linen (Image 3).
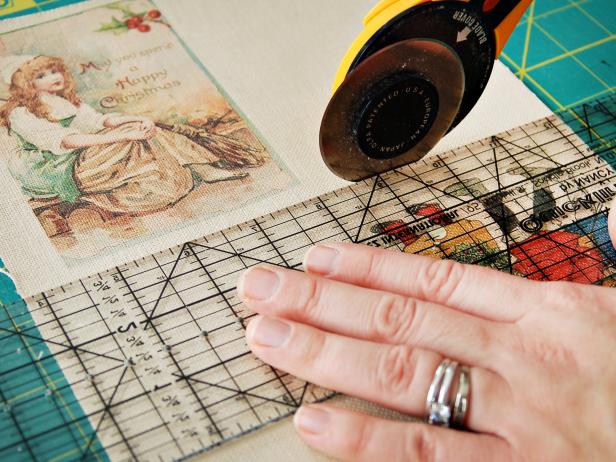
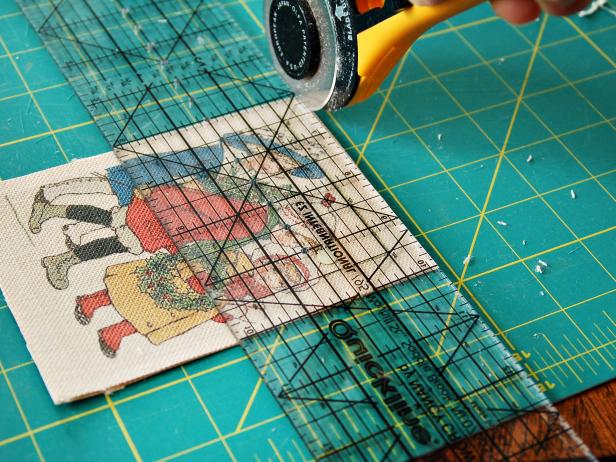

Cut Linen Pockets for Advent Calendar Project
Using scissors or a rotary cutter, cut each piece of linen into four equal parts (4-1/4" x 5-1/2").
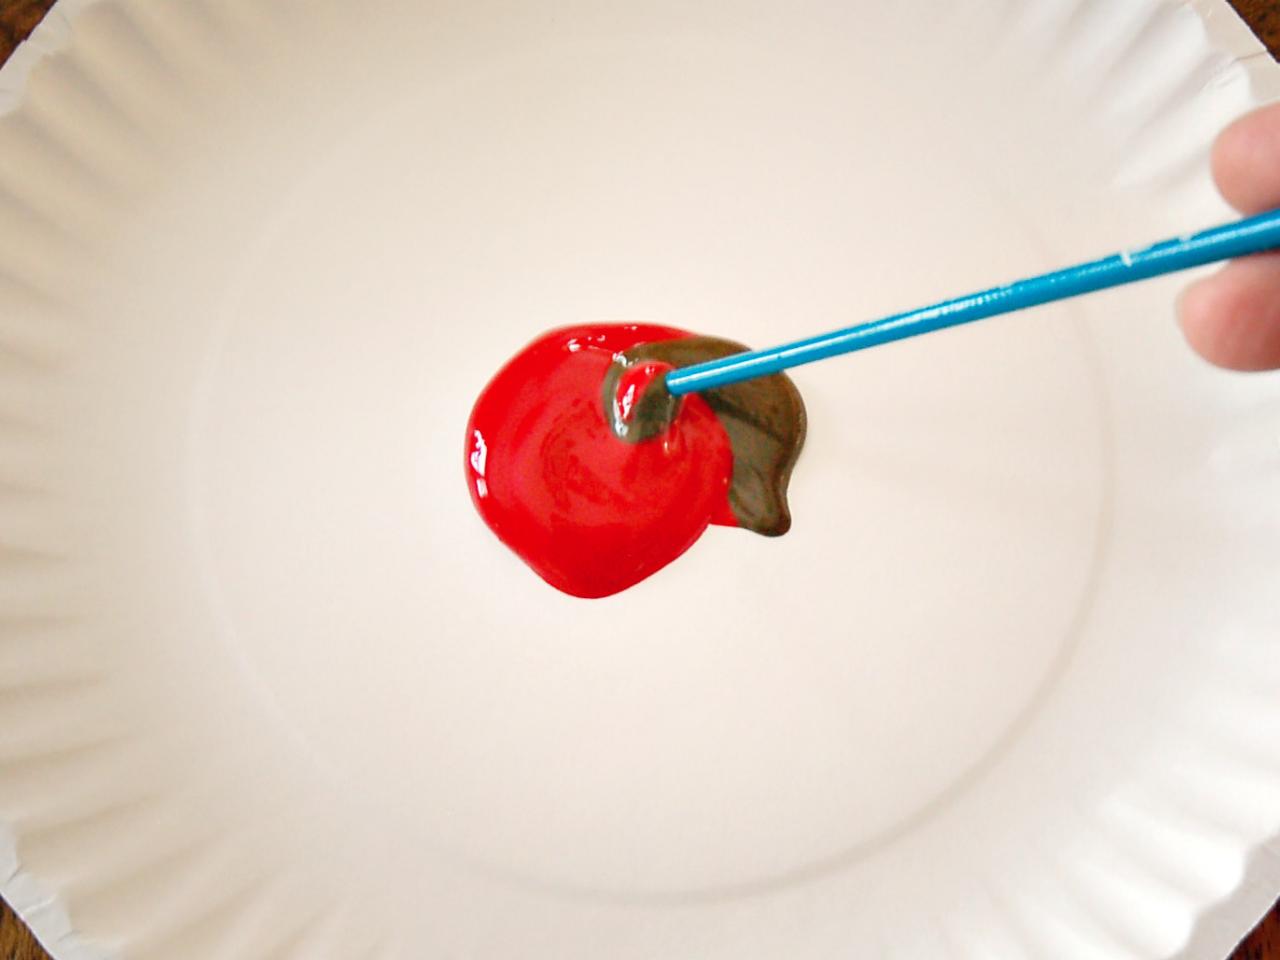
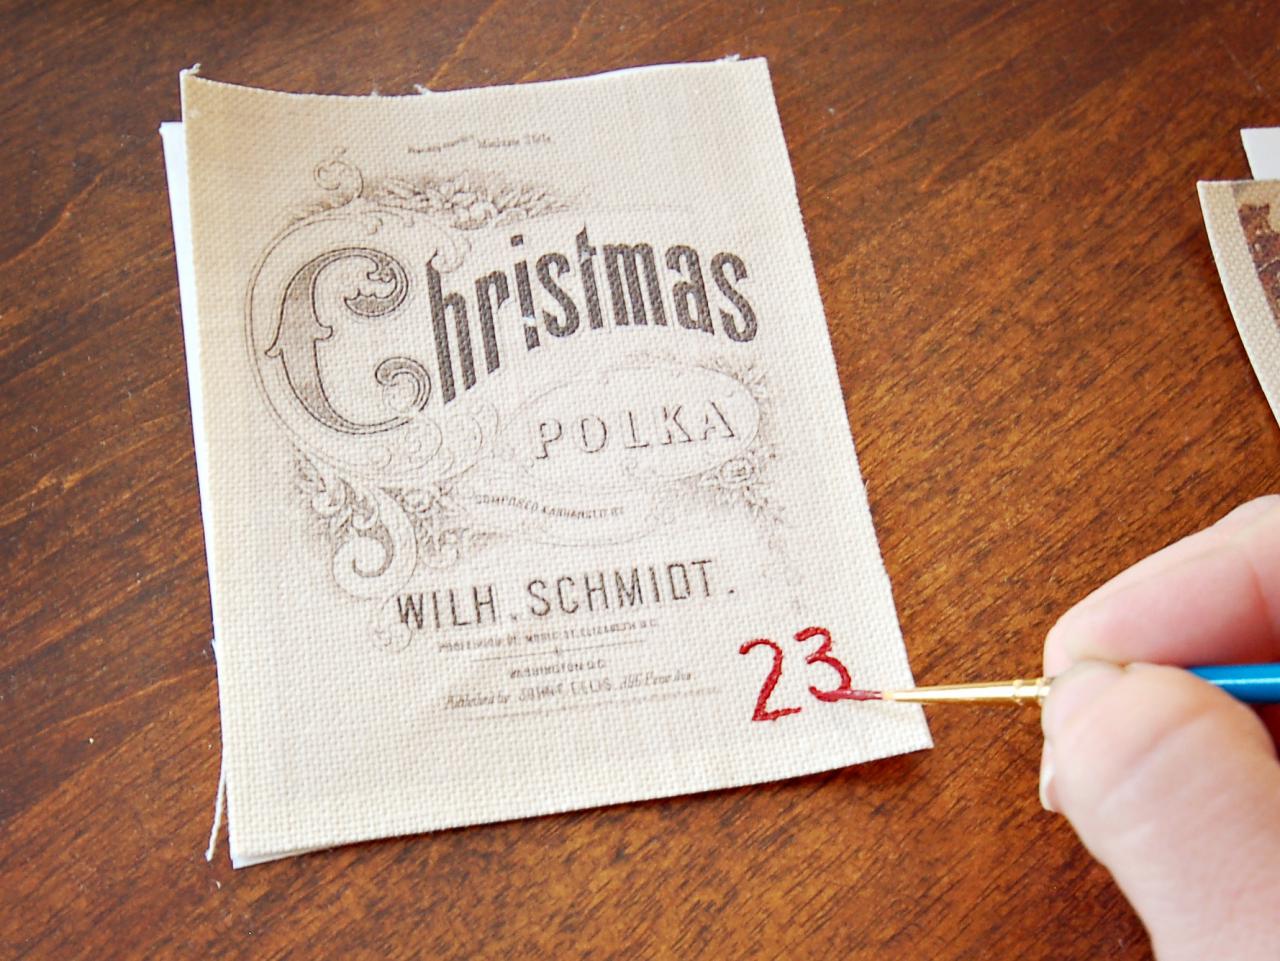
Paint Numbers
Mix equal parts red and burnt umber acrylic craft paint (Image 1). Use a 1.0 liner brush to paint numbers 1-25 in the corner of each pocket (Image 2). Allow paint to dry. Tip: Sketch numbers lightly with a pencil prior to painting.


Paint Numbers for Vintage Advent Calendar
Mix equal parts red and burnt umber acrylic craft paint for the advent calendar numbers.
Paint Advent Calendar Numbers
Use a 1.0 liner brush to paint numbers 1-25 in the corner of each pocket. Allow paint to dry. Tip: Sketch numbers lightly with a pencil prior to painting.
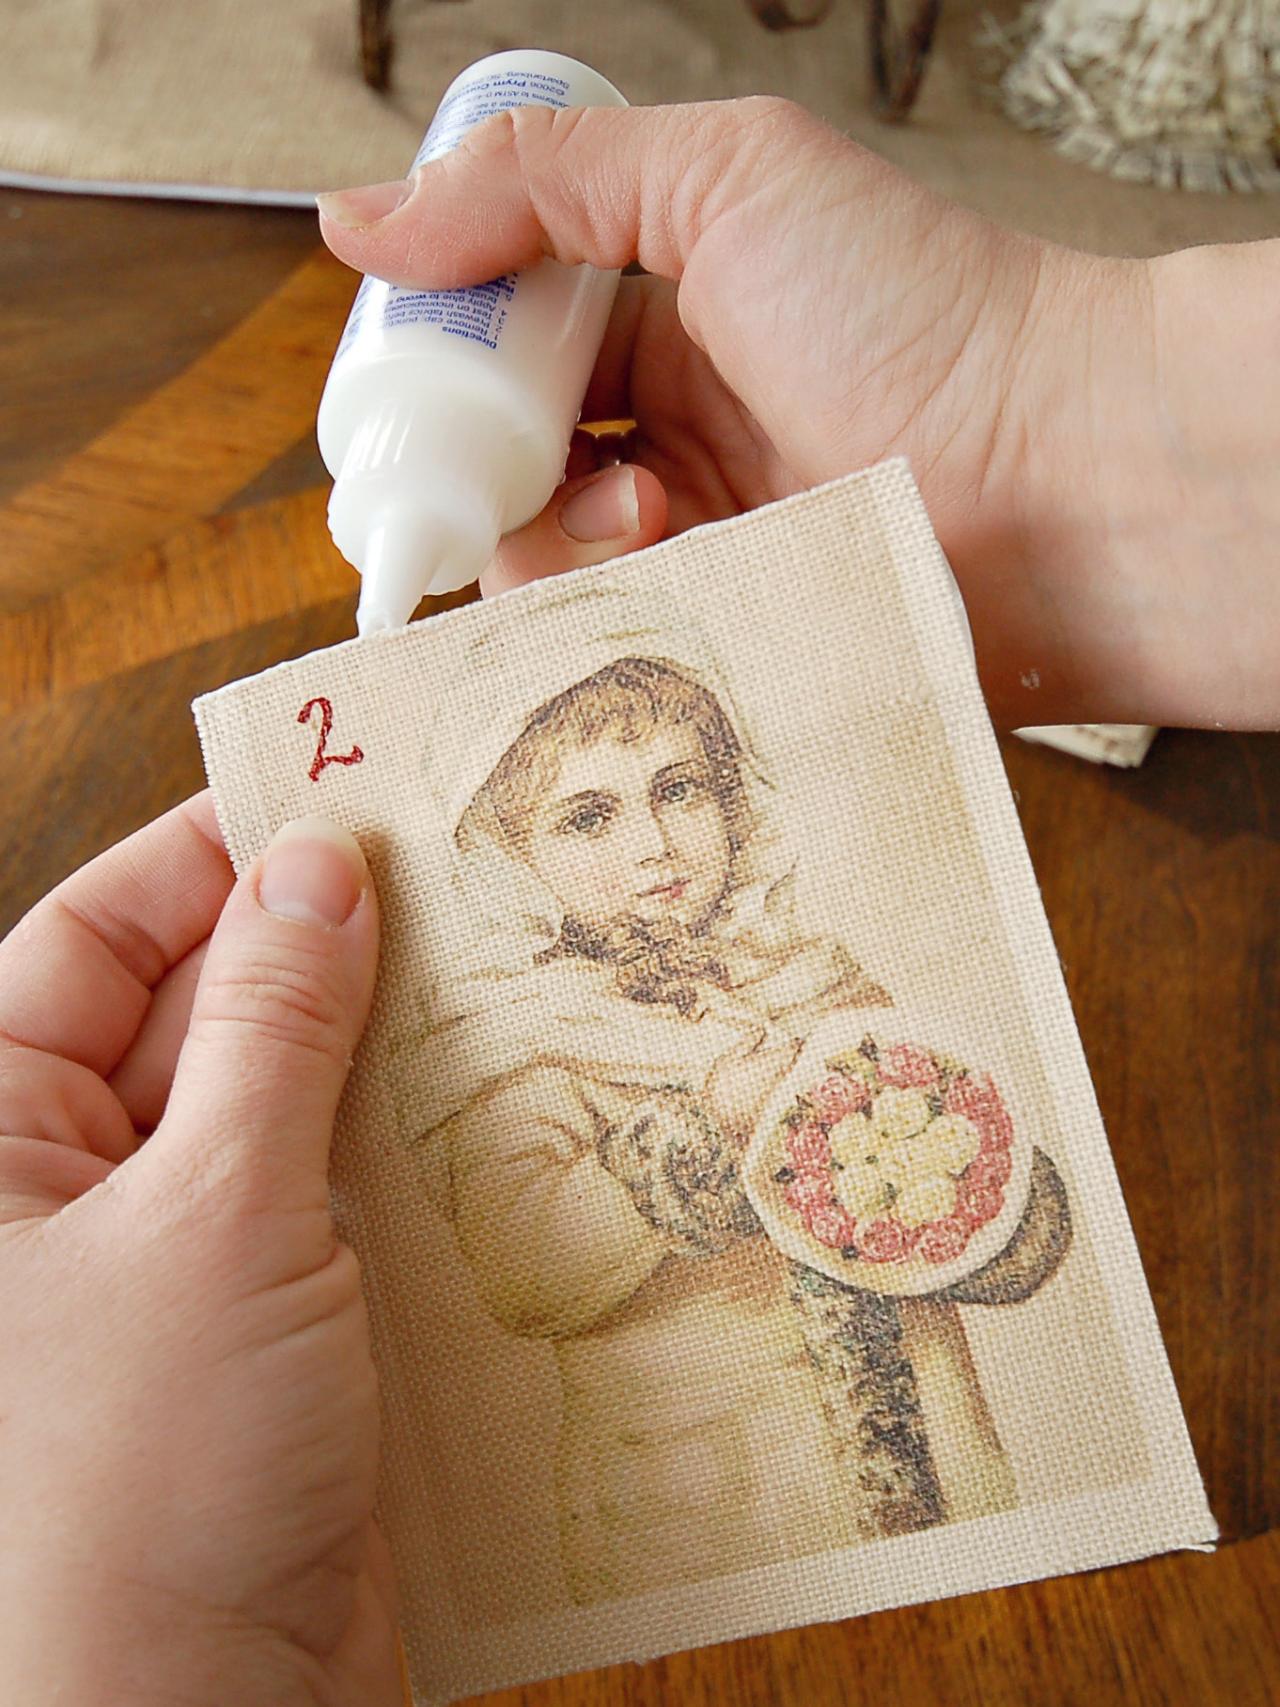
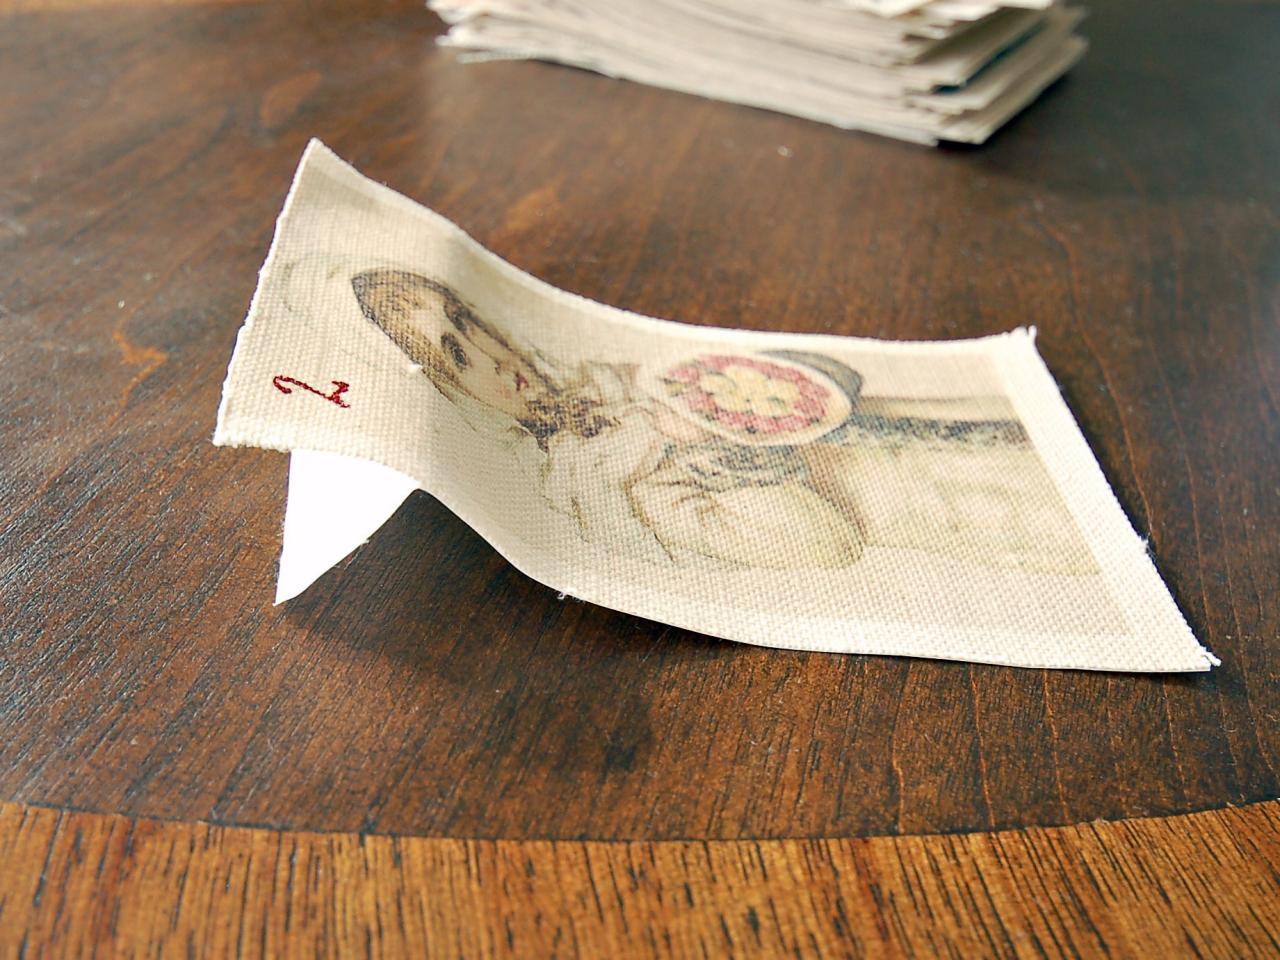
Glue Raw Edge
Apply no-fray glue to the top edge of each pocket (Image 1). Fold down the freezer paper to act as a stand as the glue dries (Image 2). Tip: Some no-fray glues can cause ink to run. To prevent this, pour glue onto a paper plate and dip very top edge of each pocket into the glue for a more controlled application.


Linen Pockets for Advent Calendar Project
Fold down the freezer paper to act as a stand as the glue dries. Tip: Some no-fray glues can cause ink to run. To prevent this, pour glue onto a paper plate and dip very top edge of each pocket into the glue for a more controlled application.
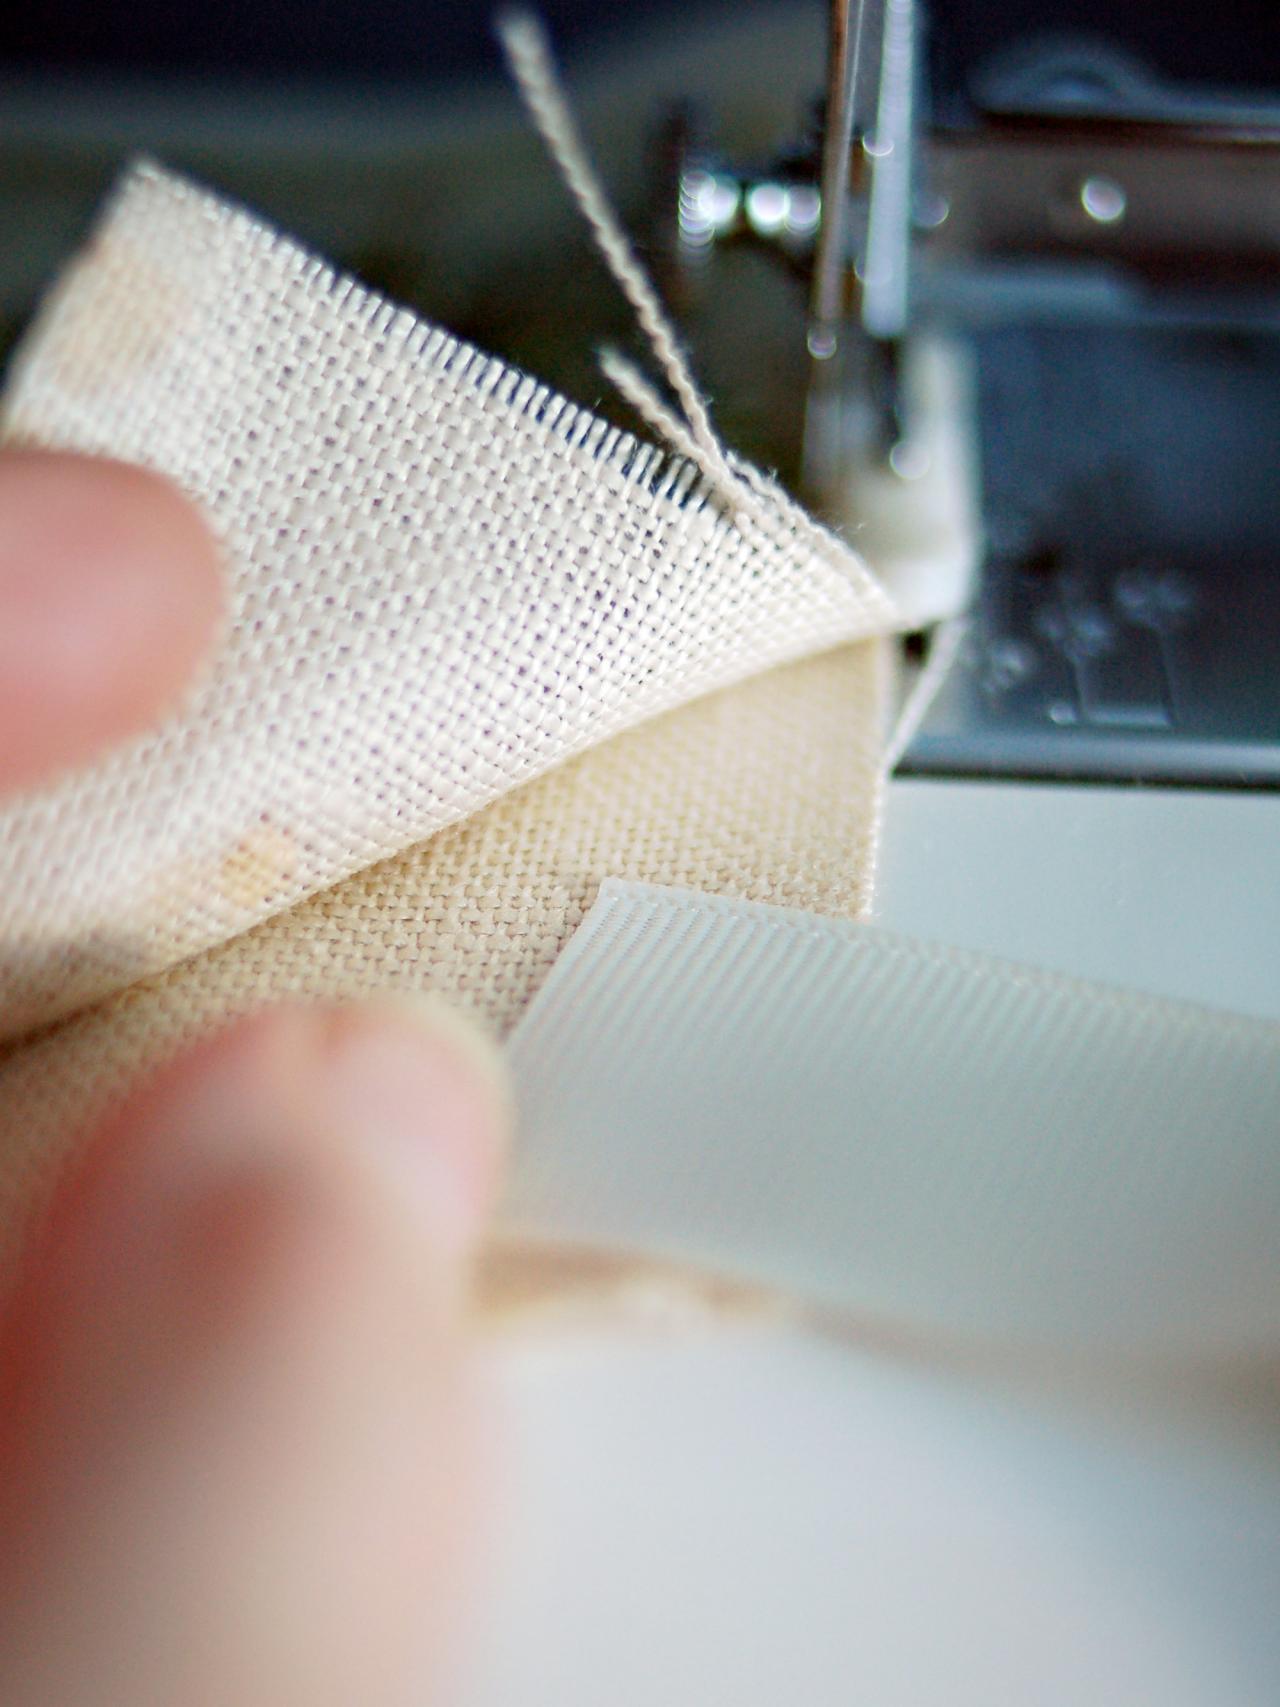
Sew Pockets
Separate the freezer paper from the linen. Assemble pockets with right sides facing out. Cut 50 lengths of grosgrain ribbon to approximately eight inches each. Insert ribbon between two pieces of linen in the upper right corner (Image 1). Sew along the graphic, ensuring ribbon is sewn into the pocket as well (Image 2). Rotate the pocket and sew the bottom. Rotate again and sew up the left side. Insert ribbon at the upper left corner and finish sewing the pocket.


Sew Pockets for Vintage Advent Calendar
Separate the freezer paper from the linen. Assemble pockets with right sides facing out. Cut 50 lengths of grosgrain ribbon to approximately eight inches each. Insert ribbon between two pieces of linen in the upper right corner.
Sew Pockets for Advent Calendar Project
Sew along the graphic, ensuring ribbon is sewn into the pocket as well. Rotate the pocket and sew the bottom. Rotate again and sew up the left side. Insert ribbon at the upper left corner and finish sewing the pocket.
Fray and Trim Pockets
Gently pull threads from pocket edges to create a frayed border (Image 1). Trim excess threads (Image 2). Apply no-fray glue to raw edges of ribbon and allow to dry. Fill the pockets with candy and small presents to build the anticipation of Christmas day. Tip: This advent calendar can be used in a variety of ways. Tie on new pockets each day to increase the length of the banner or start the month with a full banner and remove the pockets at the end of each day (Image 3). Since it's a long banner, it's ideal for wrapping around a Christmas tree or draping along a banister.
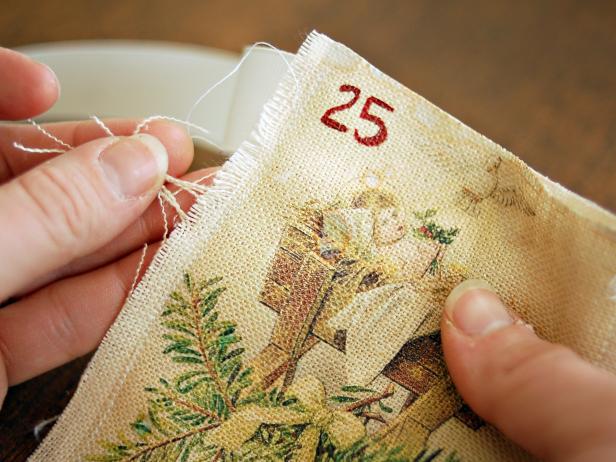
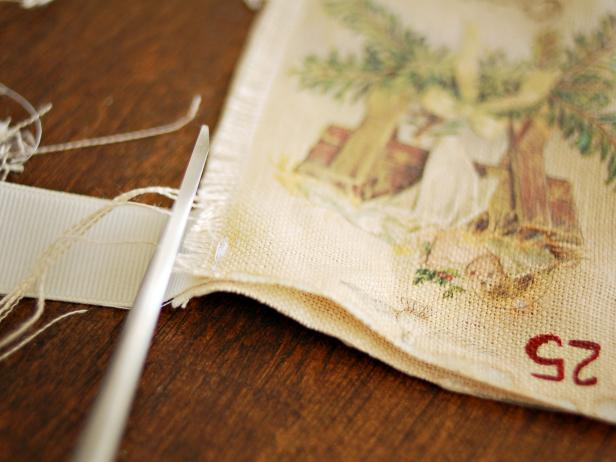

Trim Excess Threads From Advent Calendar Pockets
Trim excess threads. Apply no-fray glue to raw edges of ribbon and allow to dry. Fill the pockets with candy and small presents to build the anticipation of Christmas day. Tip: This advent calendar can be used in a variety of ways.
Ribbon for Hanging Vintage Advent Calendar
Tie on new pockets each day to increase the length of the banner or start the month with a full banner and remove the pockets at the end of each day. Since it's a long banner, it's ideal for wrapping around a Christmas tree or draping along a banister.


