


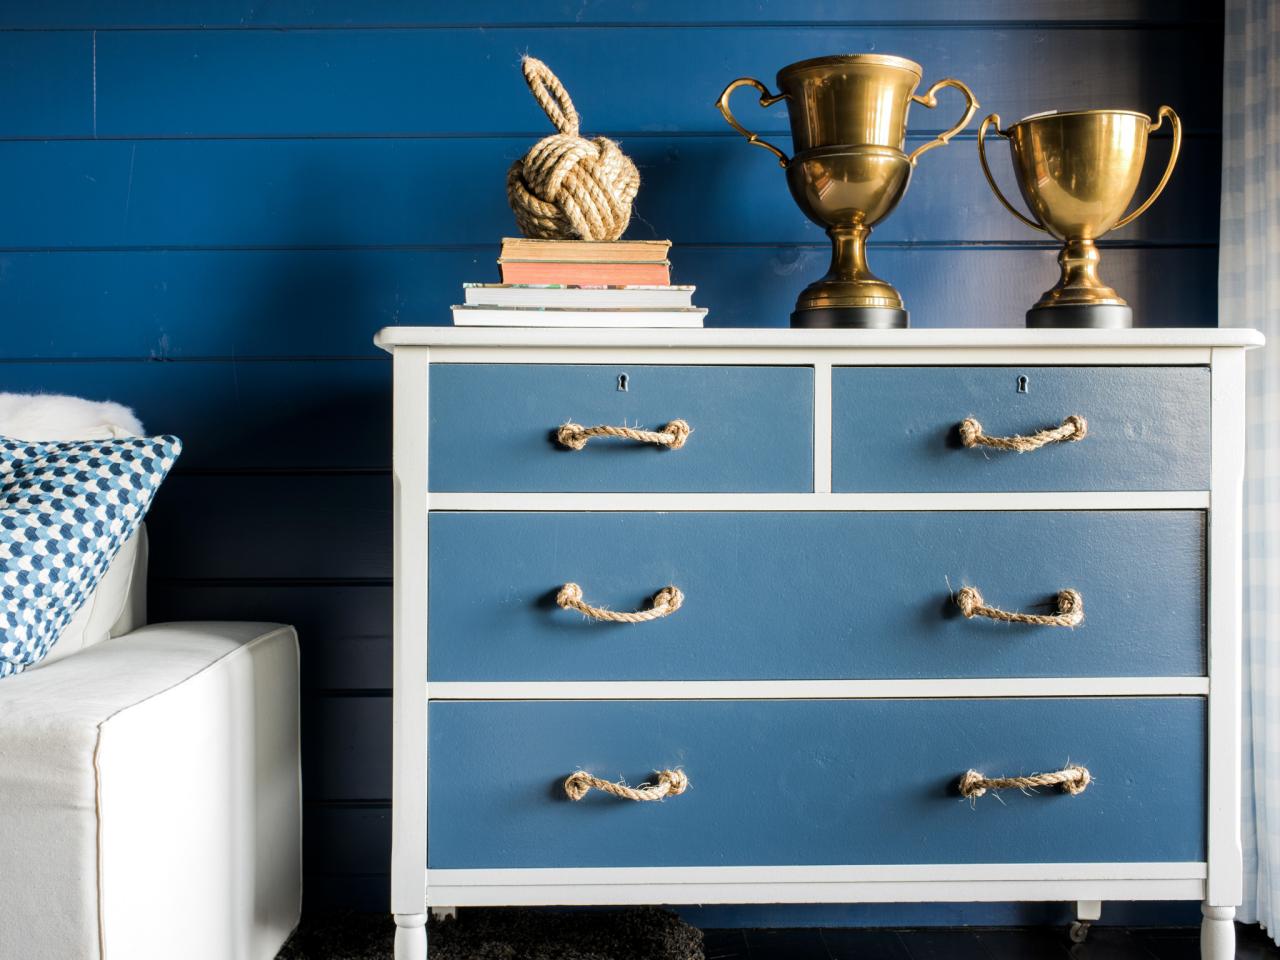
How to Paint a Nautical Style Dresser
Using two shades of paint and a roll of sisal rope, transform a humdrum wood dresser into a cottage-style dresser.


Rustic White Photography, LLC
Tools and Materials
- wooden dresser
- high-volume, low-pressure (HVLP) paint sprayer
- (1) quart of navy blue semi-gloss latex paint-and-primer-in-one
- (1) quart of white semi-gloss latex paint-and-primer-in-one
- (1) quart of enamel primer
- fine-grit sandpaper or sanding block
- spool of sisal rope
- wood filler
- spackle knife
- damp cloth
- chisel
- drill and 3/4” drill bit
- painter’s tape
- utility knife
Choosing the Right Dresser
Since paint and hardware are the major elements for this project, it’s important to choose a dresser that will easily take paint and that can be drilled for hardware attachment. Solid wood dressers with flat drawer fronts work best.

Before
Step 1: Clean and Prep
To give an old dresser a more streamlined look, remove any appliqués or embellishments. This is easy to do by using a chisel or a flat screwdriver to pop the appliqué from the drawer front.
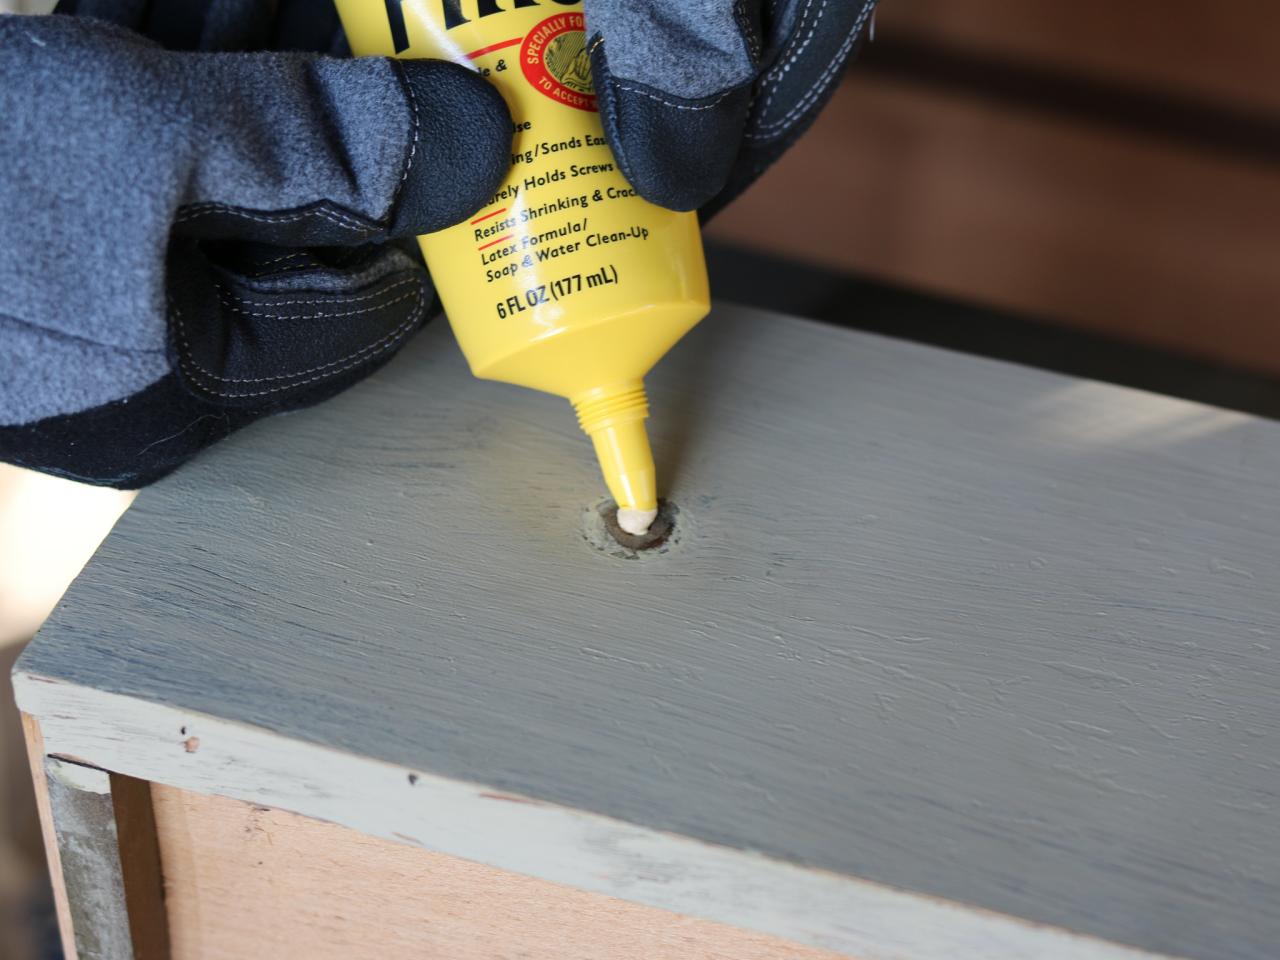
New hardware will be attached to the drawer fronts, so it may be necessary to drill new holes. If you can not use the existing holes, patch them with wood filler, then smooth the surface using a spackle knife.


Step 2: Prep Wood for Paint
Before new paint can be applied, you’ll need to rough up and/or remove the existing finish. Use fine-grit sandpaper to knock the existing sealer loose. Once the entire surface has been sanded, be sure to wipe the dresser clean using a damp cloth.

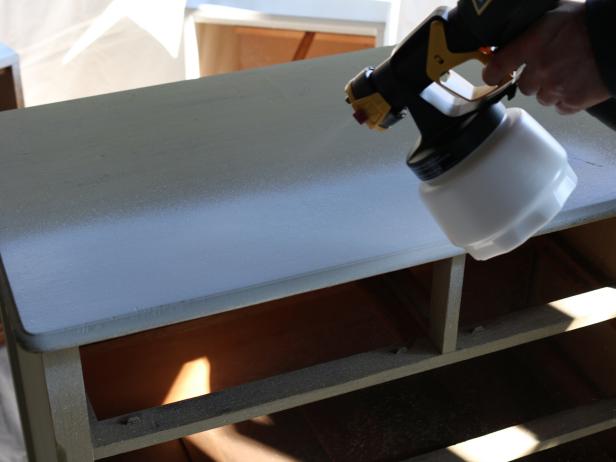
Step 3: Paint Dresser and Drawer Fronts
The key to giving the dresser nautical flair is painting it with two tones of paint: ultra-white and navy blue. The ultra-white frame will serve as a clean, crisp backdrop against the navy blue drawer fronts.
Remove the drawers and set them aside. Coat the entire frame of the dresser in ultra-white latex paint using the paint sprayer. Using a paint sprayer instead of a brush or roller will provide a smooth, streak-free finish. Next, move on to the drawer front giving a solid coat of navy blue. Let dry completely.
Step 4: Drill Holes for Drawer Pulls
For a hint of nautical texture, chunky sisal rope will be used as drawer pulls. Before the sisal can be cut and attached, locate the center point of the drawer front, then determine the exact placement of each end of the pull. Use a drill and 3/4” drill bit to add holes. If you are using the existing holes, you may have to widen them a bit to accommodate the rope.


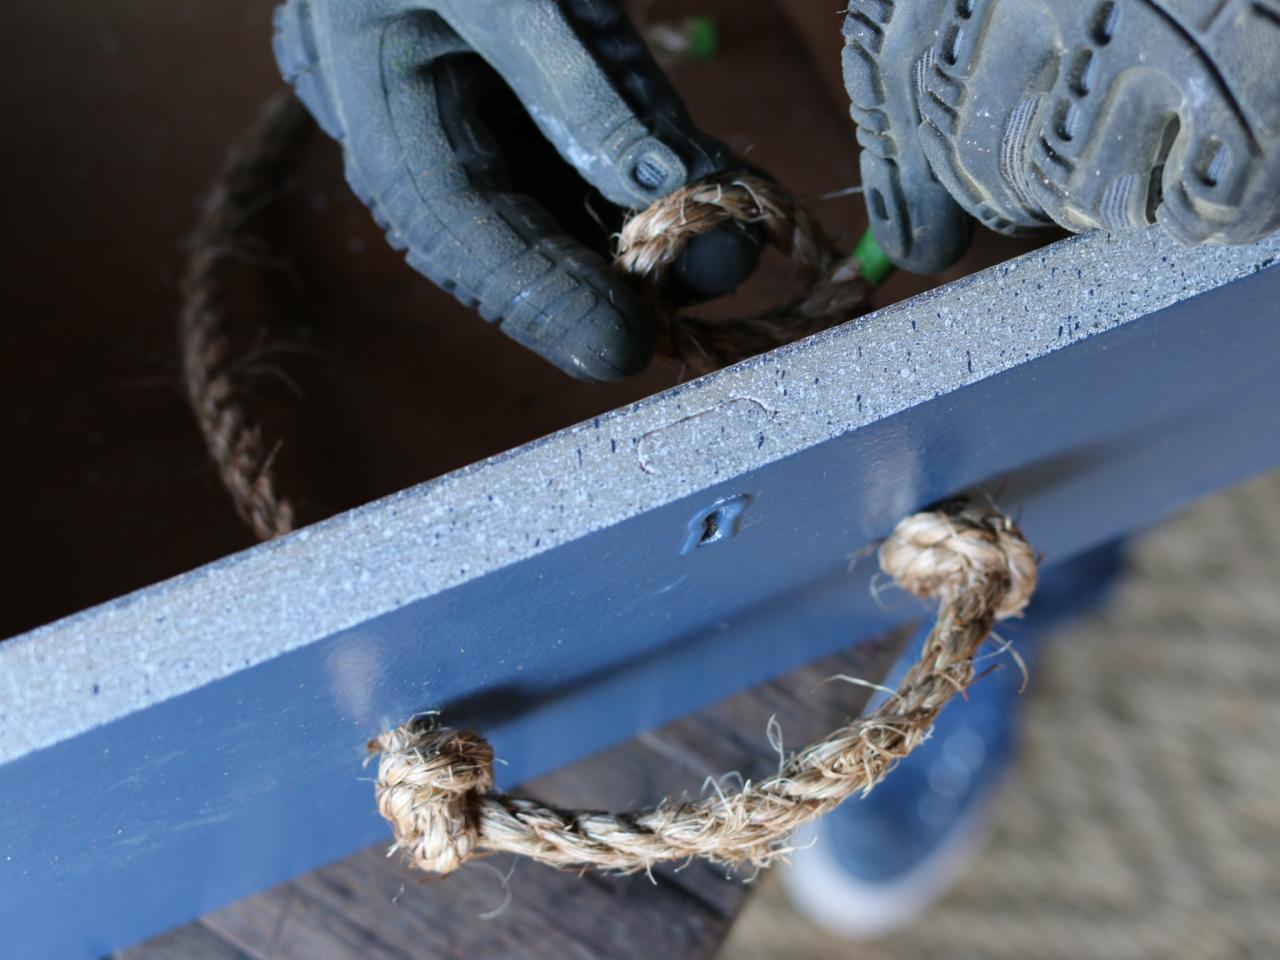
Step 5: Cut and Attach Sisal Rope Pulls
Unfurl sisal rope, then cut 14” strips for use as pulls. Wrap painter’s tape around the ends of the rope, then thread the pulls through the drilled holes and add knots along the inside of the drawer front.


Rustic White Photography, LLC


