


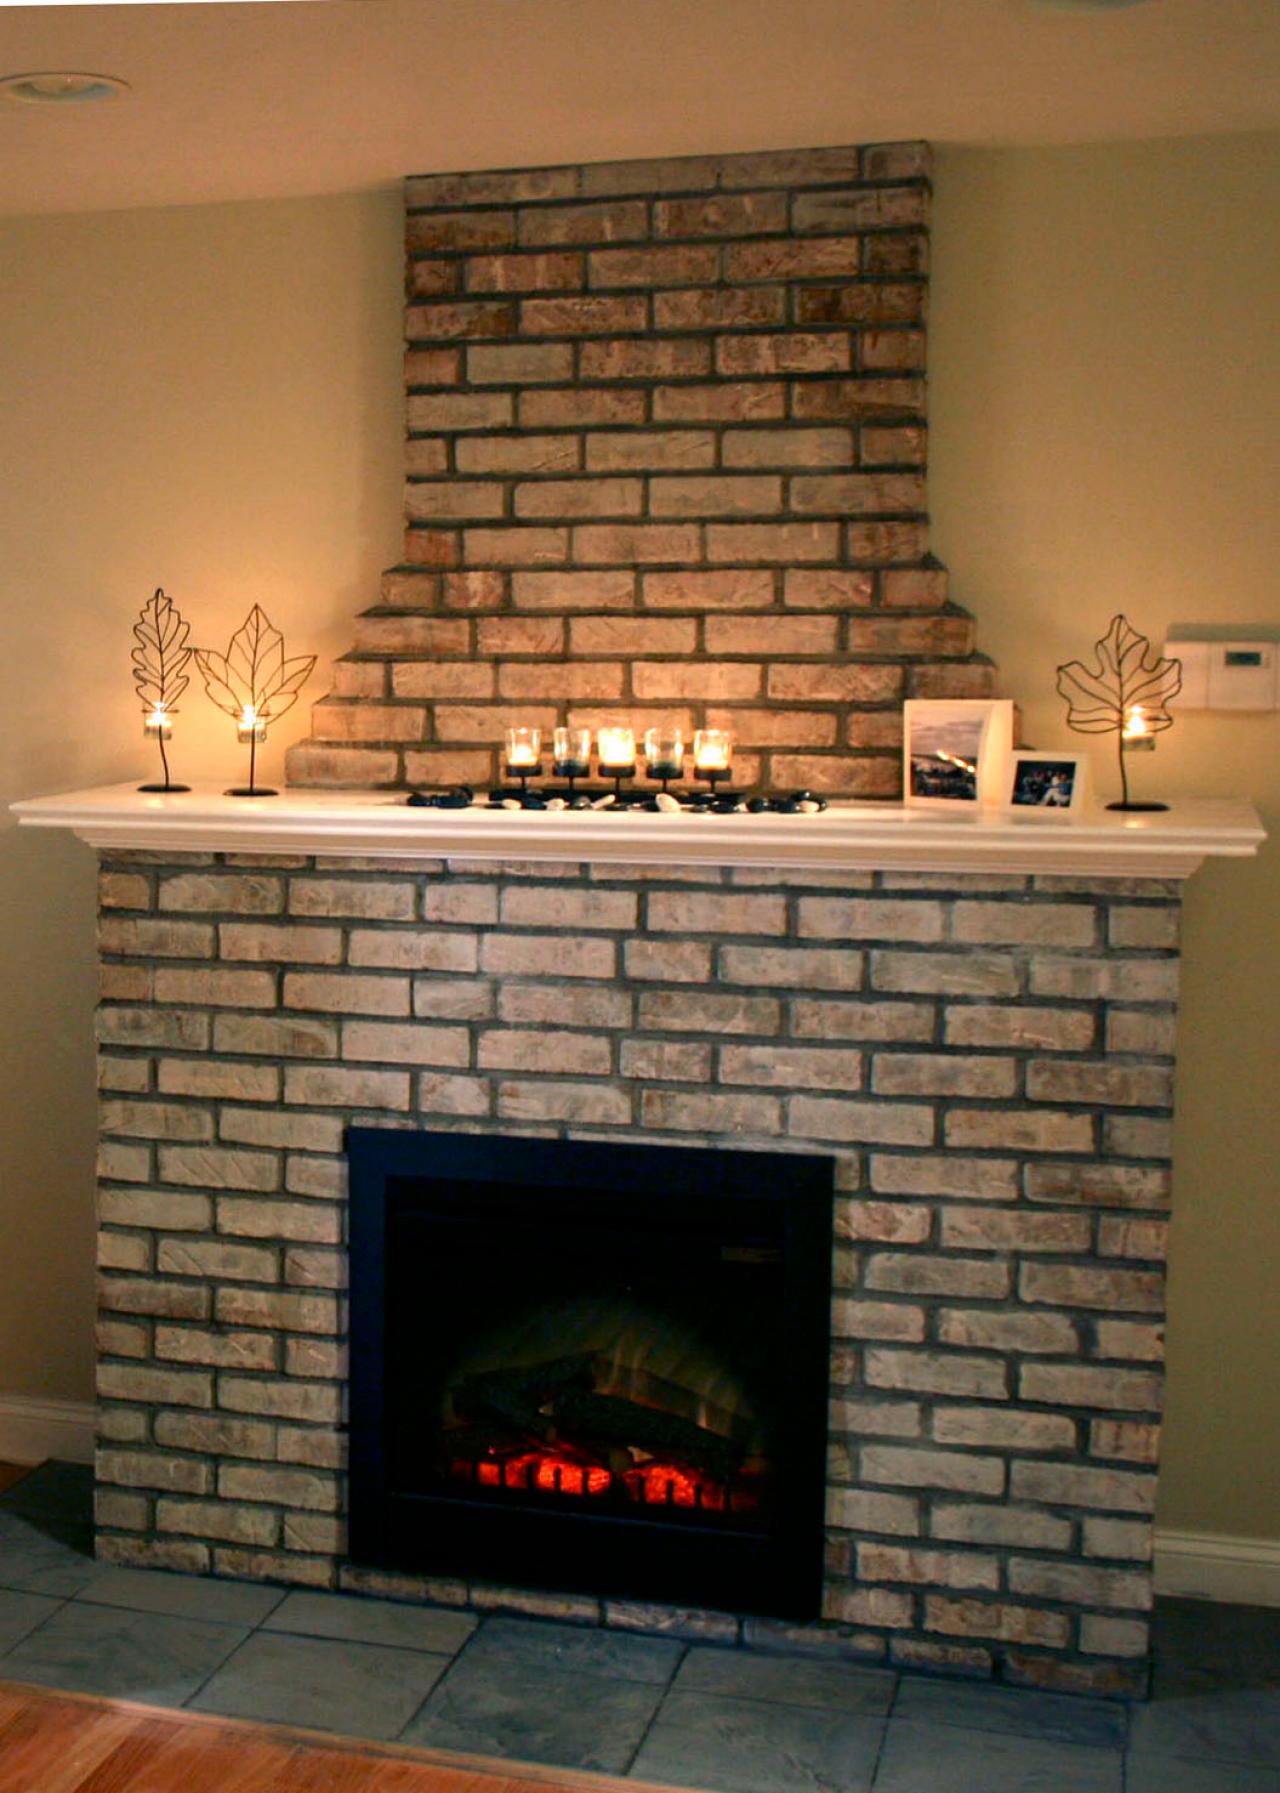
Building an Electric Fireplace with Brick Facade

Materials and Tools:
table saw or circular saw
miter saw
air compressor and hoses
finish nailer
framing nailer
grinder with diamond wheel
chalk line, level and measuring tape
notched trowel
grout and grout float
pencil
four sheets 3/4" construction-grade plywood
brick kit (call your local masonry dealer for quotes)
electric fireplace insert
12-inch slate tiles
tile mastic
striking tools
Steps:
1. Pick a fireplace shape and size. Draw it out and determine the amount of materials needed.
2. Measure for desired square footage and order the brick kit from masonry dealer.
3. Create a cut list for your fireplace frame. Use the table saw for long cuts and the circular saw or the miter saw for the cross cuts.
4. Start by framing the bump-out like a wall. The size will be determined by the size of the fireplace you are installing (check manufacturer's specifications). Build two small walls on either side of the firebox and bridge between them with 2x4s.
5. Cover the frame with plywood. This will add rigidity and also give you a surface to apply the brick veneer.

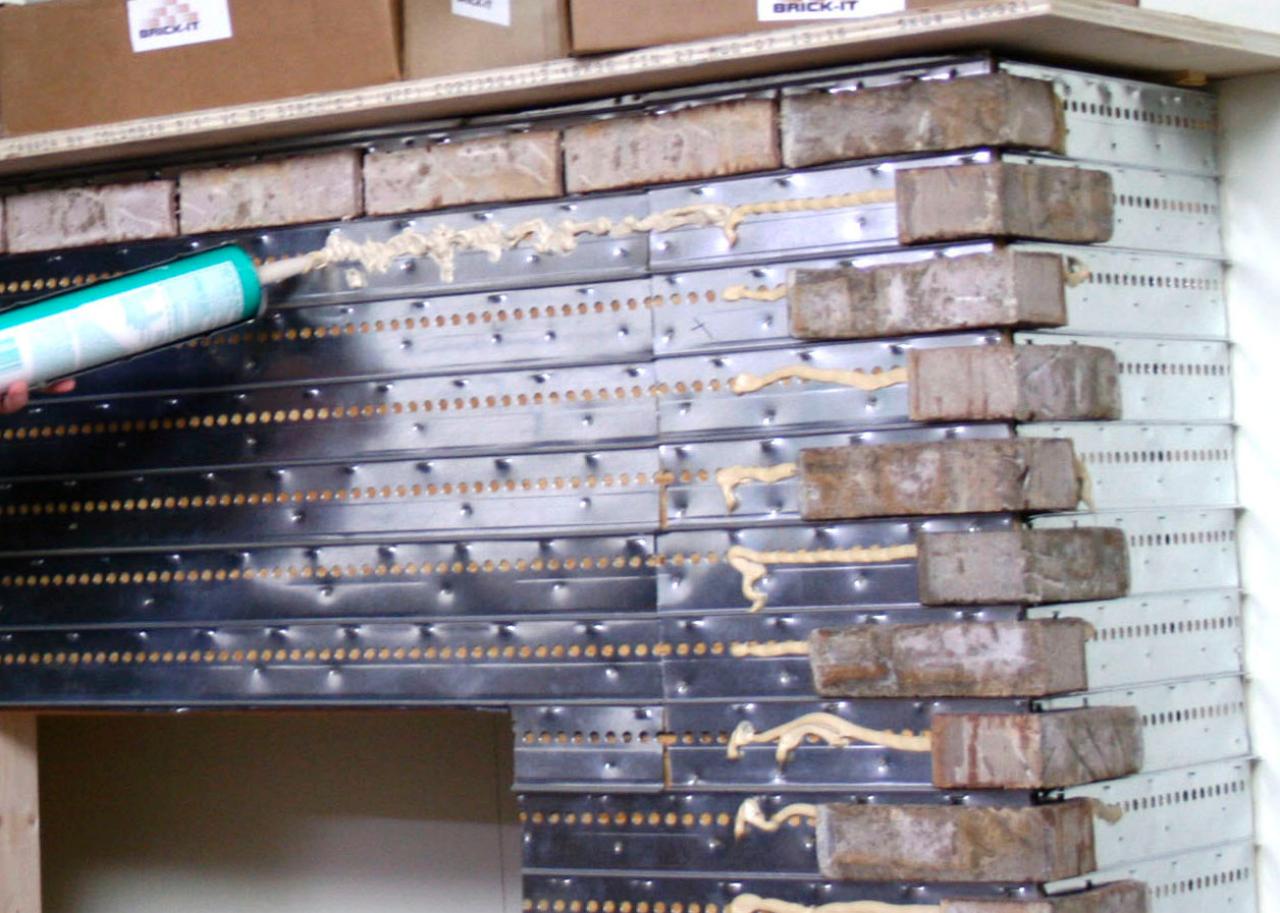
6. Attach the metal grid to the plywood with nails, staples or screws. Cover over the firebox hole then cut out the hole after the entire fireplace is covered. Use a grinder with a diamond blade to make the cuts.

7. Apply the brick adhesive one row at a time. Gently adhere the bricks starting with the corners. Make sure to keep the bricks aligned with the grid.
8. After the adhesive sets, apply the mortar to the joints with a mortar bag. Squeeze it in the cracks, like you’re decorating a cake. Wait a few minutes, and then knock it down with a striking tool.
9. When the mortar is dry, install the firebox according to the manufacturer’s instructions.
10. Tile the hearth using 12-inch slate tiles. Adhere and grout as usual.


