


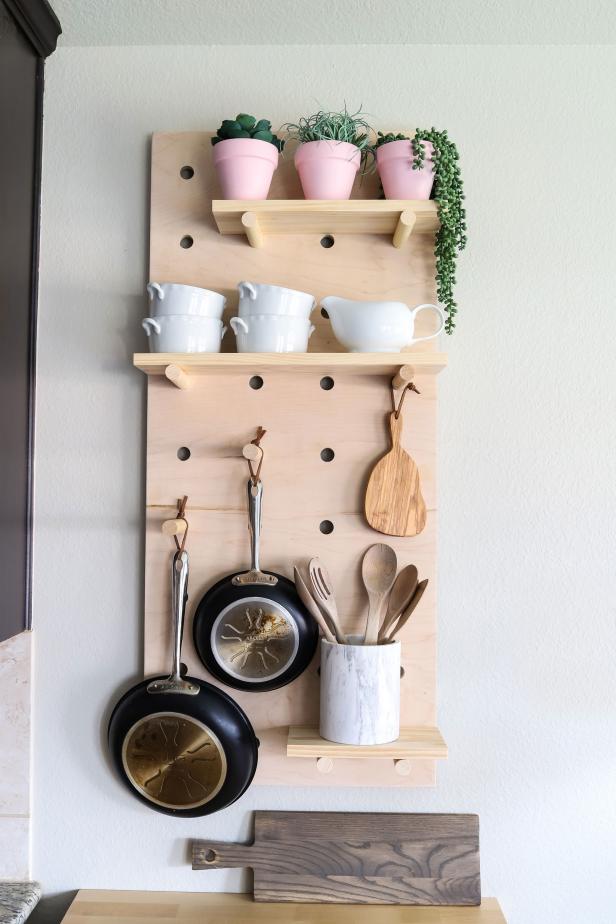
Free Up Cabinet Space With a DIY Wall-Mounted Pot Rack
If your kitchen cabinets and drawers are overcrowded, create more storage space with this easy-to-make oversized pegboard shelving system. You can customize the shelves and pegs to stylishly display your favorite pots, pans and utensils.
Jen Woodhouse
Materials
- (1) 2’ x 4’ sheet of 3/4” plywood
- (1) 2’ x 4’ pegboard sheet
- (1) 6’ dowel, 1” in diameter
- (1) 1x6 x 6’ board
- (1) 1x2 x 4’ board
- 2-1/2” wood screws
- 1-1/4” wood screws
Tools
- tape measure
- pencil
- carpenter’s square
- drill with 1” forstner bit
- circular saw
- level
- stud finder
- safety glasses
- hearing protection
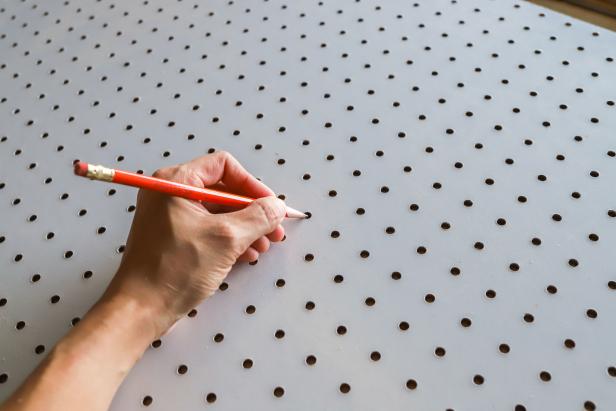
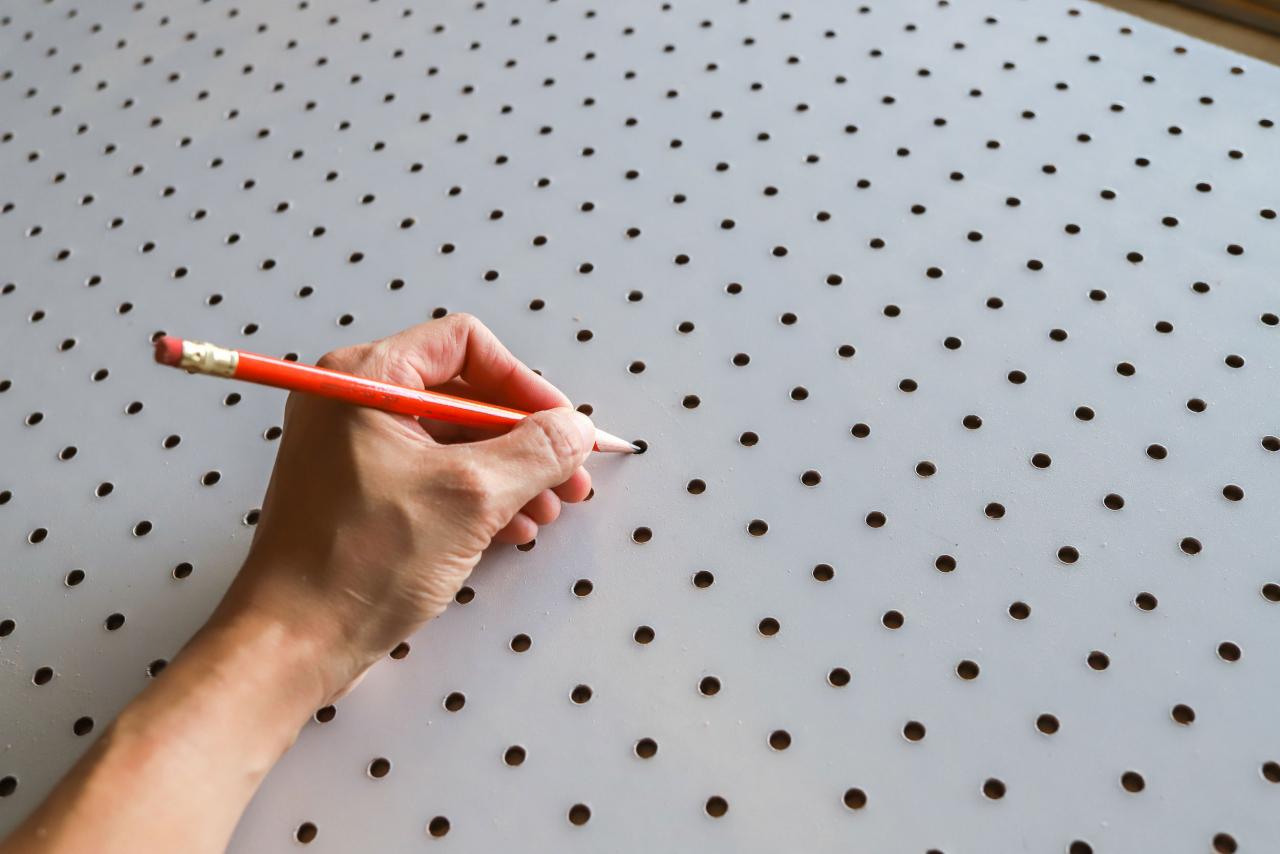
Plot Out Your Pegboard Holes
Use the pegboard as a guide. Lay the pegboard on top of the plywood and start plotting out the holes. I chose to make mine five holes apart. Use a pencil to mark through the pegboard onto the plywood.
Jen Woodhouse
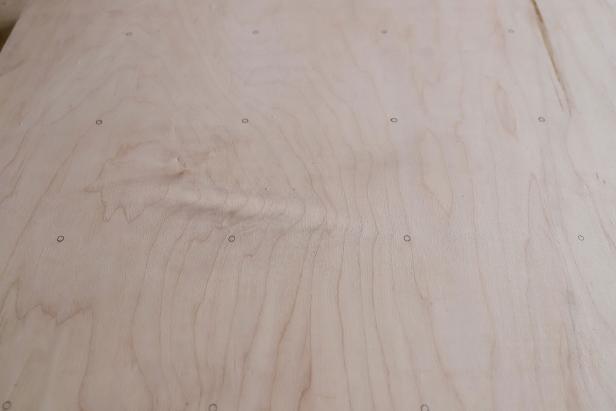
Once you remove the pegboard, you should have something that looks like this: perfectly aligned pencil marks that will serve as a drilling guide.
Jen Woodhouse
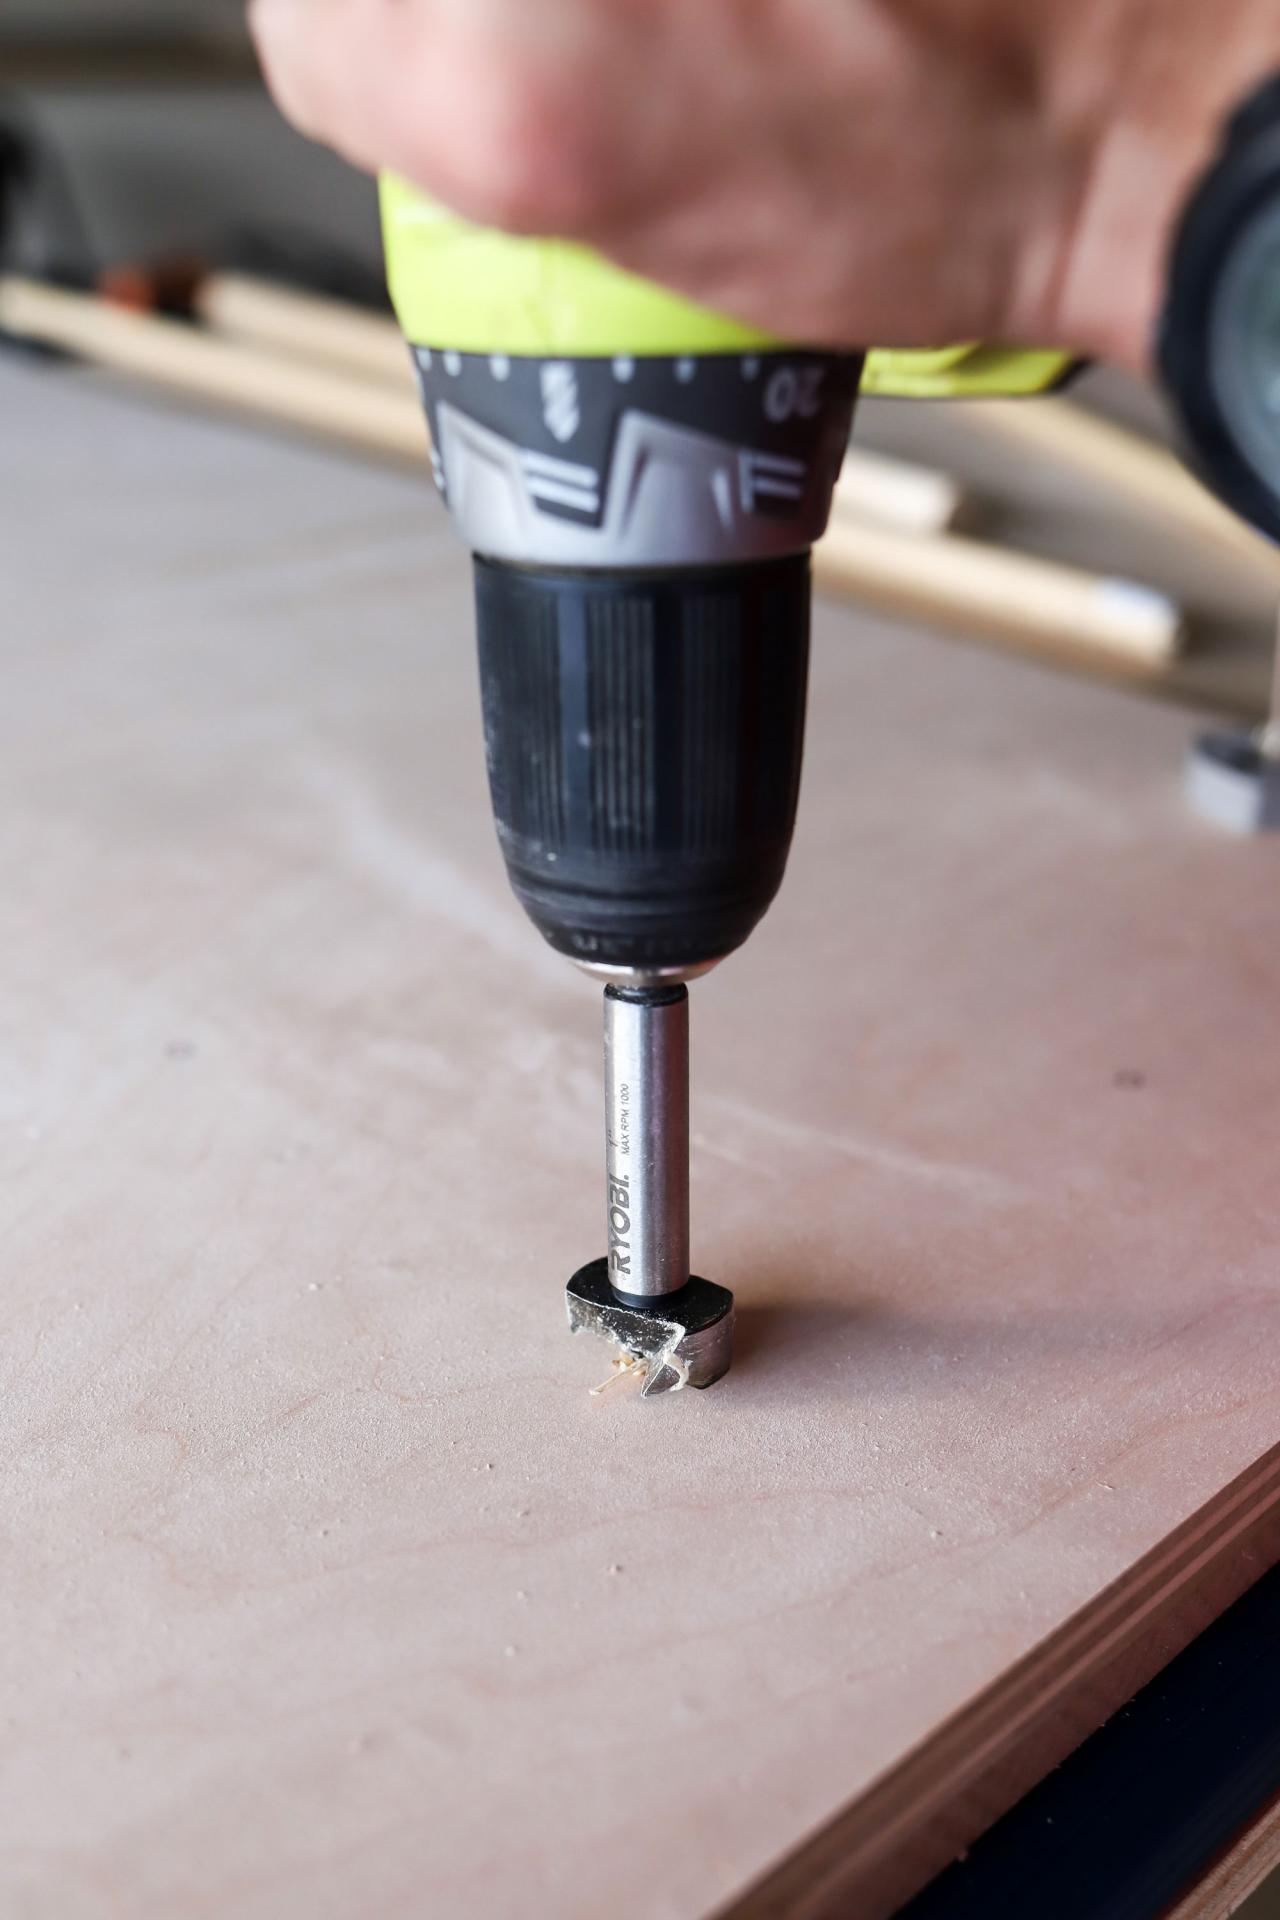
Drill the Holes
Using a drill fitted with a 1” forstner bit, begin drilling through the plywood. Be sure to keep the drill completely upright so that the holes are plumb and straight. You may also want to place a scrap board underneath to minimize tear-out on the exit side of the plywood.

Jen Woodhouse
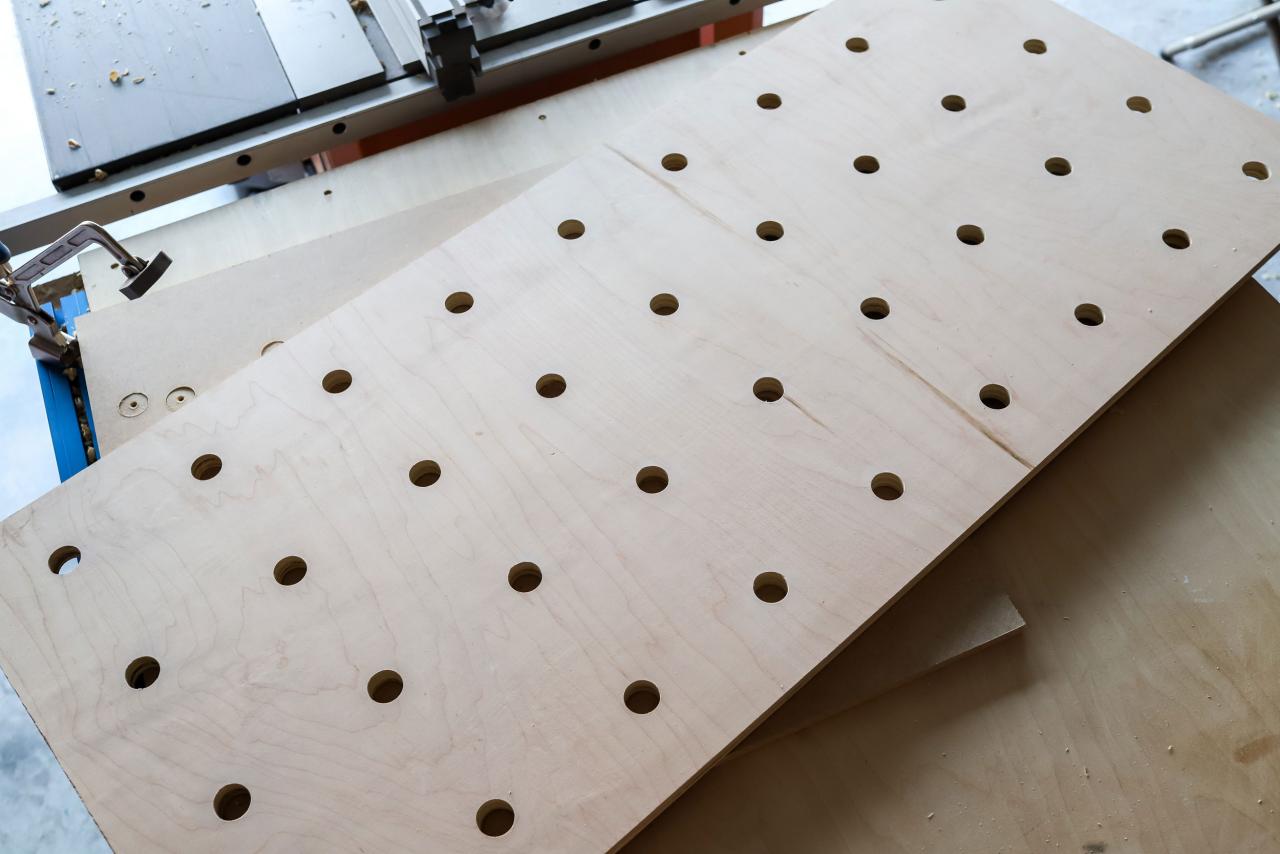
Once you drill all of the holes, your plywood sheet should look something like this:

Jen Woodhouse
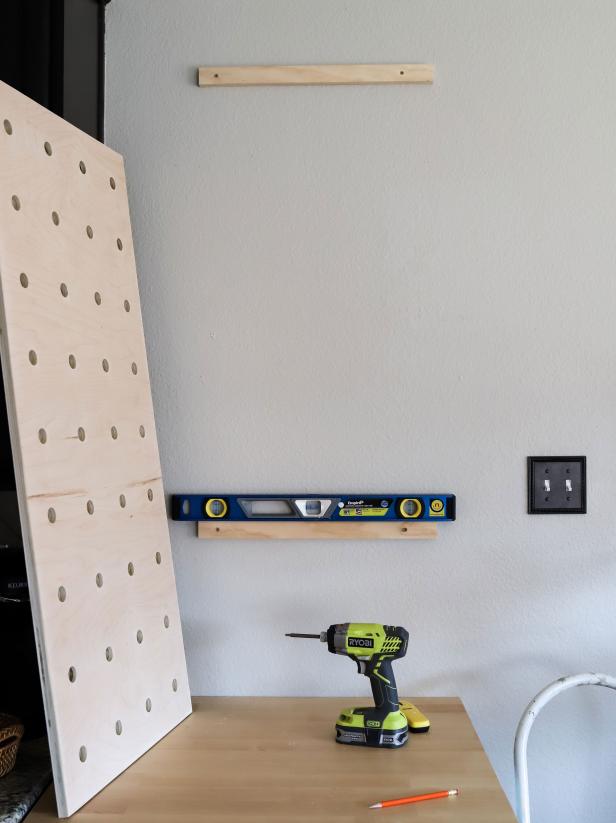
Locate the Studs and Hang the Bracing
Measure, mark and cut two 1x2 boards to the width of your plywood sheet (24”). Using a stud finder, locate the studs in the wall. Pre-drill pilot holes into the 1x2s and attach them to the wall, driving the 2-1/2” wood screws into the studs. Check for level and adjust as necessary.
Jen Woodhouse
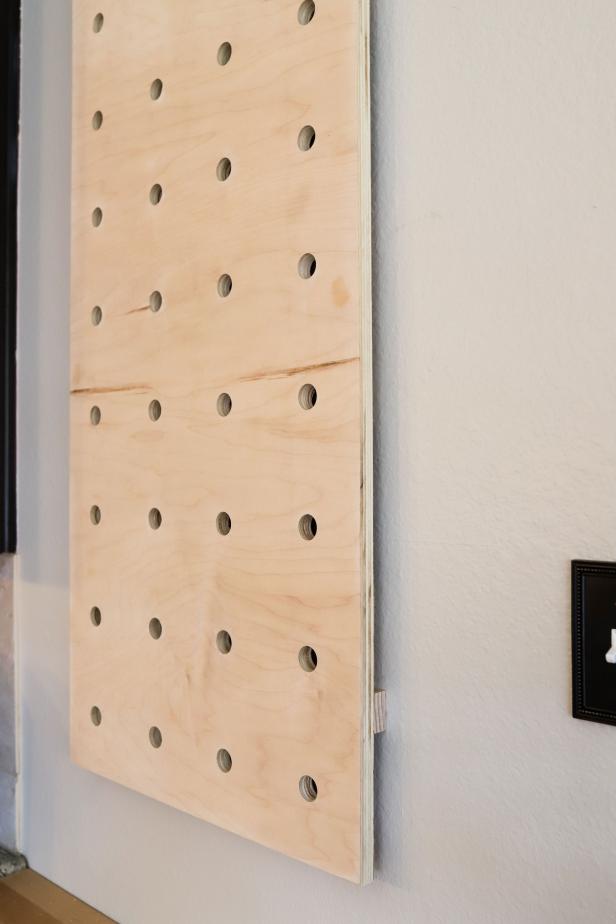
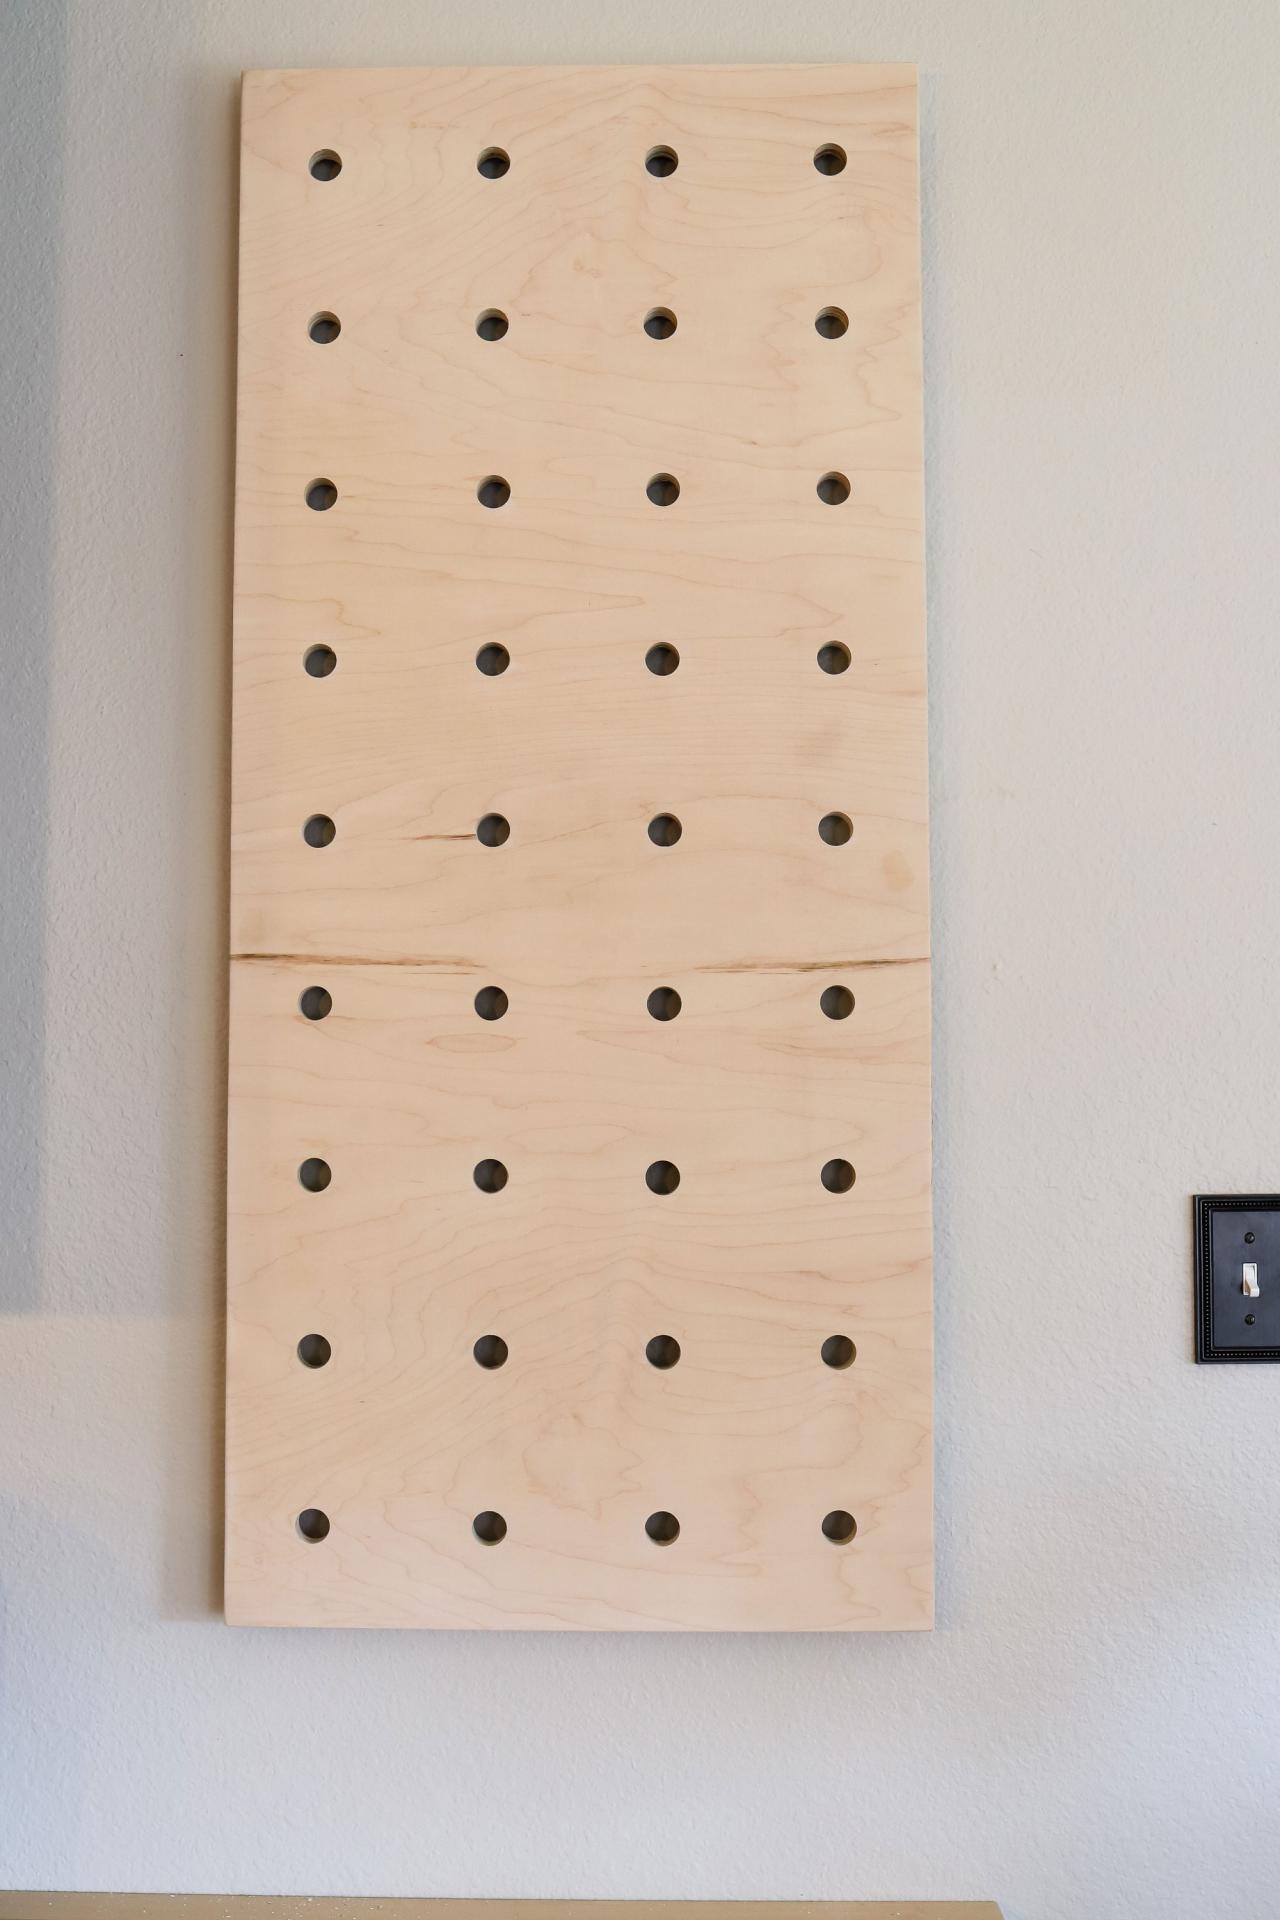
Hang the Pegboard
Pre-drill pilot holes into the plywood and attach it to the bracing with 1-1/4” wood screws. Check for level and adjust as necessary.

Jen Woodhouse
Jen Woodhouse
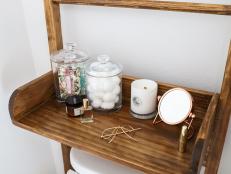
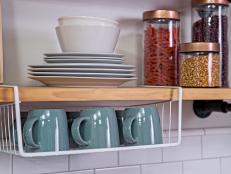
Cut the Dowels and Shelves
You can configure your pegboard shelving system in many different ways. Measure, mark and cut the dowels to your desired length. I cut my dowels to about 7” long so that they were long enough to support the 1x6 shelves and still go through the plywood and touch the wall behind it.
Measure, mark and cut the 1x6 shelves to your desired length. You can mix and match lengths, depending on your needs. Finally, simply insert the dowels and rest the shelves on top.

Jen Woodhouse

Jen Woodhouse


