


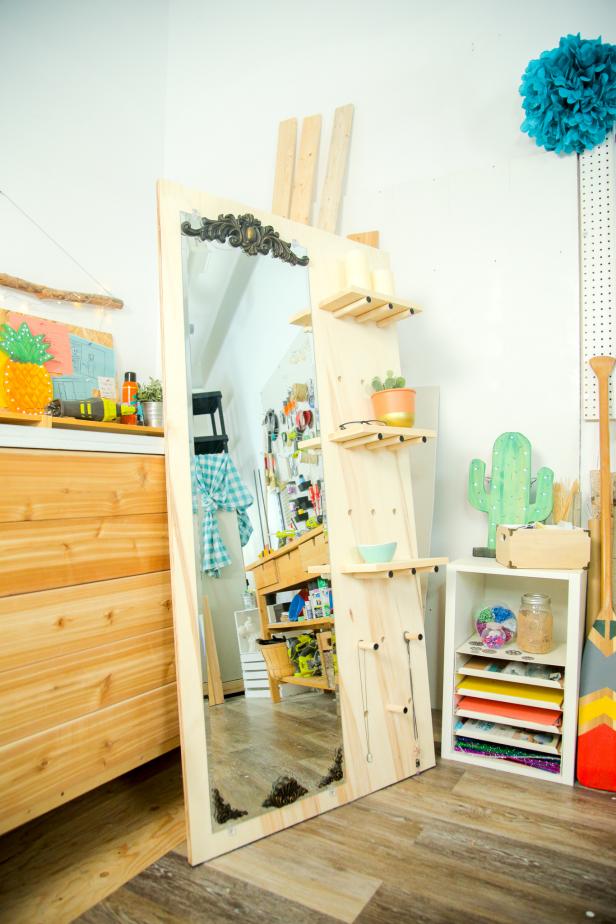
DIY Floor Mirror With Pegboard Storage
Because who doesn't love a small-space solution that looks amazing and works great at the same time?


You can save space and add storage space all in one project with a DIY pegboard mirror. Not only is this piece useful, but it’s unique and stylish, too — the best of both worlds.
Materials Needed
- 4x8 sheet 3/4" stain-grade plywood
- 1x6 x 6’ pine board
- 6’ 3/4" dowel
- orbital sander
- 220-grit sandpaper
- drill
- miter saw
- 11/16” spade bit or forstner bit
- black spray paint
- gold acrylic paint
- black acrylic paint
- paint brush
- (8) 5/8” wood screws
- mirror hanging hardware kit
- ornamental decorative moldings
- approximately 16”-x-58” frameless mirror
- painter’s tape
- straight edge
- measuring tape
- pencil
- right-angle tool
- wood glue
- E6000 glue
- stick-on rubber feet
- plastic mallet
Cut List
- 32”-x-63” 3/4" stain-grade plywood
- (9) 6” dowels
- (3) 3” dowels
- (3) 11-3/4” 1x6 shelves
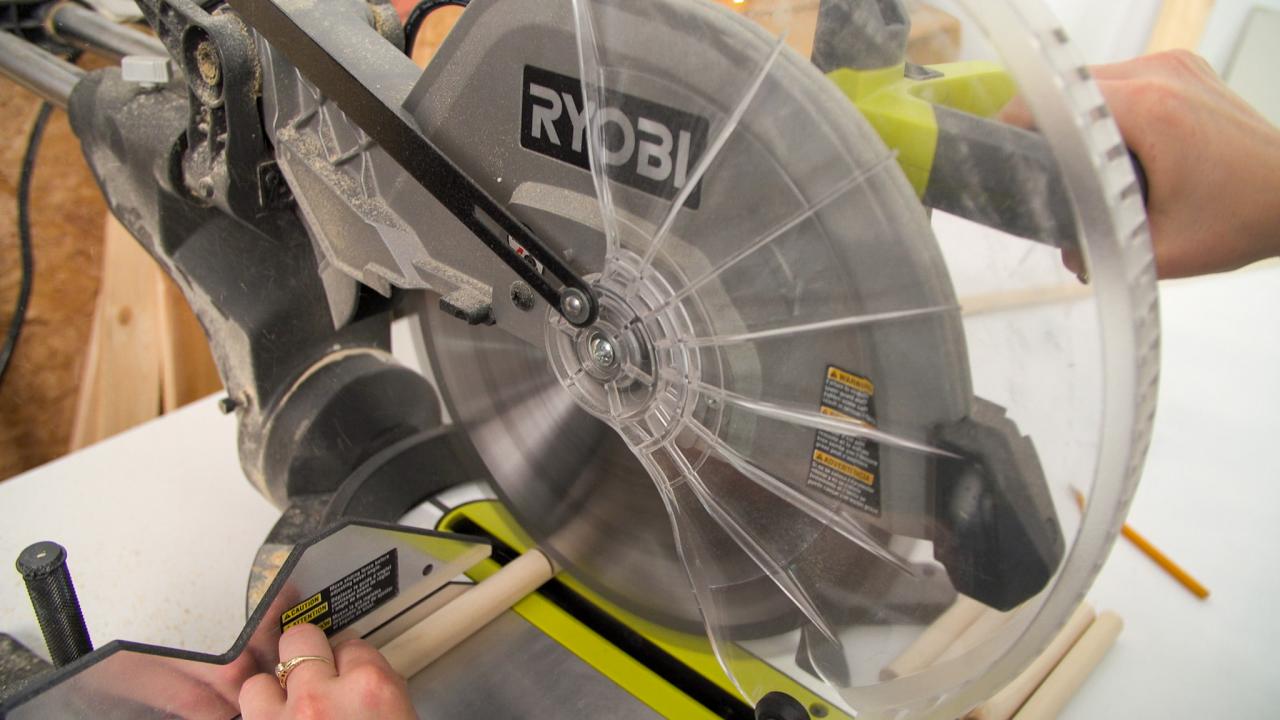
Pre-Cut Wood
Pre-cut all your wood. If necessary, most hardware stores will cut everything for you, just be sure to take your cut list with you. We decided to use aspen plywood because we are leaving the finish natural and aspen has a beautiful, light color.

RTR Media
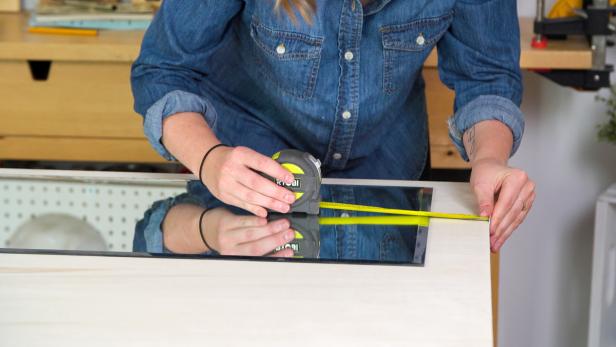
Draw Marks for Mirror
Place your mirror on the plywood sheet. The placement is completely up to you, but we opted to keep it left indented so that small shelving could be placed on the other side. The measurements are 2 inches of space on the left and bottom and 3 inches from the top. Using a pencil, lightly trace around the mirror so you have a template showing where it will be placed later. Remove mirror and set aside.
RTR Media
Mark Holes for Pegs
Mark where you want to create the peg holes. Measure 10 inches from the top and mark a line across with a straight edge from the mirror line to the right edge. Measure 3-1/2-inch gaps along the marked line to indicate where the holes need to be placed. Measure down 3/4-inches from your 10-inch line and again draw a line across with a straight edge. From the bottom of the 3/4-inch line, measure down 6-3/4 inches and again, draw a straight line with horizontal marks every 3-1/2 inches across. Repeat until you’ve completed all seven rows.

RTR Media
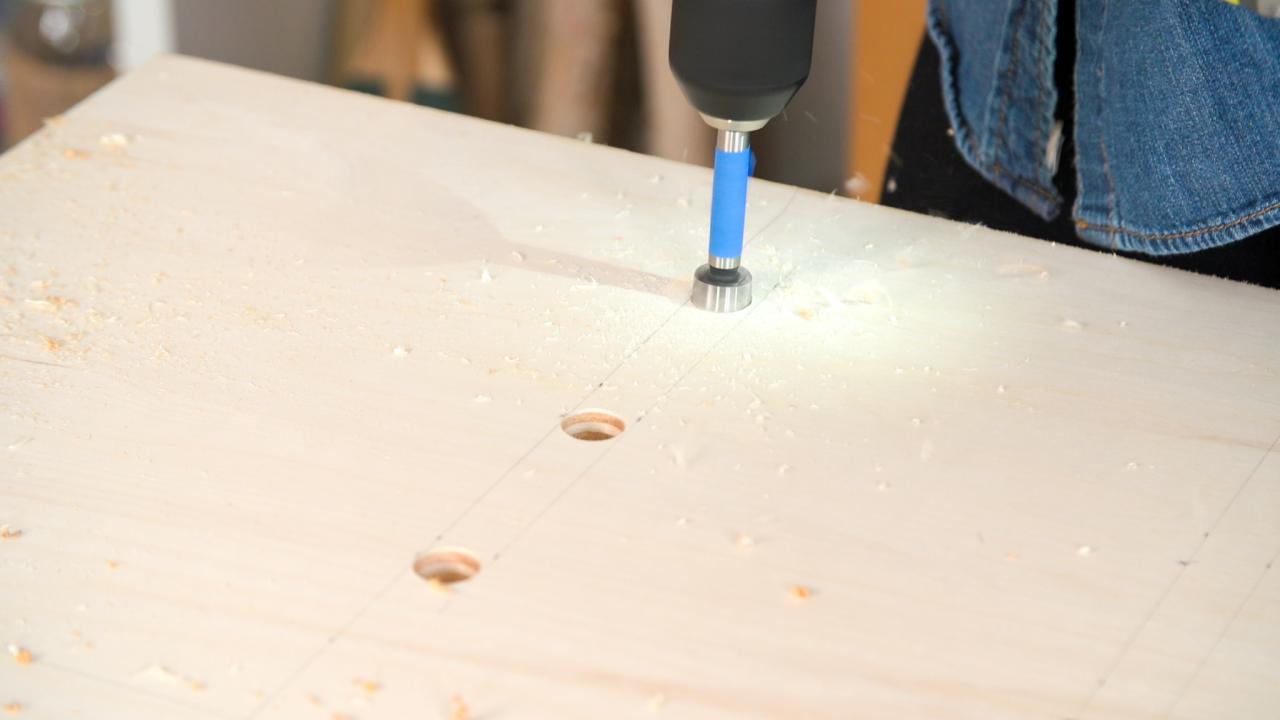
Drill Holes
Use the top line of each row as the reference for the top of your hole, staying within your 3/4-inch box. Though you’re using a 3/4-inch dowel for the pegs, a 3/4-inch dowel’s actual dimension is 11/16 inches. Source an 11/16-inch forstner bit to ensure the dowels will fit snugly in the holes. For your first row of holes, do not drill all the way through the board. This will make it much easier to secure the dowels later. To ensure you don't drill all the way through, measure 1/2 inches of depth on your bit and use painter’s tape to mark the surface line. The painter’s tape allows you to see when you’ve penetrated the wood enough. After the first row of holes has been created, do the same for the other rows. When you get to the second row, drill all the way through the board, as these holes will be created for looks only. The idea here is, if you plan to put a dowel in the hole, don't drill all the way through. If it’s completely aesthetic, drill through. Three rows are designated for shelves, and the rest are totally up to you.

RTR Media
Pro Tip: To avoid wood blow-out on the backside of the board, place a scrap piece of wood underneath the board and secure it with a clamp. You can also add painter’s tape on the top to keep the surface of the board from tearing too much. Plywood is delicate, so it pays to prep.
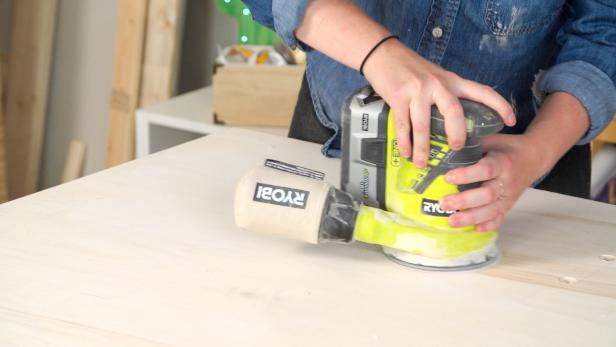
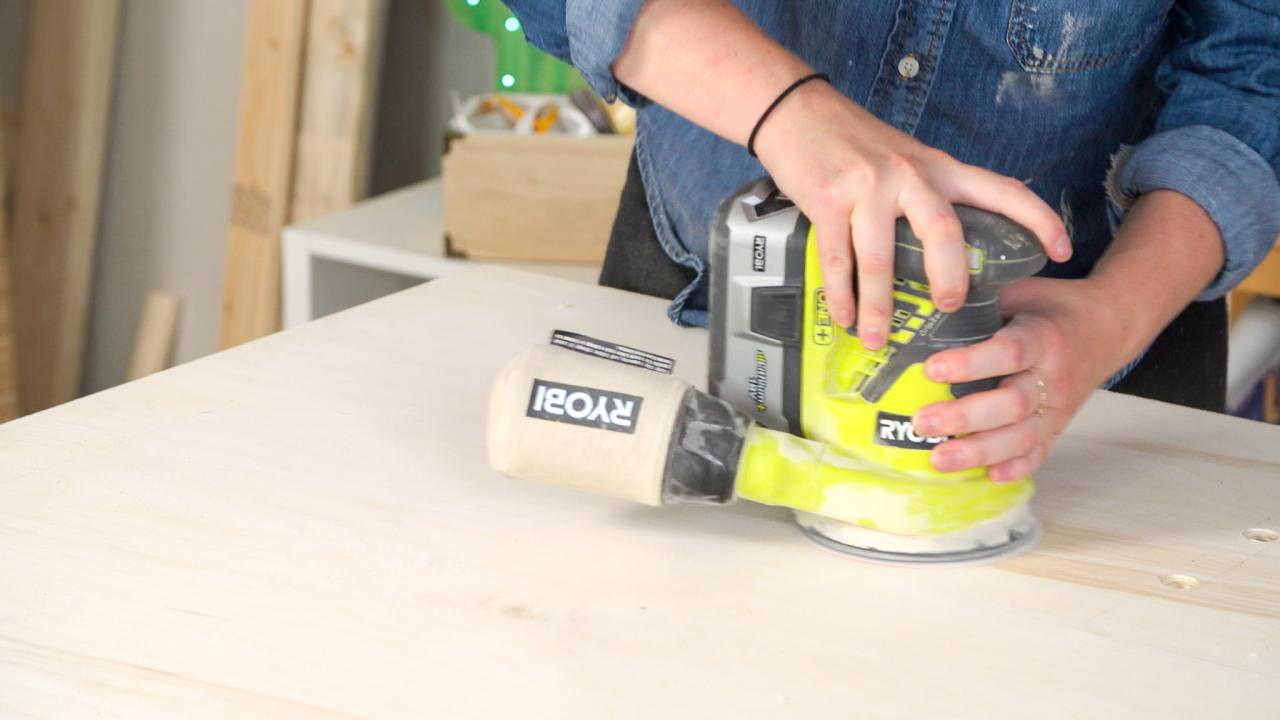
Sand All Wood
Using a 220-grit paper, lightly sand down the dowels, shelves and the edges of your plywood sheet.
RTR Media
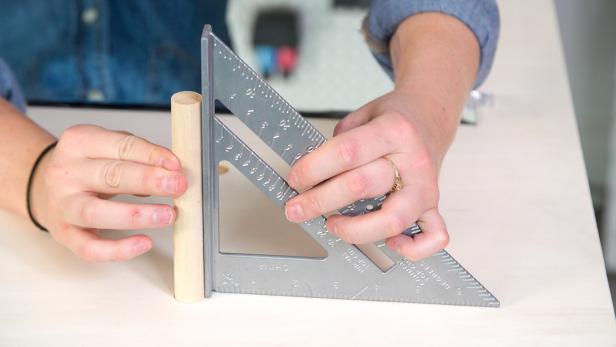
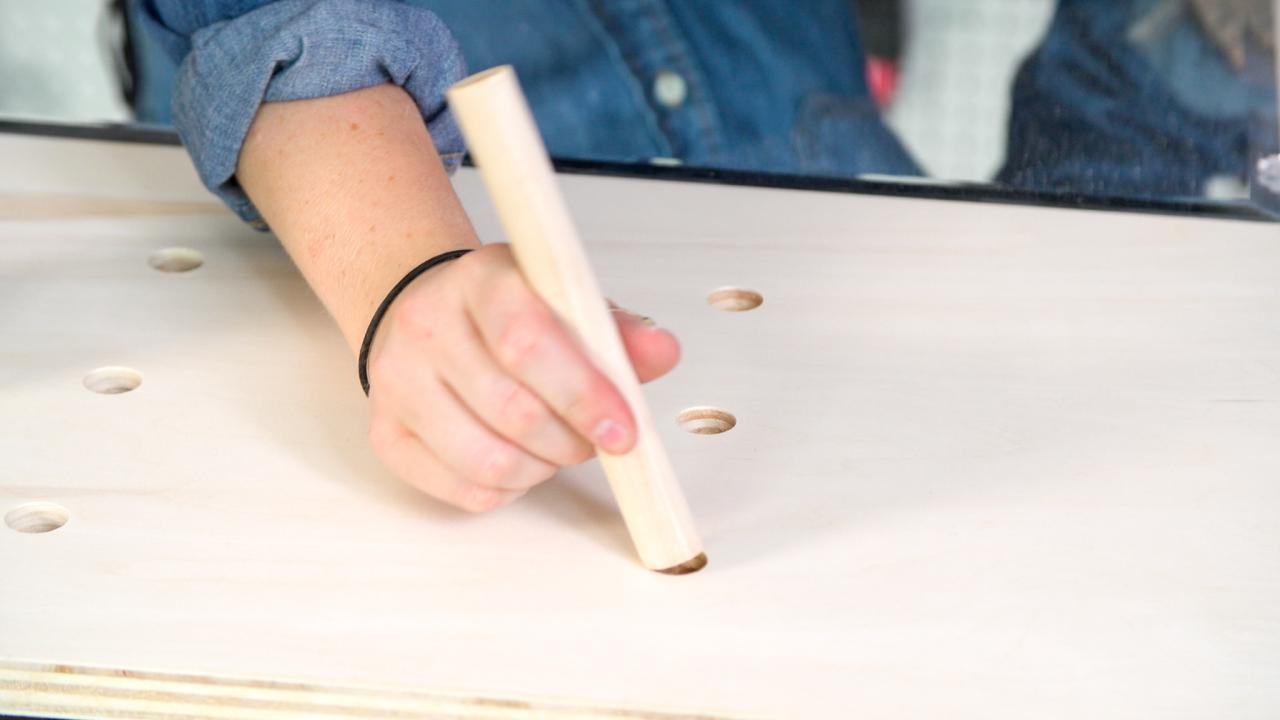
Glue Dowels
Apply wood glue to the bottom of each dowel and inside the holes you are placing them (Image 1) then insert dowels (Image 2). If the hole is tight, use a plastic mallet to lightly tap it in. To make sure they are straight, use a right-angle tool to align before fully dry (Image 3).

RTR Media

RTR Media
RTR Media
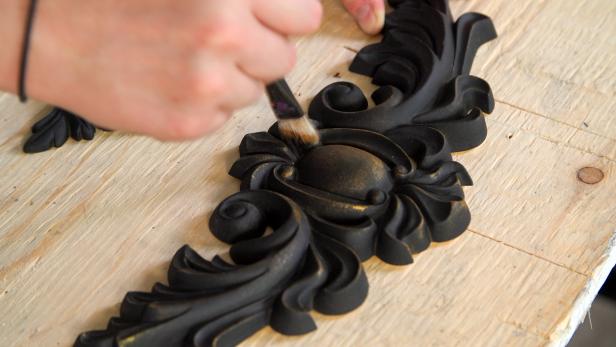
Paint Decorative Molding
To give this piece some personality, source ornate moldings and spray paint them black. You can also paint the tips of the exposed dowels to match the look. Once the spray paint has dried, add a gold touch by brushing gold paint onto the molding.
RTR Media
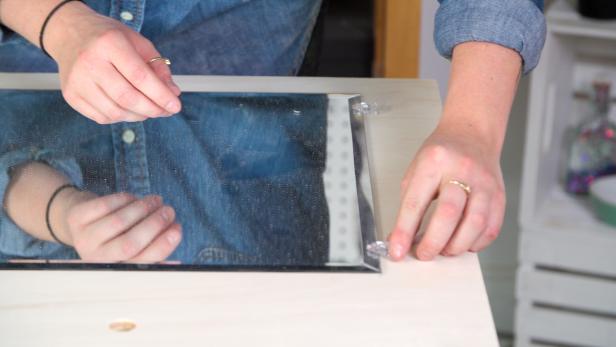
Attach Mirror
Use a mirror hanging kit to attach your mirror to the plywood. The screws that come in the pack will likely be too long for the 3/4-inch plywood, so instead use 5/8-inch wood screws.
RTR Media
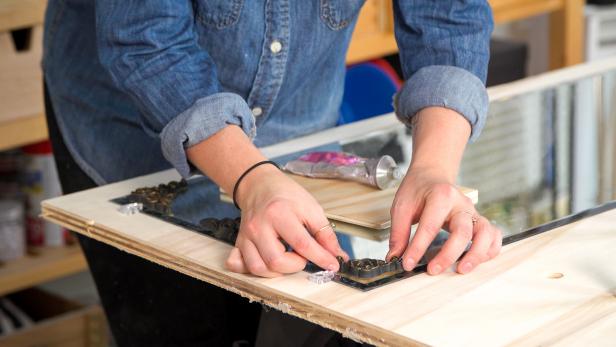
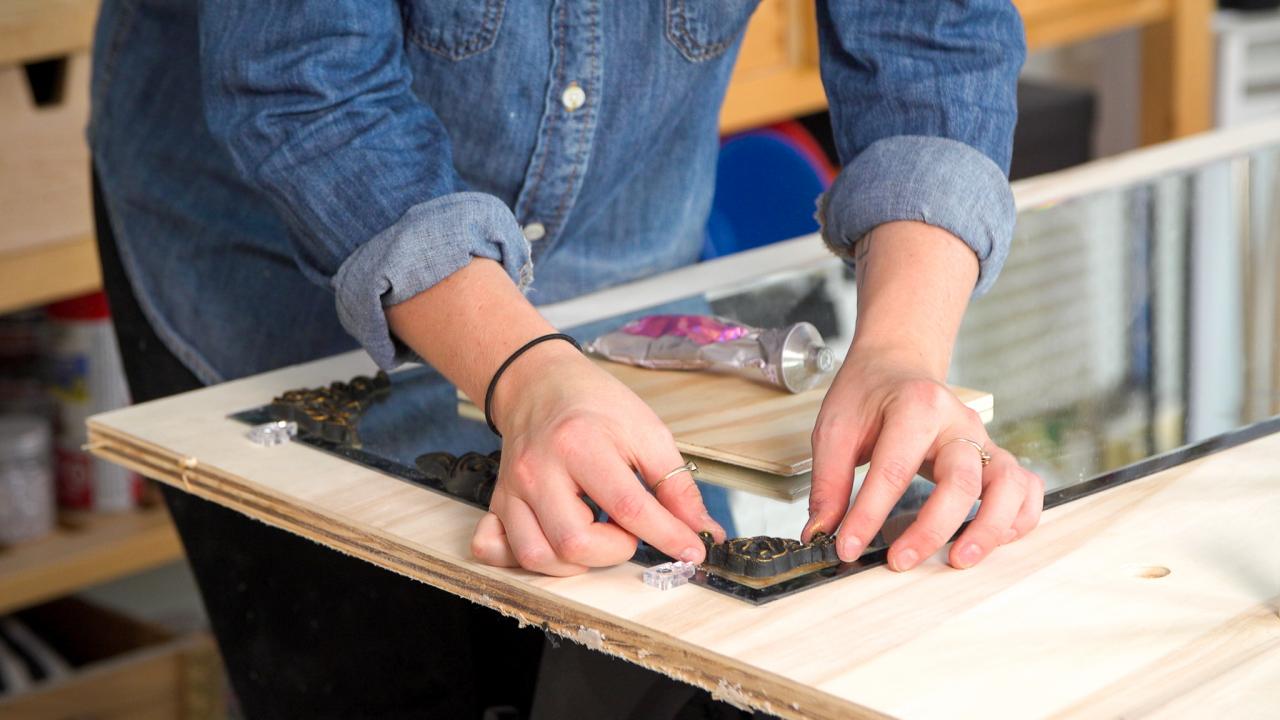
Attach Molding
Now that the molding has dried, attach it around the mirror using E6000 glue. To ensure better results, hold the glued pieces in place until the glue gets tacky (approximately two minutes).
RTR Media
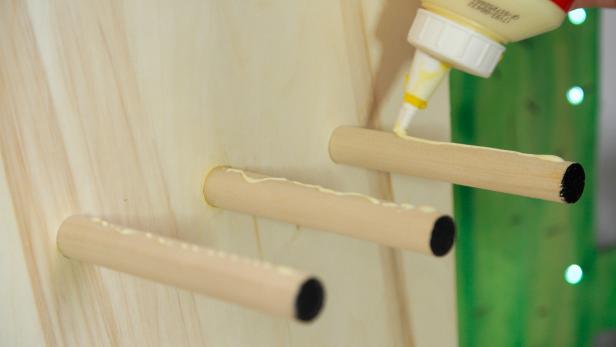
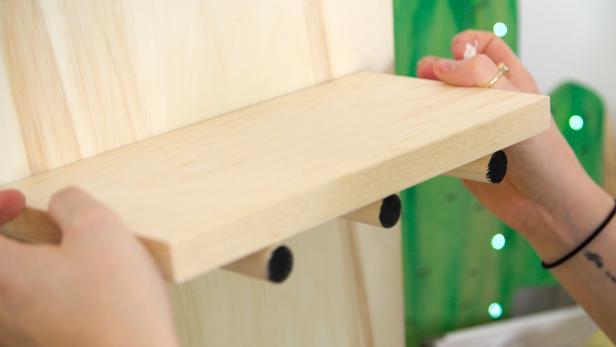
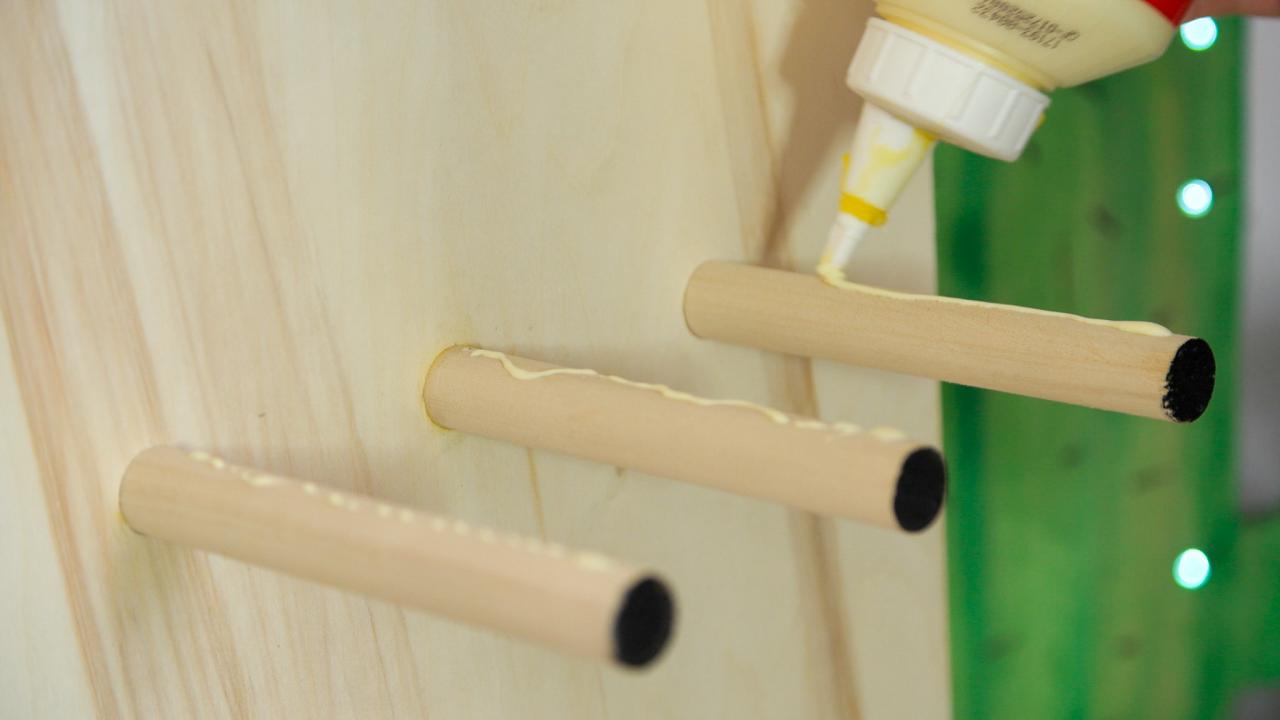
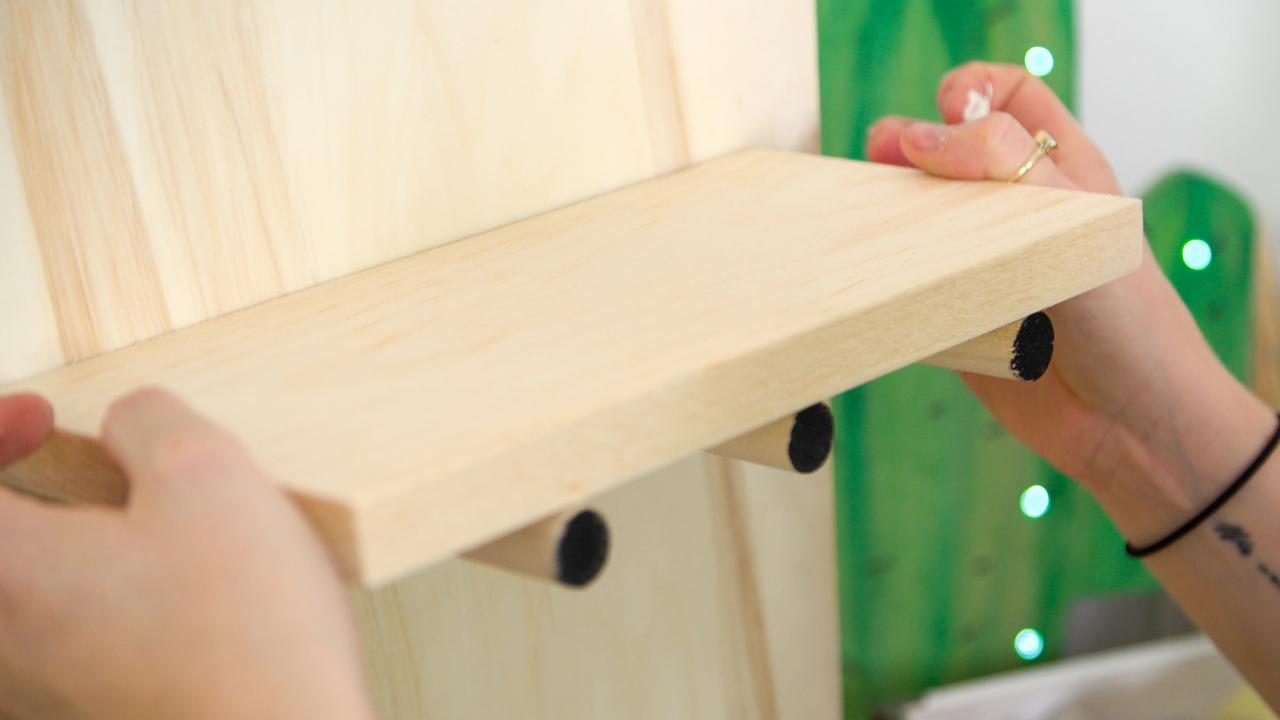
Finishing Touches
To ensure the board doesn’t slip or slide on the floor, add stick-on rubber feet to the bottom edge of your board. You will likely need to cut these to size using scissors. To help keep the shelves secure, apply a small bit of wood glue across the top of the exposed dowels you plan to put shelves on before adding the shelf pieces (Images 1 and 2).
RTR Media
RTR Media
RTR Media


