


How to Make Ice Cream Cone Party Balloons

Ice Cream Balloons
These floating cones are a sweet way to decorate for an ice cream party! You’ll need: latex balloons, a bottle of latex balloon sealant, helium tank, ribbon, scissors, craft knife, brown craft paper, brown wide-tip marker, pencil and double-sided tape.

Materials Needed
latex balloons
latex balloon sealant
helium tank
ribbon
scissors
craft knife
brown Kraft paper
brown wide-tip marker
pencil
double-sided tape
dinner plate
Cut Paper for Cone
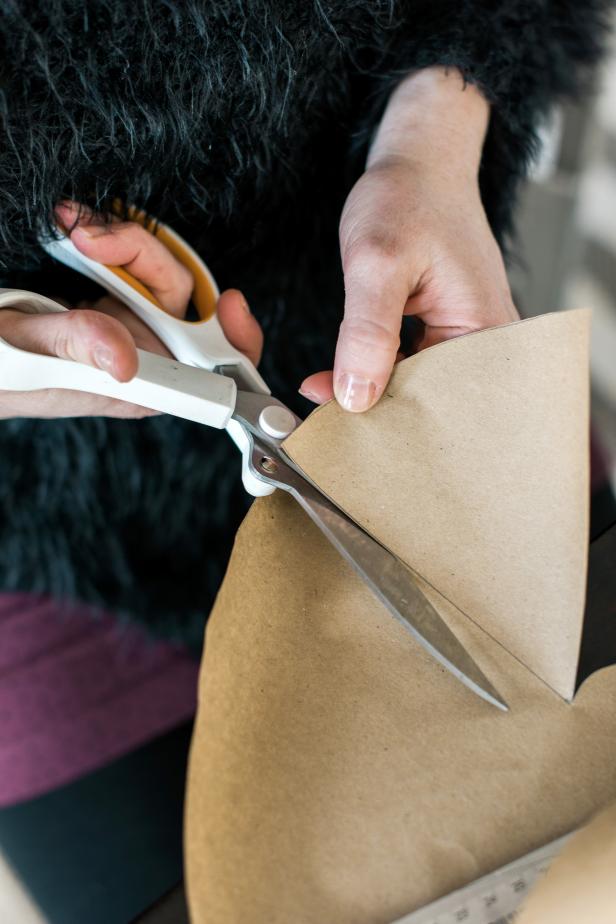
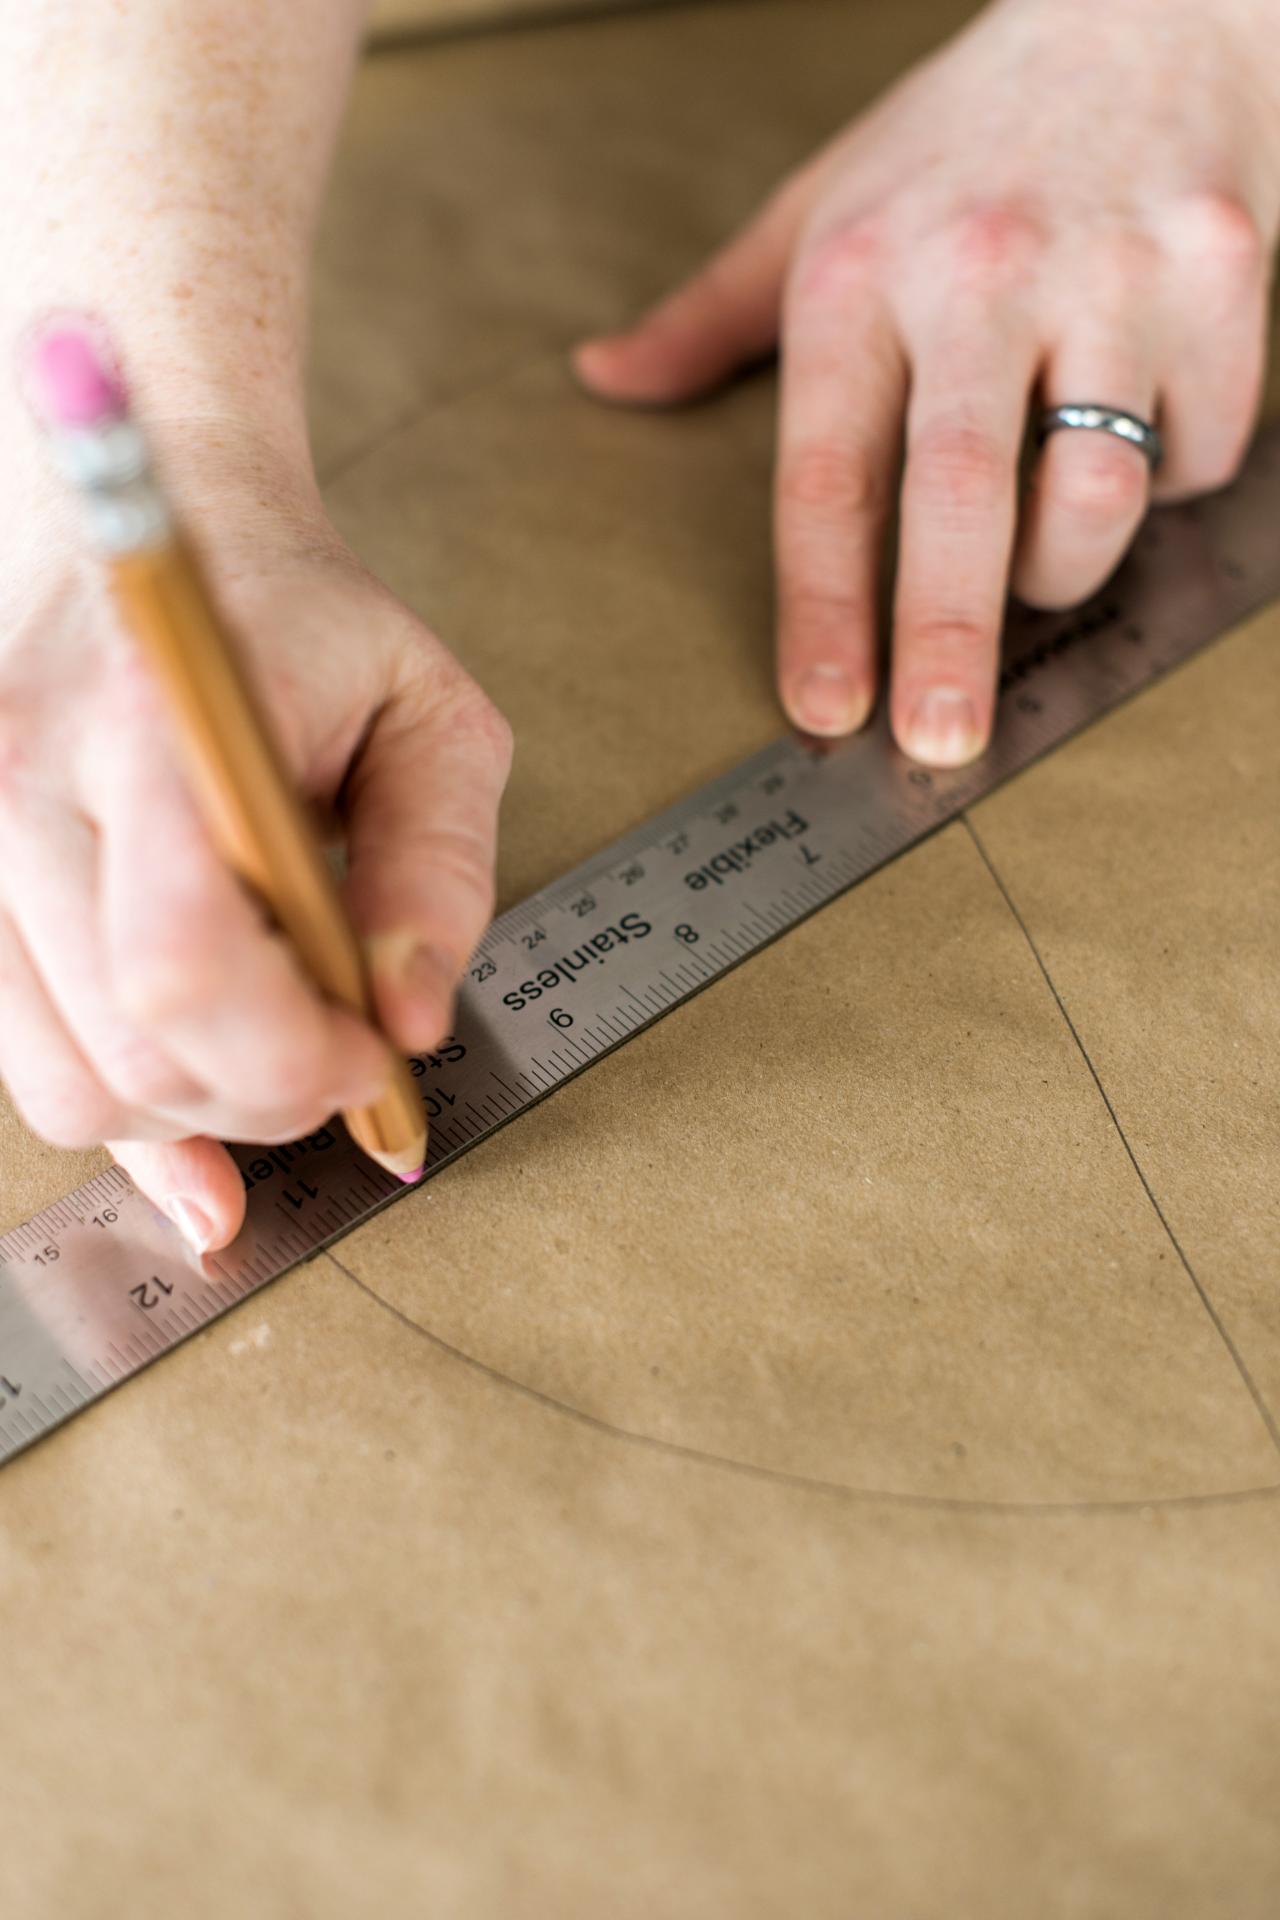
Use a dinner plate and pencil to trace a large circle onto brown Kraft paper (Image 1). Find the center of the circle and, using the ruler and pencil, draw two lines out from the center to create a wedge that's about 1/5 the area of the entire circle (Image 2). Use scissors to cut out the circle and wedge to create the cone template (Image 3). Tip: The finished shape should look like a pie with a piece cut out of it.


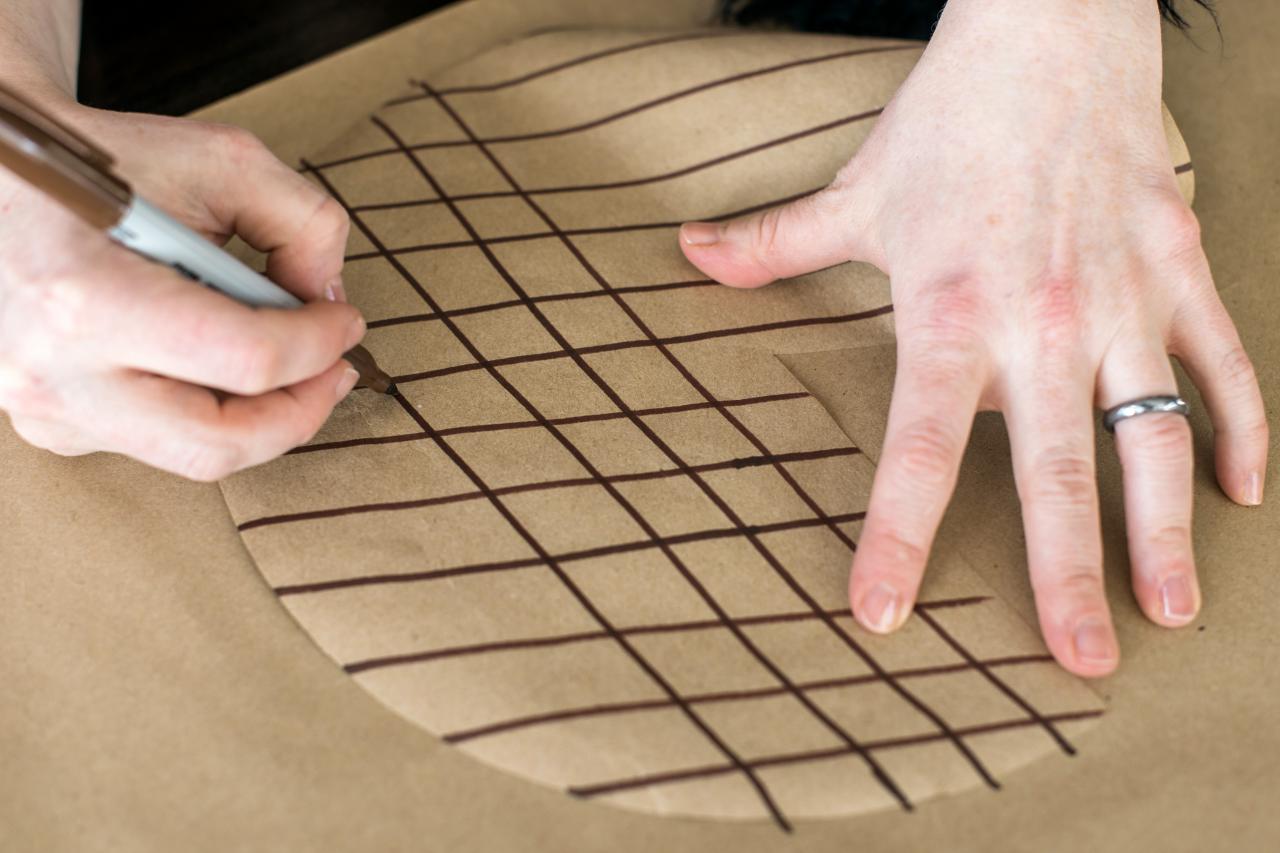
Add Waffle Cone Texture
Using a brown marker, draw parallel lines along the paper, rotate, then draw more parallel lines to create a crisscross pattern reminiscent of a waffle cone

Add a Diamond Pattern
Draw a diamond pattern on the paper with a brown marker. Start out by drawing parallel lines about ½" apart across the brown paper. Then, rotate the paper ¼ of a turn and draw more parallel lines.
Inflate Balloon and Attach Cone
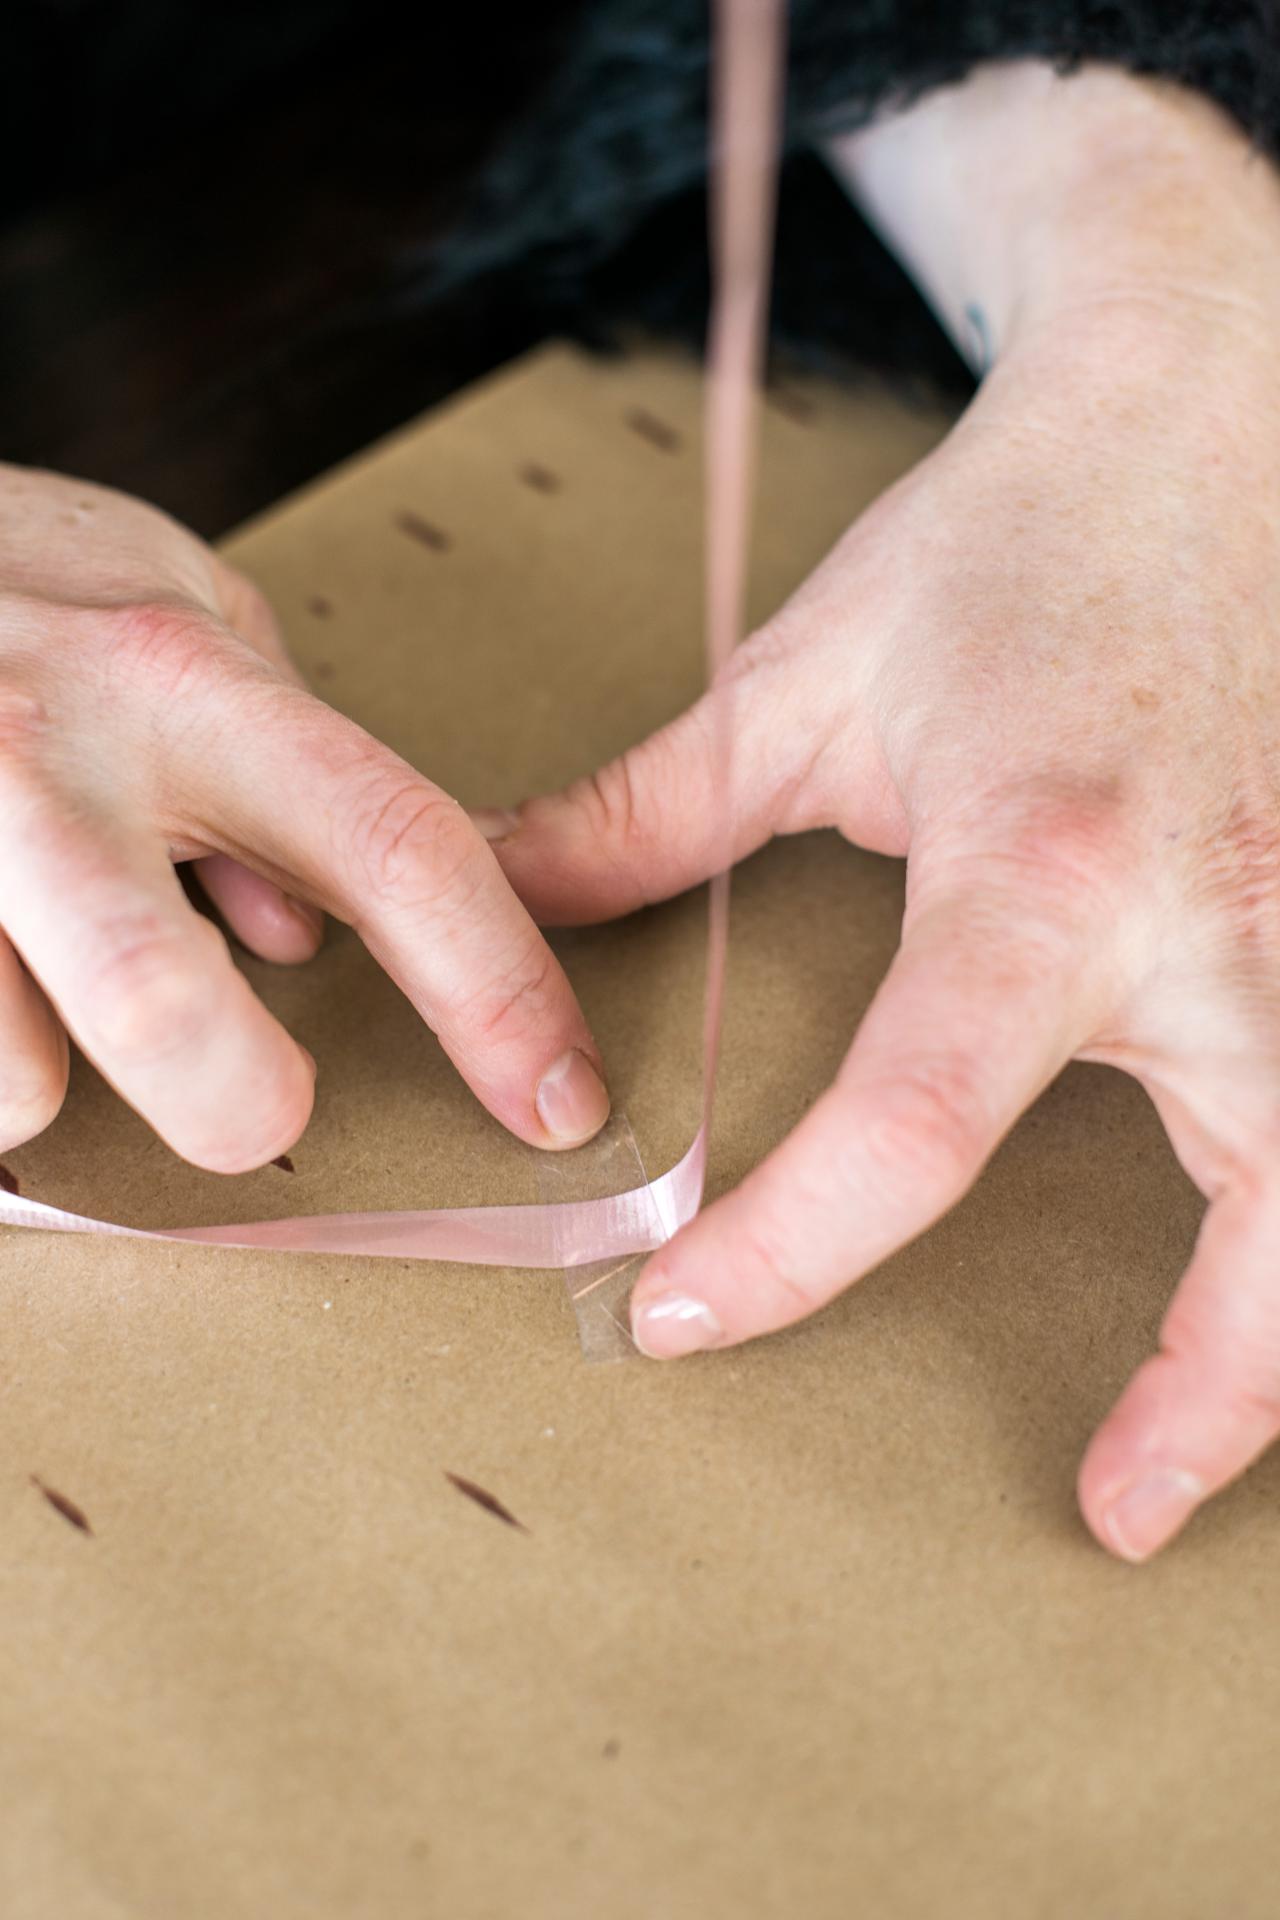
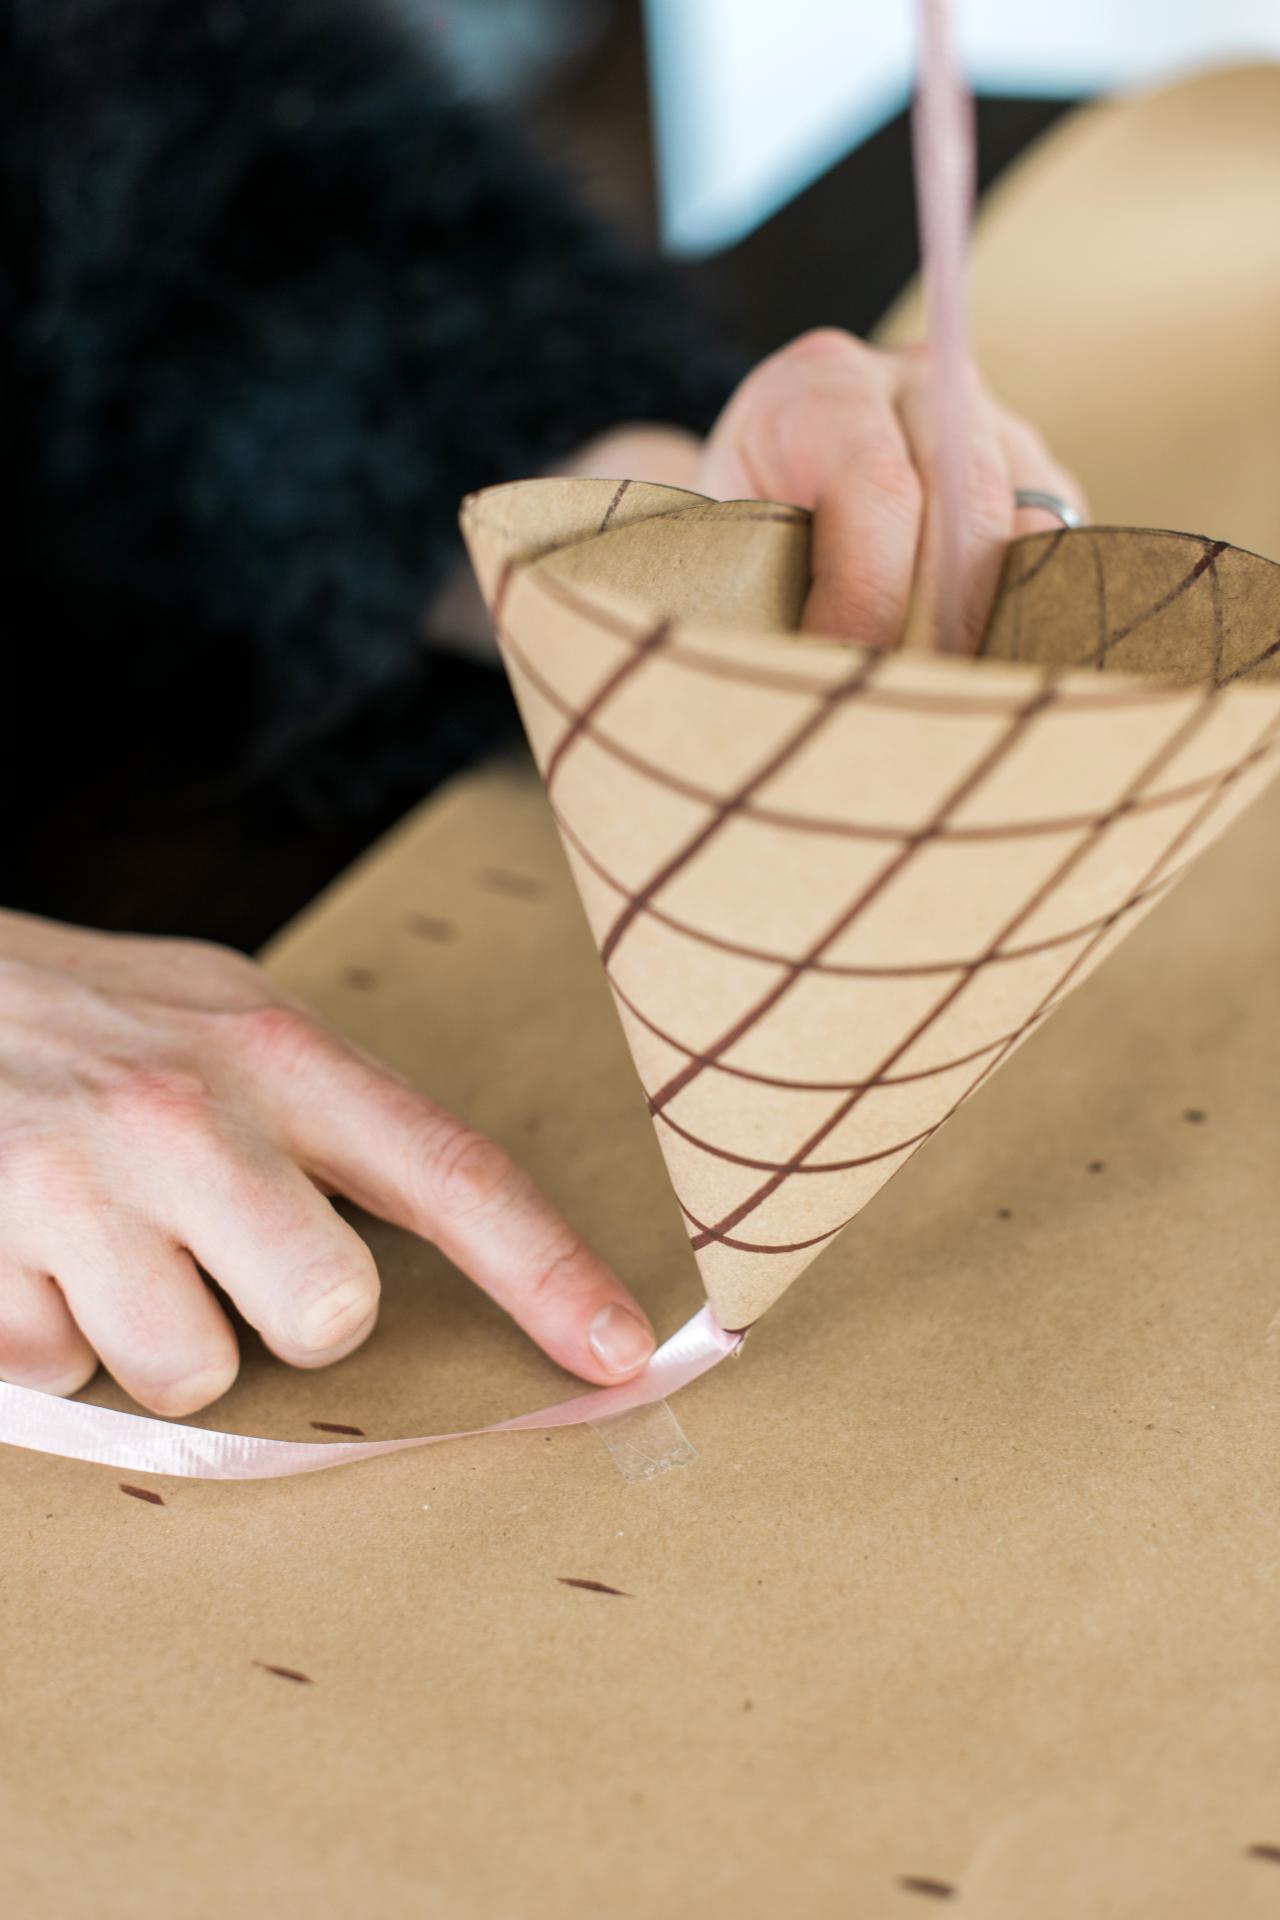
Add latex balloon sealant to an empty balloon per the manufacturer's instructions. Fully inflate the balloon with helium. Tie off the balloon with ribbon, then tape the end of the ribbon to a flat surface (Image 1). Wrap the brown paper around the ribbon near the spot where it's attached to the table, making sure that the cone squeezes the ribbon at the bottom (Image 2).


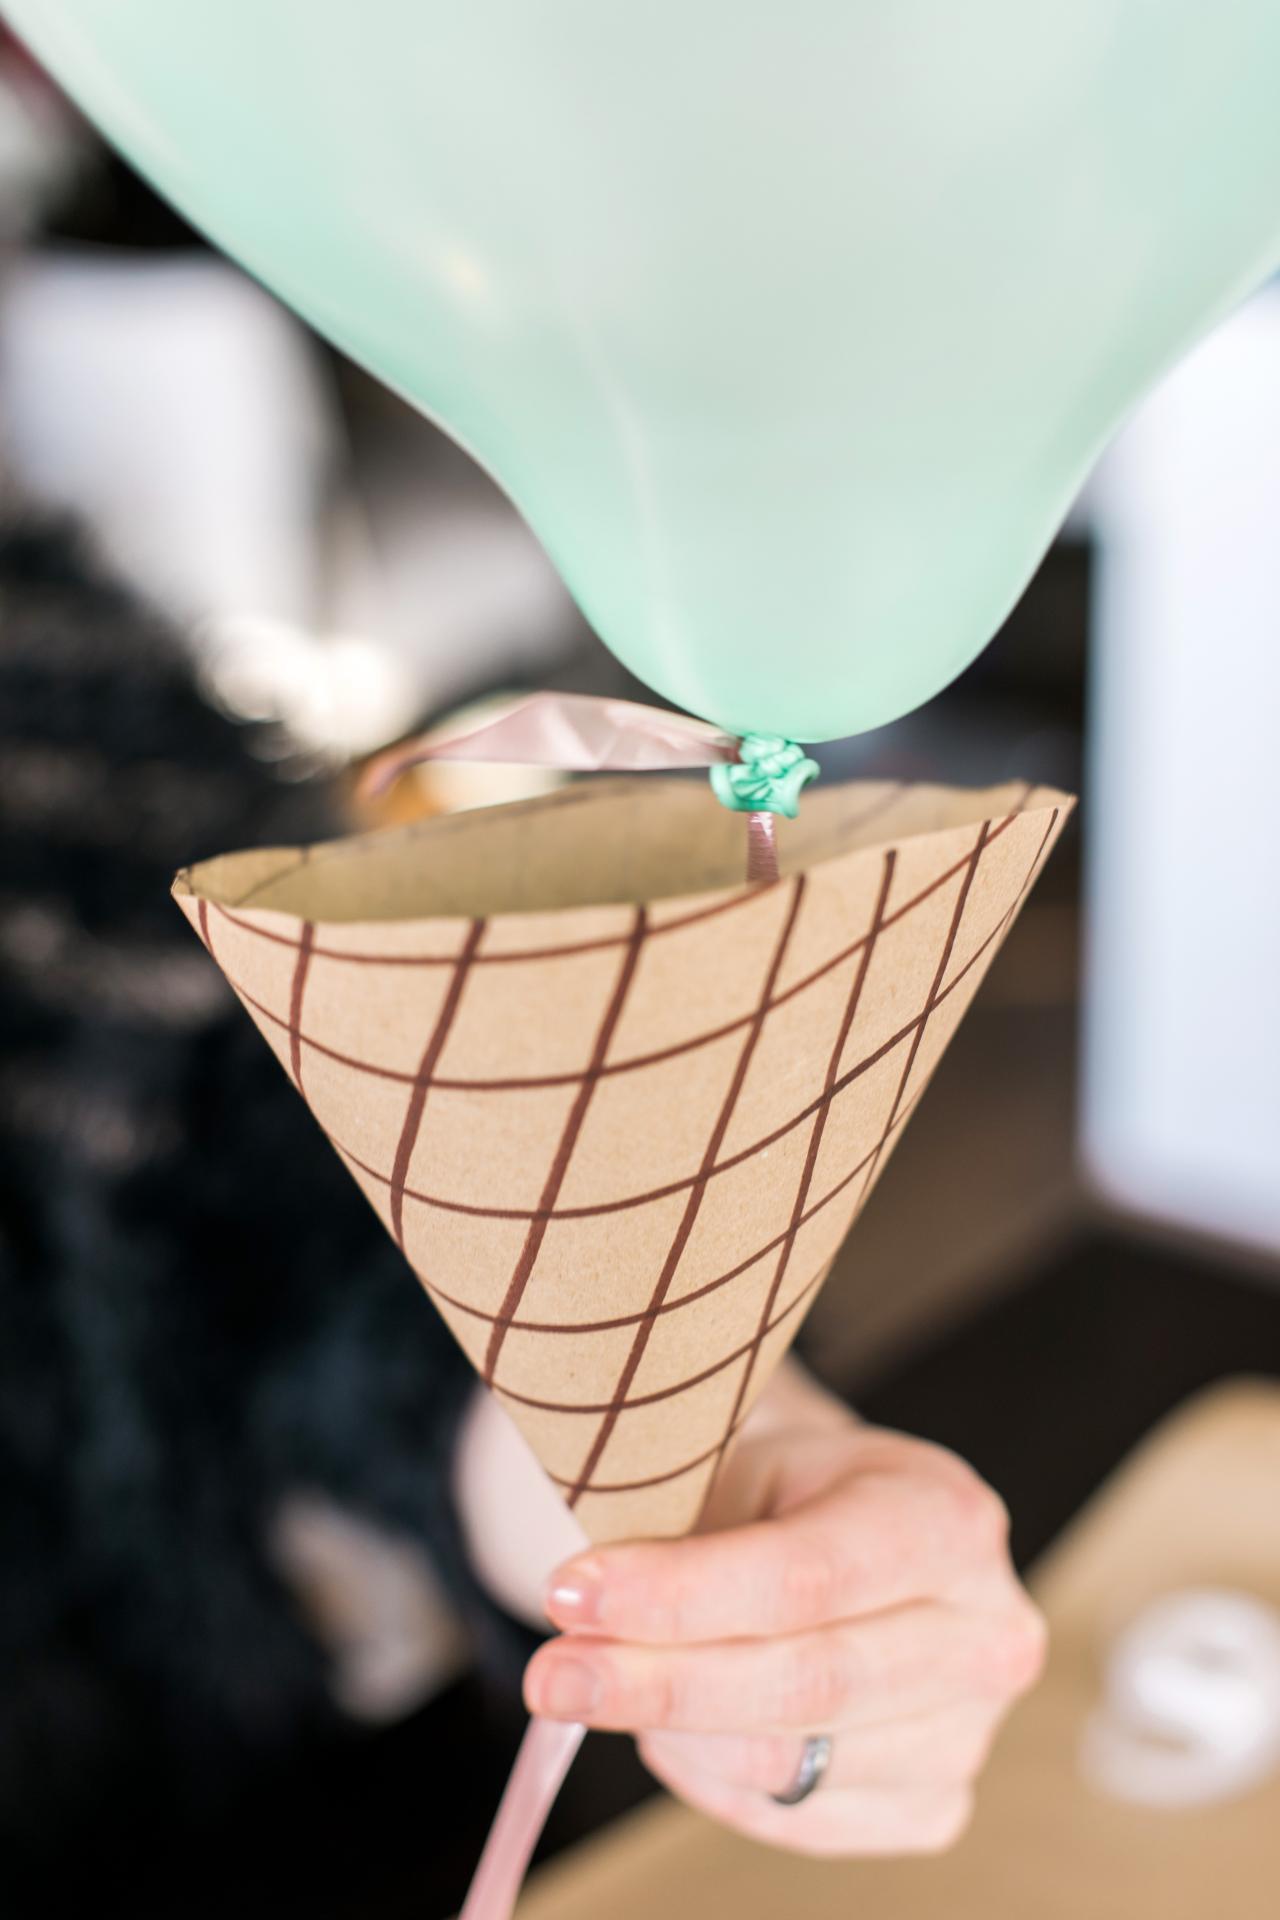
Finish Cone and Add Balloon
Tape the paper's loose ends to the cone's interior using double-sided tape (Image 1). Slide the cone up the ribbon to meet the balloon (Image 2). Attach the balloon to the inside of the cone with more double-sided tape (Image 3).


