


How to Make Ice Cream Cone Party Invites

DIY Ice Cream Cone Invitations
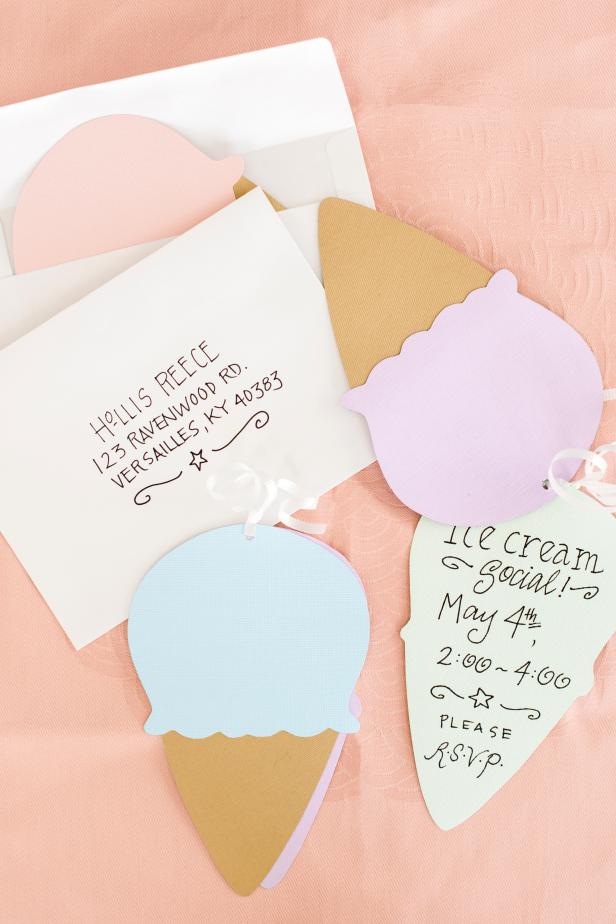
Add a fun, handmade twist to ordinary party invitations with a cute and clever ice cream shape. You'll need the following materials for this nifty project: several sheets of card stock in pastel colors, brown or tan textured card stock, scissors, felt-tip pen, pencil, glue stick, invitation envelopes, hole punch, ribbon and a downloadable ice cream cone template.

Materials Needed
several sheets of card stock in assorted pastel colors
brown or tan textured card stock
scissors
felt tip pen
pencil
glue stick
invitation envelopes
hole punch
curling ribbon
ice cream cone template 1
ice cream cone template 2
Print Templates and Cut Out Designs
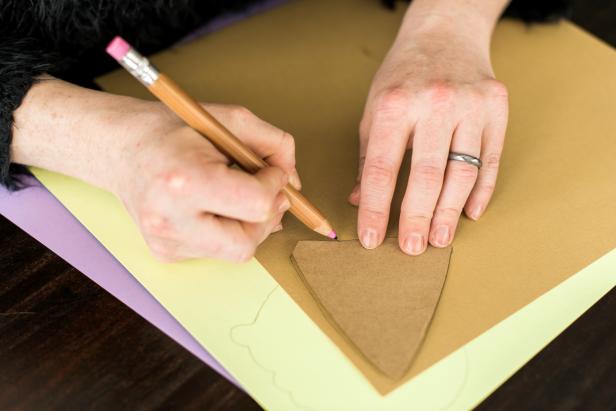
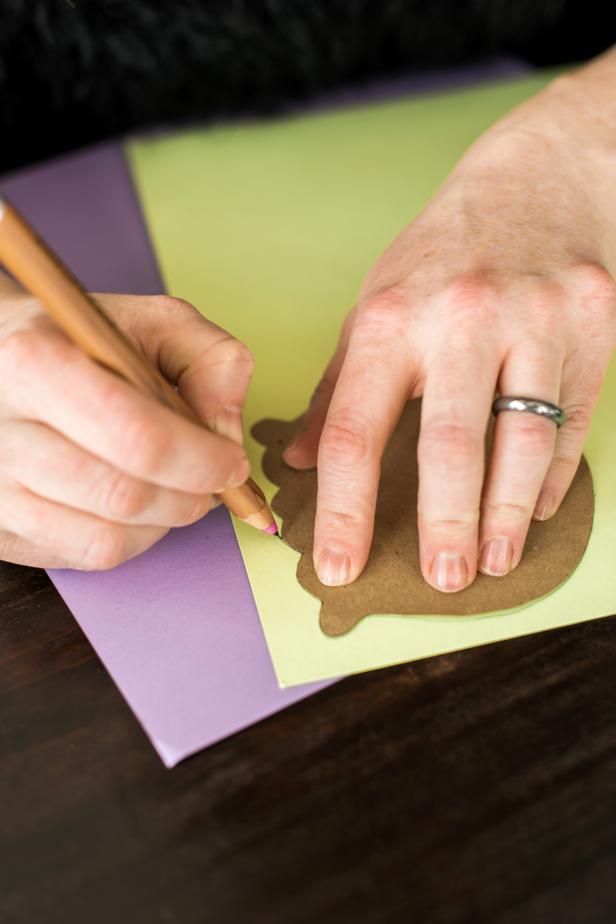
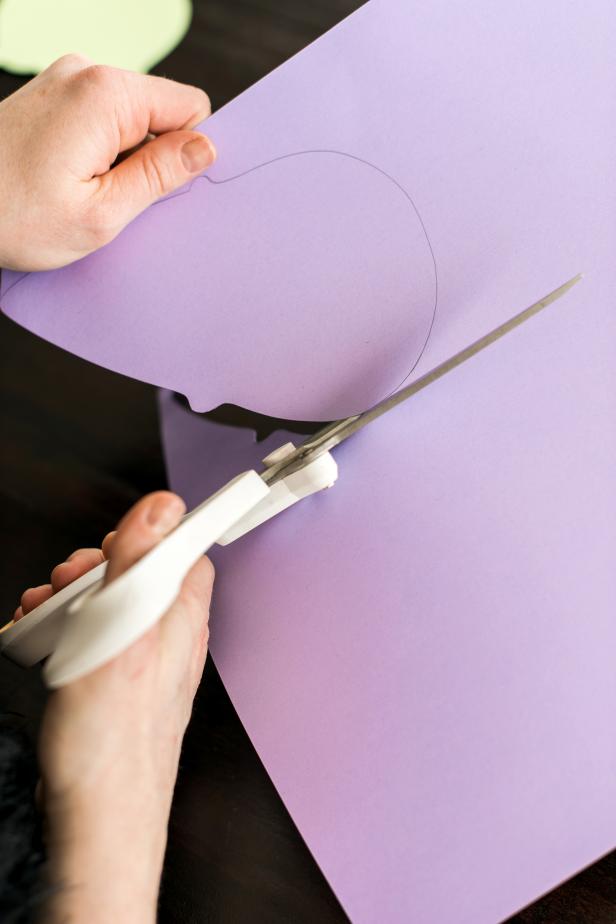
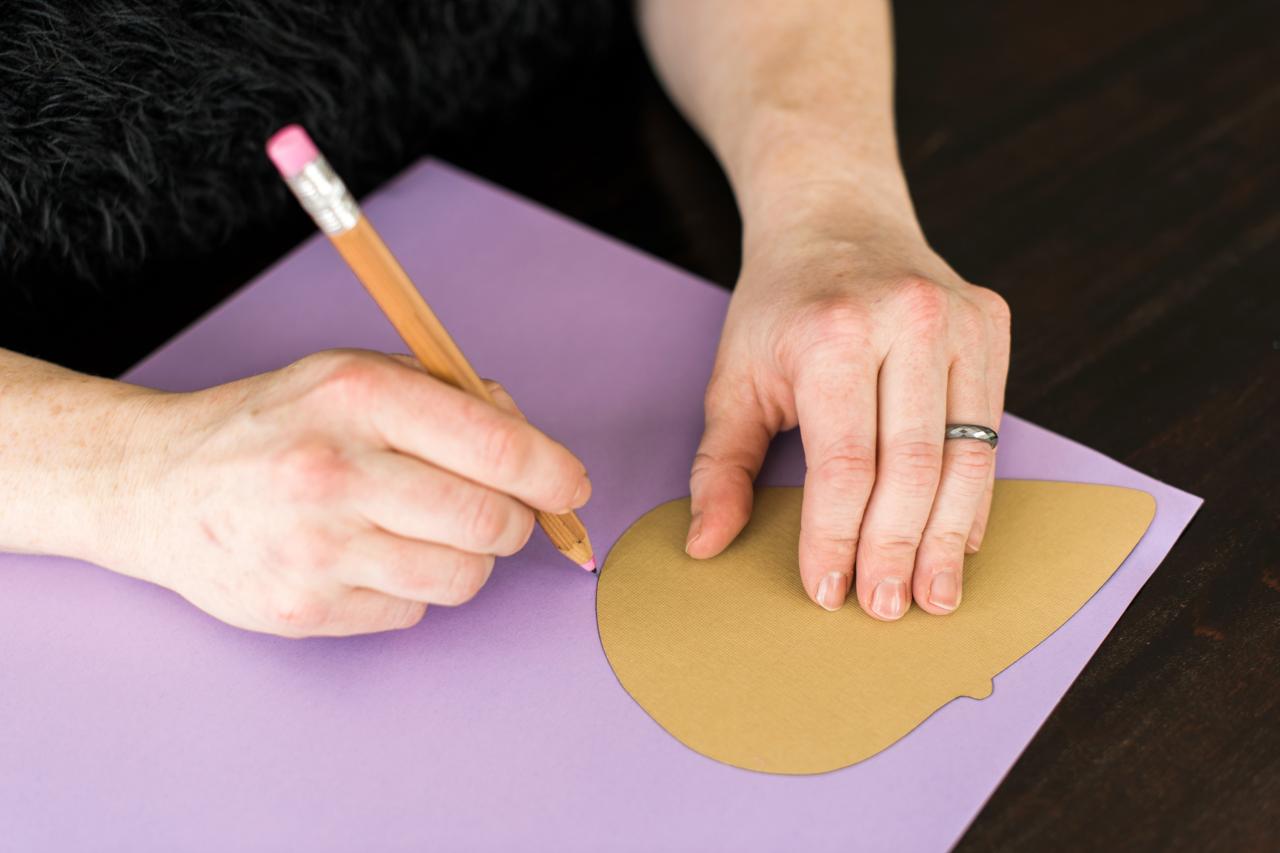
Download and print our free templates (above) onto regular printer paper, then cut them out (Image 1).Trace the cone template onto brown or tan card stock (Image 2). Trace the scoop template onto pastel card stock (Image 3). And, trace the solid ice cream template onto a coordinating shade of card stock, this will be back side of the invite (Image 4). Cut out all the designs (Image 5).


Assemble Front of Invite
Apply a thin line of glue along the bottom of the scoop, then attach it to the top of the cone.

Attach Scoop to Cone With Glue Stick
Use the glue stick to apply a thin layer of glue to the bottom of the scoop and attach to the top of the cone.
Finishing Touches
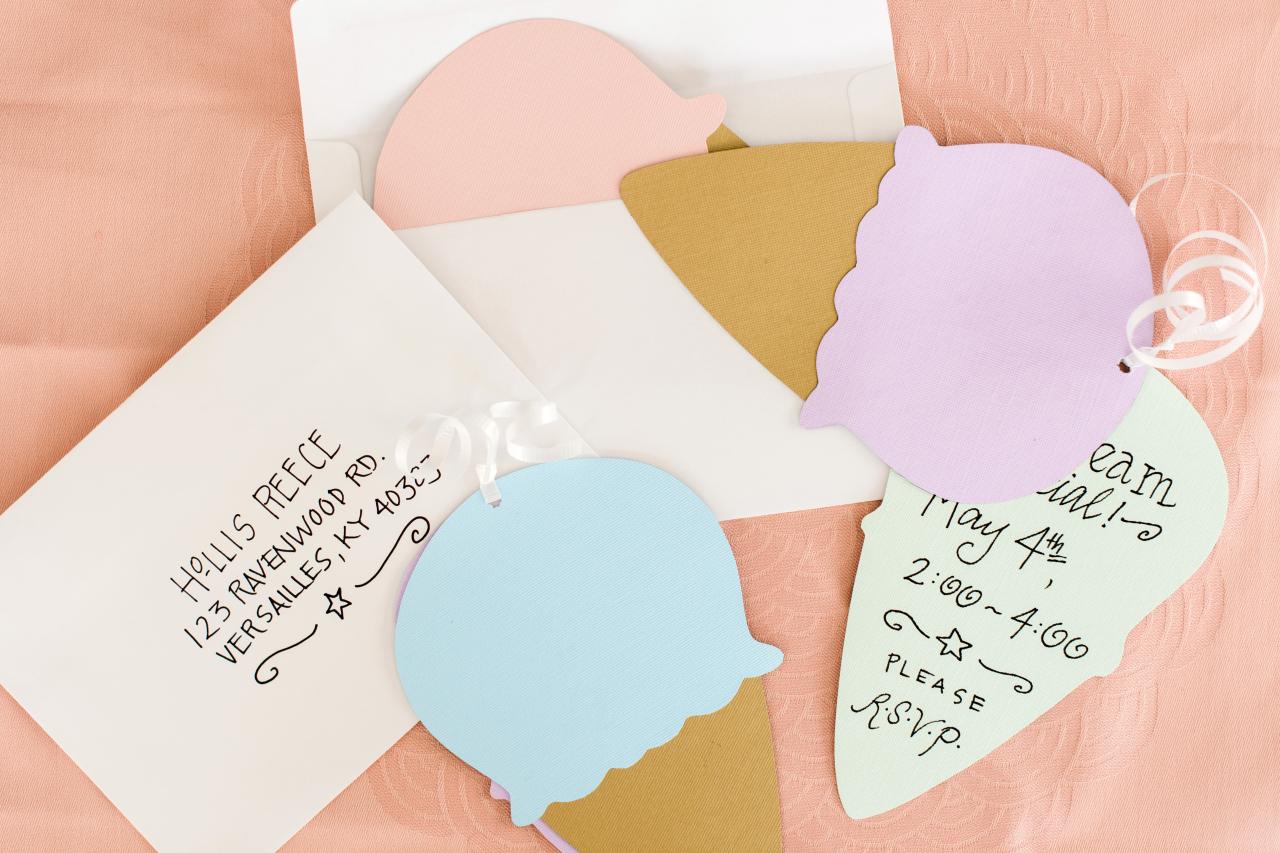
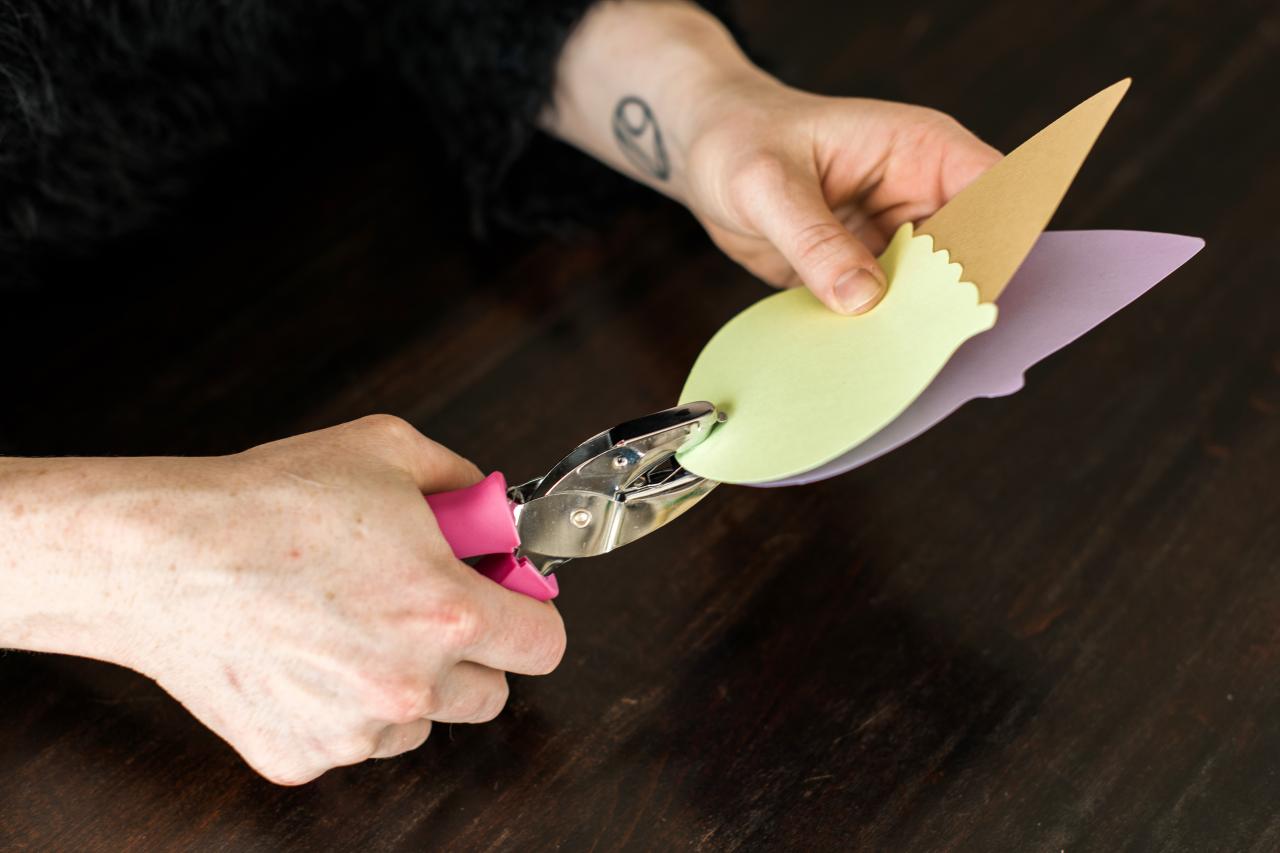
Layer the invite’s front and back pieces and punch a hole at the top (Image 1). Cut a 12” length of ribbon and slide it through the hole (Image 2). Knot ribbon and curl the ends. Use a felt tip pen to write the party details inside the invite (Image 3). Finally, place the completed invitation in a color-coordinated envelope and pop them in the mail for delivery.
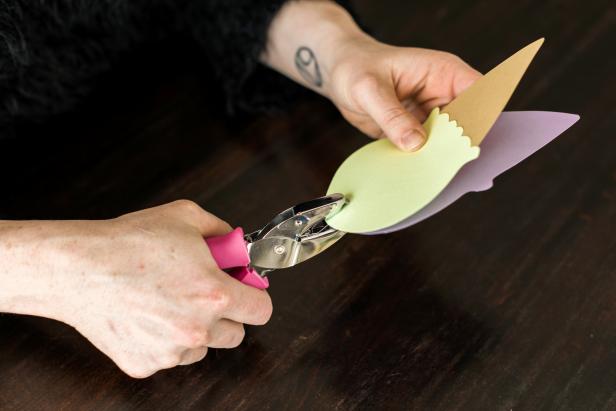

Add Hole to Top of Ice Cream Cone Invitation
Place the glued scoop and cone shape on top of the solid ice cream cone shape and punch a hole in the top. TIP: Use the felt tip pen to write the party details on the inside of the solid ice cream cone shape.
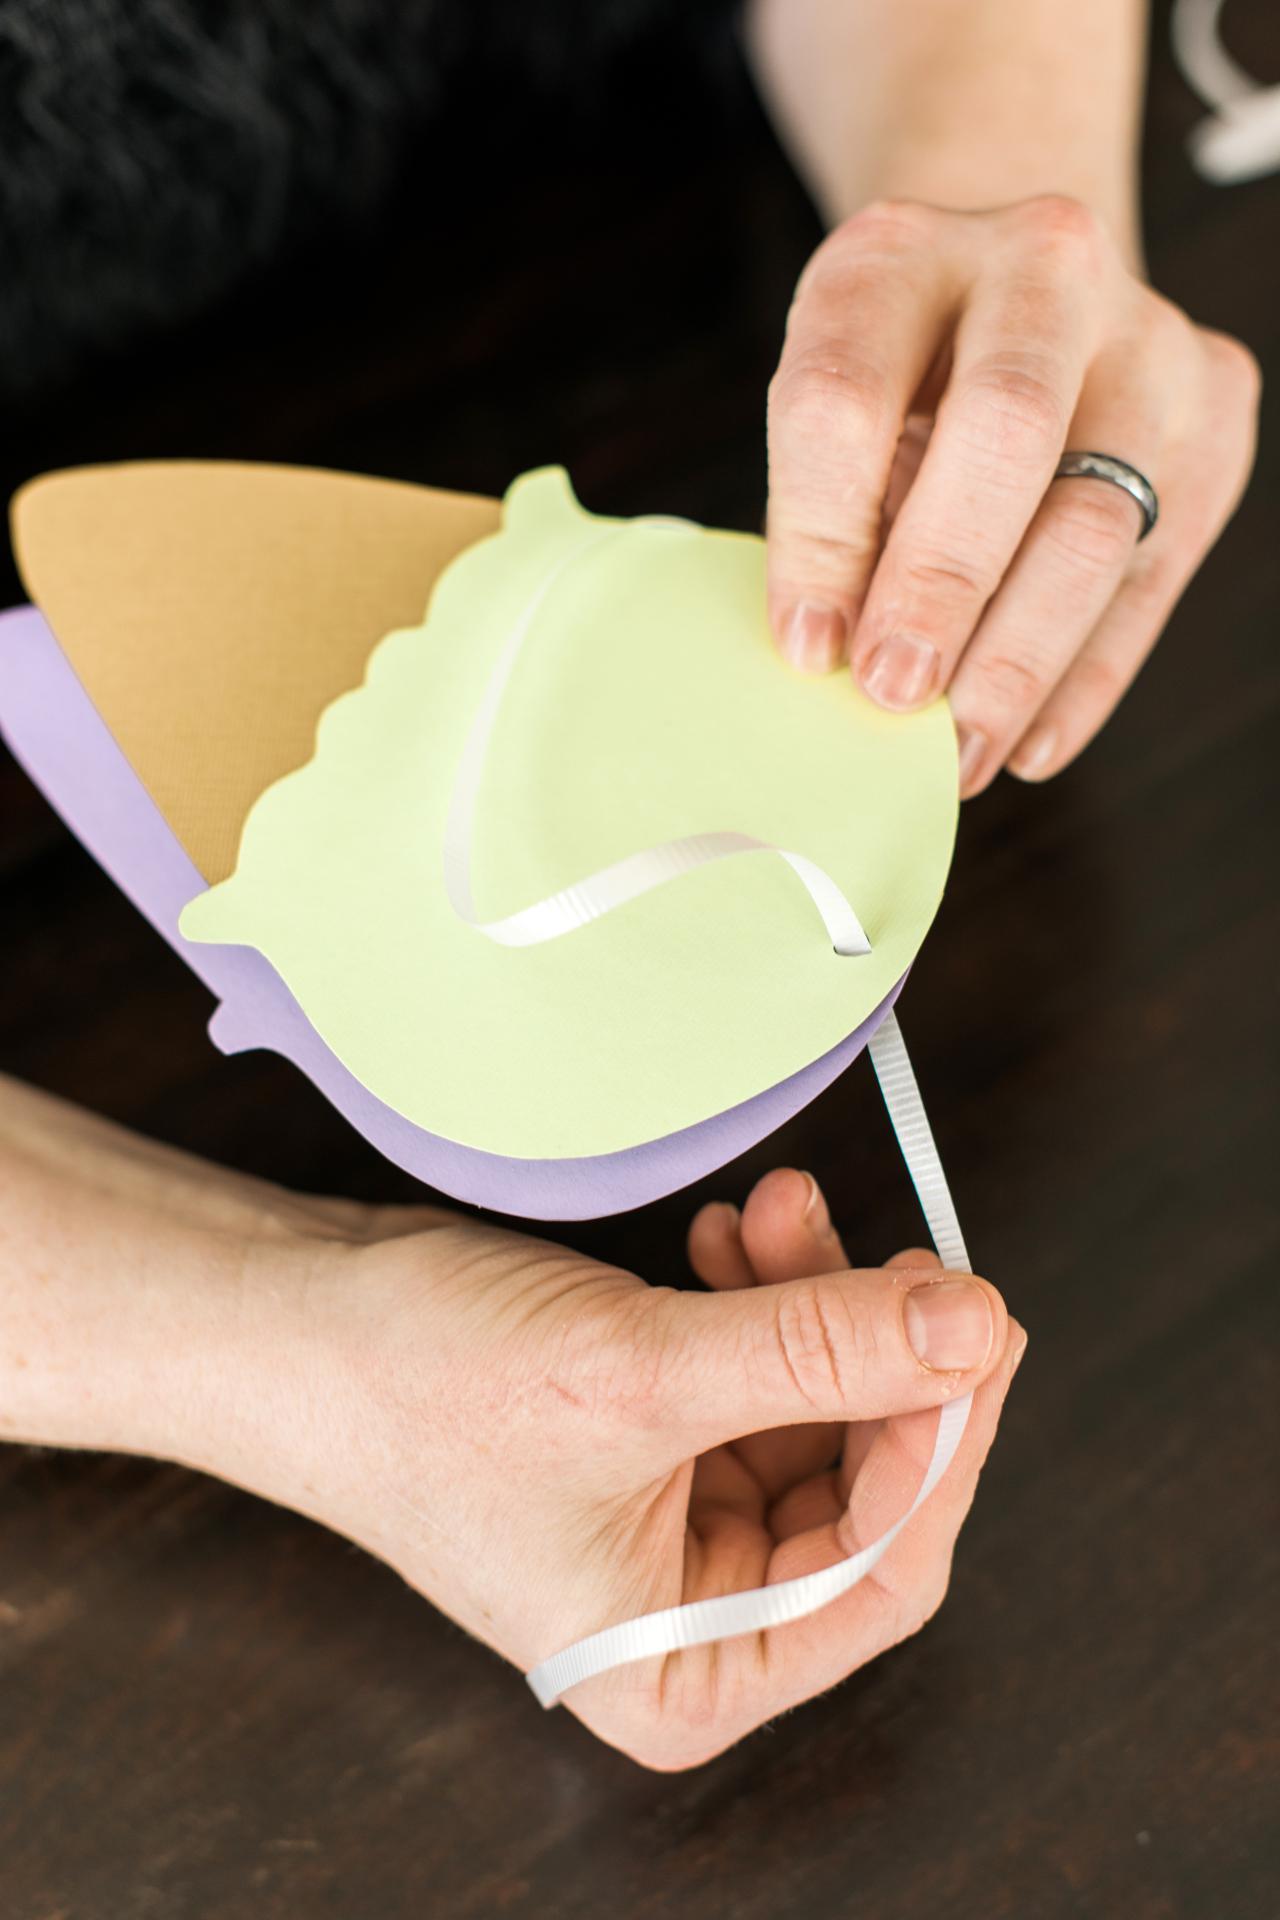
Tie Ribbons to Invitations
Cut a 12" length of ribbon and put it through hole in the top of the invitation. Tie the ends together and curl.
DIY Ice Cream Cone Invitations
Add a fun, handmade twist to ordinary party invitations with a cute and clever ice cream shape. You'll need the following materials for this nifty project: several sheets of card stock in pastel colors, brown or tan textured card stock, scissors, felt-tip pen, pencil, glue stick, invitation envelopes, hole punch, ribbon and a downloadable ice cream cone template.


