


How to Repair Your Lawn Sprinkler

Materials and Tools:
small shovel
spade
easy-out pipe removal tool
toothbrush
cup
gloves
risers
sprinkler heads
plumbers' tape
Steps:
1. Excavate around the malfunctioning sprinkler head or heads using small shovels. Be very careful not to damage any buried pipes, and remove the last bit of soil using your hands.
2. Remove the sprinkler head and riser. Use an "easy-out" pipe removal tool to remove the riser.
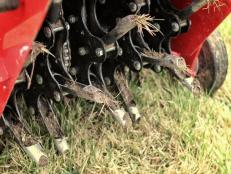
3. Inspect the riser for damage. Usually when they're damaged, it's because someone accidentally stepped on the sprinkler head.
4. Replace any damaged components. If you need to replace a sprinkler head, make sure to get one that sprays in the same pattern as the old one.
5. Before installing a new riser, wrap the ends with plumber's tape.
6. Scoop out any water in the hole using a small cup. Clean the spout where the riser attaches using a toothbrush.
7. Install the new riser, using care not to strip the threads. Continue repairing any other malfunctioning sprinkler heads. Do not reinstall sprinkler heads until the system is purged.
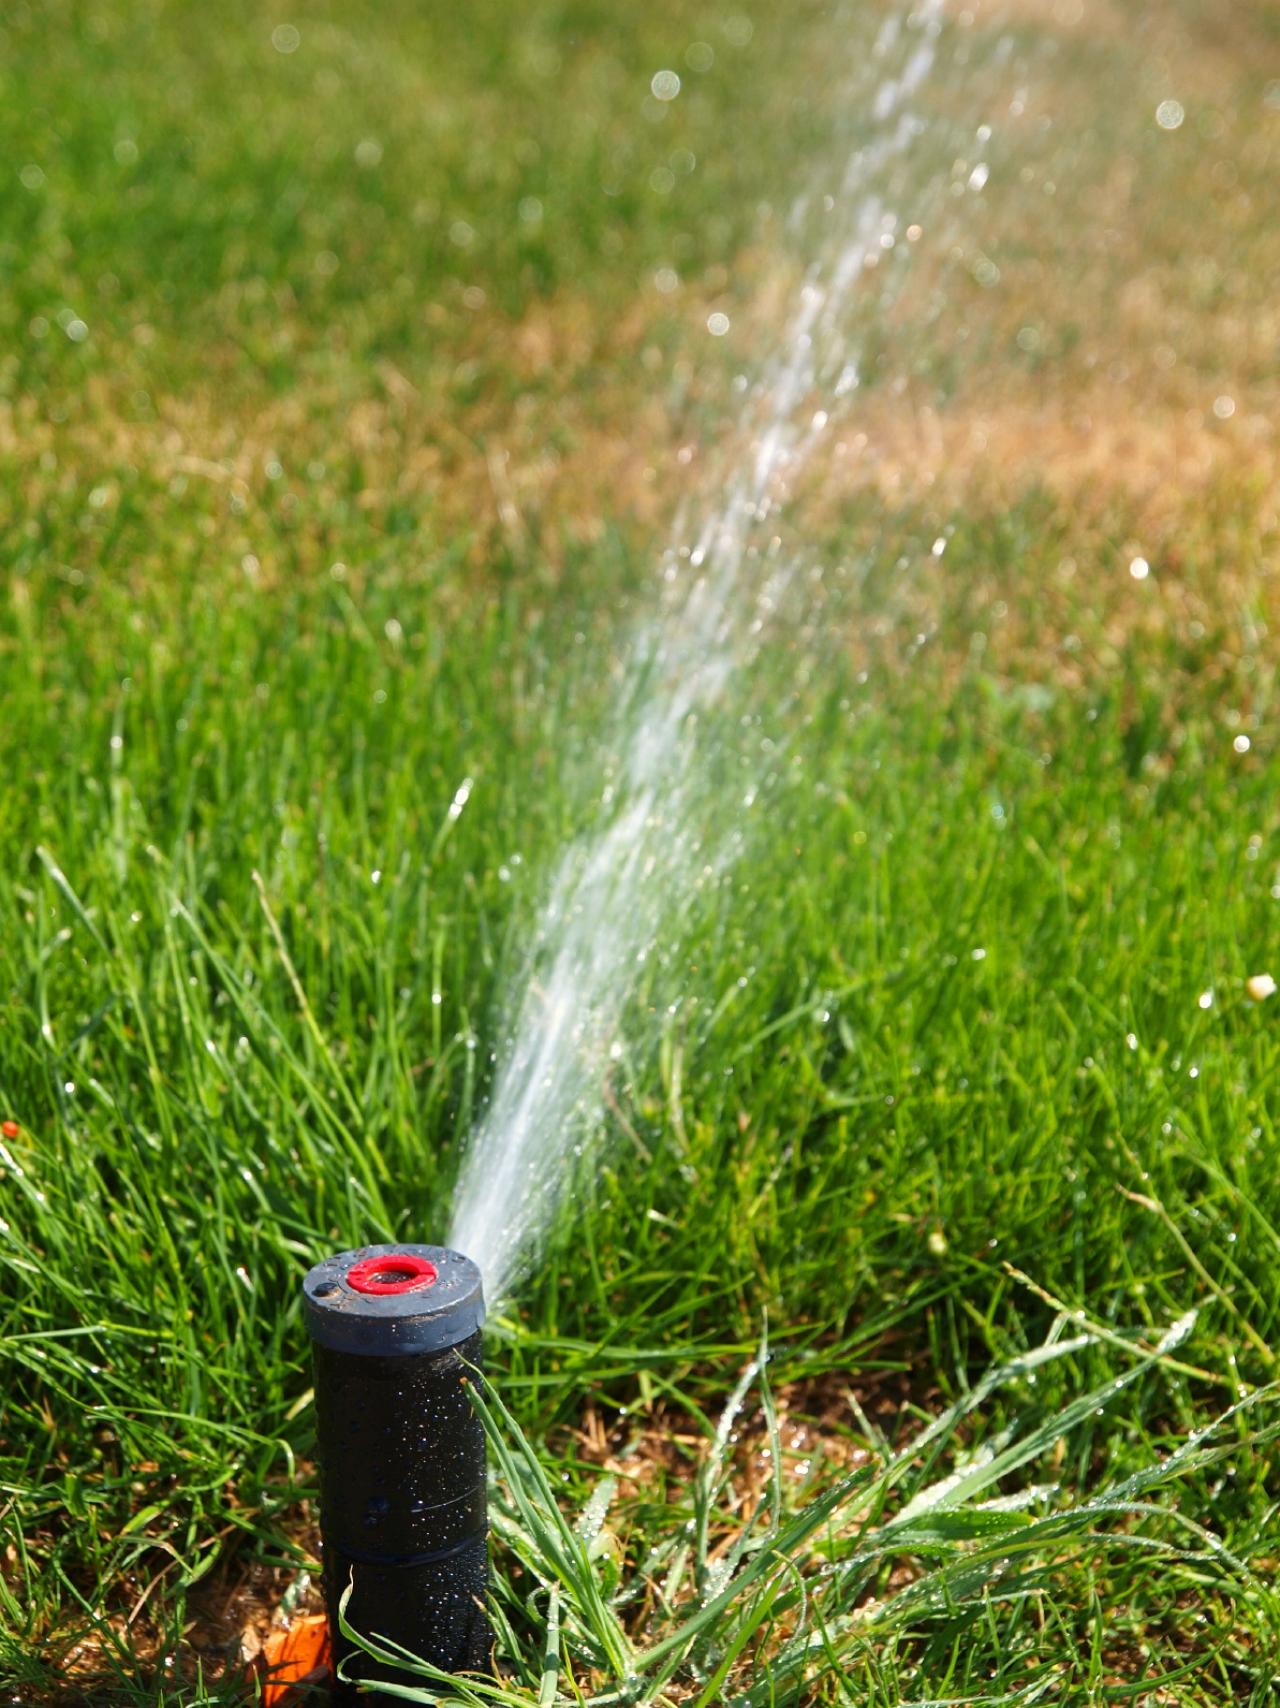
8. Turn the water on and purge the system. Replace sprinkler heads, fill in holes and turn test the system.


