


How to Propagate Ferns

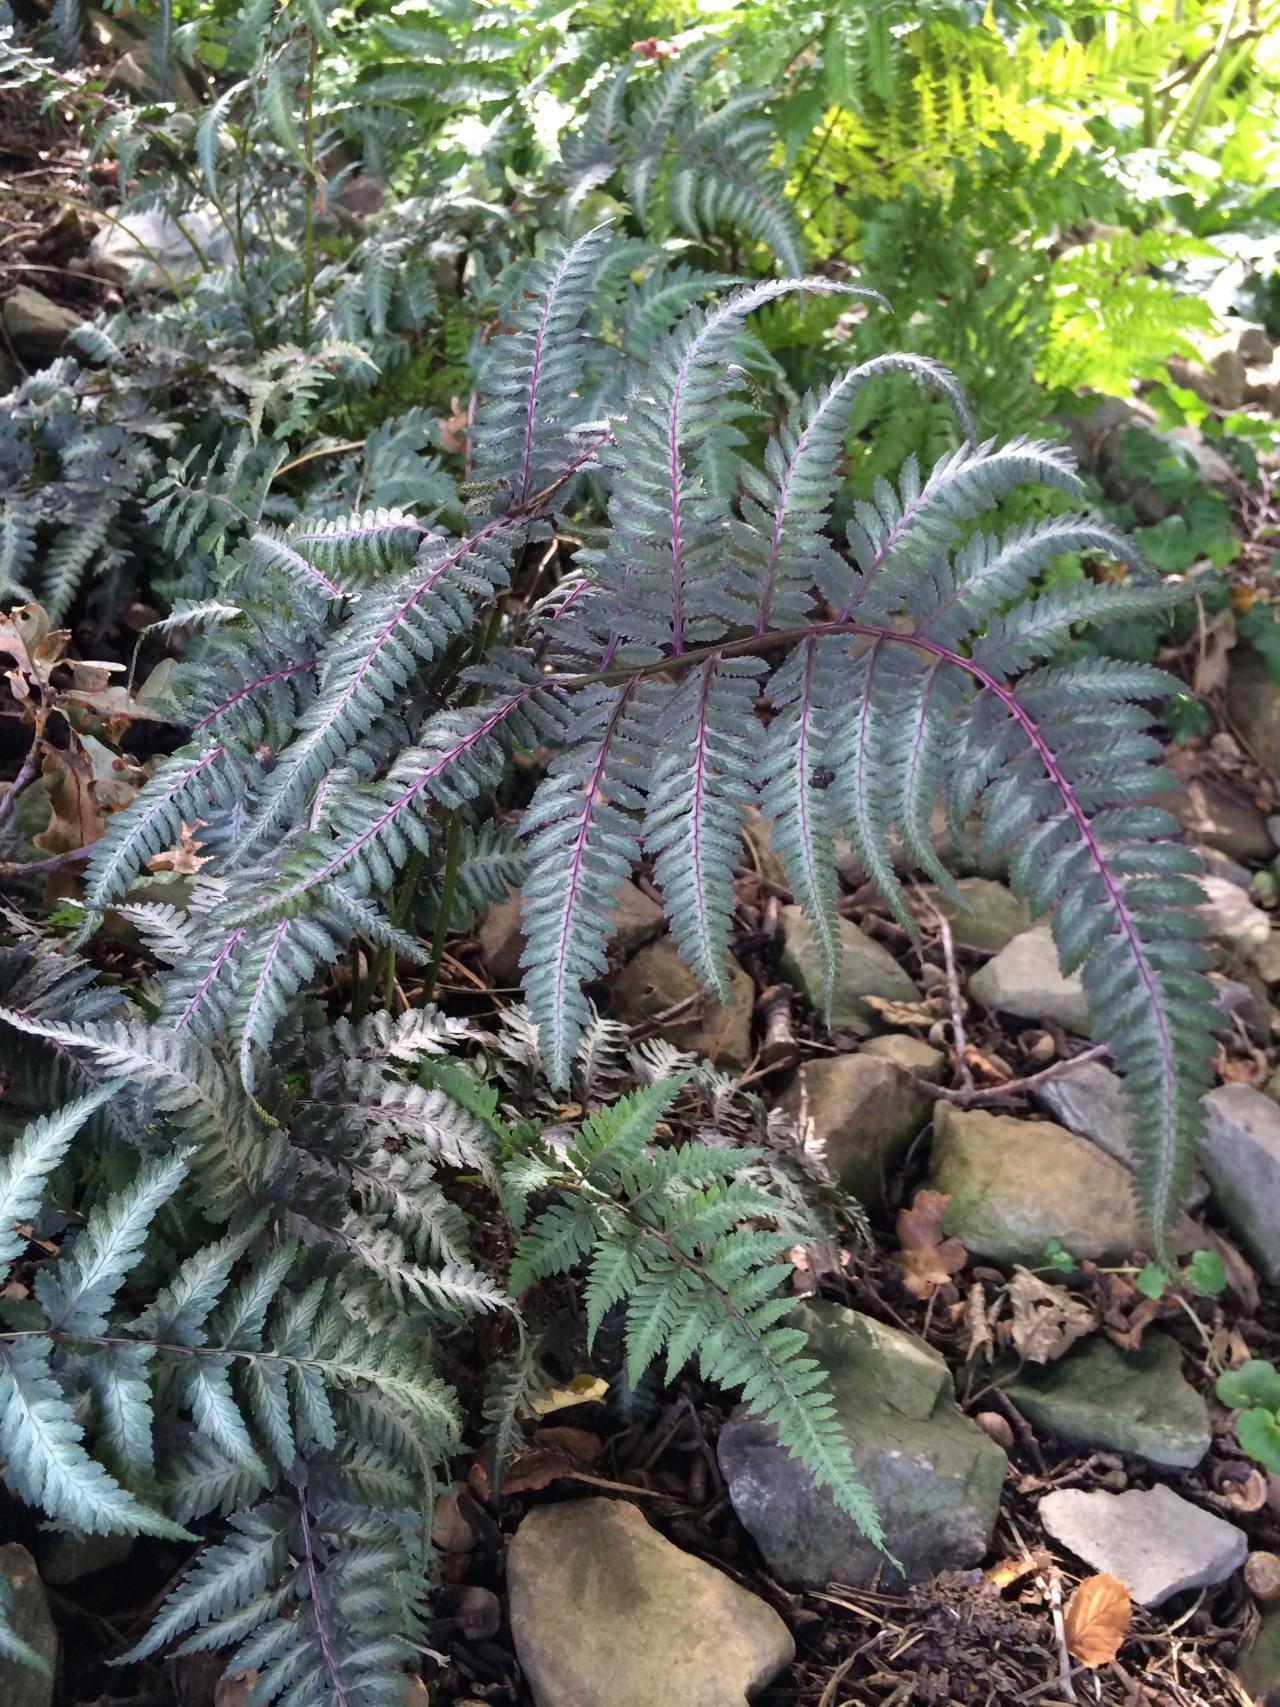
Photo by Felder Rushing

Easy-to-grow ferns make a wonderful addition to a garden or houseplant collection. They’re also easy to propagate, although making more ferns takes a little time and patience.
The quickest way to grow more ferns is through division, preferably in spring. Start by watering your plant the day before you begin. Then, dig it up or gently remove it from its container, and cut or pull the plant into 2 or 3 clumps. Leave at least one growing tip—the spot from which the fronds grow—in each clump.
Re-plant the clumps in well-draining, humus-rich soil and keep them moist until new growth appears.
You can also make more ferns by separating plantlets (baby ferns) that grow from a parent fern. These plantlets usually hang on long, thread-like stems. After they develop a tangle of tiny roots and 3 or 4 small fronds of their own, you can gently pull them off their skinny stems.
To give the baby ferns a good start, plant them in 3- to 5-inch pots filled with potting soil that drains easily. Be careful not to bury the crowns. If you have trouble keeping the little ferns in the soil, bend a thin piece of wire or a paper clip into a U-shape, and use it to anchor them down.
Keep the baby ferns in a window that gets bright, indirect light. Mist them several times a day for a month or two, or cover them lightly with a plastic bag to hold in humidity. Once they’re well established, you can transplant them into larger containers or your garden.
Since ferns reproduce from spores, rather than seeds, you can also grow more plants from spores.
If you see green, yellow, black or brown dots underneath fern fronds, those are probably clusters of spore cases. When the spores are ripe, the cases open and the tiny, dust-like spores fall out.

Photo by Lynn Coulter
To collect the spores, cut a frond and place it, spore-side down, on a sheet of waxed paper. In a few days, the spores should drop onto the paper. If you prefer, put the frond into a large plastic bag for a few days, and shake it from time to time. The spores will eventually fall to the bottom.
Before you plant the spores, put some slightly moist potting mix into a microwavable container and heat it for about 3 minutes, or until the mix starts to steam. Be careful not to get burned when you handle it. This step should kill off any bacteria and fungi in the soil.
Let the soil cool for at least an hour. Then gently tap or shake the spores over it. They’re tiny, so don’t worry if you can’t distribute them evenly. Cover the container with a plastic lid or plastic wrap, and put it in a window with bright, indirect light.
In a month or two, small, green plants should appear. Thin them to about 1 every 3 inches. Check the container regularly and keep the soil moist. It may take another 6 to 8 weeks for little fronds to appear.
Remove the plastic wrap or lid for a few minutes each day, gradually leaving it open longer and longer over a two-week period. This helps the young plants get acclimated to the drier air outside the container.
When your new ferns are ready, pot them up individually or transplant them into a shady spot. Keep them watered until they’re well established.


