


Blog Cabin 2015: Construction Problems and Solutions

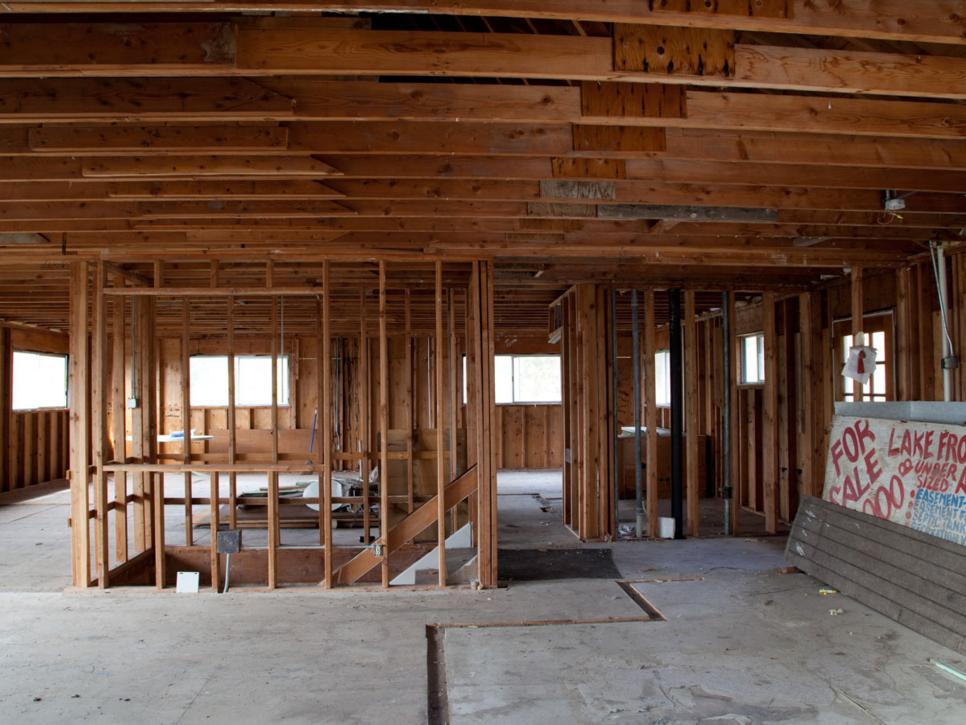
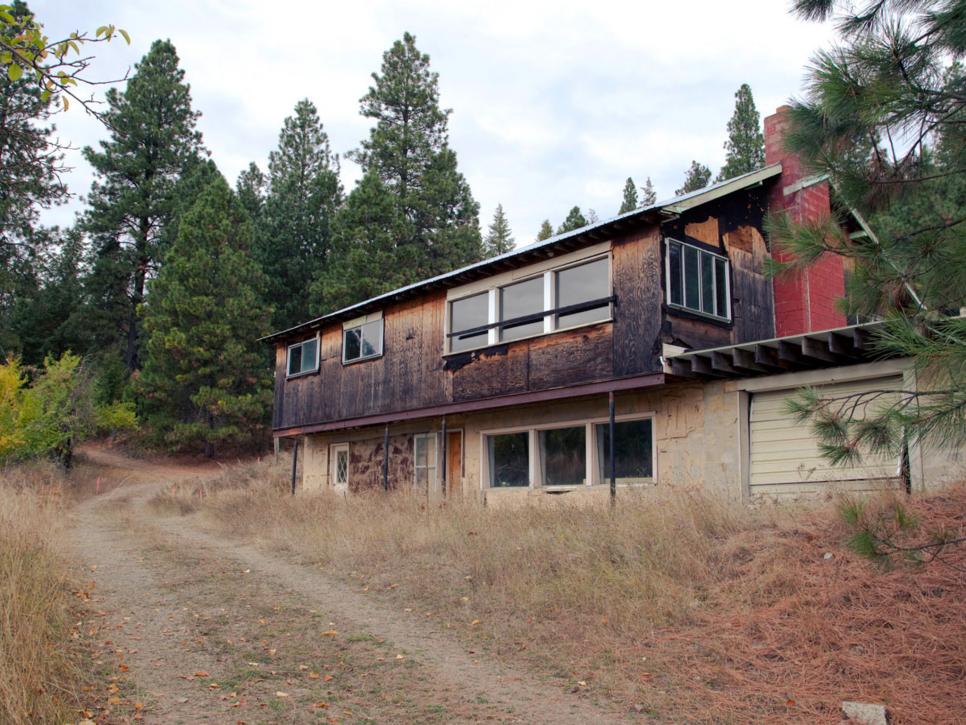
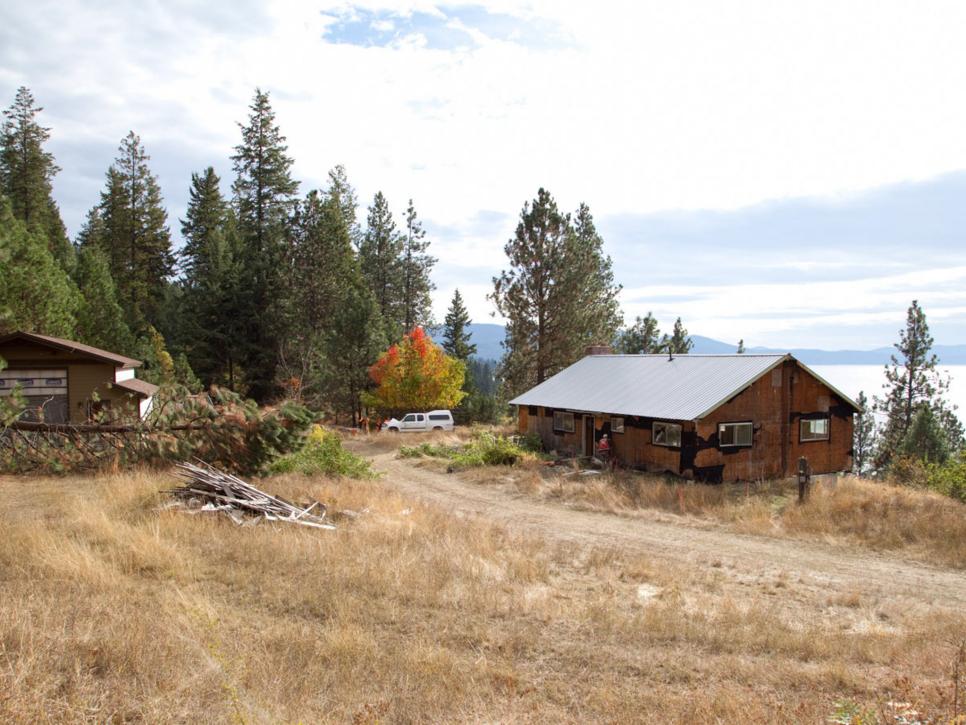
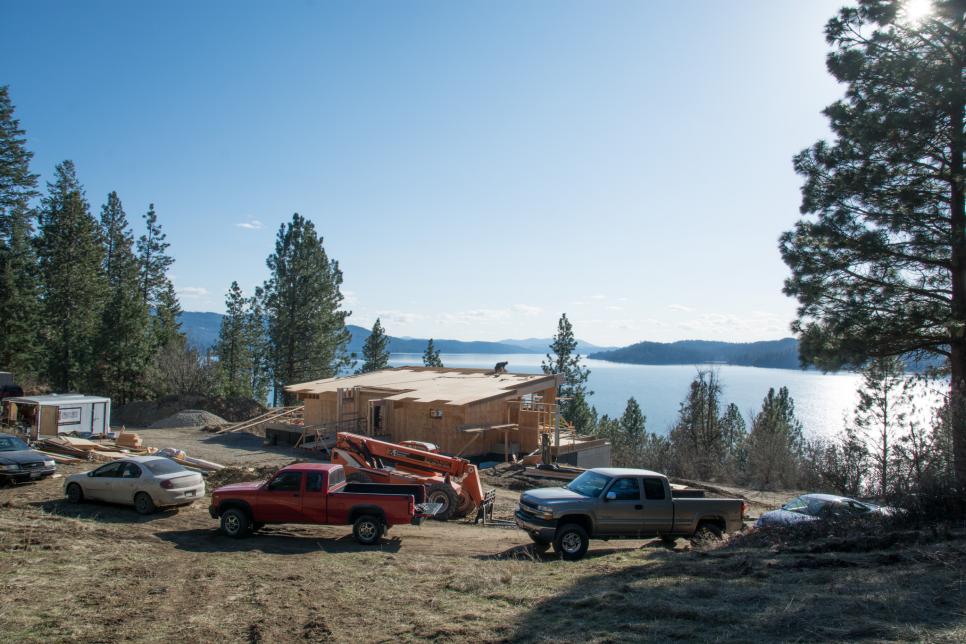
As with any remodeling project, expect the unexpected. At DIY Network's Blog Cabin 2015, little of the original structure was salvageable and once the building was reduced to the existing concrete walls of the foundation that make up the lower level, Dylan Eastman, build and design manager for Blog Cabin 2015, had to address the issues at hand.
It was a one story rancher on top of a concrete foundation and the roof was failing. It wasn’t engineered for the snow load. What we saved were the concrete walls that were bermed into the earth.Dylan Eastman, Build and Design Manager

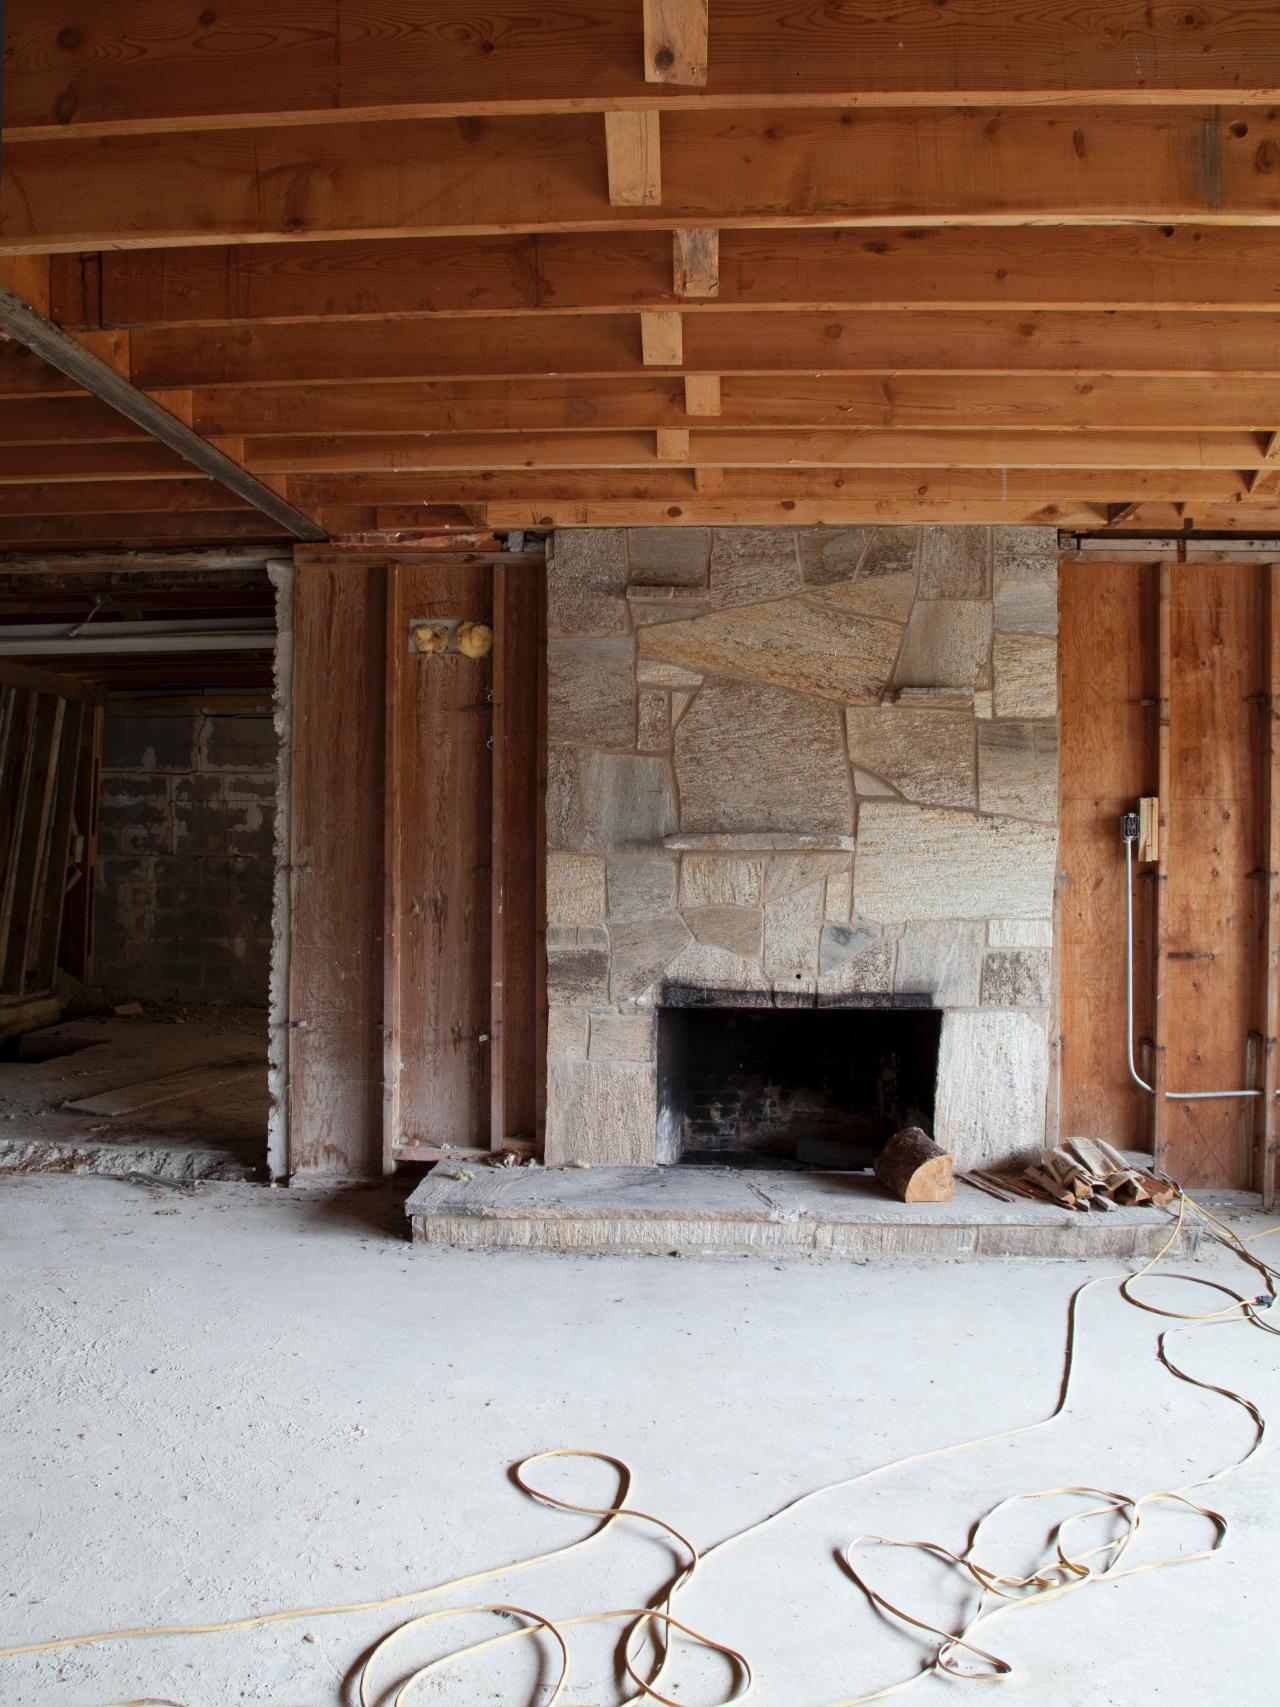
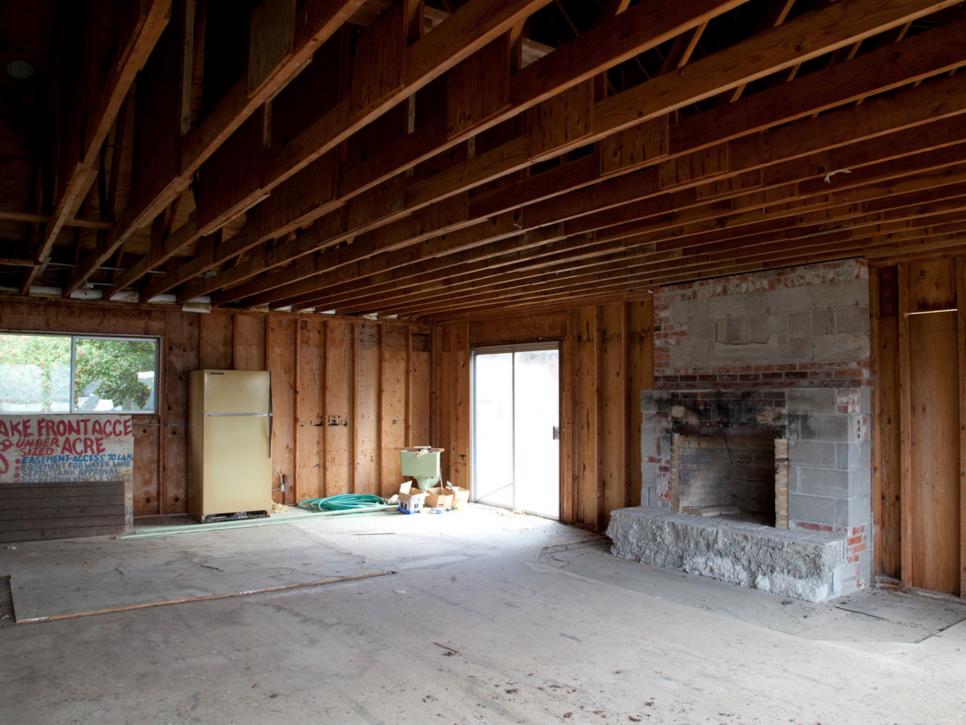
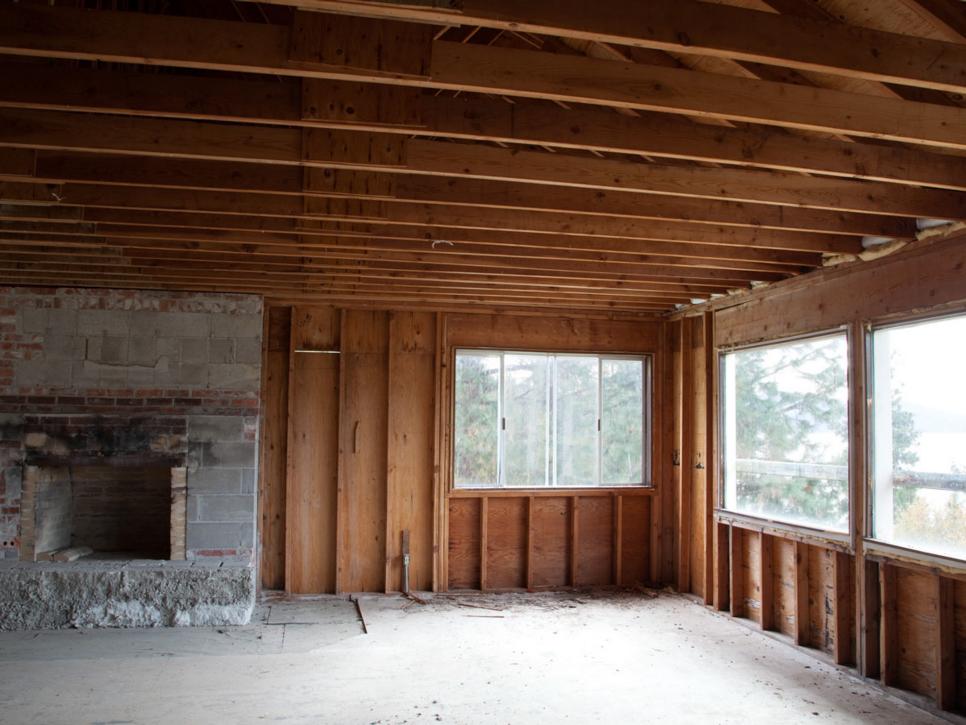
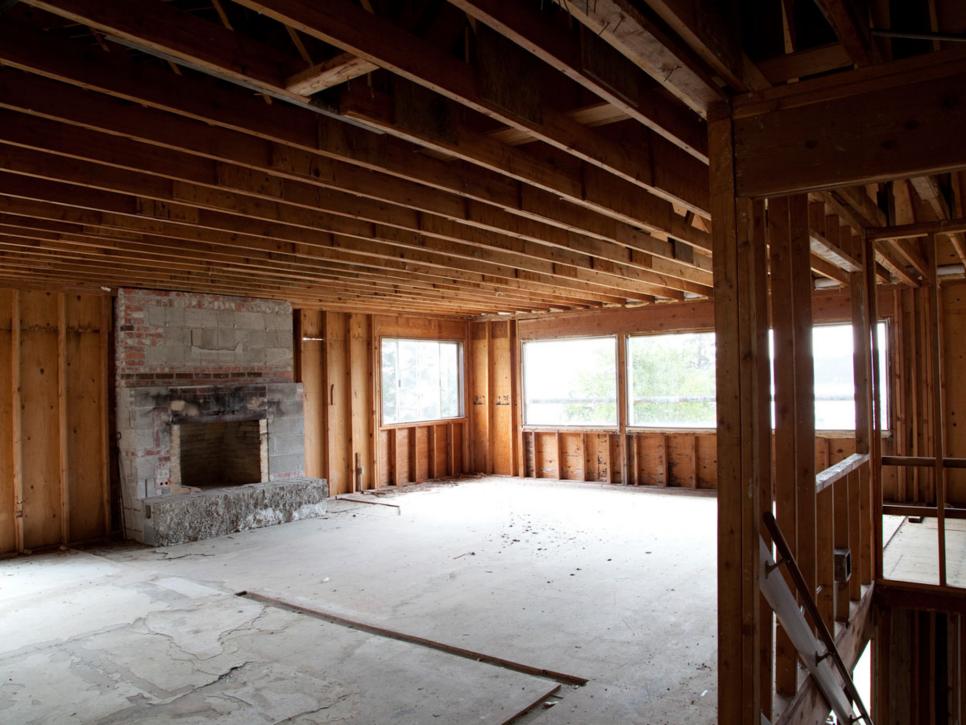
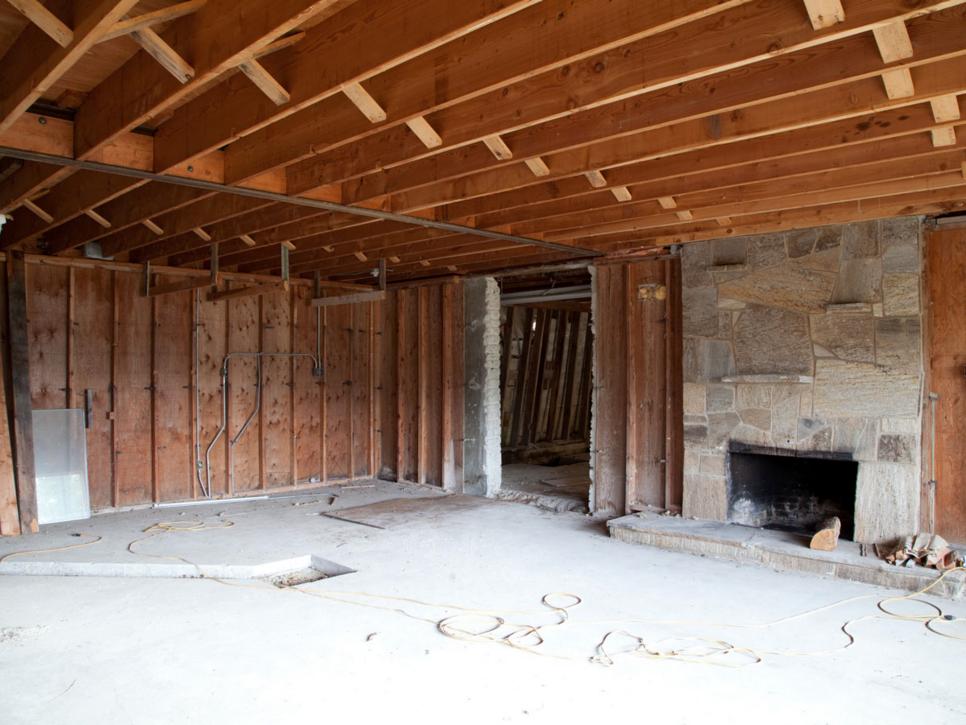
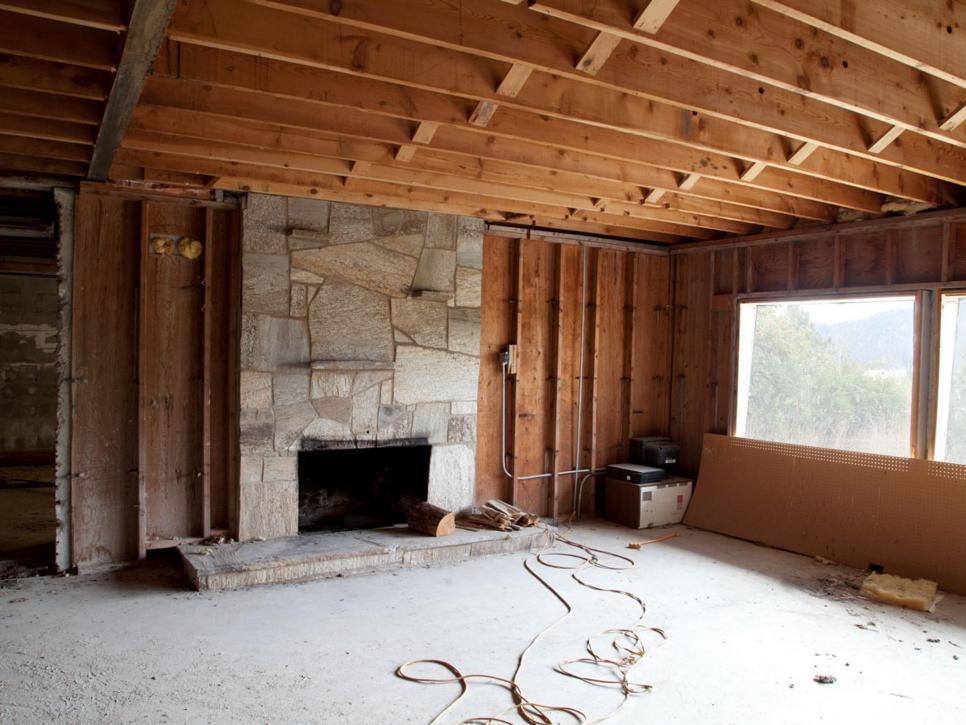
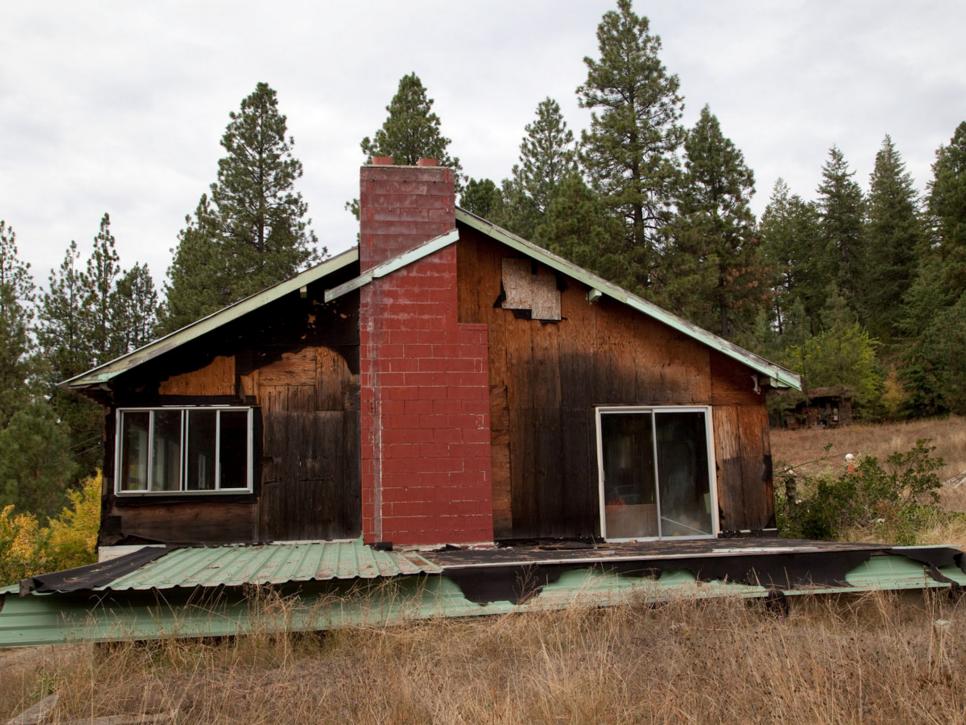
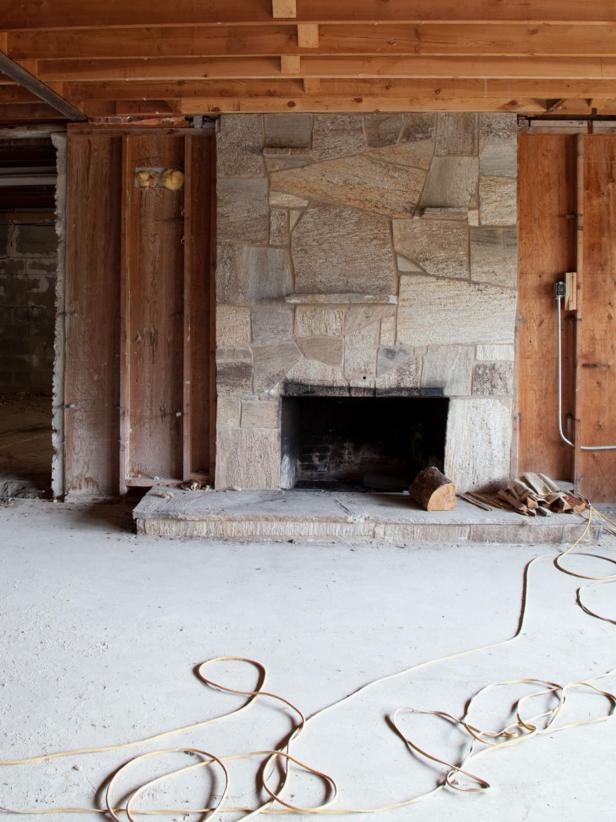
The build and design team also saved the original lower-level fireplace with its Idaho diamond veneer facing. The stone has gold colored mica-like flecks impregnated into it. Since the exposed concrete walls are slated to be part of the overall design scheme of the new structure, the walls had to be waterproofed to prevent moisture, water intrusion and mold from forming, and they had to be insulated.
“The original waterproofing was not suitable,” says Dylan explaining that in the 1970’s when the house was built, a “tar pitch” material was used on the outside of the concrete to help ward off moisture problems, but since the space was used for storage, not living, it was adequate.
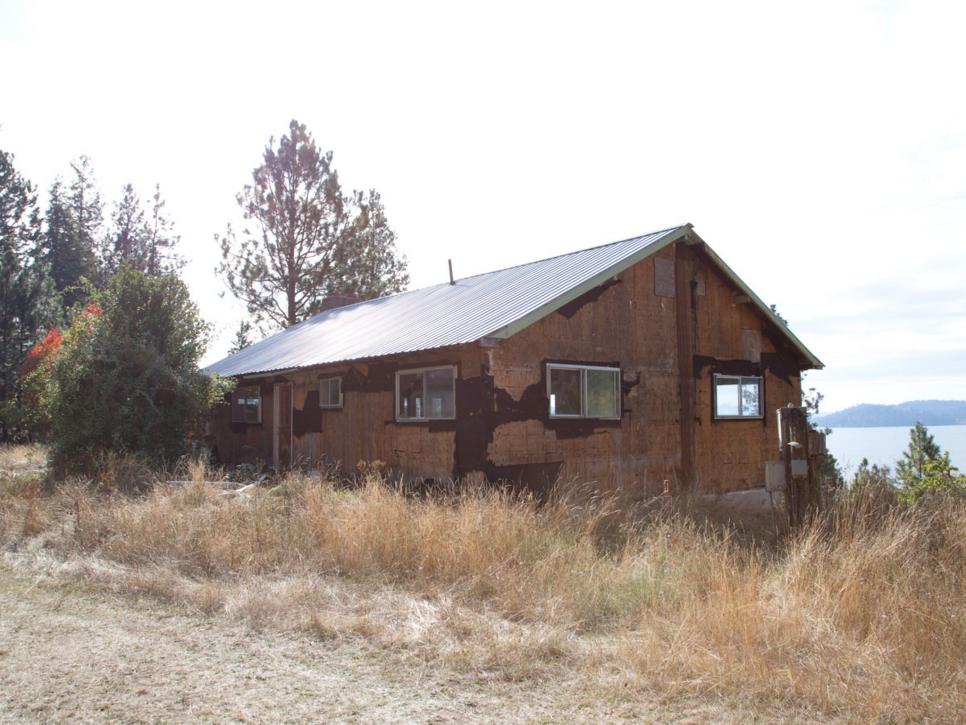
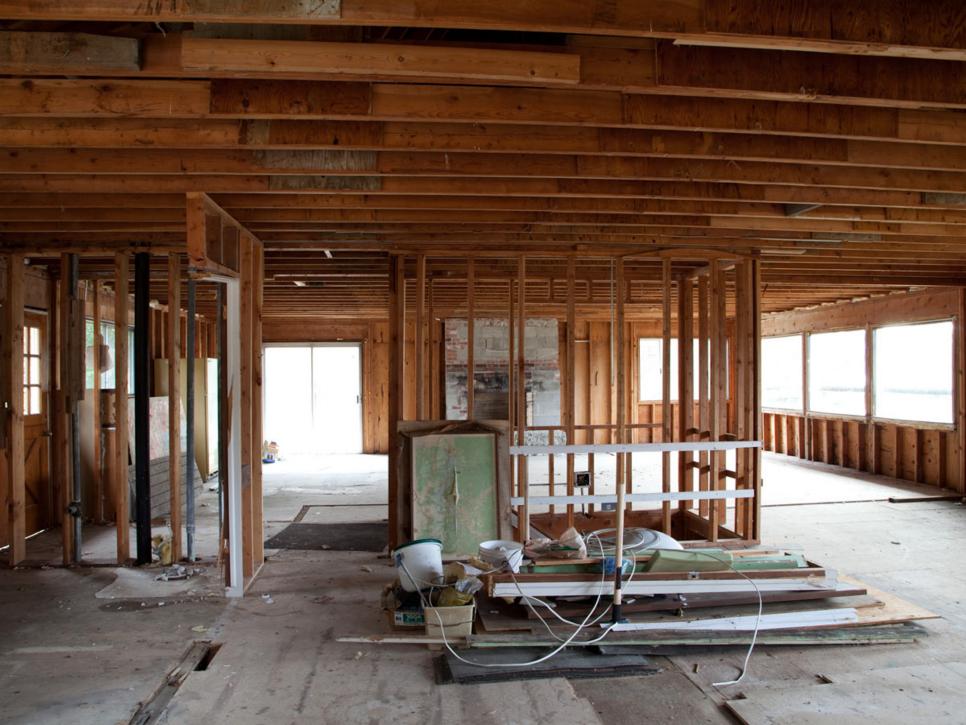
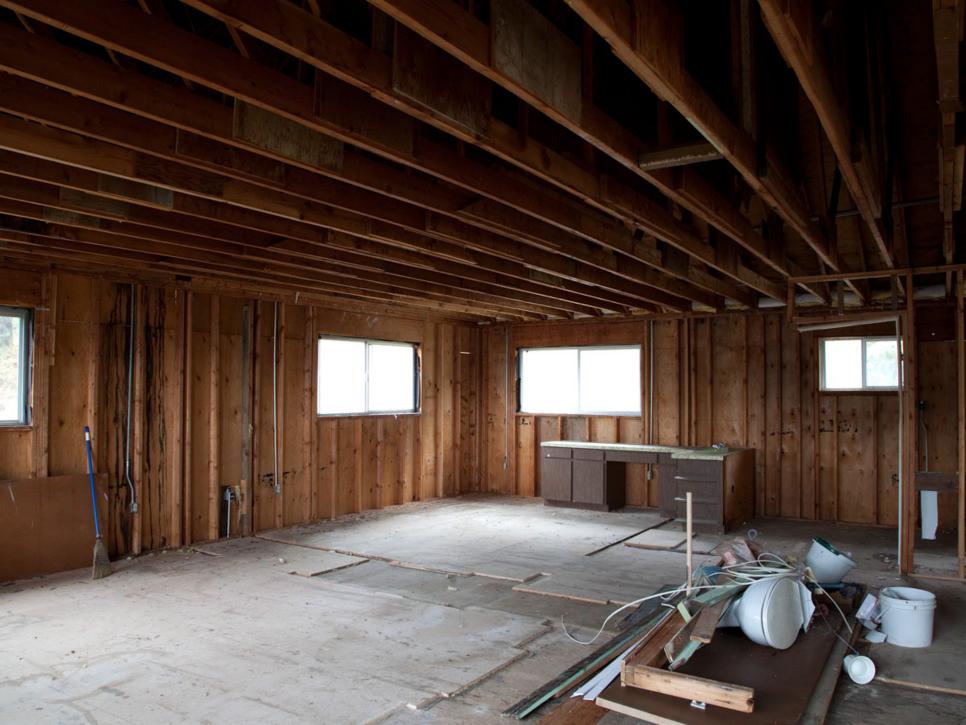
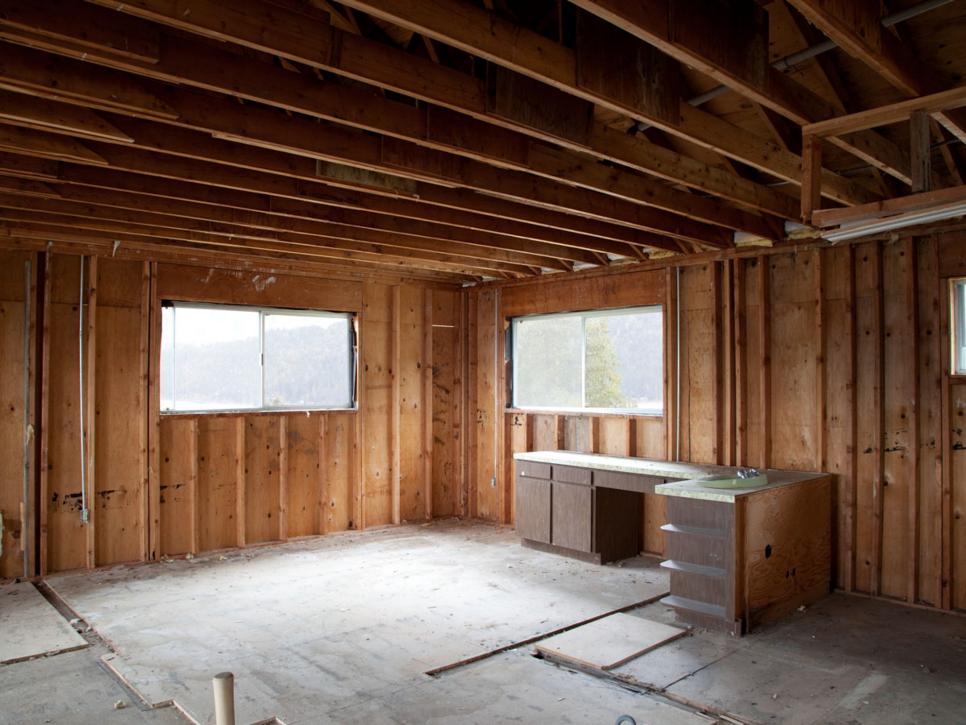
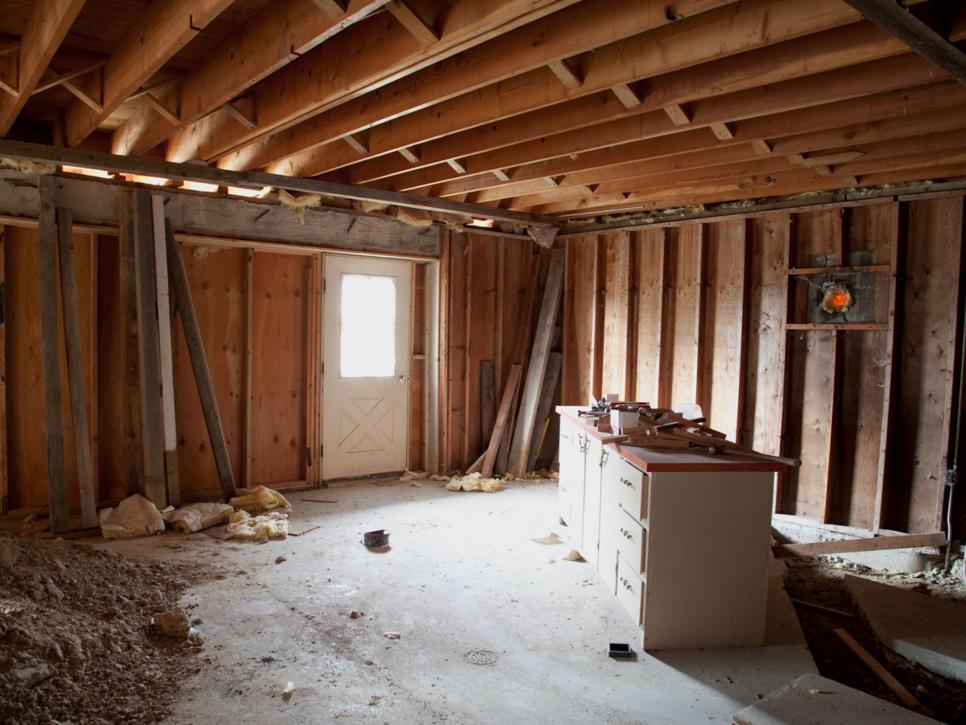
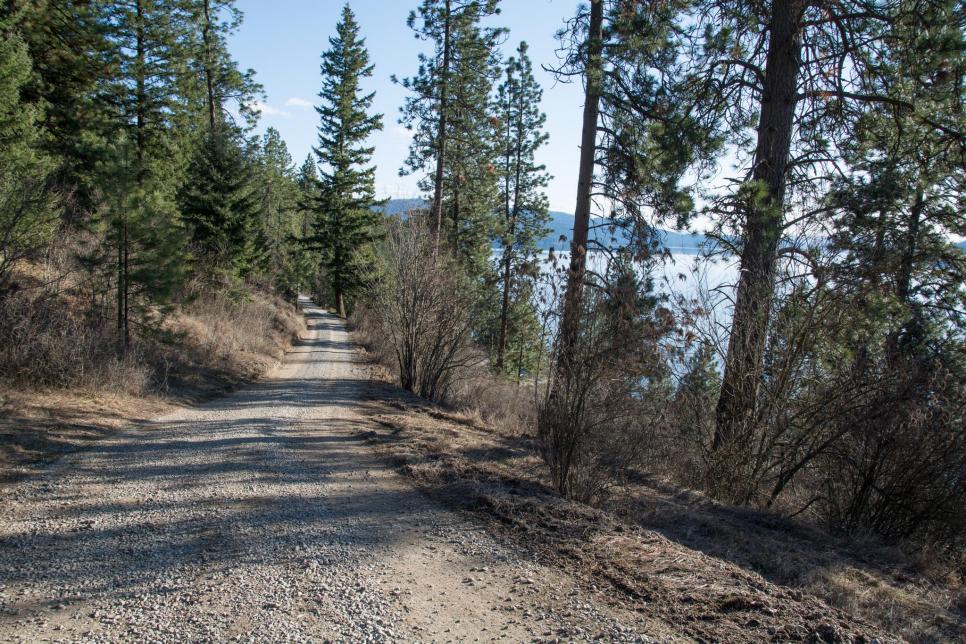
Before the Renovation
See All Photos


By excavating the soil away from the foundation, letting it dry, installing a waterproof membrane and 2-inch thick rigid board insulation and finally, a proper drainage system, the lower level of the structure would finally be dry and comfortable for additional living space.
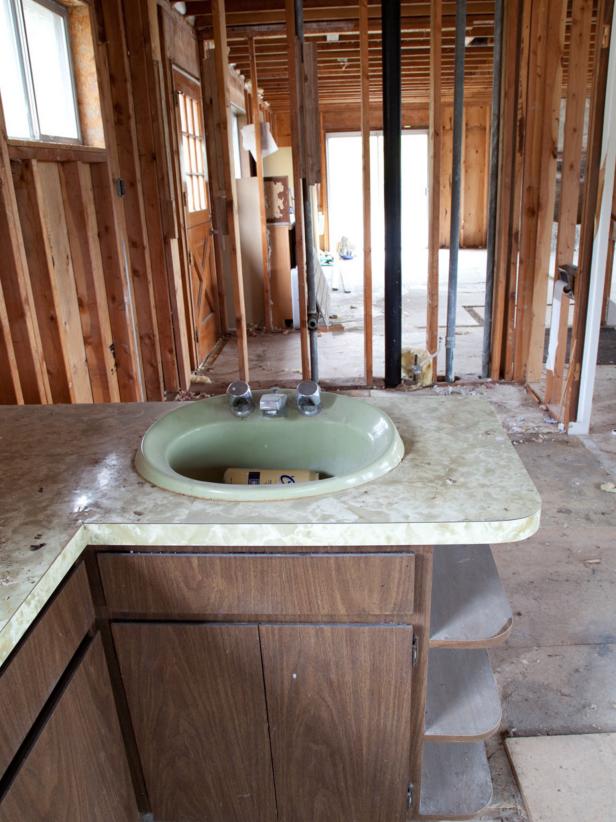
Additionally, a portion of the house had settled, which presented another problem. “The footings didn’t go down to the native compacted soil,” Dylan says, thus the settling caused structural damage and the house was leaning. To remedy this, the build and design team dug down and removed the organic matter that shrinks over time as it decomposes, then they filled in the space with gravel and installed new footings.
“The geo-tech engineers created a compacted gravel sub pad,” says Andy Smith, a principal of Edwards Smith Construction LLC, Coeur d’Alene, Idaho, the builder working on the project. “That will make sure all the parts stay where you put them,” he adds.
The Design Team Tells All
See All Videos


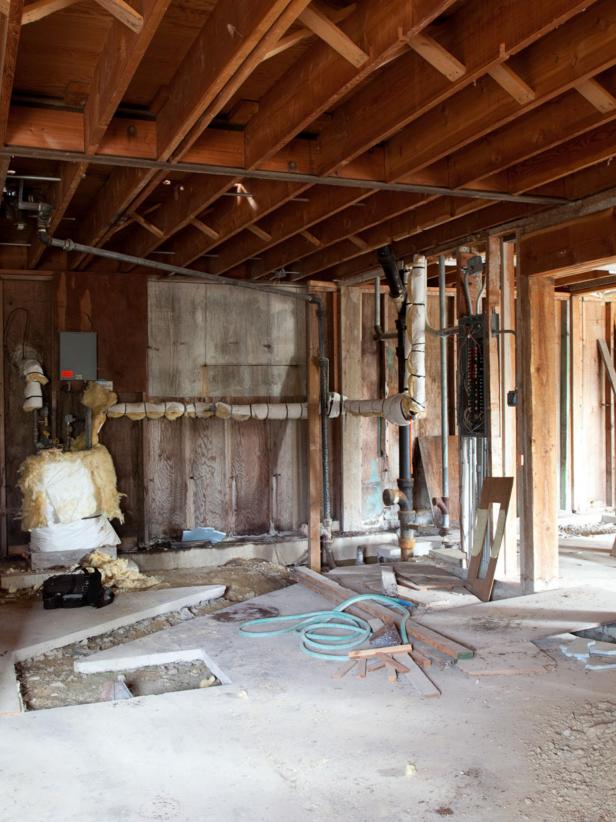
Andy points out that on most remodeling projects, there are many factors to consider. “People don’t understand that when you add a room, paint, new windows, that there’s not a lot of thought that goes into the infrastructure,” he says. “The HVAC, plumbing and electrical issues have to be addressed,”
For example, he explains that since homeowners tend to stress the electrical systems a lot more today with multiple TV’s and computers, outdated electrical systems are ticking time bombs as are plumbing systems and heat and air conditioning systems.
“These hidden issues, the technical side, raises the price of a remodel,” Andy explains. And while homeowners may balk at a contractor or builder who adds these upgrades to an estimate, the professionals are actually being much more thorough than those who don’t bring these issues to the forefront before the work starts. “Today, a professional can be pretty accurate about what needs to be done without tearing a wall open,” he says.
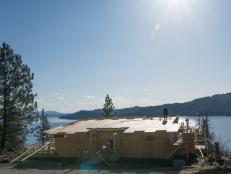
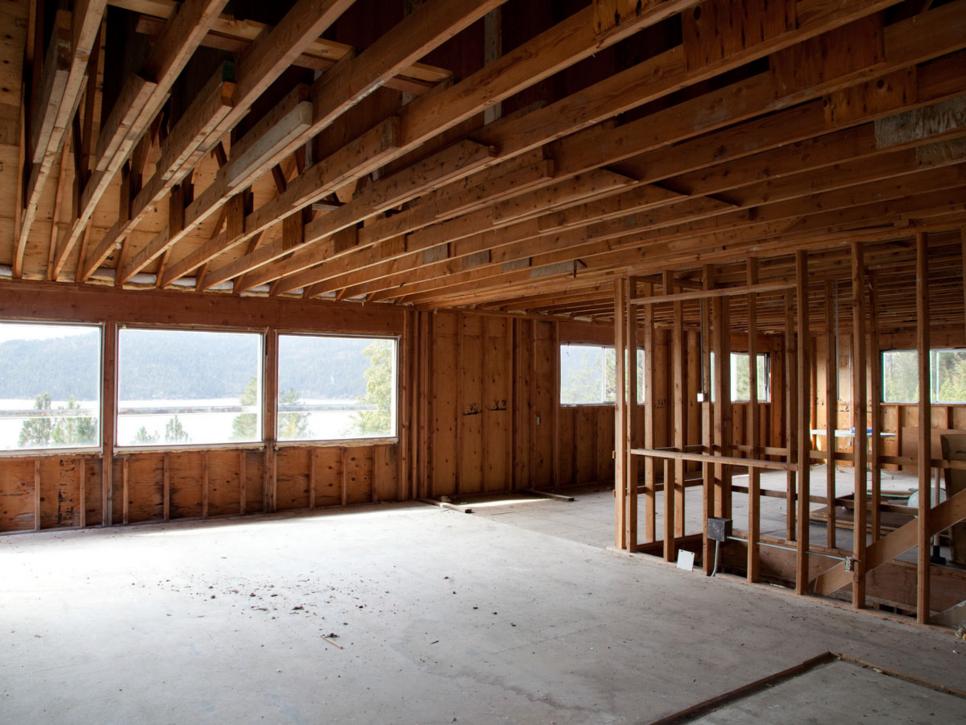
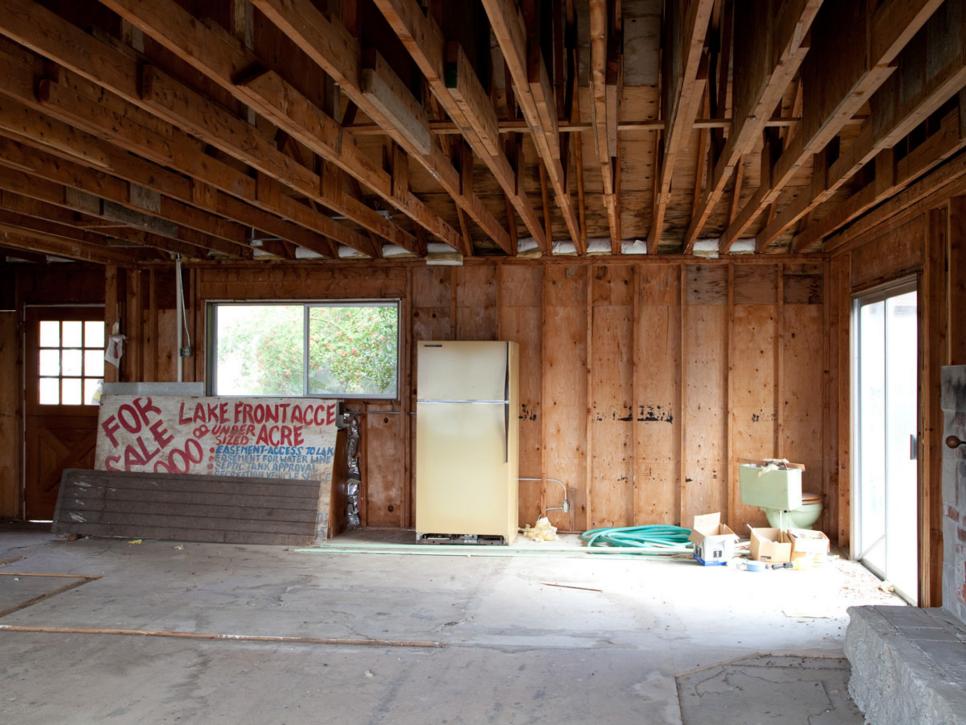
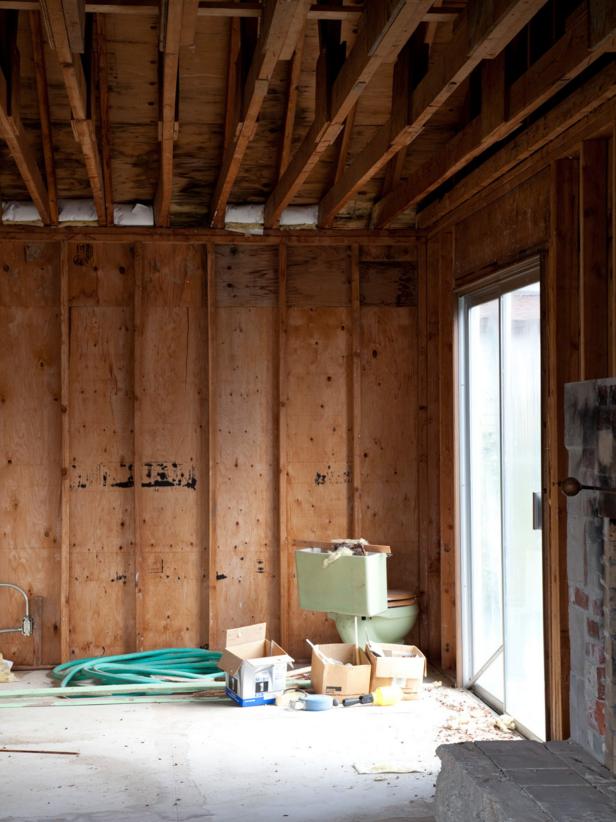
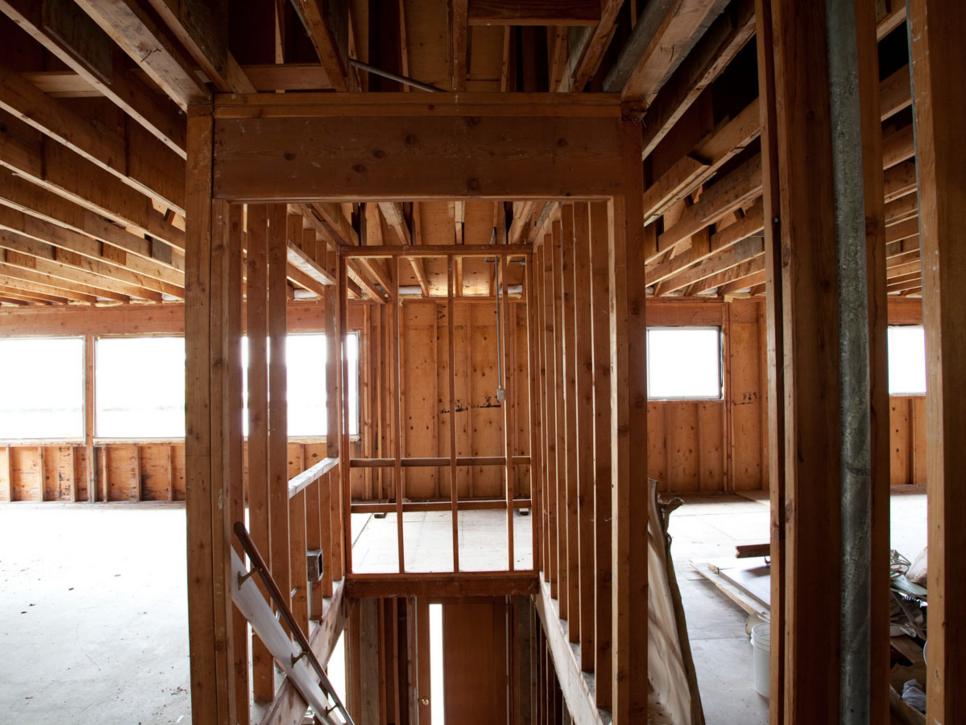
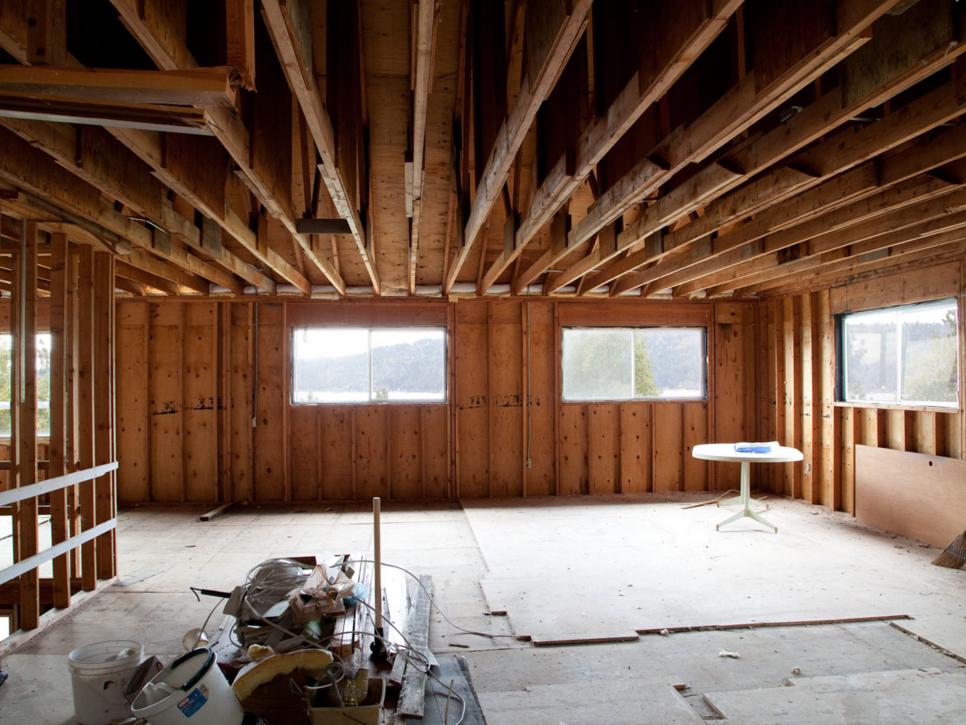
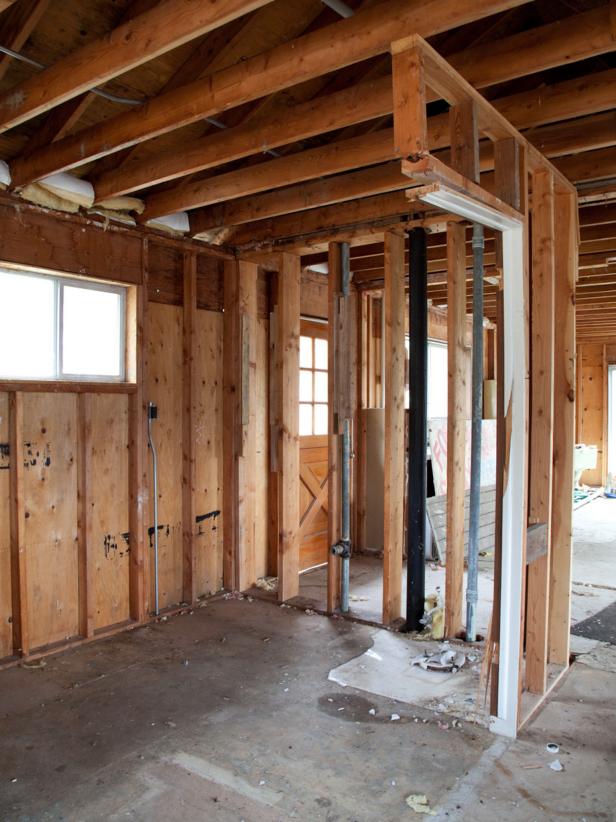
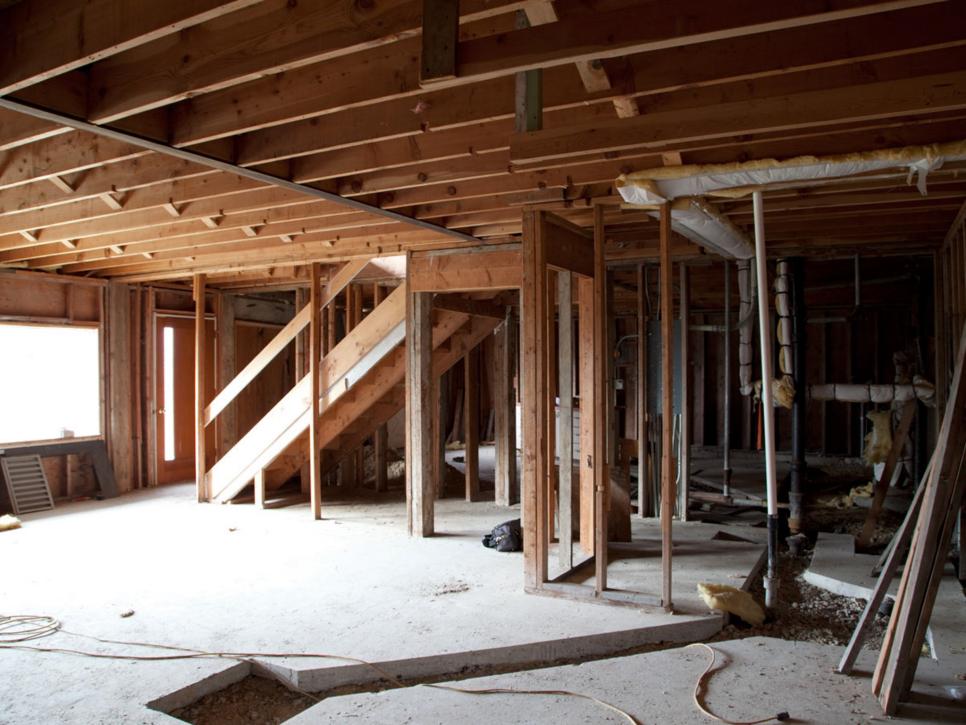
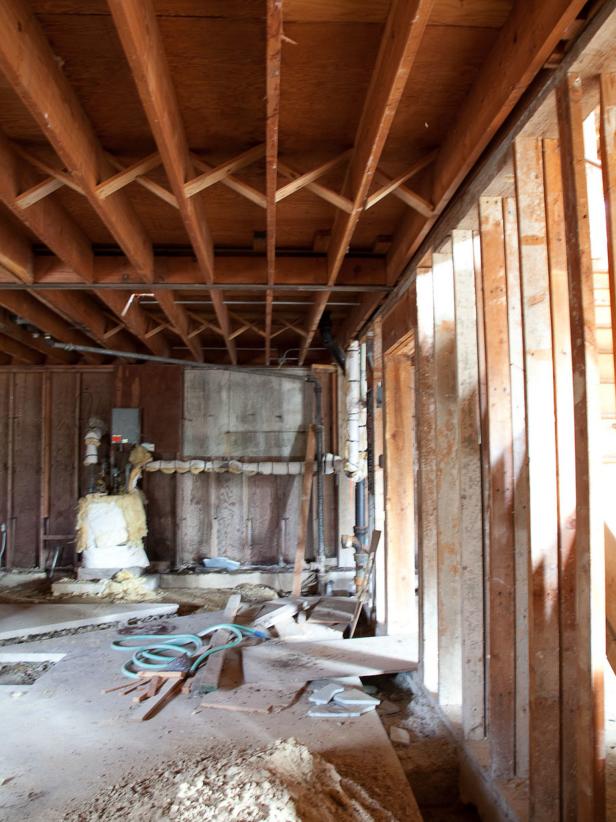
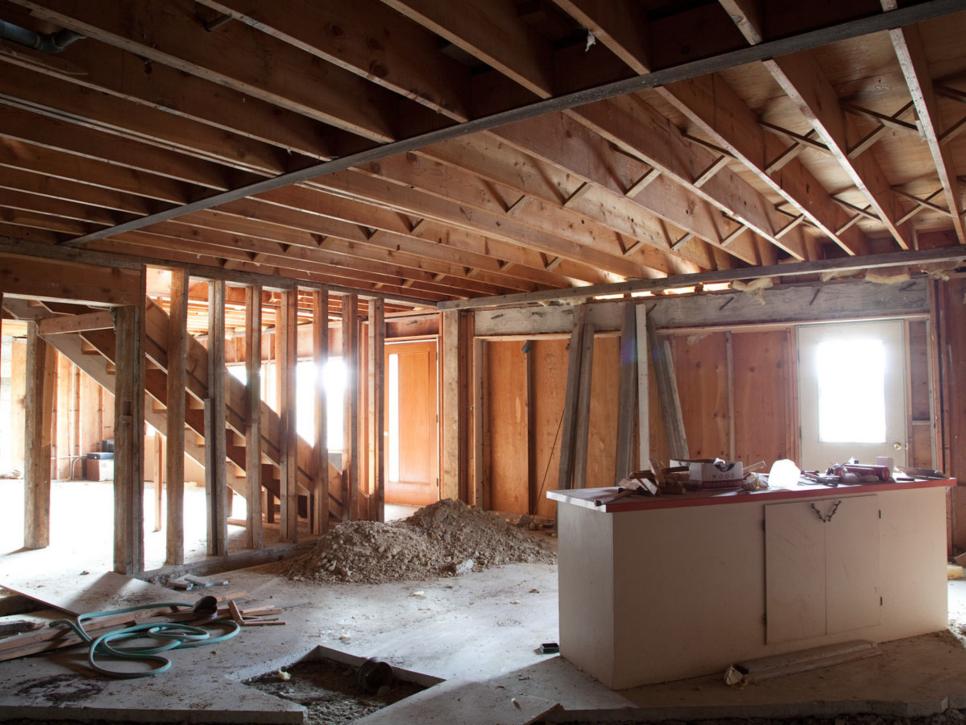
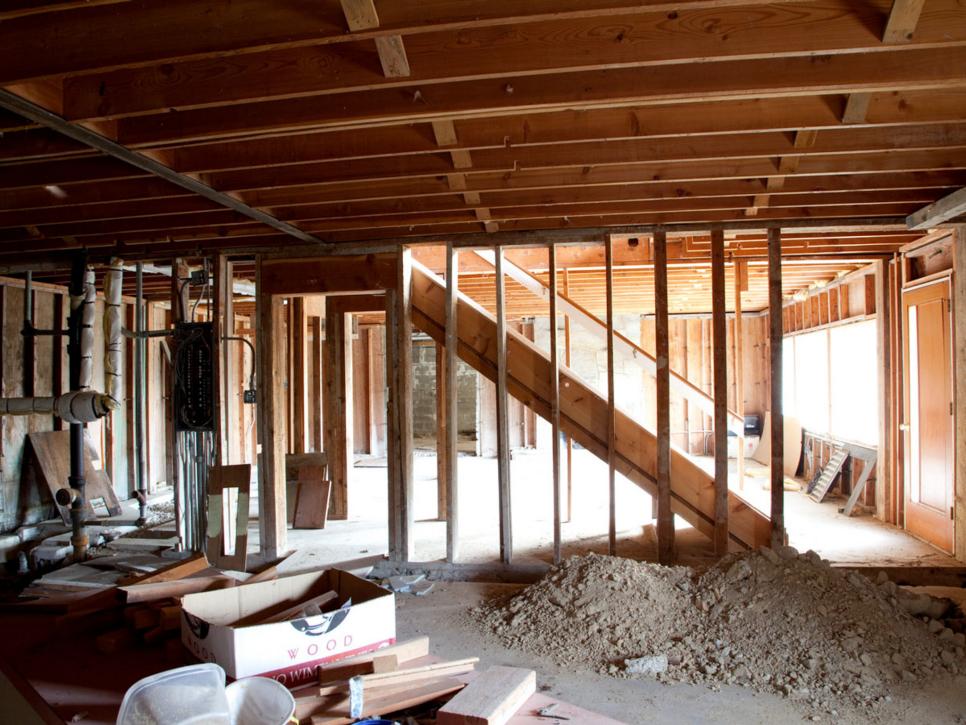
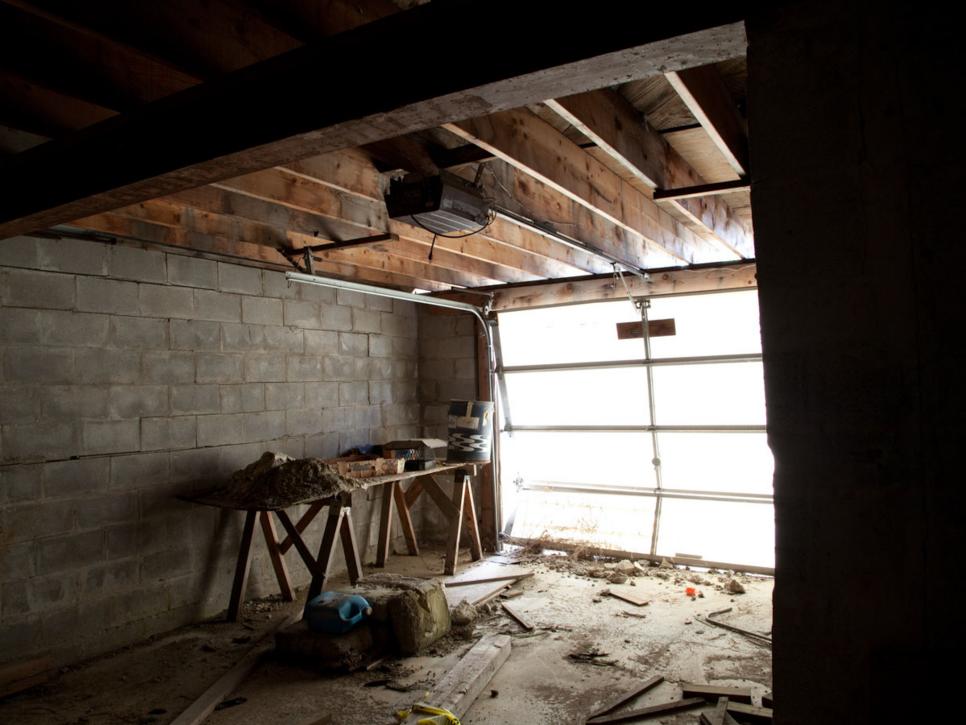
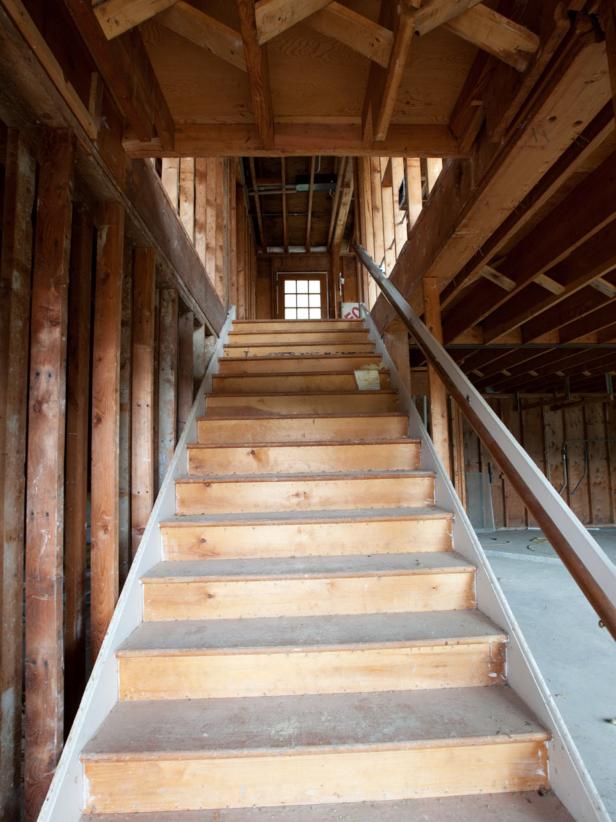
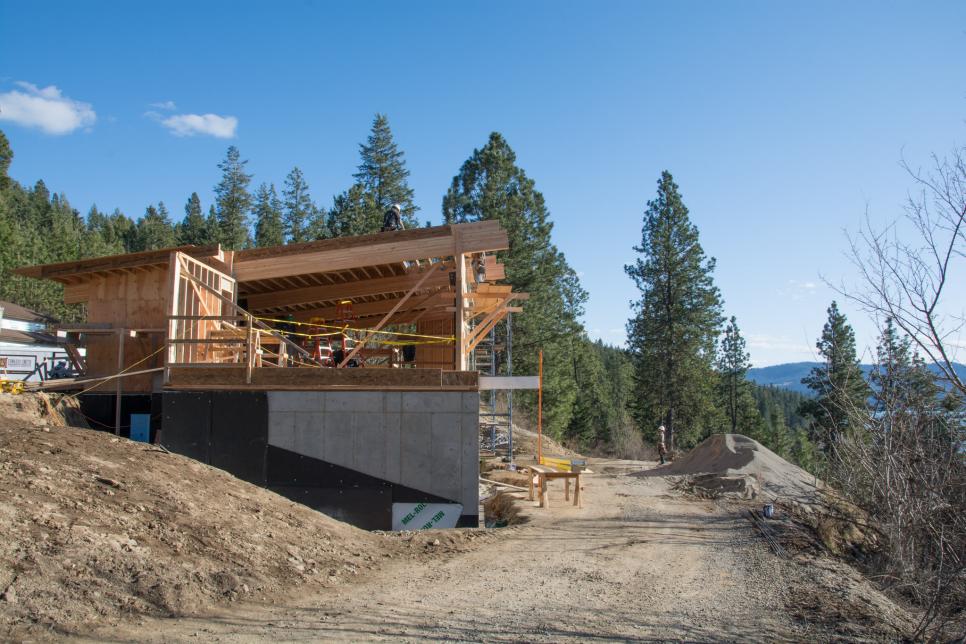
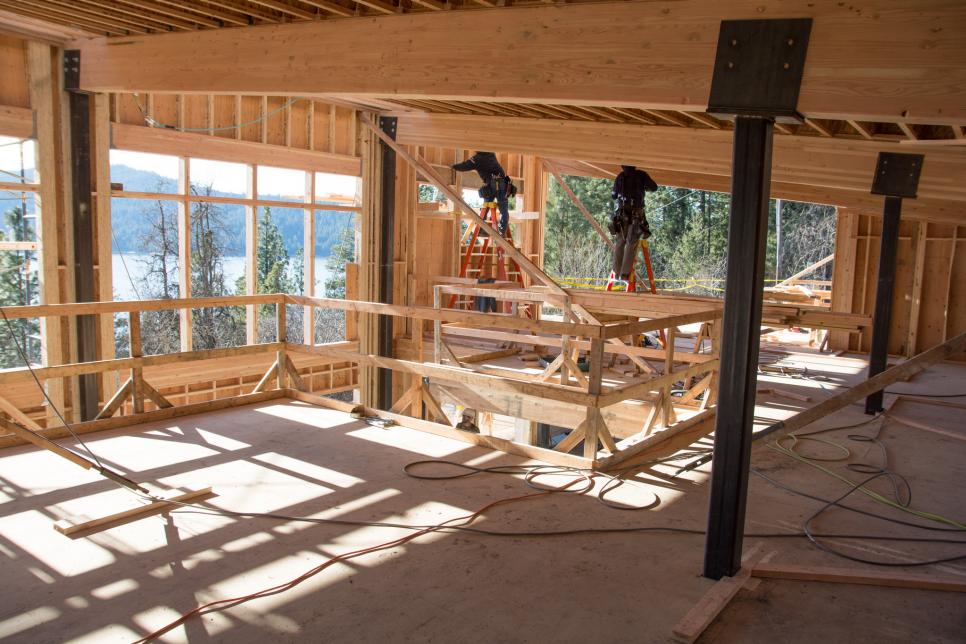
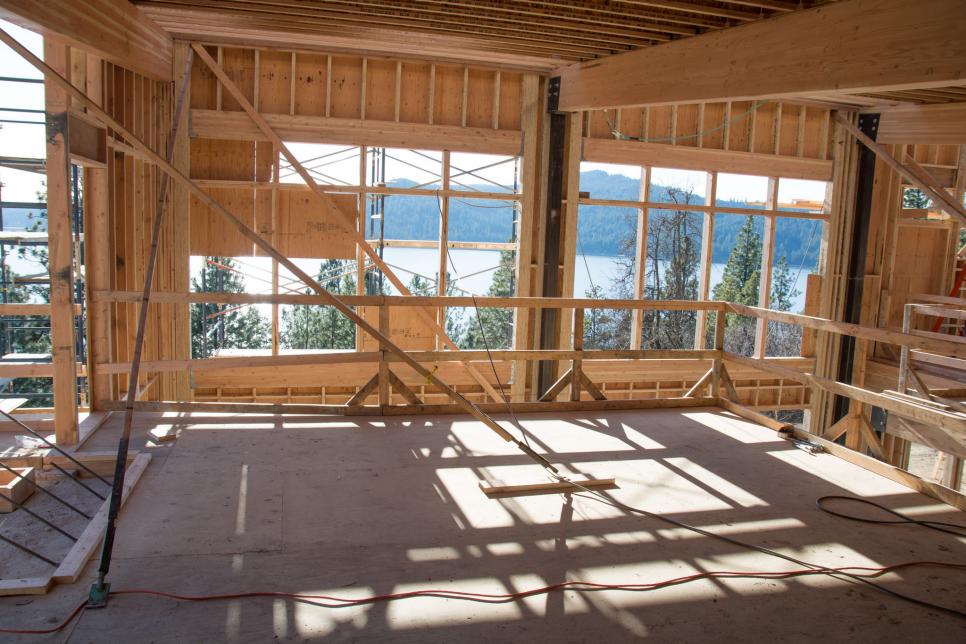
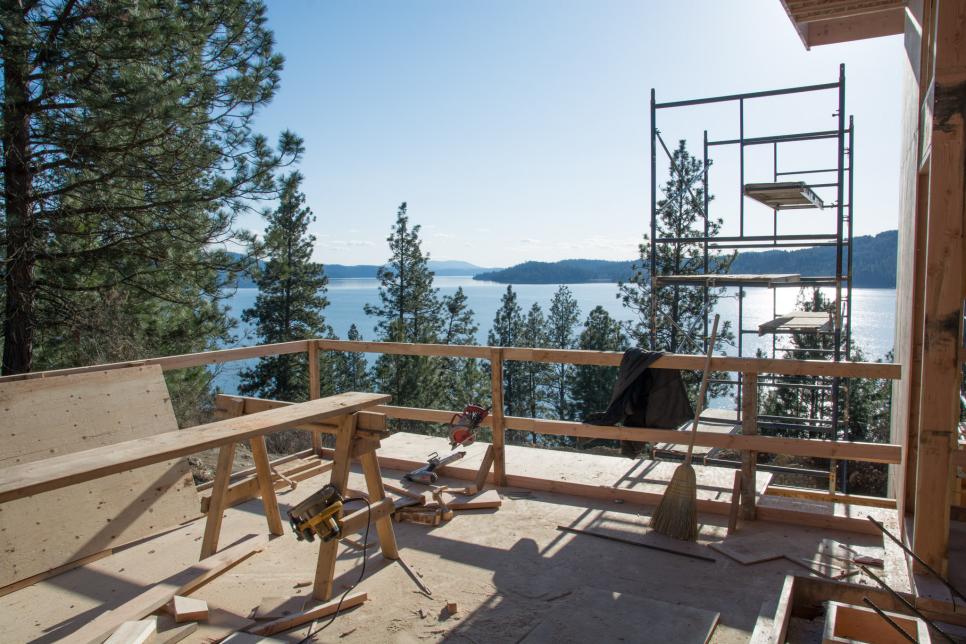
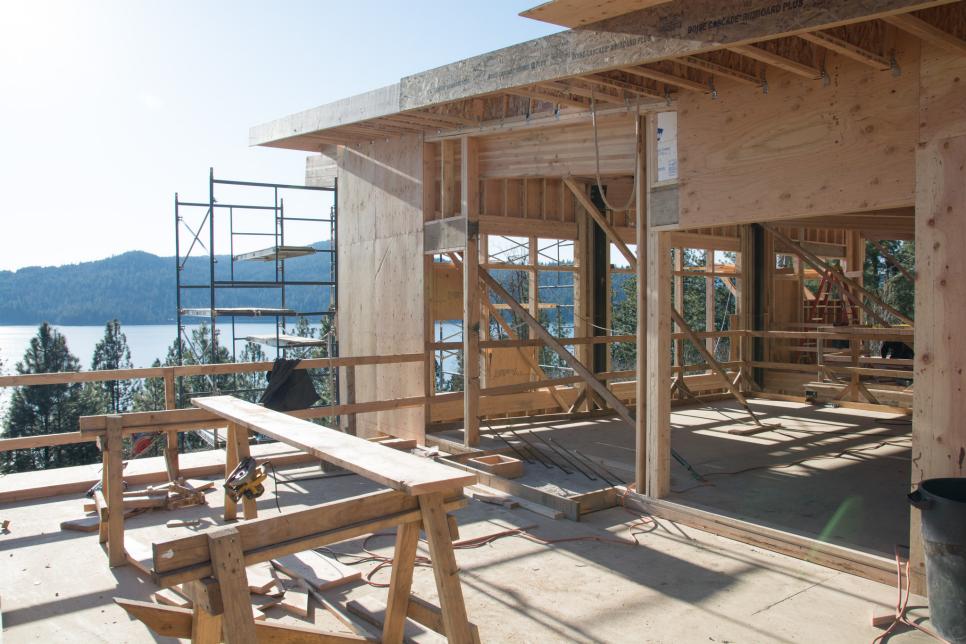
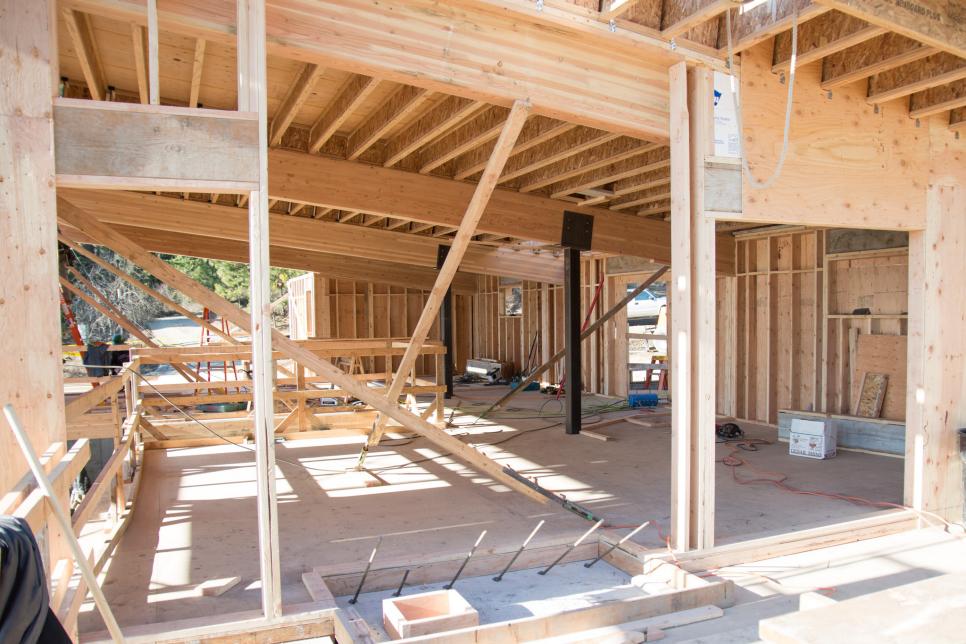
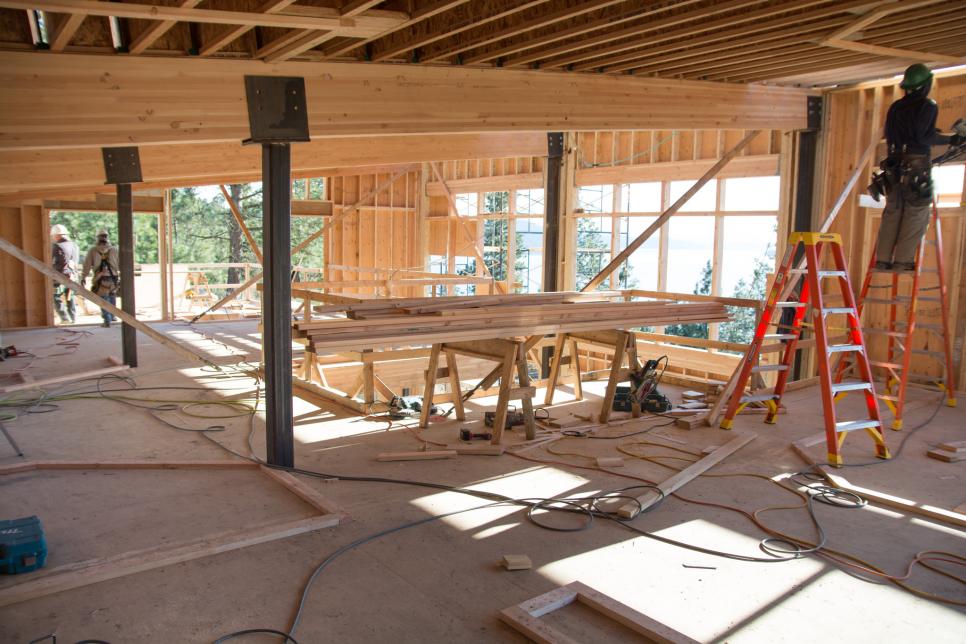
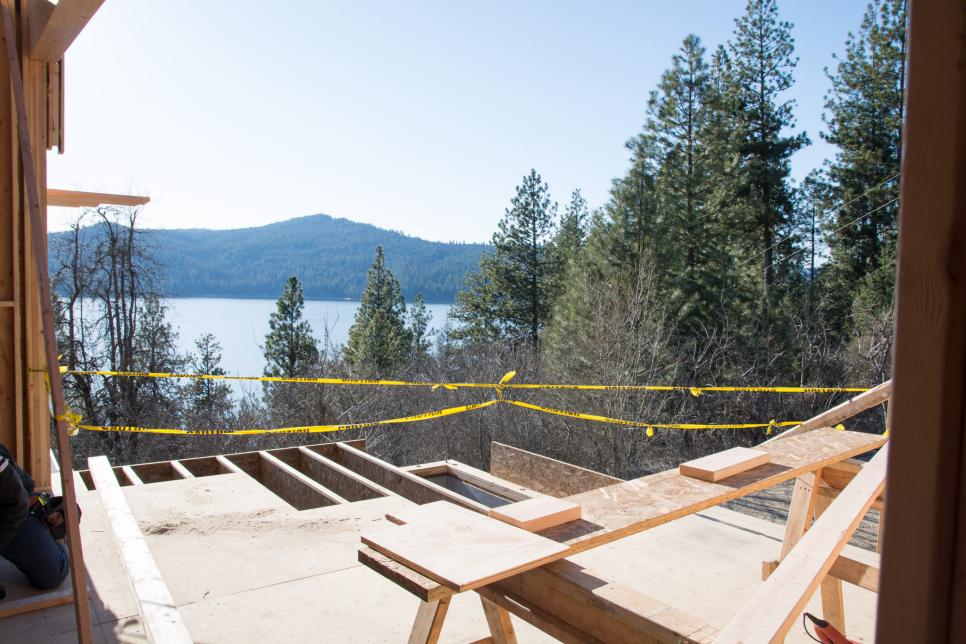
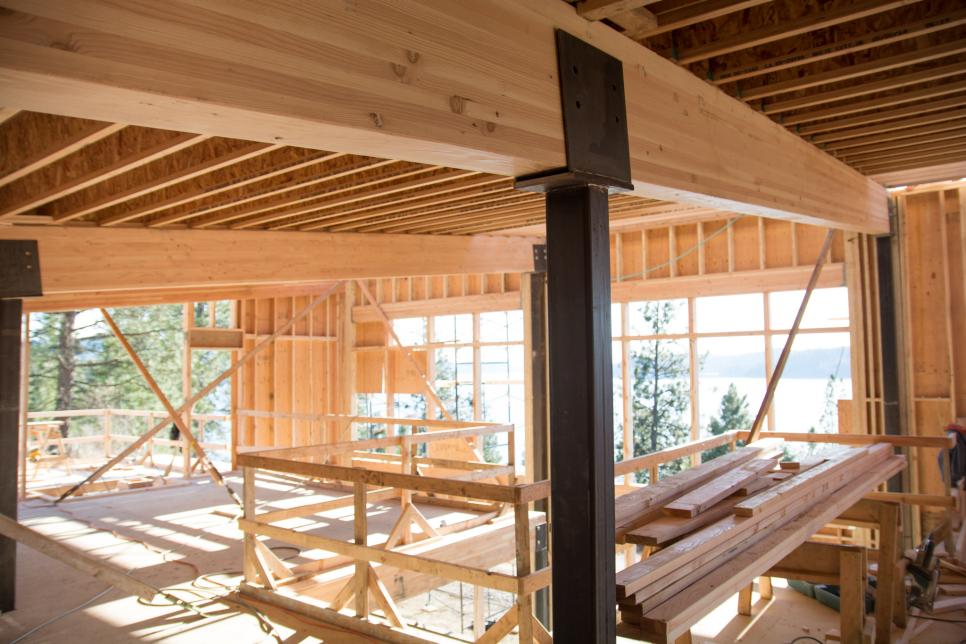
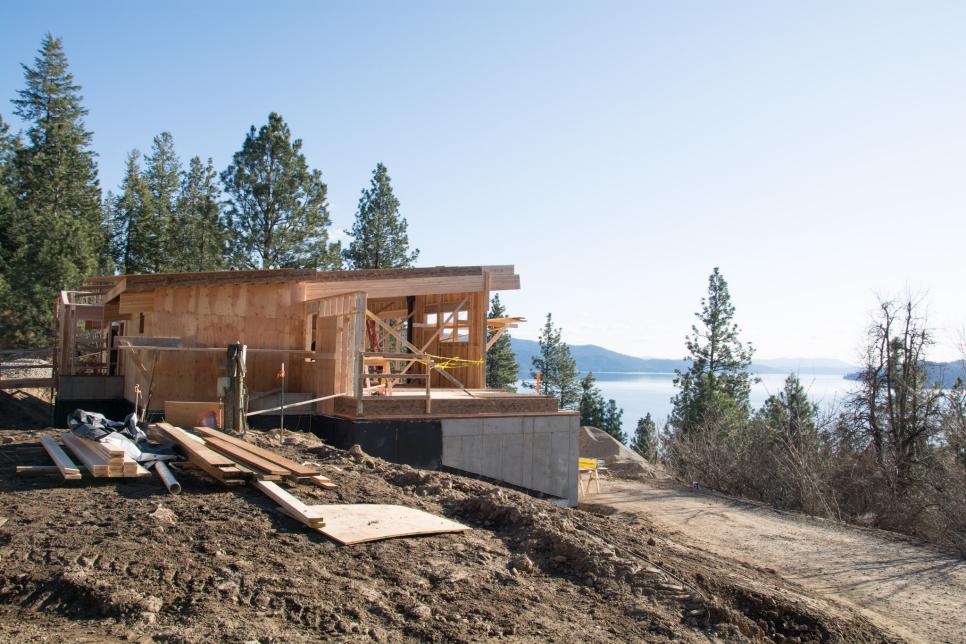
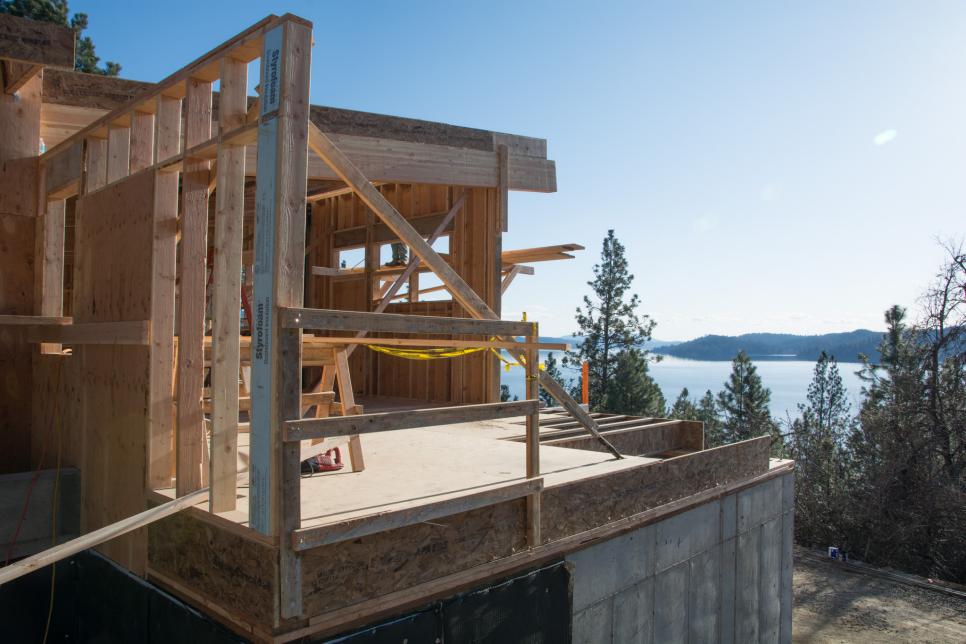
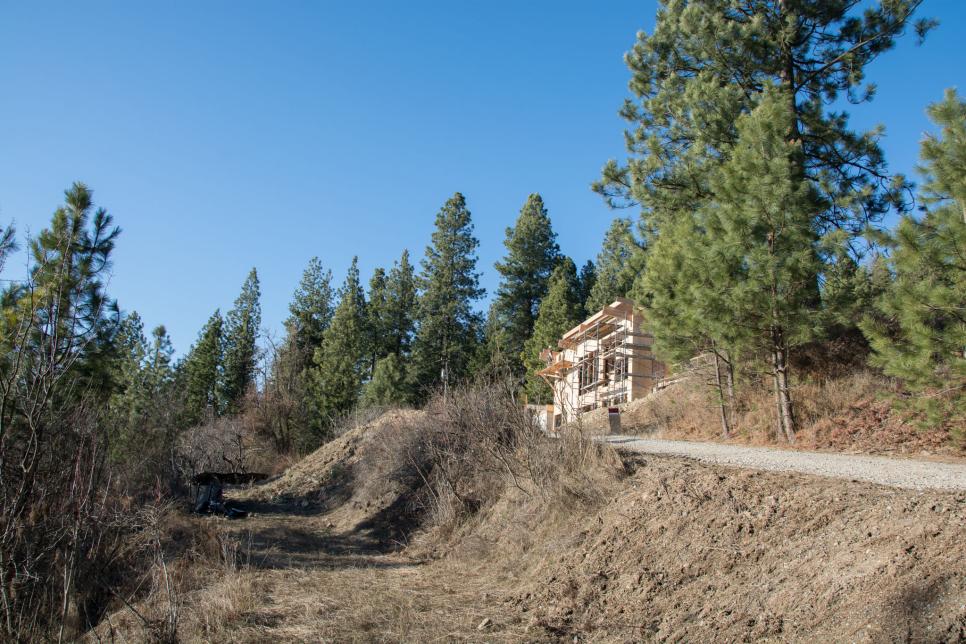
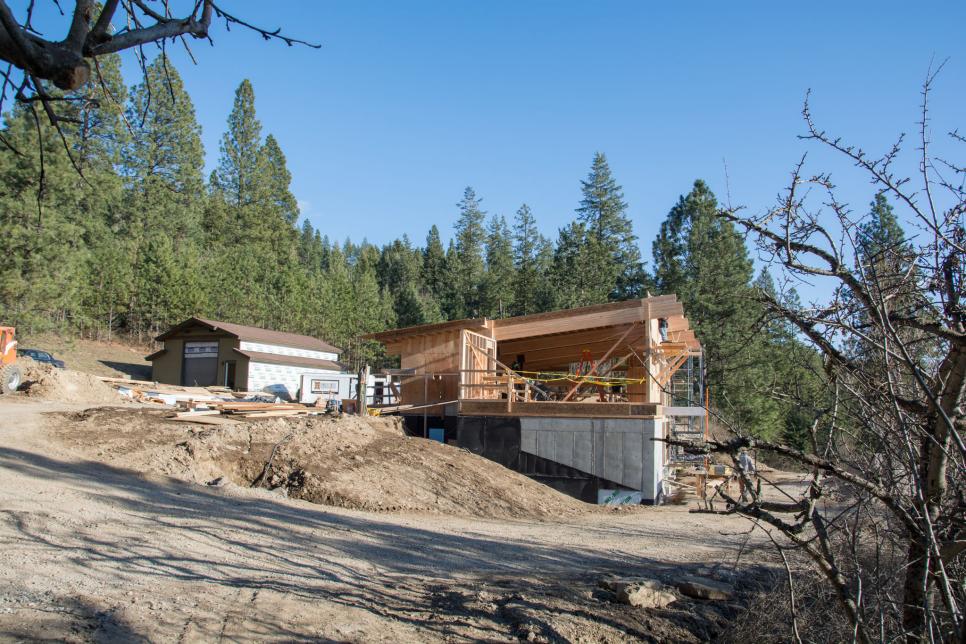
Under Construction
See All Photos


The key to a successful remodel where all parties involved are satisfied starts with the consumer doing his or her homework when selecting a contractor. “Go beyond the two or three references a contractor supplies you,” Andy says revealing that some unscrupulous ones can always find several people to say good things about their work.
Visit the Blog
From start to finish, get the daily scoop on what's happening at Blog Cabin 2015.
“Look at their work and ask the technical questions to the homeowners,” Andy says. For example, if you are planning an addition then ask the references when you go visit their homes to see the work of the prospective contractor, how the plumbing is working, or how is the heating or cooling working in the new addition. That way, you will know that those technical issues had been addressed and you can make an informed decision about hiring that professional to do your work.
Next Up


