


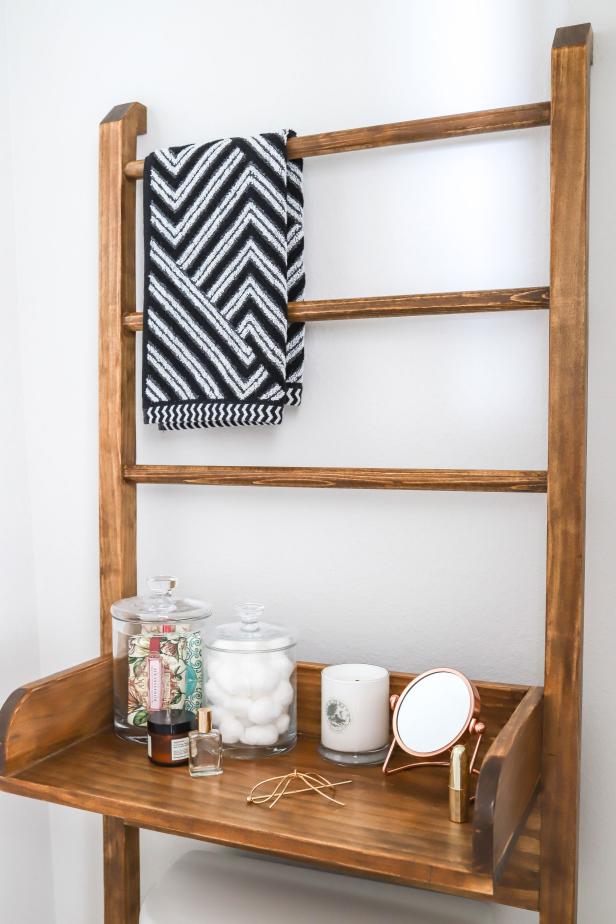
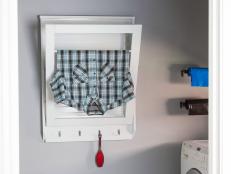
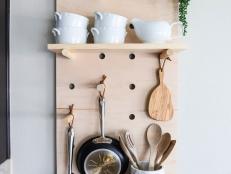
Boost Your Bathroom Storage With a DIY Ladder Shelf
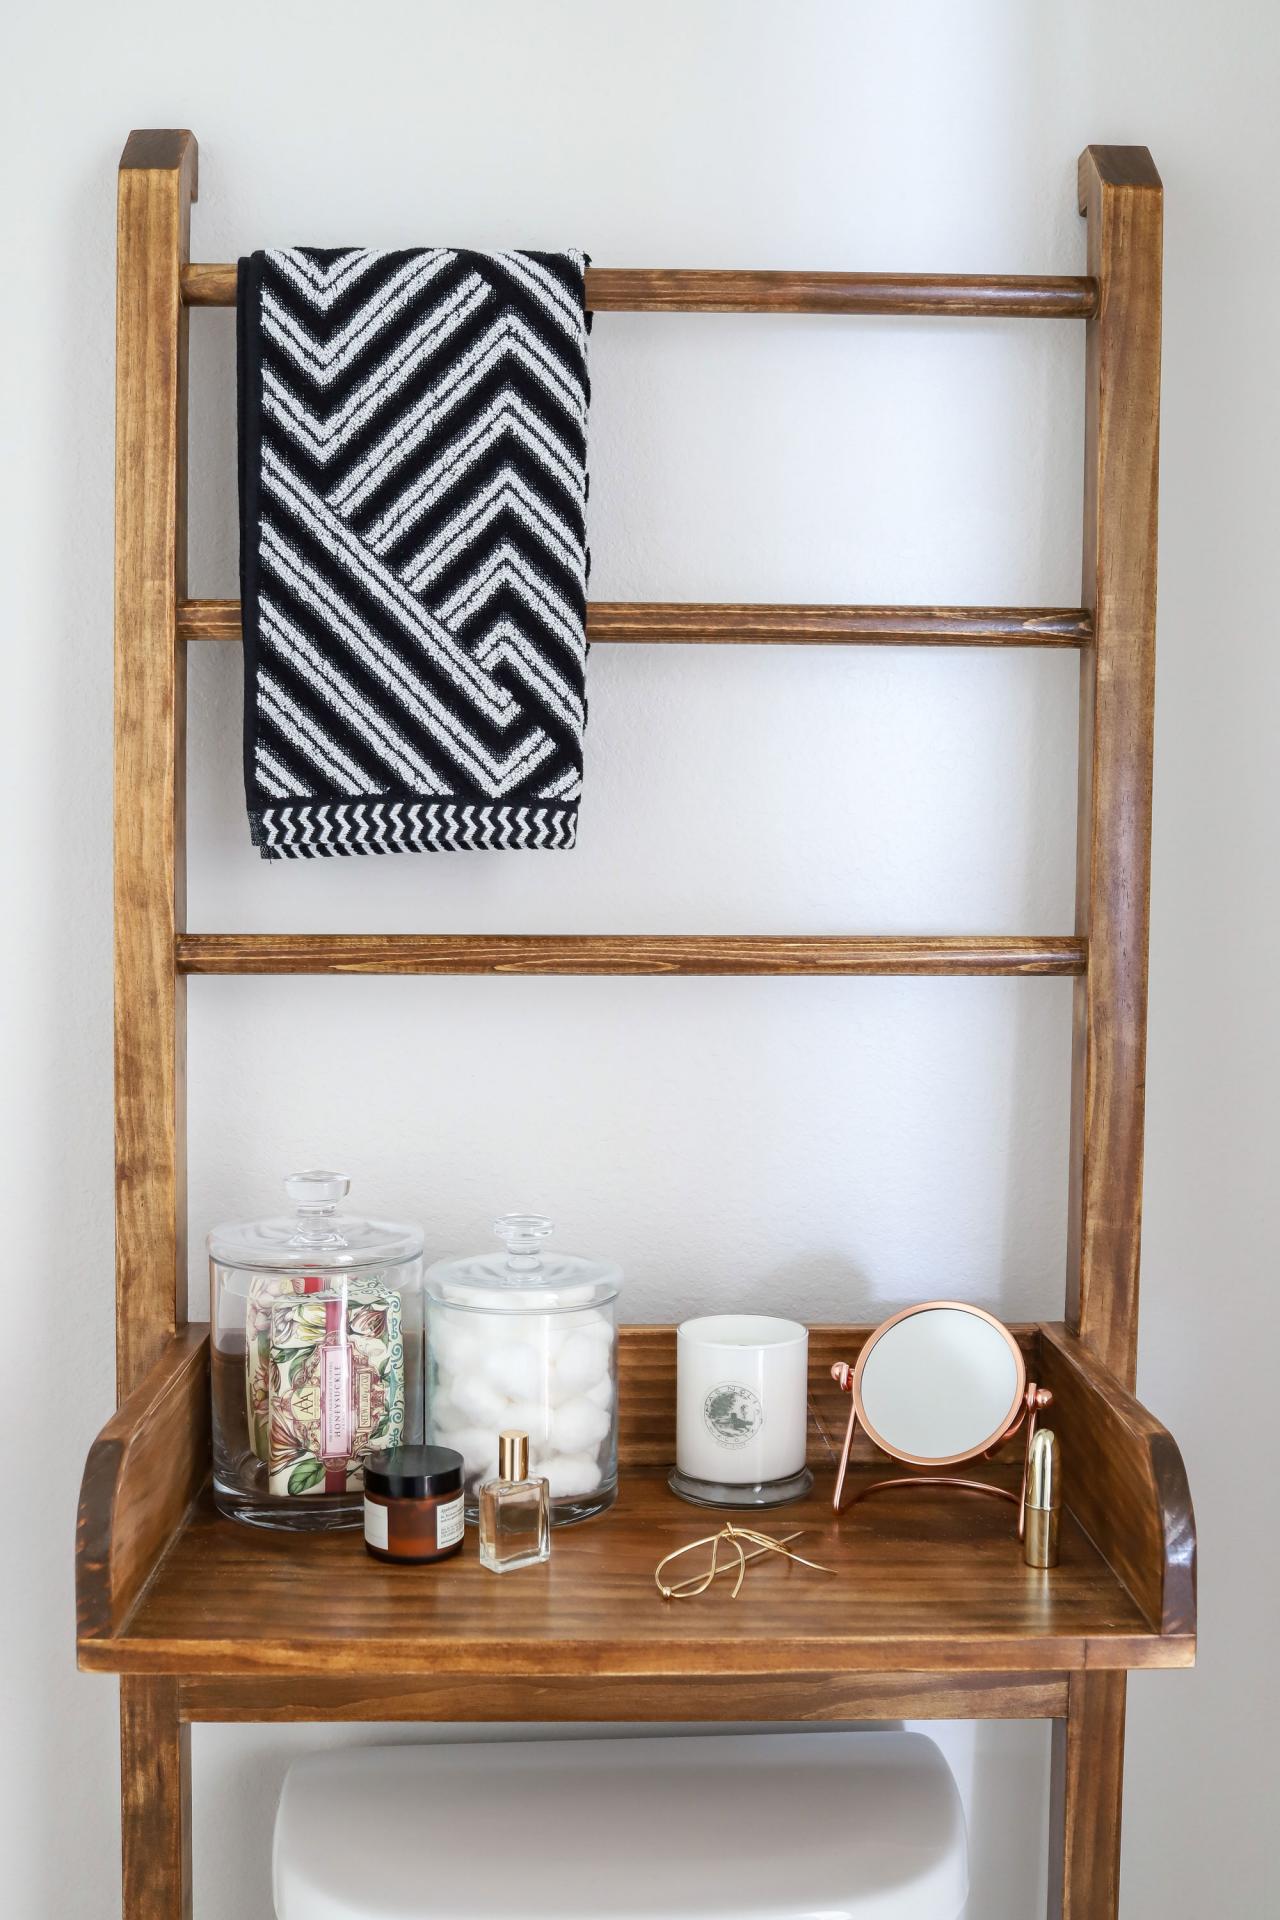
Make the most of a small bathroom with this DIY leaning ladder shelf and towel rack. Designed to fit over the toilet, this sleek storage piece won’t damage your walls, so it’s perfect for renters.
Jen Woodhouse
Materials
- (2) 2x2 x 8’ boards
- (1) 1x6 x 6’ board
- 22” of a 1x12 board
- (1) 1x4 x 6’ board
- (1) 6’ dowel, 1” in diameter
- 1-1/4” pocket screws
- 1-1/4” wood screws
- 1-1/4” brad nails
- (2) keyhole brackets
- (2) non-slip furniture glides
- wood glue
- finishing supplies
Tools
- tape measure
- pencil
- carpenter’s square
- drill with 1” and 1/4" forstner bit
- circular saw
- jigsaw
- pocket hole jig
- brad nailer or hammer
- clamps
- safety glasses
- hearing protection
- dust mask
Cut List
- (2) 2x2 @ 69” (legs)
- (2) 2x2 @ 1” (top)
- (2) 1x6 @ 22” (stretchers)
- (3) 1” diameter dowel @ 22” (towel bars)
- (2) 1x4 @ 11-1/4” (shelf sides)
- (1) 1x4 @ 20-1/2” (shelf back)
- (1) 1x12 @ 22” (shelf bottom)
For specific dimensions and 3D diagrams, download the PDF building plans at www.JenWoodhouse.com.
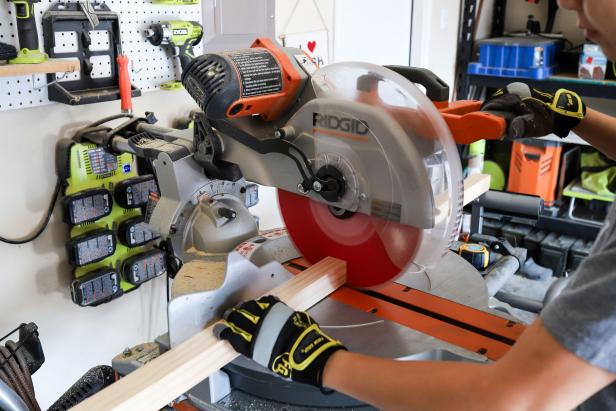
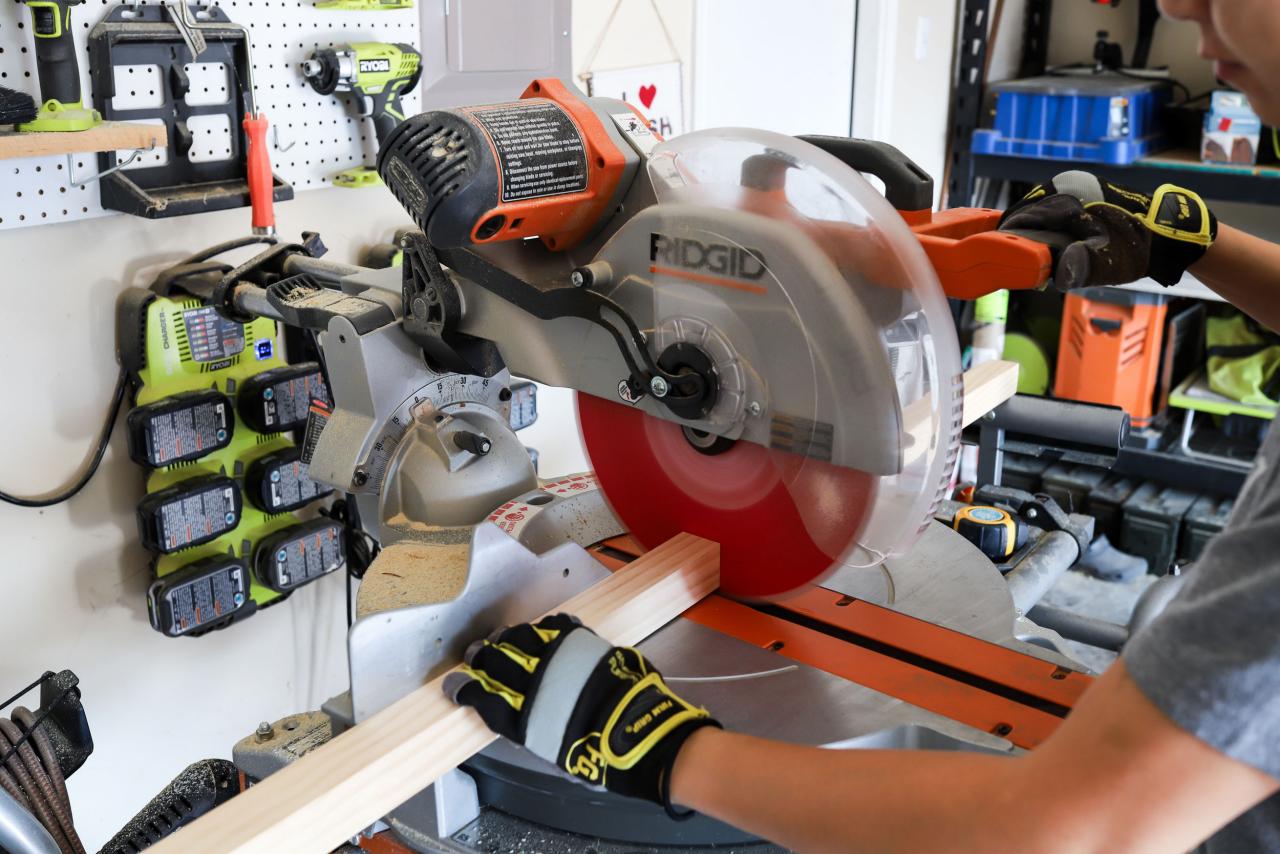
Measure and Cut the Boards
Using the cut list above, measure, mark and cut the 2x2 legs to length. The bottom of the legs should be cut at a 5 degree angle. The top will be cut at a 45 degree angle. I recommend cutting each piece as you go, instead of cutting all of the boards at the beginning.
Jen Woodhouse
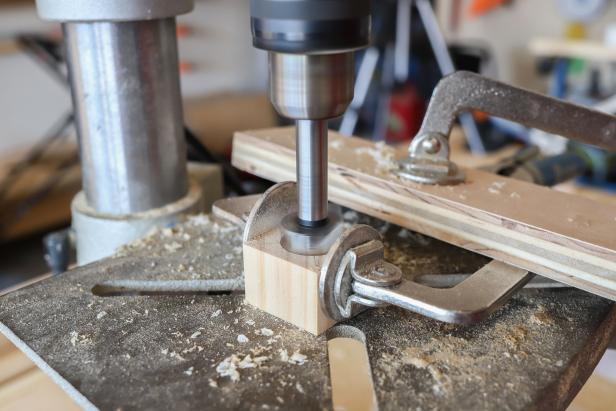
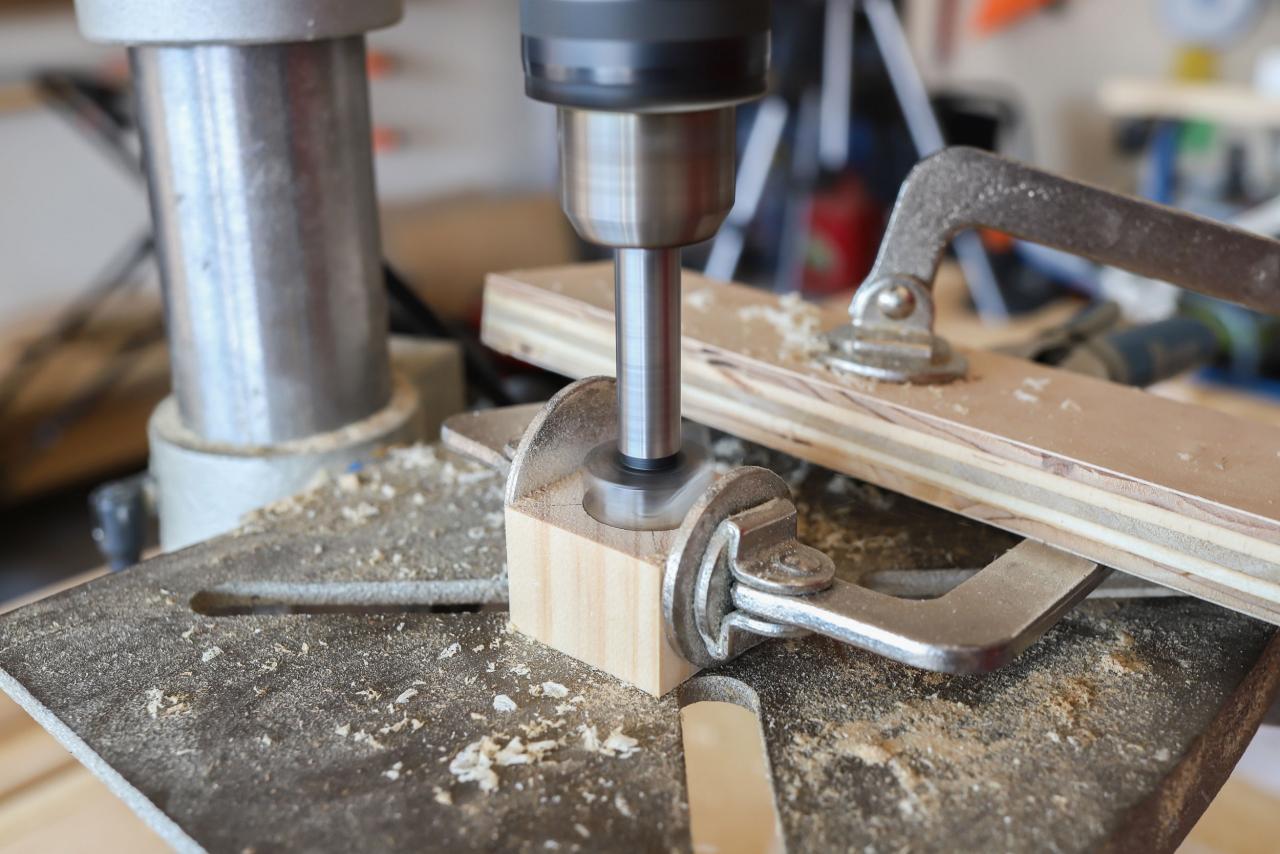
Install the Keyhole Brackets
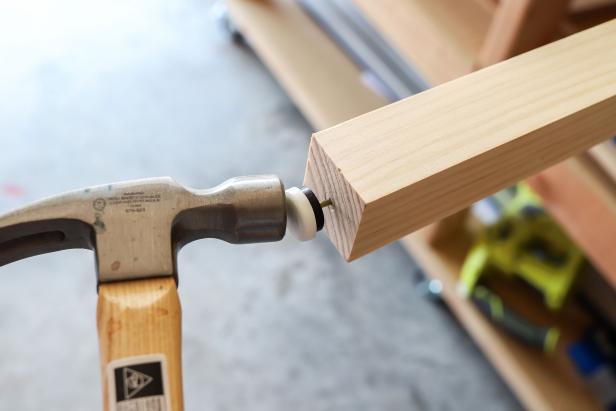
Measure, mark and cut the 1” pieces of 2x2. Using a drill fitted with a 1” forstner bit, drill a 1/4" deep hole into the 2x2 pieces. This is so that the keyhole brackets will sit flush into the 2x2 pieces.
Jen Woodhouse
Jen Woodhouse
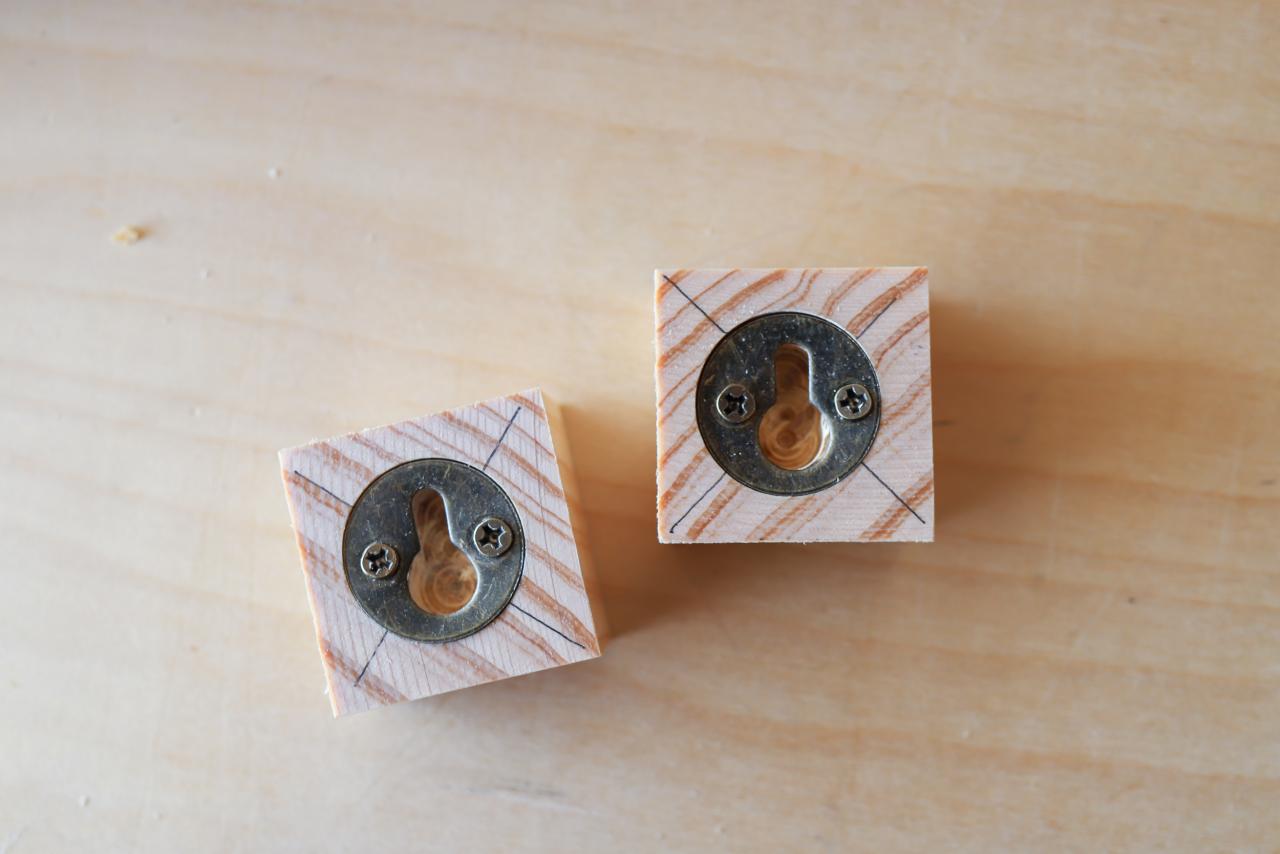
You’ll need to use the smaller forstner bit to hollow out the inside a bit, so that when you install the keyhole brackets, there will be space for the wall screws to go.

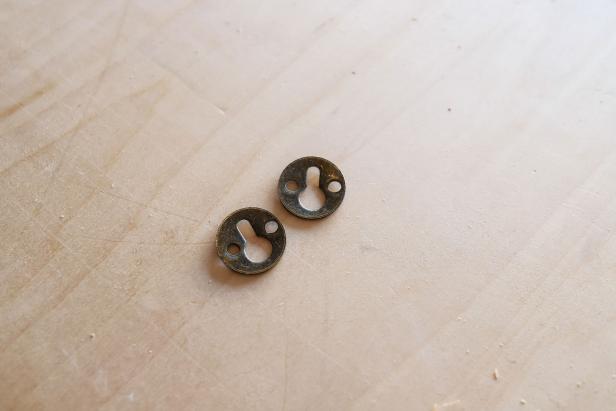
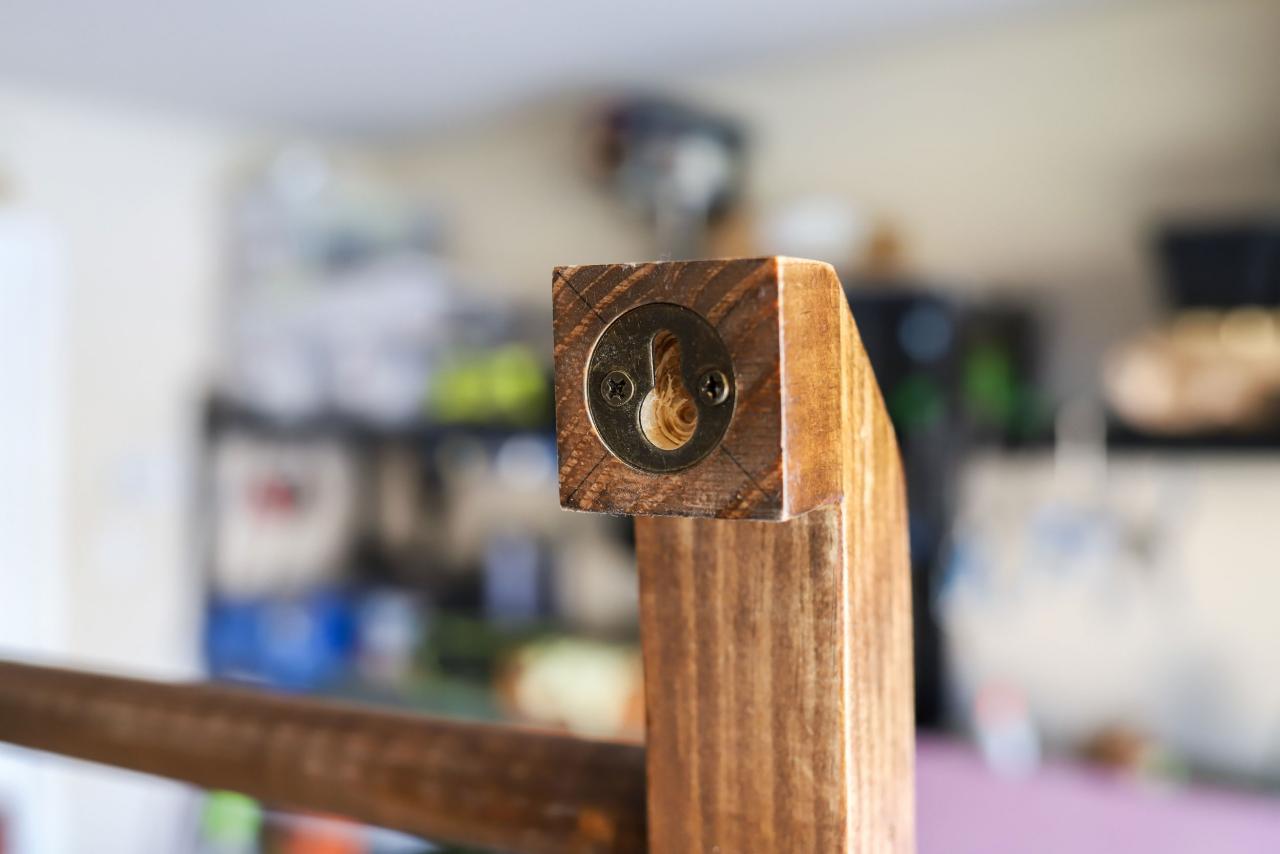
Position the keyhole brackets into place and screw them on.

Jen Woodhouse
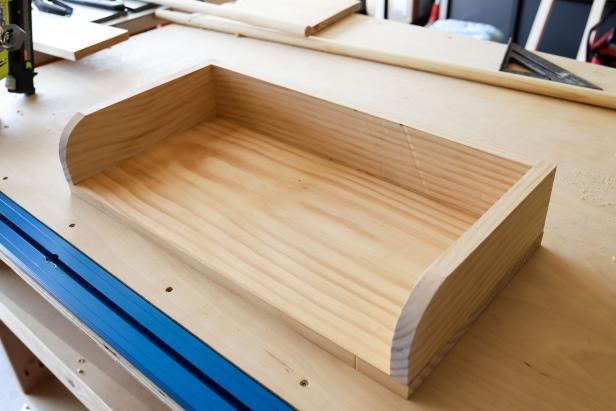
Cut Out the Shelf Pieces
Measure, mark and cut the shelf pieces to length. Draw a curve on one end of the shelf sides and cut it out with a jigsaw.

Jen Woodhouse

Jen Woodhouse
Build the Shelf
Construct the shelf as shown with 1-1/4” brad nails and wood glue.
Jen Woodhouse
Drill the Holes for the Towel Bars
Measure and mark where the towel bar holes will go on the 2x2 legs. Using a drill fitted with a 1” forstner bit, drill a slight inset for the towel bars to sit.
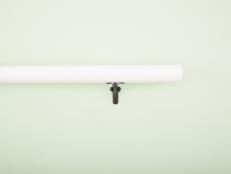
Measure, mark and cut the dowels to length.

Jen Woodhouse

Jen Woodhouse
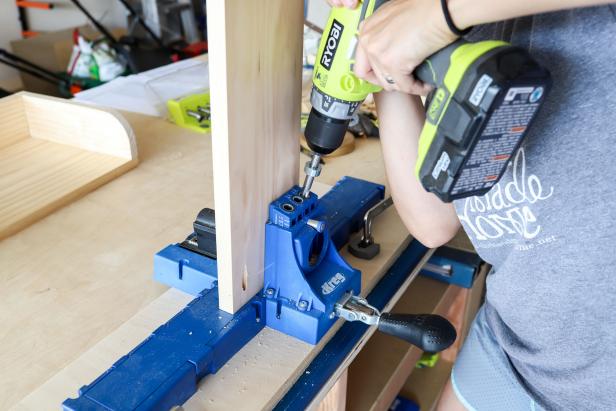
Drill the Pocket Holes
Pocket hole joinery involves drilling a pilot hole at a slight angle into one board, then joining it to a second board with a self-tapping screw. Pocket hole joinery is a fast and reliable technique that creates a strong joint.
Whenever you join 1x material (typically 3/4" thick), you’ll set the pocket hole jig to the 3/4" setting and use 1-1/4” pocket screws. Be sure to measure the thickness of your boards prior to drilling and set the pocket hole jig accordingly.
Jen Woodhouse
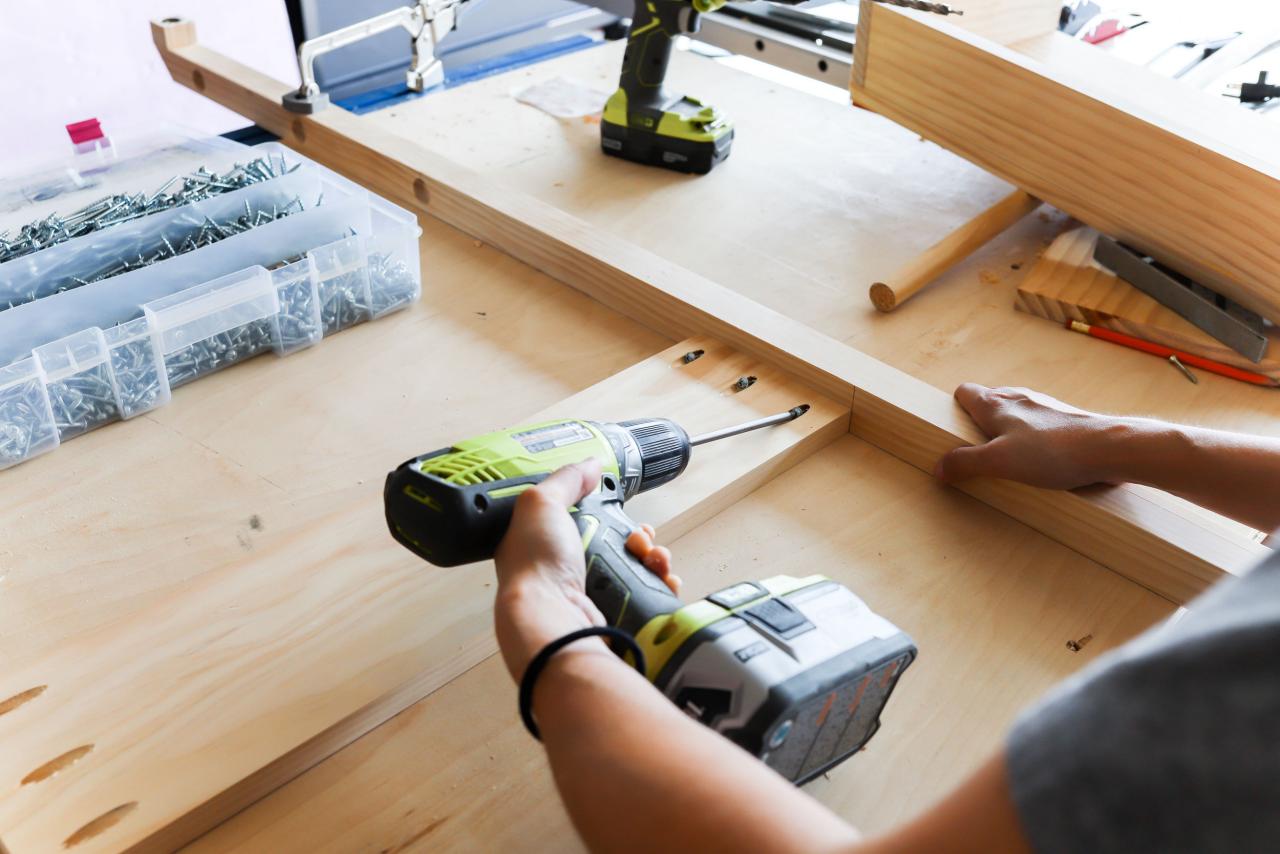
Attach the Stretchers
Measure, mark and cut the 1x6 stretchers to length. Drill 3/4" pocket holes into the ends and attach them to the legs with 1-1/4” pocket screws. The stretchers should be 30” from the bottom of the legs.

Jen Woodhouse
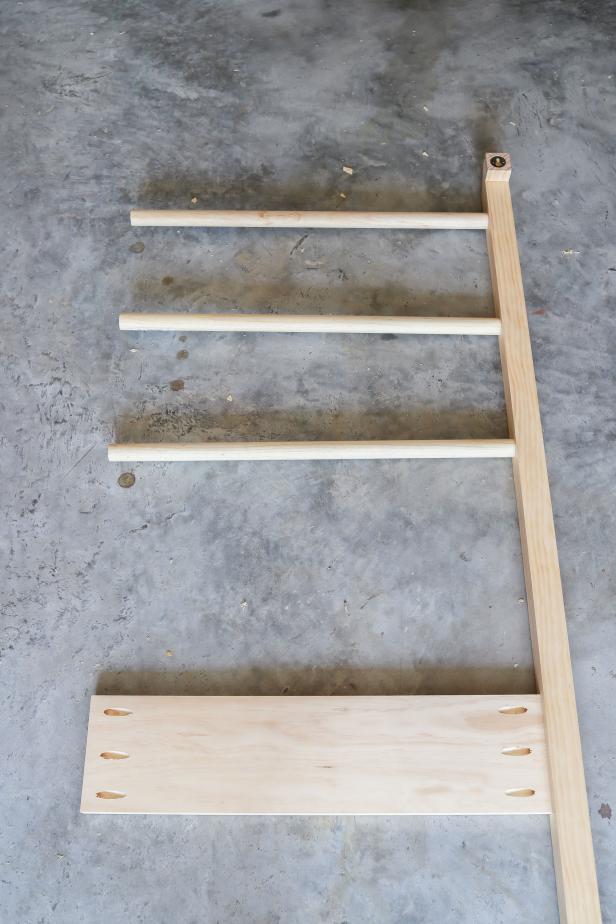
Construct the Leaning Shelf
It’s important to attach only one side of the shelf first. Attach one side of the stretcher, squeeze a small amount of wood glue into the holes where the dowels will be, insert them, then attach the other side of the stretcher and dowels.
Jen Woodhouse
Attach the Shelf
Pre-drill pilot holes into the sides of the shelf and attach the shelf to the legs with 1-1/4” countersunk wood screws and wood glue. Attach the shelf to the 1x6 stretchers with 1-1/4” brad nails and wood glue.
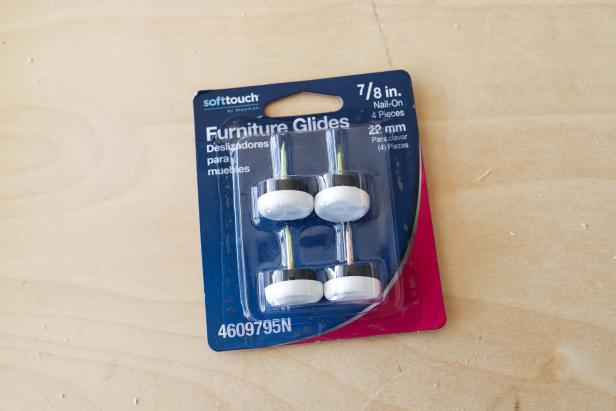
Install Non-Slip Furniture Glides
These furniture glides will keep the wood from being directly on the bathroom floor. Drill a small pilot hole into the bottom of the legs and hammer the glides into place.
Jen Woodhouse
Jen Woodhouse
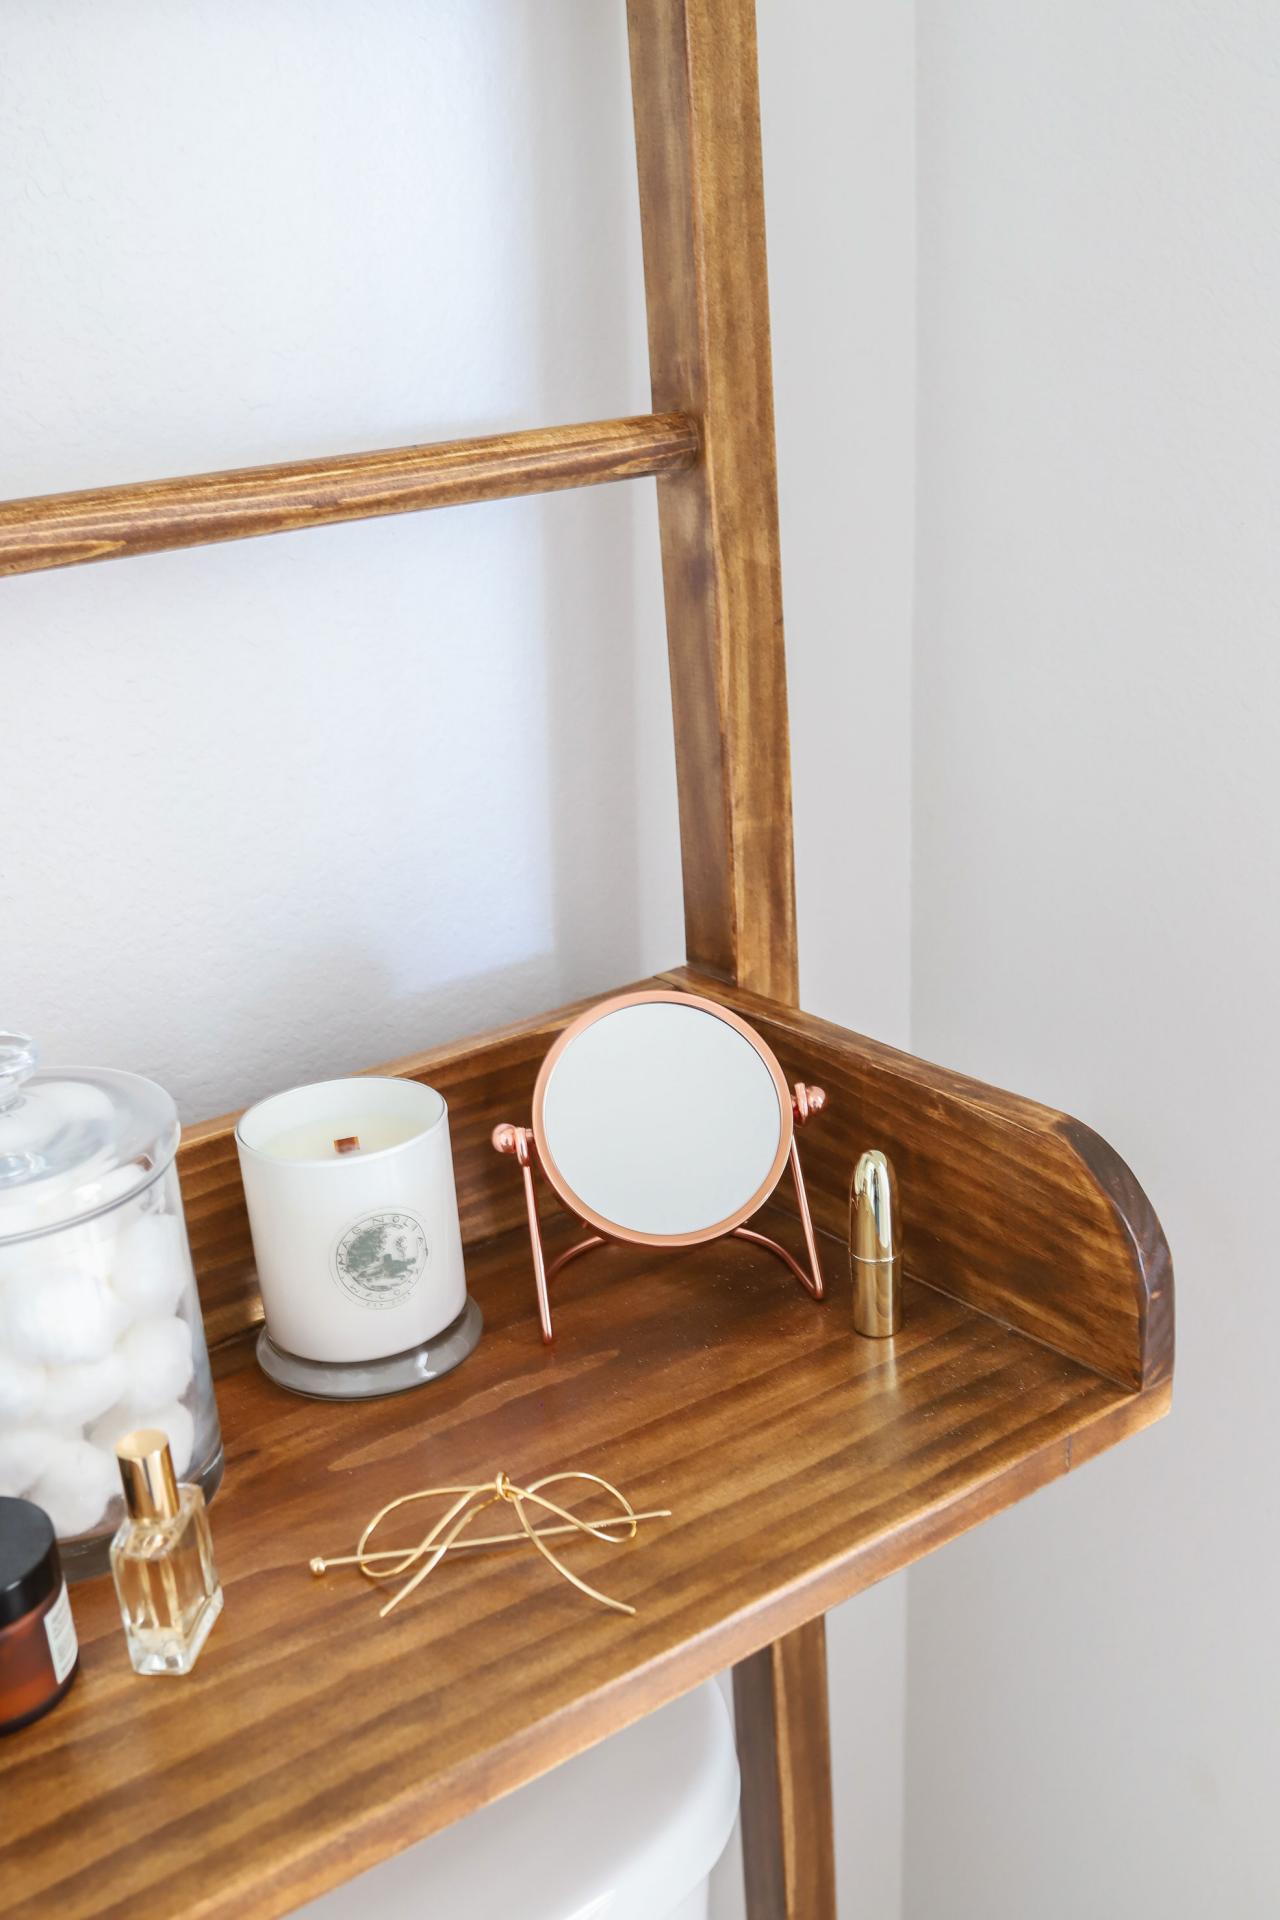
Finish the Bathroom Shelf
Sand the entire shelf with 150-grit sandpaper, then follow up with 220-grit sandpaper. Remove the dust and debris with a slightly damp rag or tack cloth then stain or paint as desired. Finally, apply three coats of finish to protect the wood from moisture.

Jen Woodhouse

Jen Woodhouse

Jen Woodhouse


